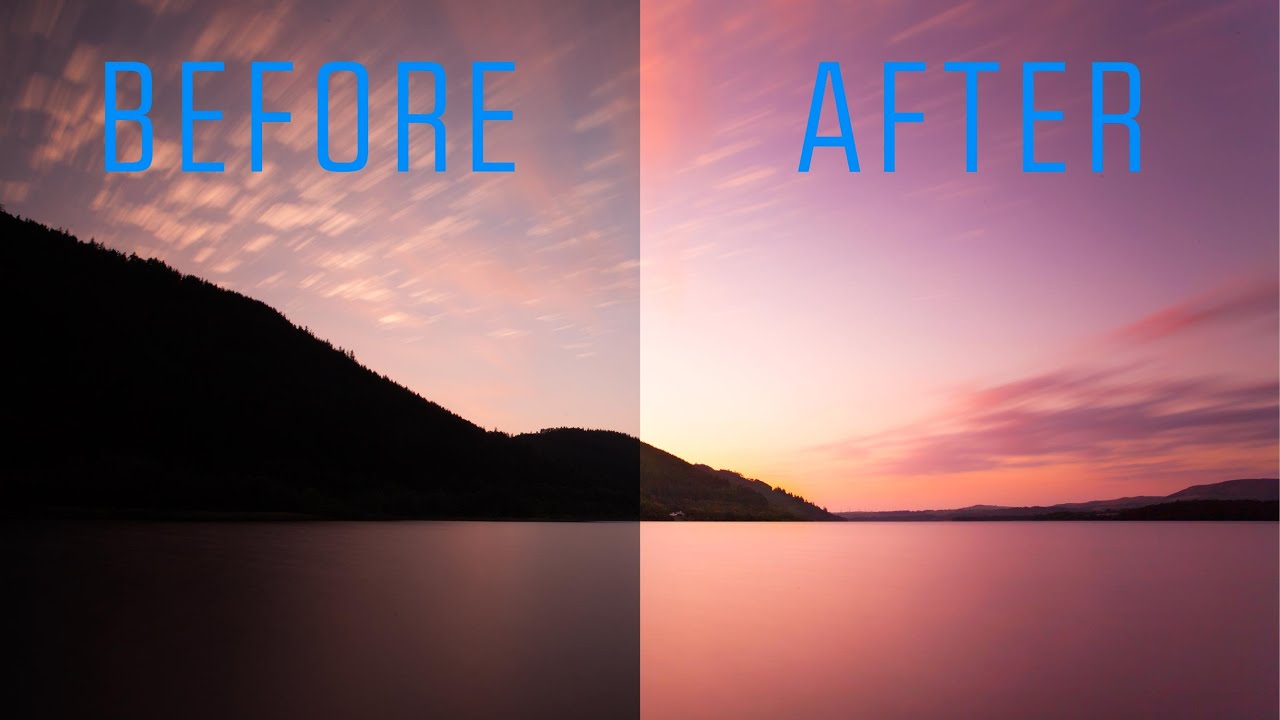
We’ve all been there. You’re out shooting, the light is doing something genuinely magical, you fire off the shot, and then you look at the back of the camera and feel your stomach drop. The exposure is off. Two stops under, maybe more. The moment is gone and you’re left with a dark, flat file that looks like it belongs in the trash.
I used to think those shots were just losses. Delete and move on. But the longer I’ve worked in Lightroom, the more I’ve come to believe that a well-exposed RAW file and a rescuable RAW file are closer together than most photographers think. In this First Man Photography tutorial, Adam walks through exactly how to bring one of those dark disasters back to life, using a long-exposure landscape shot from Bassenthwaite Lake in the UK as the subject. Watch the full tutorial on YouTube if you want to see the before and after side by side, because the transformation is genuinely satisfying.
The technique he uses isn’t a magic button. It’s a sequenced approach through Lightroom’s basic and masking tools that builds exposure back up from multiple directions at once. That layered strategy is what makes it work. Here’s how to do it.
Step 1: Fix the Lens Vignette Before You Do Anything Else
 Lens Corrections panel open, Profile Corrections enabled
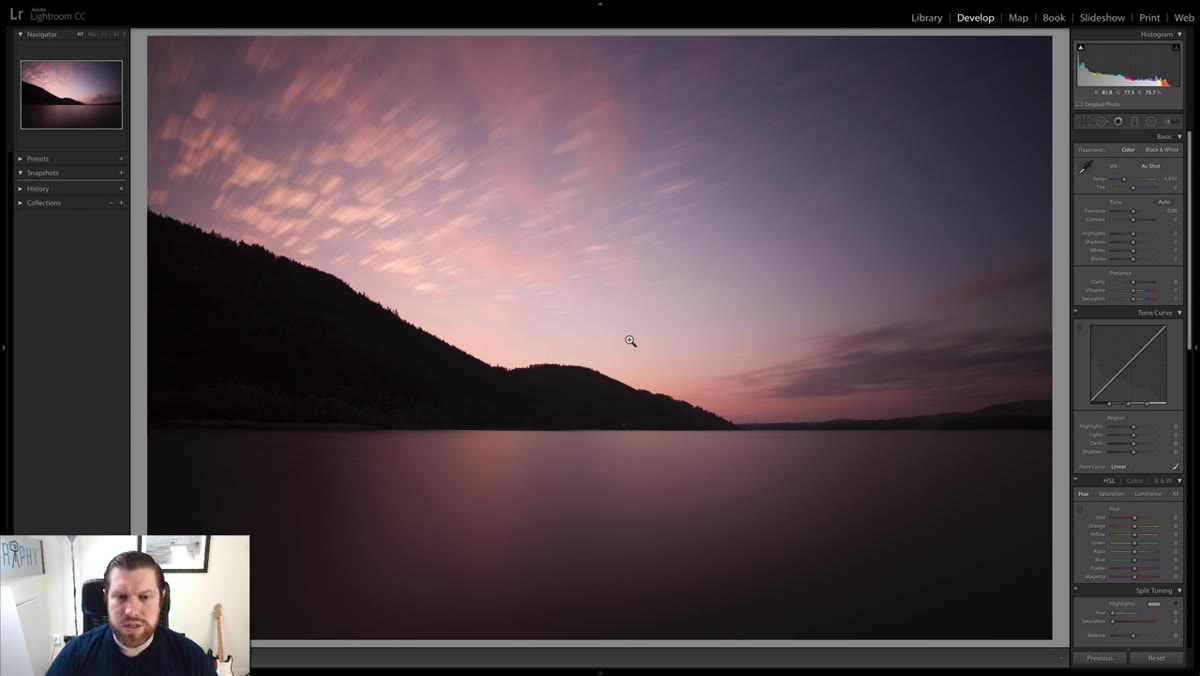
Before you touch any exposure sliders, scroll down to the Lens Corrections panel and enable Profile Corrections. This is especially important with underexposed images because a natural lens vignette, which you might barely notice in a well-exposed shot, becomes a heavy dark border when the image is already too dark. Adam’s fix here is specific: set Distortion Correction to 0 (you don’t need to warp the image, just address the vignette), then push the Vignetting correction slider up to 200. It won’t completely transform the image on its own, but you’re clearing the decks before the real work starts.
Lens Corrections panel open, Profile Corrections enabled
Before you touch any exposure sliders, scroll down to the Lens Corrections panel and enable Profile Corrections. This is especially important with underexposed images because a natural lens vignette, which you might barely notice in a well-exposed shot, becomes a heavy dark border when the image is already too dark. Adam’s fix here is specific: set Distortion Correction to 0 (you don’t need to warp the image, just address the vignette), then push the Vignetting correction slider up to 200. It won’t completely transform the image on its own, but you’re clearing the decks before the real work starts.
Step 2: Add Contrast to Restore Depth
 Basic panel, Contrast slider being dragged to around 34
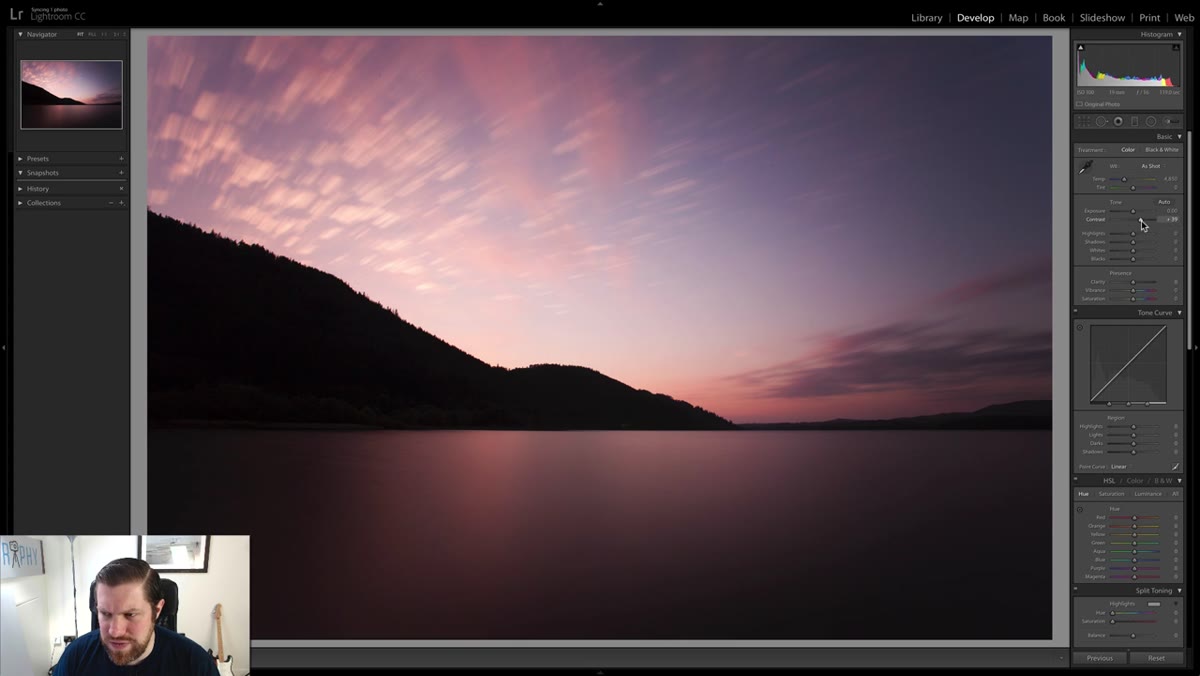
Once the lens profile is sorted, move up to the Basic panel. The instinct with an underexposed image is to immediately reach for the Exposure slider, but Adam deliberately holds off on that. Instead, he starts with Contrast, pushing it to around 34 or 35. When an image is underexposed, everything tends to collapse into a muddy mid-tone range. A contrast boost separates the tones, pulls detail out of the sky, and gives the image some visual backbone before you start pushing brightness up. Think of it as re-establishing the structure of the photo before you start adding light.
Basic panel, Contrast slider being dragged to around 34
Once the lens profile is sorted, move up to the Basic panel. The instinct with an underexposed image is to immediately reach for the Exposure slider, but Adam deliberately holds off on that. Instead, he starts with Contrast, pushing it to around 34 or 35. When an image is underexposed, everything tends to collapse into a muddy mid-tone range. A contrast boost separates the tones, pulls detail out of the sky, and gives the image some visual backbone before you start pushing brightness up. Think of it as re-establishing the structure of the photo before you start adding light.
Step 3: Balance Highlights and Shadows
 Highlights slider pulled down, Shadows slider increased
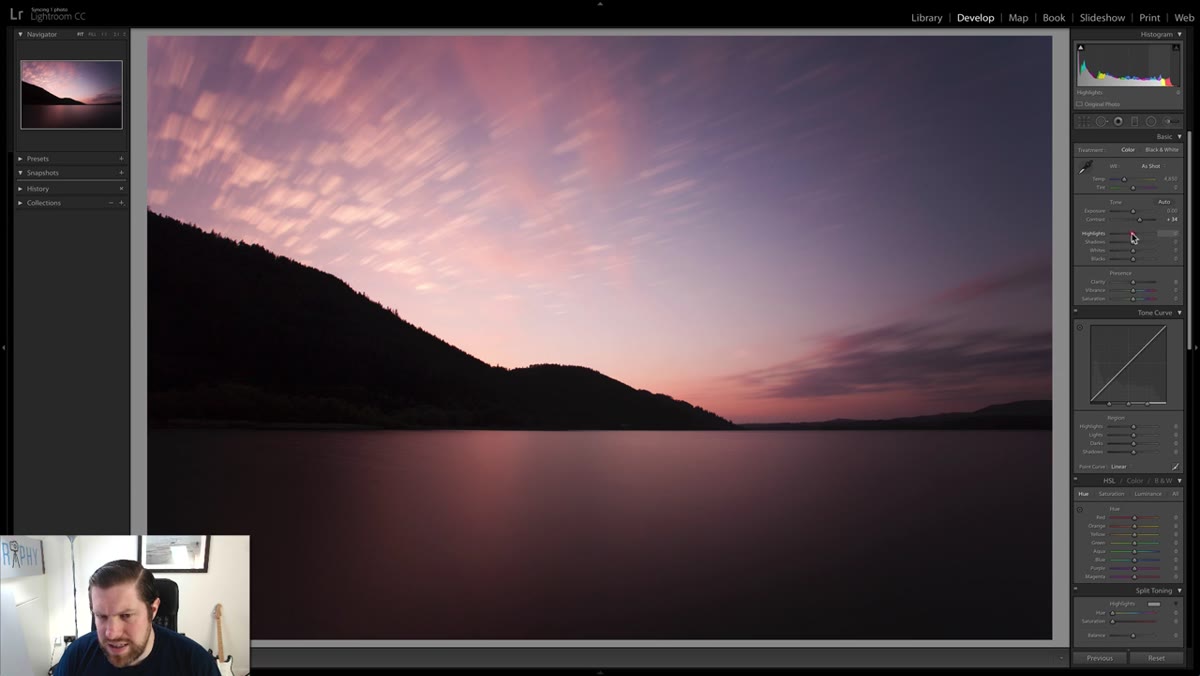
With contrast added, the image needs tonal balancing. Pull the Highlights slider down slightly, which protects the brighter areas of the sky and keeps the image from clipping once you start brightening everything else. Then push Shadows up to start coaxing detail out of the darker foreground areas. These two moves work together. You’re essentially compressing the tonal range just enough to make the next step, bringing overall brightness up, cleaner and more controlled. Don’t go extreme on either slider here. The goal is balance, not drama.
Highlights slider pulled down, Shadows slider increased
With contrast added, the image needs tonal balancing. Pull the Highlights slider down slightly, which protects the brighter areas of the sky and keeps the image from clipping once you start brightening everything else. Then push Shadows up to start coaxing detail out of the darker foreground areas. These two moves work together. You’re essentially compressing the tonal range just enough to make the next step, bringing overall brightness up, cleaner and more controlled. Don’t go extreme on either slider here. The goal is balance, not drama.
Step 4: Set the White Point Using the Histogram
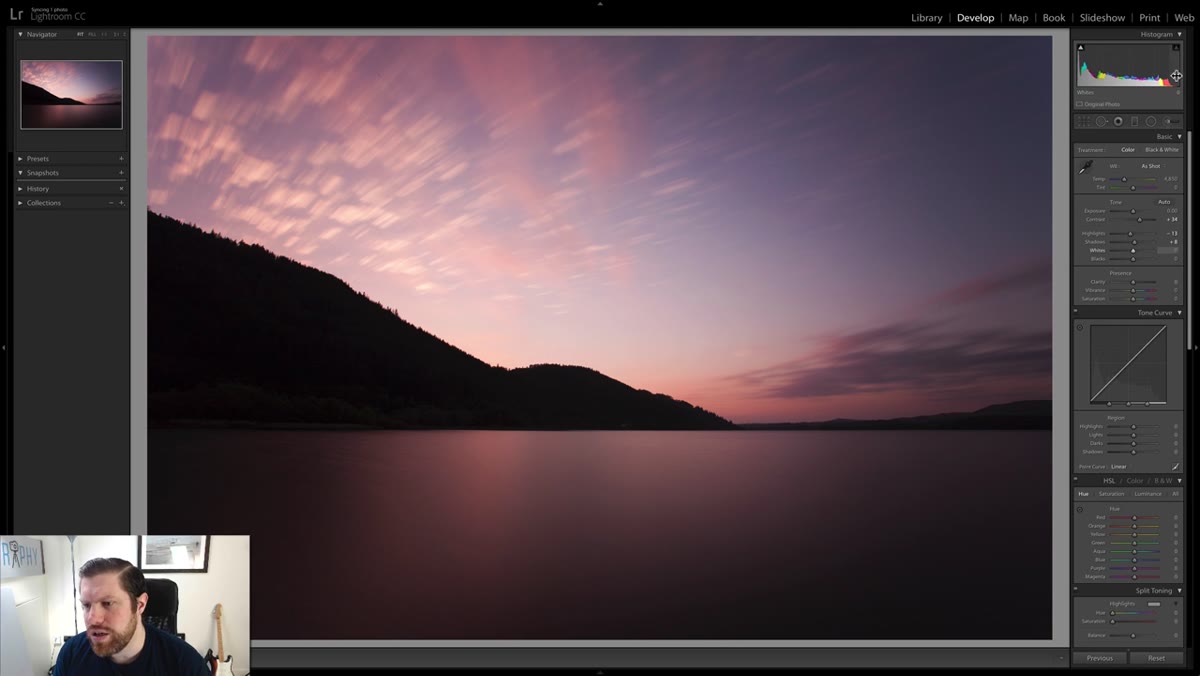 Whites slider being dragged while histogram edge is watched
This is the step that does the most lifting and it’s one I think a lot of people skip because they’re not watching the histogram closely enough. Drag the Whites slider to the right and keep your eye on the top-right corner of the histogram. You want to pull that slider up until the white edge of the histogram just kisses the right boundary without blowing out. For Adam’s image, that lands around 40. What this does is establish a true white anchor in the photo, which makes everything else look more correctly exposed by comparison. The image will look dramatically brighter after this single move.
Whites slider being dragged while histogram edge is watched
This is the step that does the most lifting and it’s one I think a lot of people skip because they’re not watching the histogram closely enough. Drag the Whites slider to the right and keep your eye on the top-right corner of the histogram. You want to pull that slider up until the white edge of the histogram just kisses the right boundary without blowing out. For Adam’s image, that lands around 40. What this does is establish a true white anchor in the photo, which makes everything else look more correctly exposed by comparison. The image will look dramatically brighter after this single move.
Step 5: Boost Vibrance and Saturation to Recover Color
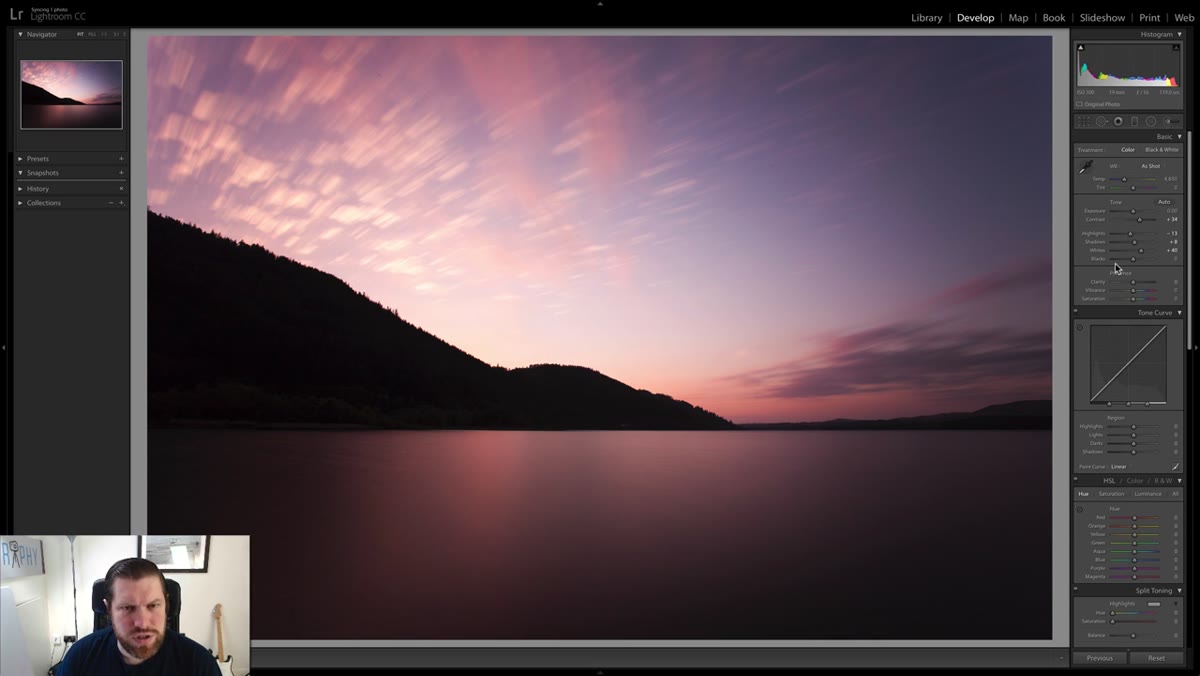 Vibrance slider pulled to 35, Saturation adjusted
Underexposed images don’t just lose light, they lose color. The saturation in a dark file reads as dull and murky even when there’s real color information buried in there. Adam brings Vibrance up to around 35 first, which is the smarter move because Vibrance protects skin tones and already-saturated colors while boosting the weaker hues. Then he nudges Saturation up a small amount on top of that. The word he uses is “natural,” and that’s the right target. You want the colors to look like what was actually there, not like someone cranked a filter up to maximum. Go slower than you think you need to here. It’s easy to overdo it and end up with something that looks fake.
Vibrance slider pulled to 35, Saturation adjusted
Underexposed images don’t just lose light, they lose color. The saturation in a dark file reads as dull and murky even when there’s real color information buried in there. Adam brings Vibrance up to around 35 first, which is the smarter move because Vibrance protects skin tones and already-saturated colors while boosting the weaker hues. Then he nudges Saturation up a small amount on top of that. The word he uses is “natural,” and that’s the right target. You want the colors to look like what was actually there, not like someone cranked a filter up to maximum. Go slower than you think you need to here. It’s easy to overdo it and end up with something that looks fake.
Step 6: Use a Gradient Mask to Lift the Foreground
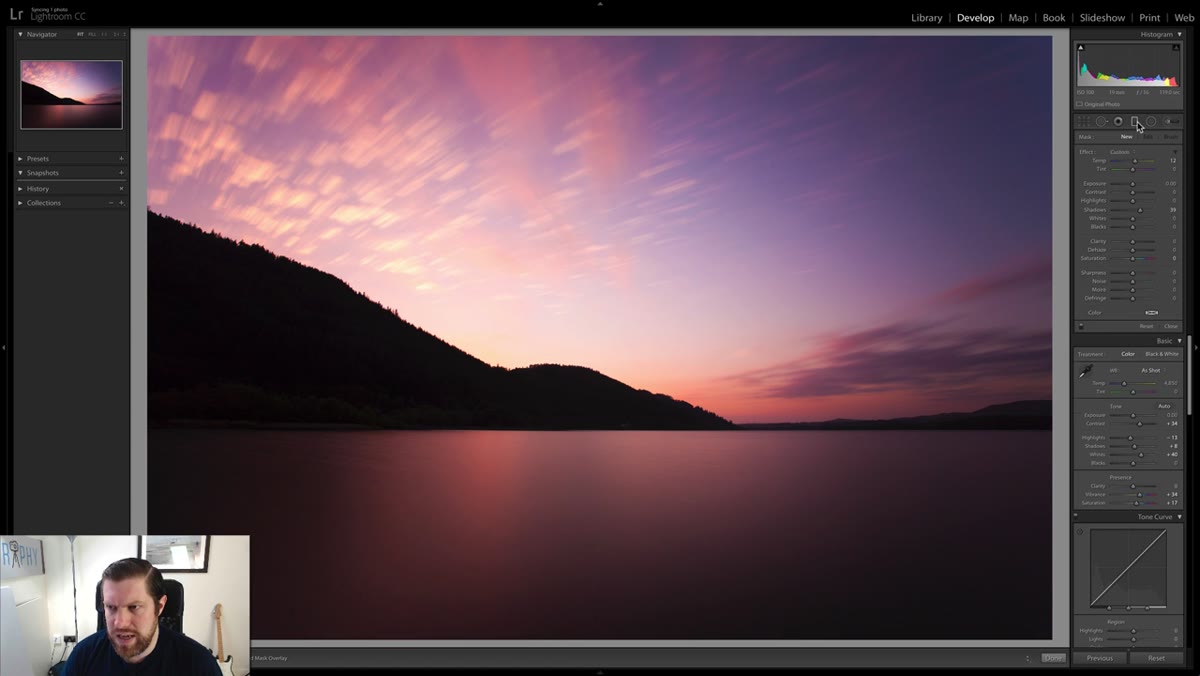 Gradient tool being drawn upward across foreground
This is where the recovery goes from decent to genuinely good. The Basic panel adjustments treat the whole image the same way, but a landscape shot has very different exposure needs in the foreground versus the sky. Adam adds a Gradient filter (found in the masking tools) drawn from the bottom of the frame upward to roughly the horizon line. Within that gradient, he boosts Exposure and Shadows specifically for the foreground area. This simulates what a physical graduated ND filter would have done in-camera, selectively brightening the ground without affecting the sky. The result is a much more balanced, three-dimensional image.
Gradient tool being drawn upward across foreground
This is where the recovery goes from decent to genuinely good. The Basic panel adjustments treat the whole image the same way, but a landscape shot has very different exposure needs in the foreground versus the sky. Adam adds a Gradient filter (found in the masking tools) drawn from the bottom of the frame upward to roughly the horizon line. Within that gradient, he boosts Exposure and Shadows specifically for the foreground area. This simulates what a physical graduated ND filter would have done in-camera, selectively brightening the ground without affecting the sky. The result is a much more balanced, three-dimensional image.
One Thing I’d Add: Check Your Noise Before You Export
When you’re pushing an underexposed RAW file this hard, noise is coming for you. Lifting shadows, increasing whites, and layering gradients on top of an already-dark file will amplify whatever digital noise was sitting quietly in those shadow areas. Before you export anything, zoom to 100% and take a look at the darker regions of the image. In Lightroom’s Detail panel, a Luminance Noise Reduction setting somewhere between 20 and 40 will usually clean things up without destroying texture. If you’re shooting at higher ISOs to begin with (my cat ISO is named after exactly this kind of situation), you may need to push that further. The new AI Denoise tool in Lightroom is genuinely impressive here and worth using if the noise is significant.
The single most important idea in this tutorial is that you don’t rescue an underexposed image with one big exposure correction. You layer multiple smaller adjustments, each one targeting a different tonal region, and the result is a recovery that looks intentional rather than desperate. A two-stop underexposure isn’t automatically a deleted file anymore.
Watch the full tutorial on YouTube to see Adam’s complete before and after, including how he handles the sky in the second gradient mask, which we didn’t have space to cover here.
Comments (1)
Love how you break down complex stuff into manageable steps.
Leave a Comment