There’s a specific kind of frustration that every working photographer knows. You come back from a shoot with 800 RAW files, you sit down to cull, and Lightroom moves like it’s running on dial-up. Every right-arrow keypress feels like a small act of patience. I used to put on a full record side just to get through the culling process without losing my mind. So when Adobe pushed significant speed improvements in October 2017 alongside a structural name change and a genuinely useful new masking tool, I paid attention.
In this Matt Kloskowski tutorial, Watch the full tutorial on YouTube, Matt walks through the changes that landed with the October 2017 Lightroom update. These aren’t cosmetic tweaks. The embedded preview option alone changed how I approach culling sessions, and the Range Mask is one of those features that makes you wonder how you lived without it. Here’s how each update works in practice.
Step 1: Understand the Name Change Before You Panic
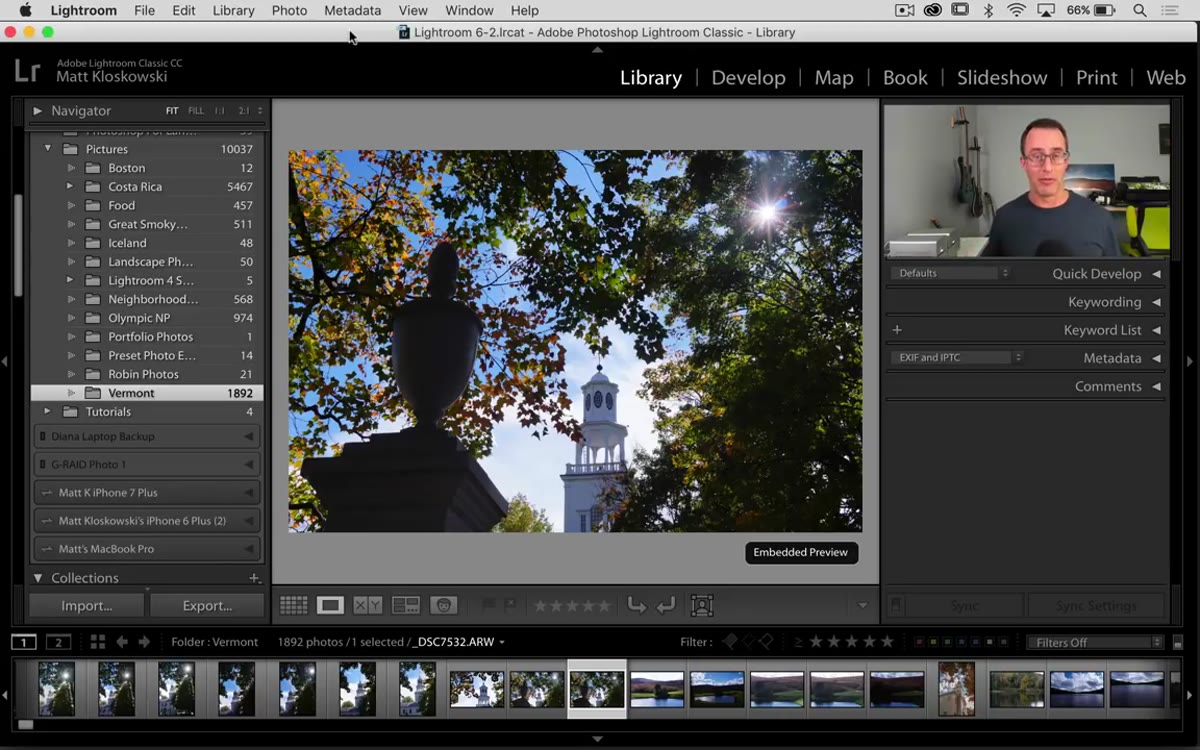 Lightroom Classic name displayed in menu or title bar
The Lightroom you’ve been using, the full desktop catalog-based application, is now called Lightroom Classic. There is no Lightroom 7. There is no Lightroom CC 2017 version of the old interface. Adobe split the product into two distinct things. Lightroom Classic is the desktop-first, catalog-based powerhouse you already know. The new Lightroom CC is a separate, cloud-first product aimed at a different kind of user.
Lightroom Classic name displayed in menu or title bar
The Lightroom you’ve been using, the full desktop catalog-based application, is now called Lightroom Classic. There is no Lightroom 7. There is no Lightroom CC 2017 version of the old interface. Adobe split the product into two distinct things. Lightroom Classic is the desktop-first, catalog-based powerhouse you already know. The new Lightroom CC is a separate, cloud-first product aimed at a different kind of user.
If you’re deep into a catalog workflow, nothing about your existing setup changes. Your catalogs, presets, and develop history all carry over. The rename is branding, not a rebuild. The actual updates that matter are under the hood and inside the tools.
Step 2: Switch to Embedded and Sidecar Previews at Import
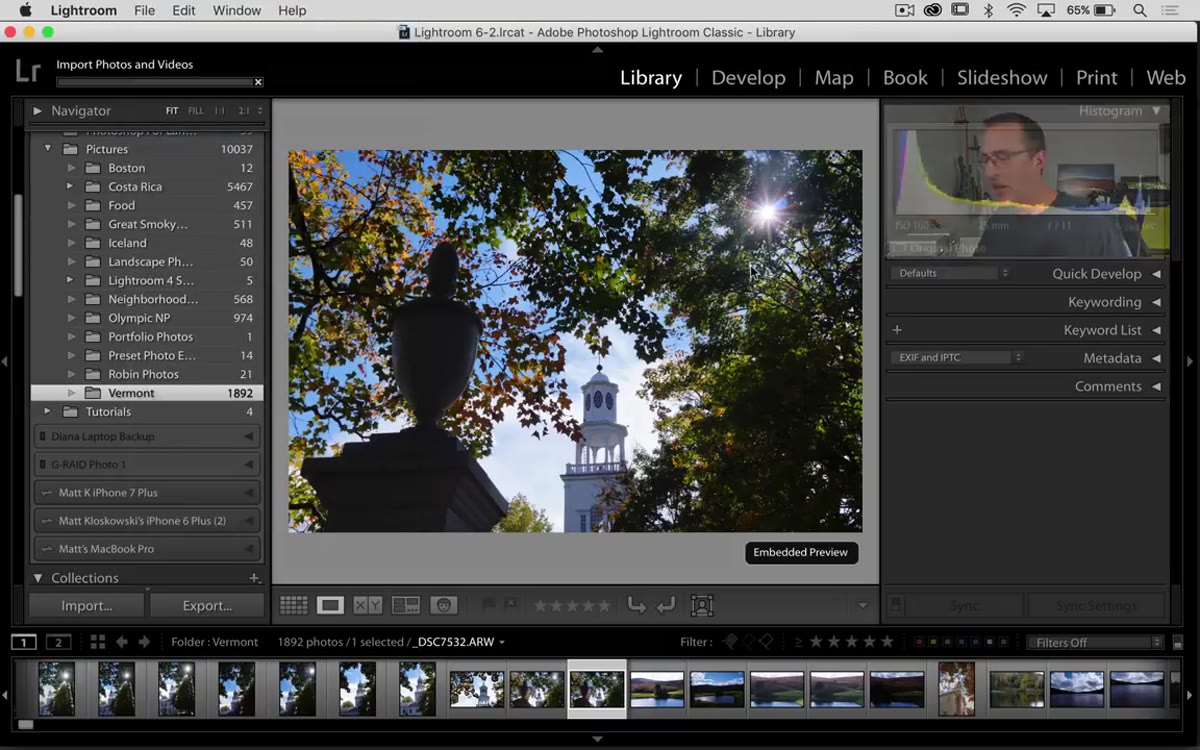 File menu open with Import option highlighted
Go to File, then Import. In the import dialog, look at the preview rendering options and select “Embedded and Sidecar.” This is the setting that unlocks the speed improvement during culling. Here’s why it works: every RAW file you shoot has a small JPEG baked directly into it by your camera. That JPEG is what programs like Photo Mechanic use to display images so fast they practically blur past you. Until now, Lightroom ignored that embedded JPEG and rendered its own interpretation of the RAW data from scratch, which is more accurate but significantly slower.
File menu open with Import option highlighted
Go to File, then Import. In the import dialog, look at the preview rendering options and select “Embedded and Sidecar.” This is the setting that unlocks the speed improvement during culling. Here’s why it works: every RAW file you shoot has a small JPEG baked directly into it by your camera. That JPEG is what programs like Photo Mechanic use to display images so fast they practically blur past you. Until now, Lightroom ignored that embedded JPEG and rendered its own interpretation of the RAW data from scratch, which is more accurate but significantly slower.
With this setting active, Lightroom pulls that embedded JPEG first and shows it to you immediately. You can fly through a shoot in the Library module at a speed that feels completely different from before. The tradeoff is minor: the embedded JPEG is already processed by your camera and tends to look punchier and more saturated than the flat RAW data Lightroom normally shows. You’re not making editing decisions at this stage anyway, so speed is the right priority here.
Step 3: Recognize the Embedded Preview Indicator
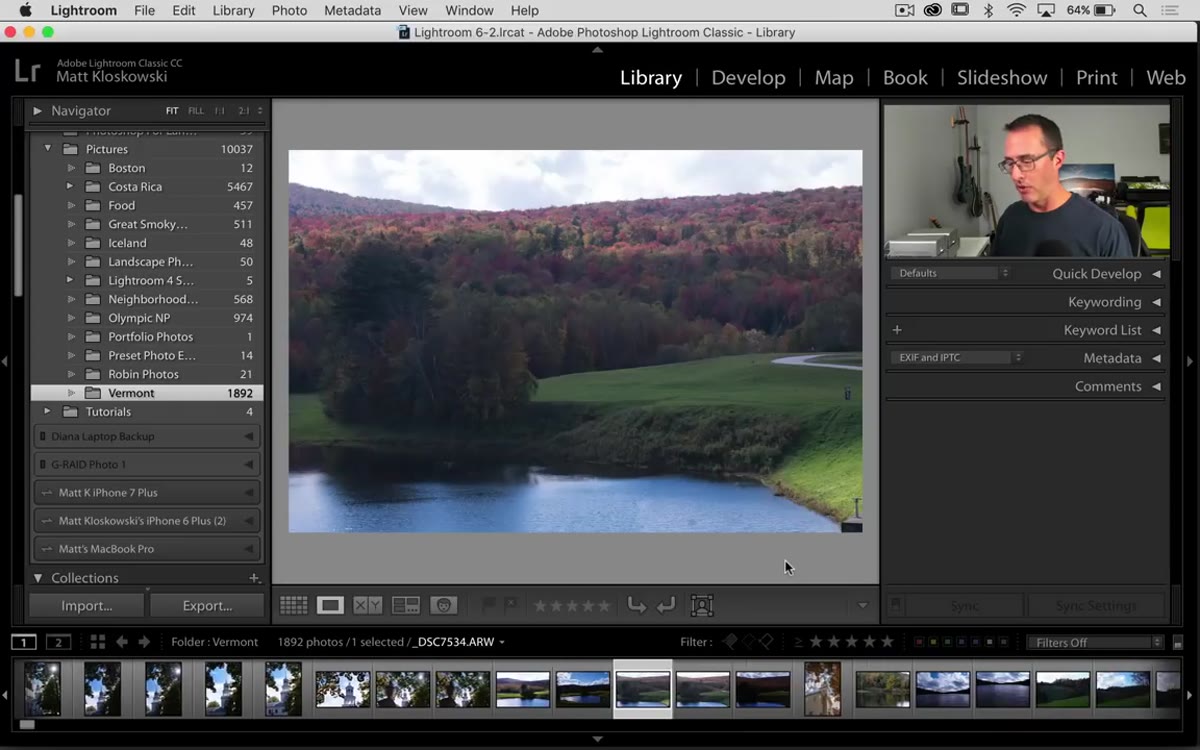 Embedded preview indicator visible in bottom of Library module
When you’re in the Library module moving through photos with the right-arrow key, watch the bottom of the screen. A small indicator appears showing that you’re looking at the embedded preview rather than the full Lightroom-rendered version. This is useful to know so you’re not confused if a photo looks different the moment you switch to the Develop module or click through to load the full RAW render.
Embedded preview indicator visible in bottom of Library module
When you’re in the Library module moving through photos with the right-arrow key, watch the bottom of the screen. A small indicator appears showing that you’re looking at the embedded preview rather than the full Lightroom-rendered version. This is useful to know so you’re not confused if a photo looks different the moment you switch to the Develop module or click through to load the full RAW render.
If you click on that indicator, Lightroom loads the standard RAW render and you’ll often see the image shift. It gets a little flatter, a little less punchy. That’s not a problem with your RAW file. That’s just the difference between the camera-processed JPEG and the unprocessed RAW data. From here you do your actual editing, and that flatness is exactly the dynamic range headroom you’re going to use.
Step 4: Open a Photo with a Challenging Sky in the Develop Module
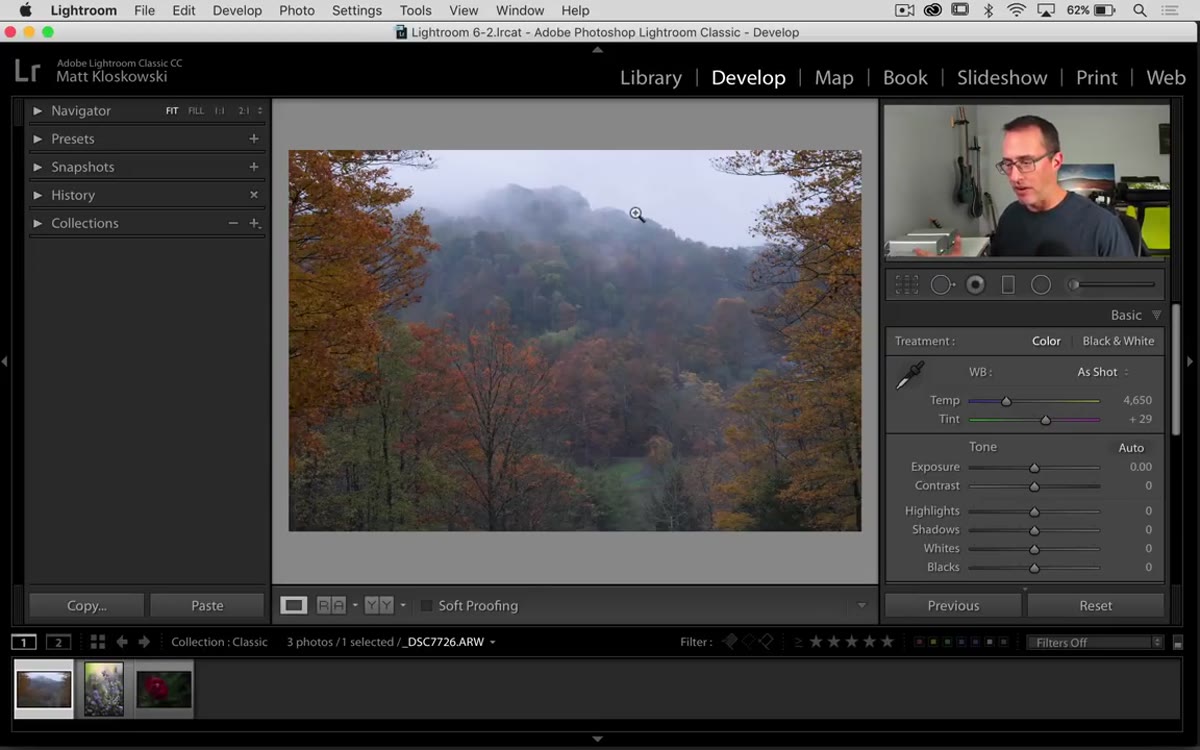 Photo with bright blown-out sky loaded in Develop module
Pull up any image where the sky is significantly brighter than the foreground. Landscape shots, outdoor portraits with open sky, architecture photos on a sunny day. These are the cases where the Graduated Filter, Radial Filter, or Adjustment Brush have always fallen a little short. You draw the mask, darken the sky, and the adjustment bleeds into the trees or buildings along the edge. Then you spend ten minutes painting the mask back with the brush. The Range Mask feature introduced in this update exists specifically to solve that problem.
Photo with bright blown-out sky loaded in Develop module
Pull up any image where the sky is significantly brighter than the foreground. Landscape shots, outdoor portraits with open sky, architecture photos on a sunny day. These are the cases where the Graduated Filter, Radial Filter, or Adjustment Brush have always fallen a little short. You draw the mask, darken the sky, and the adjustment bleeds into the trees or buildings along the edge. Then you spend ten minutes painting the mask back with the brush. The Range Mask feature introduced in this update exists specifically to solve that problem.
Step 5: Apply a Graduated Filter, Then Use the Range Mask
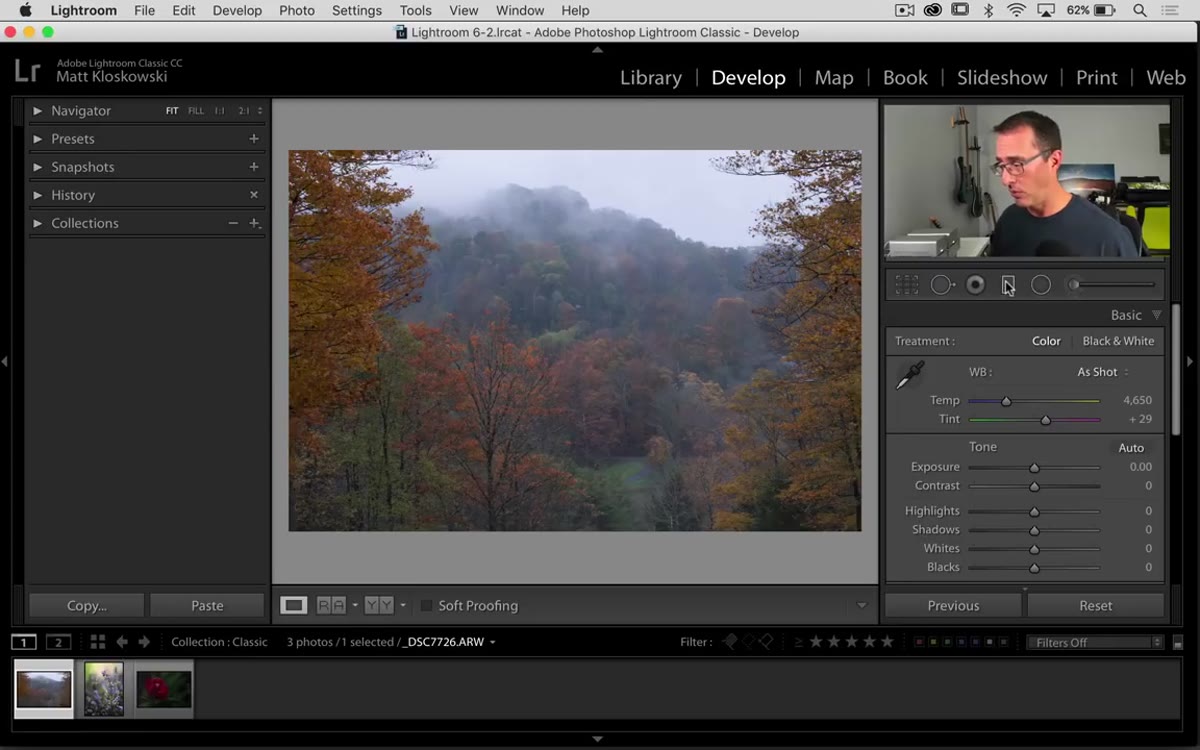 Graduated filter applied across sky with Range Mask panel visible
Draw a Graduated Filter across the top portion of your image to cover the sky. Reduce the Exposure to darken it, or boost the Dehaze slider to pull back detail. At this point the adjustment will hit everything inside that gradient, including any trees, mountains, or buildings that break into the upper frame. Now look at the bottom of the Graduated Filter panel. You’ll see a new option labeled “Range Mask.” Click the dropdown and select “Luminance.”
Graduated filter applied across sky with Range Mask panel visible
Draw a Graduated Filter across the top portion of your image to cover the sky. Reduce the Exposure to darken it, or boost the Dehaze slider to pull back detail. At this point the adjustment will hit everything inside that gradient, including any trees, mountains, or buildings that break into the upper frame. Now look at the bottom of the Graduated Filter panel. You’ll see a new option labeled “Range Mask.” Click the dropdown and select “Luminance.”
Lightroom will now constrain your Graduated Filter to only affect pixels within a specific luminance range. Use the luminance range sliders to target the bright sky values. The adjustment will pull back from the darker foreground elements automatically. What used to take manual brush corrections can now be handled in seconds. The Range Mask is also available inside the Radial Filter and the Adjustment Brush, so it works wherever you’re doing local adjustments.
Step 6: Dial In the Luminance Range Sliders
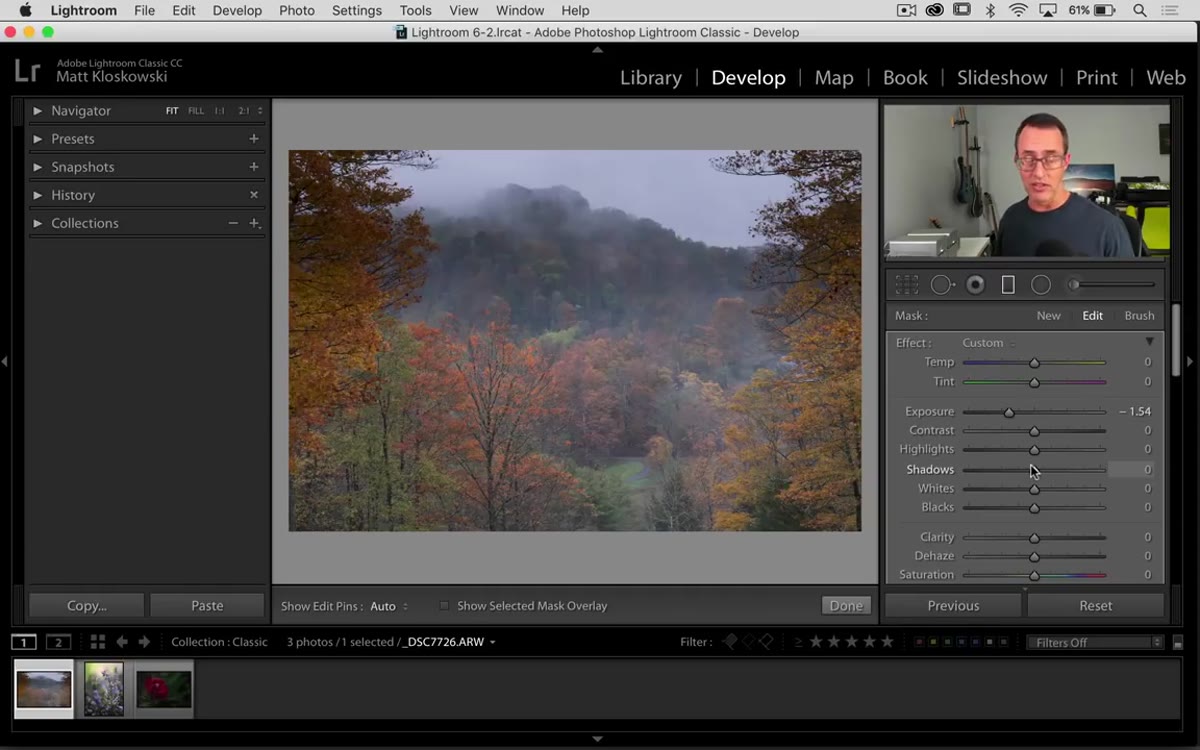 Luminance Range Mask sliders being adjusted in panel
The Range Mask luminance sliders define the brightest and darkest values your adjustment will touch. Drag the left slider right to raise the minimum luminance threshold and stop the adjustment from affecting darker areas of the frame. Drag the right slider left to cap the maximum if you need to avoid clipping. There’s also a Smoothness slider that controls how hard or soft the transition is at the edges of your luminance range. A value around 50 is a reasonable starting point. Push it higher if you want a gradual blend, lower if you want a hard cutoff.
Luminance Range Mask sliders being adjusted in panel
The Range Mask luminance sliders define the brightest and darkest values your adjustment will touch. Drag the left slider right to raise the minimum luminance threshold and stop the adjustment from affecting darker areas of the frame. Drag the right slider left to cap the maximum if you need to avoid clipping. There’s also a Smoothness slider that controls how hard or soft the transition is at the edges of your luminance range. A value around 50 is a reasonable starting point. Push it higher if you want a gradual blend, lower if you want a hard cutoff.
The practical effect is that your sky adjustment stays in the sky. The forest line, the rooftop, the person’s shoulder at the frame edge. none of it gets crushed by the filter. This is especially useful when shooting during golden hour, when the luminance difference between sky and foreground is enormous.
A Note From My Own Workflow
I started using the Range Mask almost immediately after this update dropped, and the place it really earned its keep for me was concert photography. Stage lighting creates these brutal contrast situations where a Graduated Filter or a Radial Filter almost always clips into the performer or the crowd. The Luminance Range Mask lets me target the blown-out practical lights in the background without touching the faces in the midground. It’s not magic, but it cuts down the masking time on a complex edit by more than half.
The embedded preview change is the other update I’d push anyone to adopt without hesitation. If you’re culling more than a few hundred images at a time, the speed difference is real. It’s the kind of improvement that doesn’t show up in a feature list but changes how the whole session feels.
The single most important thing to take away from this update is that Adobe didn’t just rename something and call it a day. The Range Mask shifted local adjustment work from a tedious manual process to something you can dial in with two sliders. If you haven’t explored it yet, start with a landscape or a backlit portrait and apply a Graduated Filter with Luminance Range Mask enabled. You’ll understand immediately why it mattered.
Watch the full tutorial on YouTube to see Matt walk through each of these features with live examples.
Comments (2)
Would love to see a follow-up going deeper into this topic.
Well explained. I think my audience would really benefit from this — mind if I link to it?
Leave a Comment