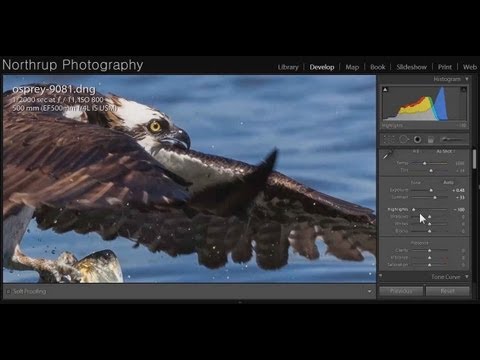
Every photographer I know has the same problem: a memory card full of 300+ shots from one session, a vague intention to “edit those later,” and a folder that never gets touched again. I fell into this exact trap when I was editing press photos for my band on zero budget, learning Lightroom by trial and error with no system whatsoever. The editing wasn’t the hard part. The chaos before the editing was.
That’s what makes this Tony & Chelsea Northrup tutorial worth your time. Watch the full tutorial on YouTube - it’s built around something most beginner tutorials skip entirely: deciding what’s worth editing before you touch a single slider. Tony shoots wildlife at the beach, comes home with 388 frames, and walks through his actual decision-making process from import to a polished final image. It’s the kind of workflow content that sticks because you can watch him make real judgment calls on real photos.
What I pulled from this tutorial reshaped the front end of my entire editing process. Here’s the full walkthrough.
Step 1: Import Your Photos Into Lightroom
 Lightroom interface shown with imported photo grid visible
Lightroom isn’t just an editor. It’s a photo management system that pulls images directly from your camera or memory card, copies them to your computer, and catalogs everything in one place. When you first open it after import, you land in the Library module where your photos appear as a grid of thumbnails. Tony comes in with 388 shots from a single osprey-shooting session at the beach, which sounds like a lot until you realize that’s a pretty normal haul for any serious shoot with moving subjects. The goal from this point forward is not to edit all 388. The goal is to find the two or three that are actually worth your time.
Lightroom interface shown with imported photo grid visible
Lightroom isn’t just an editor. It’s a photo management system that pulls images directly from your camera or memory card, copies them to your computer, and catalogs everything in one place. When you first open it after import, you land in the Library module where your photos appear as a grid of thumbnails. Tony comes in with 388 shots from a single osprey-shooting session at the beach, which sounds like a lot until you realize that’s a pretty normal haul for any serious shoot with moving subjects. The goal from this point forward is not to edit all 388. The goal is to find the two or three that are actually worth your time.
Step 2: Use the Star Rating System to Cull Ruthlessly
 Star rating bar shown at bottom of a single photo view
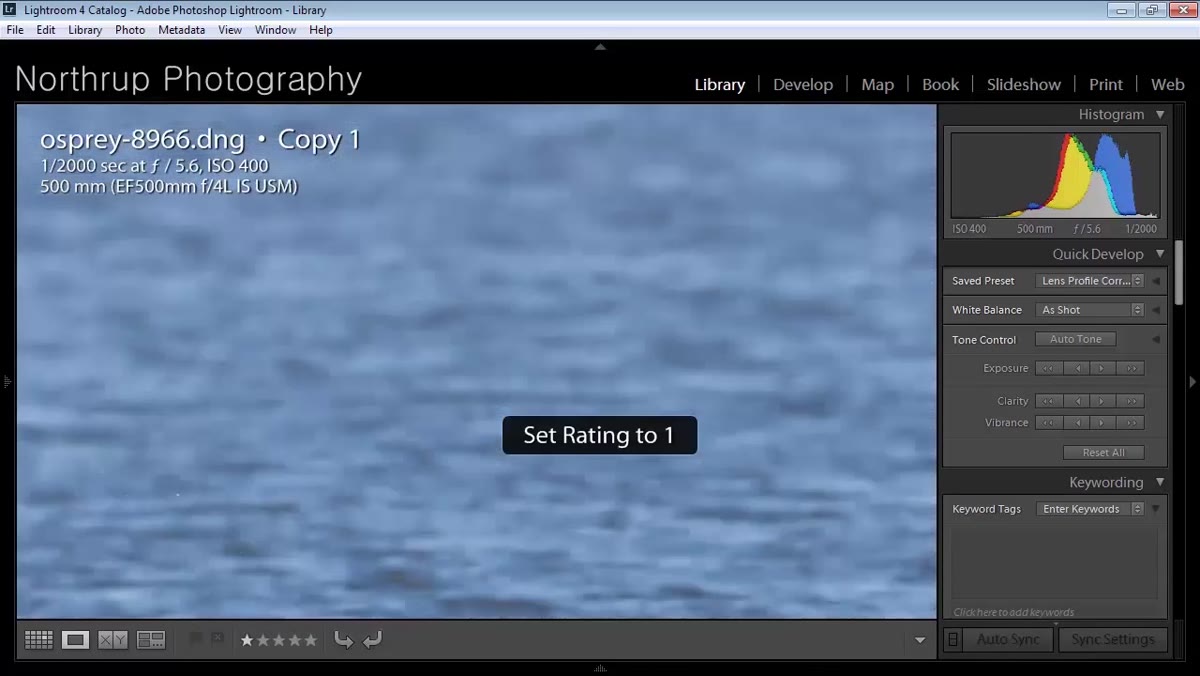
The rating system in Lightroom runs from one to five stars, and Tony uses each tier with a specific intent. One star means the photo is going to be deleted. Two stars means it’s not a strong image but it has sentimental value and stays in the catalog. Three stars means it’s technically acceptable, in focus, but not exceptional. Four stars is a genuinely good shot you might actually use. Five stars is portfolio-level work. Most photographers I’ve talked to either ignore ratings entirely or use them inconsistently. Giving each tier a clear definition like this makes the culling pass much faster because you’re not second-guessing yourself on every frame.
Star rating bar shown at bottom of a single photo view
The rating system in Lightroom runs from one to five stars, and Tony uses each tier with a specific intent. One star means the photo is going to be deleted. Two stars means it’s not a strong image but it has sentimental value and stays in the catalog. Three stars means it’s technically acceptable, in focus, but not exceptional. Four stars is a genuinely good shot you might actually use. Five stars is portfolio-level work. Most photographers I’ve talked to either ignore ratings entirely or use them inconsistently. Giving each tier a clear definition like this makes the culling pass much faster because you’re not second-guessing yourself on every frame.
Step 3: Use Keyboard Shortcuts to Speed Up the Cull
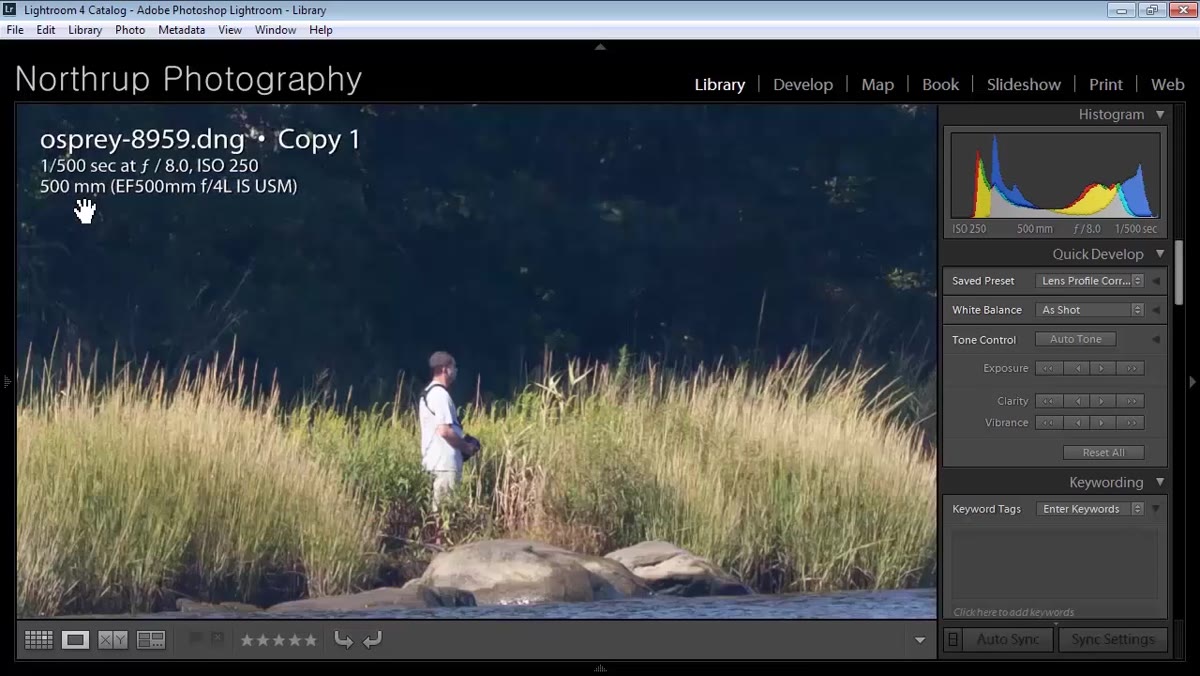
 Single photo view with keyboard shortcut number rating being applied
The keyboard shortcut workflow here is simple and fast. You press a number between 1 and 5 to assign a rating, then hit the right arrow key to advance to the next photo. That’s it. No mouse movement, no clicking around the interface. When you’re working through hundreds of images, that small efficiency compounds quickly. Tony moves through his seagull shots at full speed, assigning ones without breaking stride, and you can see in real time how much faster this is than any click-based approach. If you’ve never set up keyboard shortcuts in Lightroom before, this is the one habit worth building on day one.
Single photo view with keyboard shortcut number rating being applied
The keyboard shortcut workflow here is simple and fast. You press a number between 1 and 5 to assign a rating, then hit the right arrow key to advance to the next photo. That’s it. No mouse movement, no clicking around the interface. When you’re working through hundreds of images, that small efficiency compounds quickly. Tony moves through his seagull shots at full speed, assigning ones without breaking stride, and you can see in real time how much faster this is than any click-based approach. If you’ve never set up keyboard shortcuts in Lightroom before, this is the one habit worth building on day one.
Step 4: Zoom In to Check Sharpness Before Committing to a Rating
 Zoomed-in view of osprey shot checking for sharpness
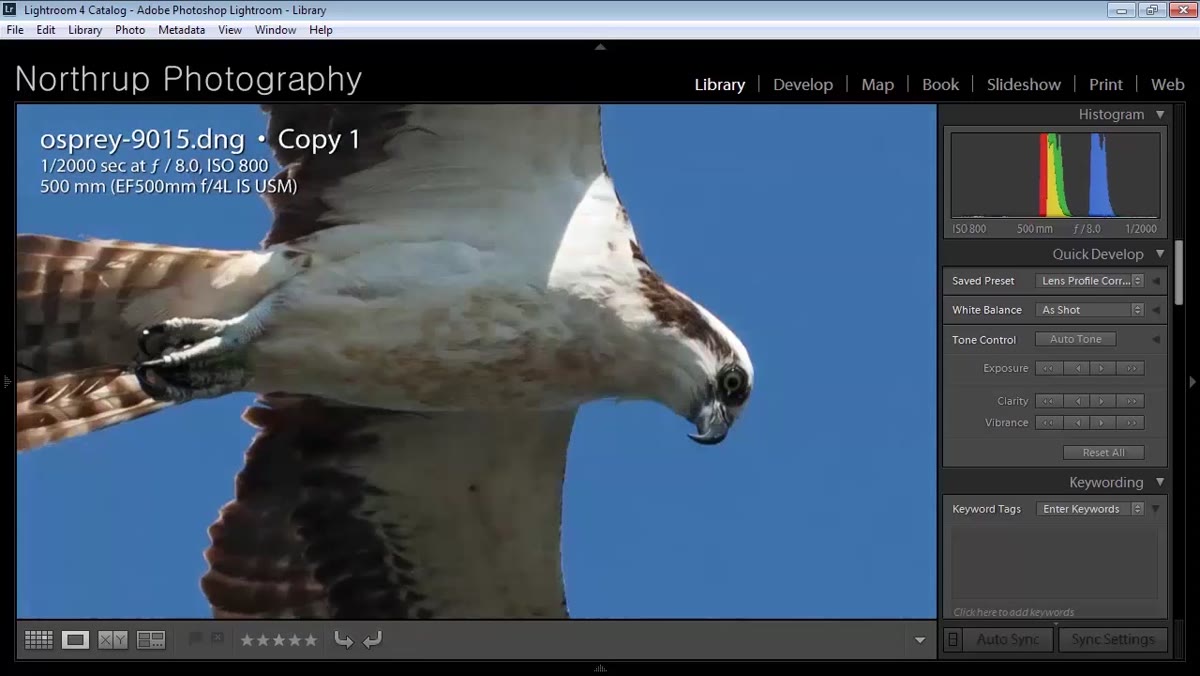
Before you assign a high rating to any shot, zoom in and check sharpness on the subject’s critical details. For wildlife, that’s usually the eye. For portraits, same rule applies. Tony pulls up a frame of an osprey in flight that looks promising at thumbnail size, then zooms in to confirm the detail is actually there. If the eye is in shadow, if the feathers are motion-blurred, if the focus landed on the wrong plane, it’s a one regardless of how good the composition looks at a distance. This sounds harsh, but it’s the right call. You want your four- and five-star folders to be trustworthy.
Zoomed-in view of osprey shot checking for sharpness
Before you assign a high rating to any shot, zoom in and check sharpness on the subject’s critical details. For wildlife, that’s usually the eye. For portraits, same rule applies. Tony pulls up a frame of an osprey in flight that looks promising at thumbnail size, then zooms in to confirm the detail is actually there. If the eye is in shadow, if the feathers are motion-blurred, if the focus landed on the wrong plane, it’s a one regardless of how good the composition looks at a distance. This sounds harsh, but it’s the right call. You want your four- and five-star folders to be trustworthy.
Step 5: When You Have Near-Duplicate Shots, Pick One and Move On
 Two similar osprey flight shots shown side by side for comparison
Wildlife and sports photographers end up with clusters of nearly identical frames all the time because burst shooting is how you catch the peak moment. Tony’s approach is direct: flip between the two frames, identify which one is marginally better, give that one a higher rating, and give the other a one so it gets deleted. He’s not trying to keep both because there’s no reason to keep both. The better shot is the better shot. One thing I’ve added to my own version of this process is using Lightroom’s Survey mode (shortcut: N) to line up three or four similar shots at once, which makes the comparison even faster than flipping back and forth.
Two similar osprey flight shots shown side by side for comparison
Wildlife and sports photographers end up with clusters of nearly identical frames all the time because burst shooting is how you catch the peak moment. Tony’s approach is direct: flip between the two frames, identify which one is marginally better, give that one a higher rating, and give the other a one so it gets deleted. He’s not trying to keep both because there’s no reason to keep both. The better shot is the better shot. One thing I’ve added to my own version of this process is using Lightroom’s Survey mode (shortcut: N) to line up three or four similar shots at once, which makes the comparison even faster than flipping back and forth.
Step 6: Filter Your Library Down to Your Best Shots
 Grid view showing filtered lower-rated photos being narrowed down
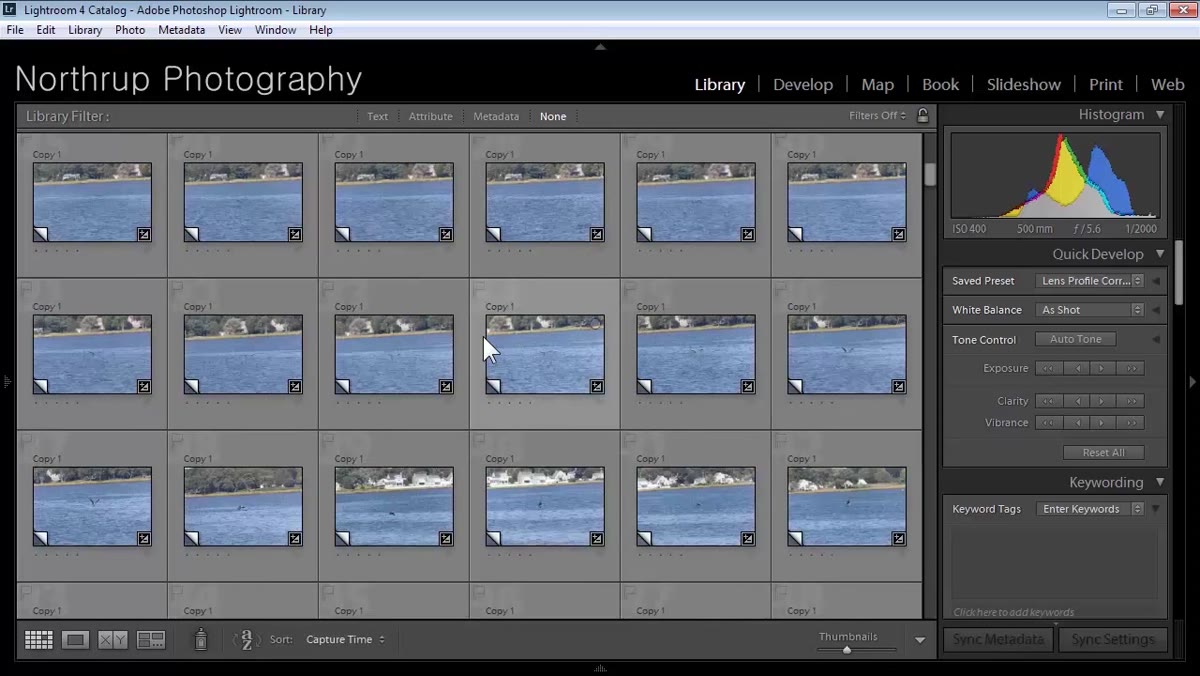
Once you’ve worked through all your frames and assigned ratings, use the filter bar at the top of the grid in Library view to show only four- and five-star images. You’ll go from hundreds of thumbnails to maybe a dozen. That’s the set you actually edit. Everything below that threshold gets deleted or archived. Tony goes from 388 frames down to a small handful of keepers, which is normal for a day of shooting fast-moving subjects. The photos you never edit don’t count. A great shot sitting buried in an unfiltered folder of 400 might as well not exist.
Grid view showing filtered lower-rated photos being narrowed down
Once you’ve worked through all your frames and assigned ratings, use the filter bar at the top of the grid in Library view to show only four- and five-star images. You’ll go from hundreds of thumbnails to maybe a dozen. That’s the set you actually edit. Everything below that threshold gets deleted or archived. Tony goes from 388 frames down to a small handful of keepers, which is normal for a day of shooting fast-moving subjects. The photos you never edit don’t count. A great shot sitting buried in an unfiltered folder of 400 might as well not exist.
What I’d Add: Post-Editing Is Part of the Learning Loop
One point Tony makes early in the tutorial that I think deserves more attention: editing is part of how you become a better shooter. When you go back into Lightroom and fix a white balance problem or crop away empty space, you’re also giving yourself information about what went wrong at capture. I keep a rough note in my phone’s notes app after each editing session, just a few words about what patterns I saw across the day’s rejects. Consistently soft shots mean I need to watch my shutter speed. Constant crops mean I’m not getting close enough. The edit session is diagnostic. Use it that way.
The single most important takeaway from Tony’s tutorial is this: you don’t improve your edit by editing more photos. You improve it by editing fewer, better-chosen ones. Build the habit of culling first, rating with intention, and letting go of the almost-good shots. That discipline is what separates a folder you’re proud of from a folder you avoid opening.
Watch the full tutorial on YouTube to see Tony walk through the full Lightroom interface, including the develop module adjustments he makes after culling.
Comments
Leave a Comment