Lightroom’s masking tools have transformed how targeted edits work. What used to require careful brushwork or a trip to Photoshop can now be done with a single click. The AI-powered selections are fast, accurate, and genuinely useful once you understand their strengths and limitations.
The AI Selection Tools
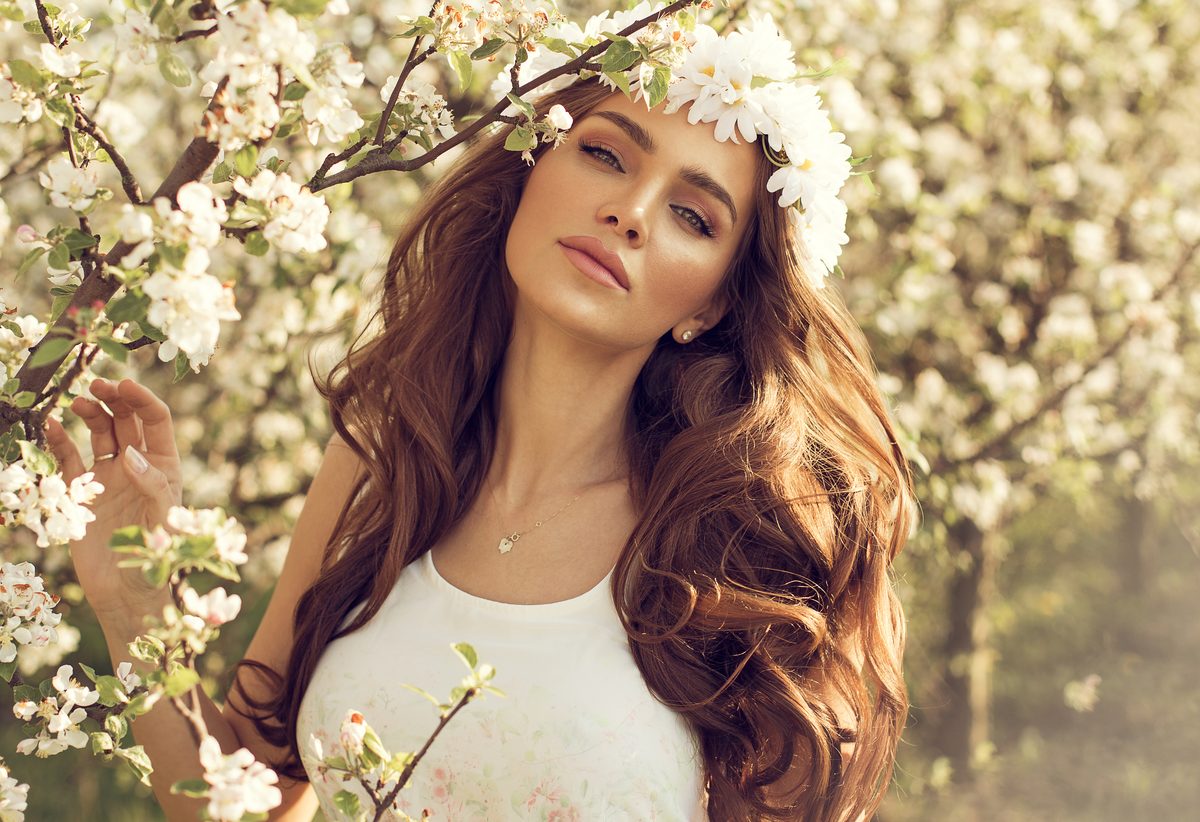
Select Subject
Click “Select Subject” and Lightroom’s AI identifies and masks the primary subject — usually a person, animal, or prominent object. The accuracy is impressive, especially with well-defined subjects against distinct backgrounds.
Works best for: Portraits, wildlife, and product photos where the subject is clearly separated from the background.
Common use: Brighten the subject, add clarity, warm skin tones, or adjust exposure independently from the background.
Select Sky
One click selects the sky, including complex edges around trees, buildings, and irregular horizon lines. The selection is remarkably precise at detecting where sky ends and foreground begins.
Works best for: Landscape and architectural photos with visible sky.
Common use: Darken an overexposed sky, add blue saturation, increase contrast in clouds, or warm a sunset without affecting the foreground.
Select People
The newest addition detects people in the image and lets you target specific body regions: skin, hair, clothing, body, face skin, eye sclera, iris, lips, and teeth. Each region gets its own adjustable mask.
Works best for: Portraits where you want to adjust specific features without affecting others.
Common use: Brighten eyes, smooth skin, enhance lip color, whiten teeth — all without leaving Lightroom.
The Manual Tools (Still Essential)
AI selections are starting points, not finished masks. You’ll often combine them with manual tools.
Linear Gradient
Creates a gradual transition from full effect to no effect along a straight line. Essential for darkening skies, brightening foregrounds, or adding directional light effects.
Radial Gradient
Creates a circular or elliptical gradient. Perfect for spotlighting a subject, creating vignettes, or brightening a specific area.
Brush
Paint the mask manually. Use this for fine-tuning AI selections — adding areas the AI missed or subtracting areas it incorrectly included.
Combining Masks
The real power of Lightroom masking is combining multiple selection methods:
Intersect: Select sky AND use a gradient to only affect the upper portion of the sky. This lets you darken the top of the sky more than the horizon line.
Subtract: Select subject, then subtract the brush from specific areas. Maybe you want to brighten the subject but not their dark clothing.
Add: Select sky, then add a brush to include reflections in water that the sky selection missed.
To intersect, click the mask, hold Alt/Option, and add a new selection method. The result only applies where both selections overlap.
Practical Recipes
Recipe 1: Make Subject Pop
- Select Subject
- Increase Exposure +0.3, Clarity +15, Whites +10
- Duplicate the mask and invert it (now selecting everything except the subject)
- Decrease Exposure -0.3, decrease Saturation -10
This brightens the subject while slightly darkening and desaturating the background, creating professional-looking subject separation.
Recipe 2: Dramatic Sky
- Select Sky
- Decrease Exposure -0.5 to -1.0
- Increase Contrast +20, Clarity +25
- Increase Saturation +10 to +15
- Optionally shift Temperature slightly warm for golden hour or cool for dramatic storms
Recipe 3: Portrait Skin and Eyes
- Select People > Face Skin
- Decrease Clarity -15 to -25 (subtle skin smoothing)
- Decrease Texture -10 to -15
- Create a new mask: Select People > Iris and Pupil
- Increase Exposure +0.3, Clarity +20, Saturation +10
Recipe 4: Light Falloff Vignette
- Create a Radial Gradient centered on your subject
- Invert it (so the effect applies outside the radial)
- Decrease Exposure -0.4, decrease Highlights -20
- Feather to 80-100% for a gentle transition
Limitations to Know
The AI selections occasionally struggle with:
- Complex hair against busy backgrounds
- Transparent or semi-transparent objects (glass, veils)
- Multiple overlapping subjects
- Low-contrast scenes where the subject blends into the background
When the AI mask has rough edges, use the Brush tool to refine. Zoom to 100%, select “Subtract” in the mask options, and carefully paint away the problem areas.
Comments (4)
Tried the first three steps and already saw improvement. Can't wait to nail the rest.
Love how you break this into manageable steps instead of one giant wall of text.
I keep coming back to this article. It's become my go-to reference.
This is exactly what I needed. Bookmarked for future reference.
Leave a Comment