
I’ll be honest with you. For years I told anyone who asked that Lightroom Classic was the only serious option. The newer Lightroom, the one Adobe just calls “Lightroom,” felt like a stripped-down cloud toy built for people who edit on iPads. I had strong feelings about this. I still have strong feelings about a lot of things in this industry. But a recent tutorial by Matt Kloskowski shifted my thinking on at least a few of those points, and when something changes my mind, I figure it’s worth writing about.
Watch the full tutorial on YouTube
In this Matt Kloskowski tutorial, he walks through five features in the modern Lightroom app that tend to slip past even experienced users. The whole thing runs at a tight pace with no fluff, which I respect. What caught my attention immediately was the very first feature he covers, the Local tab, because it directly addresses the complaint I have had about this version of Lightroom since Adobe first launched it. The complaint is simple: I do not want to import everything into a catalog just to browse and make a quick edit. That friction is what kept me bouncing between Bridge and Camera Raw for years longer than I probably should have.
If you have been sleeping on this version because it used to be cloud-only and that felt limiting, some things have changed. Here is what Kloskowski covers, broken down so you can follow along without pausing and rewinding every thirty seconds.
Step 1: Find the Local Tab and Understand What It Actually Does
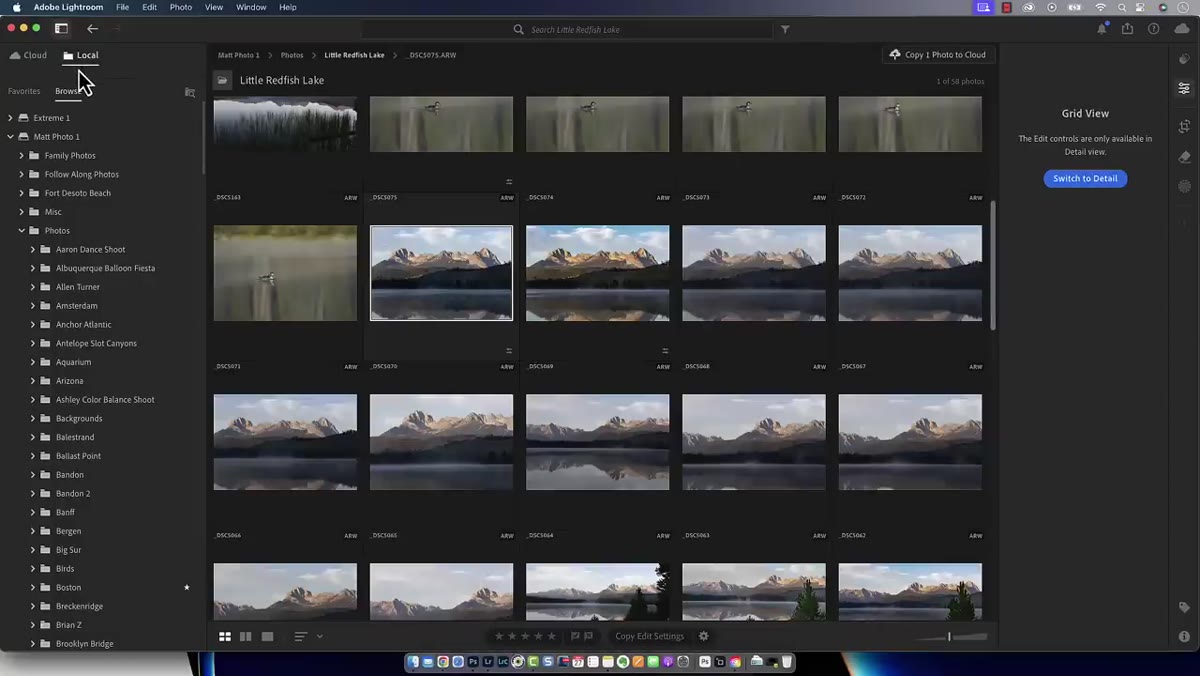 Local tab selected in Lightroom navigation panel
The Local tab was added to Lightroom at the end of 2023, and if you have not opened the app in a while it might genuinely surprise you. When you click it, you see your connected hard drives listed out, including your internal drive and any external drives you have plugged in. You can star folders to mark them as favorites, so your most-used directories stay surfaced at the top.
Local tab selected in Lightroom navigation panel
The Local tab was added to Lightroom at the end of 2023, and if you have not opened the app in a while it might genuinely surprise you. When you click it, you see your connected hard drives listed out, including your internal drive and any external drives you have plugged in. You can star folders to mark them as favorites, so your most-used directories stay surfaced at the top.
What this means practically is that Lightroom is now functioning as a visual file browser, similar to how Finder works on a Mac or File Explorer works on Windows, except with the full editing panel sitting right there on the right side. You are not importing anything. You are not building a catalog entry. You are just pointing the app at a folder and asking it to show you what is inside.
Step 2: Browse Without Importing, Edit Without Committing
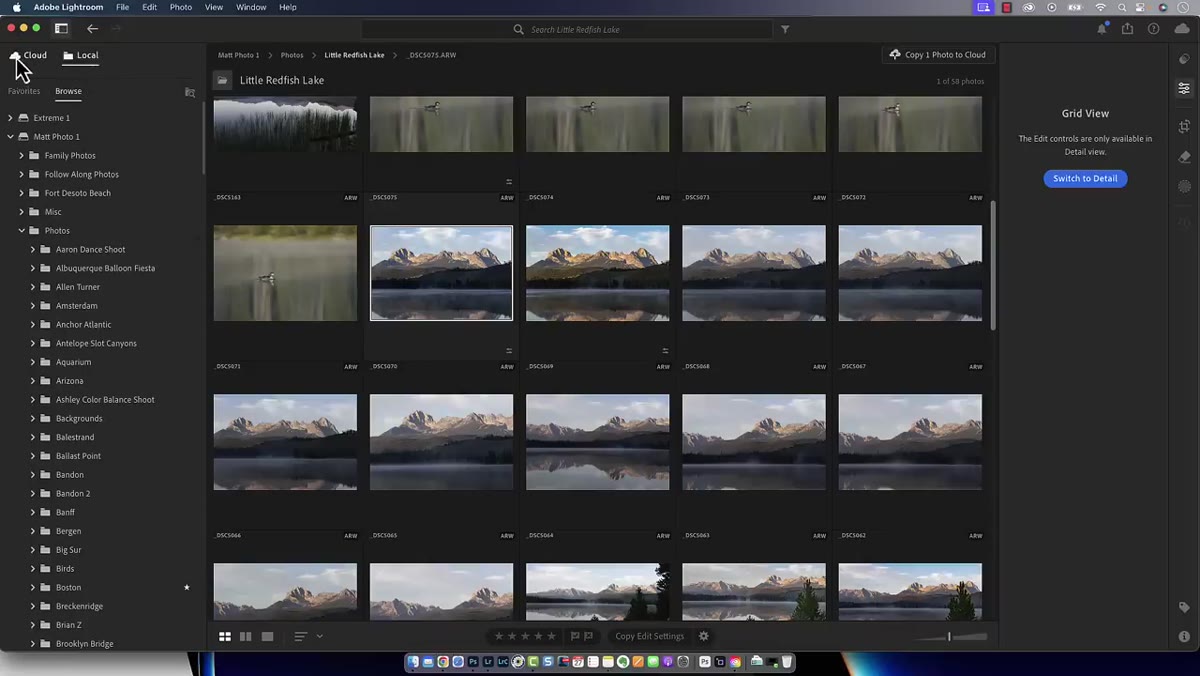 Folder contents displayed in Lightroom local browse view
This is the part that actually matters for day-to-day work. Once you navigate to a local folder, you can click any image and immediately start editing it using the full Lightroom adjustment panel. Exposure, color grading, HSL, masking, all of it is available the moment you click the photo. No import dialog. No catalog overhead.
Folder contents displayed in Lightroom local browse view
This is the part that actually matters for day-to-day work. Once you navigate to a local folder, you can click any image and immediately start editing it using the full Lightroom adjustment panel. Exposure, color grading, HSL, masking, all of it is available the moment you click the photo. No import dialog. No catalog overhead.
Kloskowski frames this as the thing he always wished Adobe Bridge would do. Bridge lets you browse visually and it will open Camera Raw, but Camera Raw launches in a separate window. You end up toggling between two applications to do one job. The modern Lightroom collapses that into a single interface, with the photo large in the center and the controls on the right. It sounds simple because it is, and that is exactly the point.
Step 3: Use This for the Folders That Never Made It Into Your Catalog
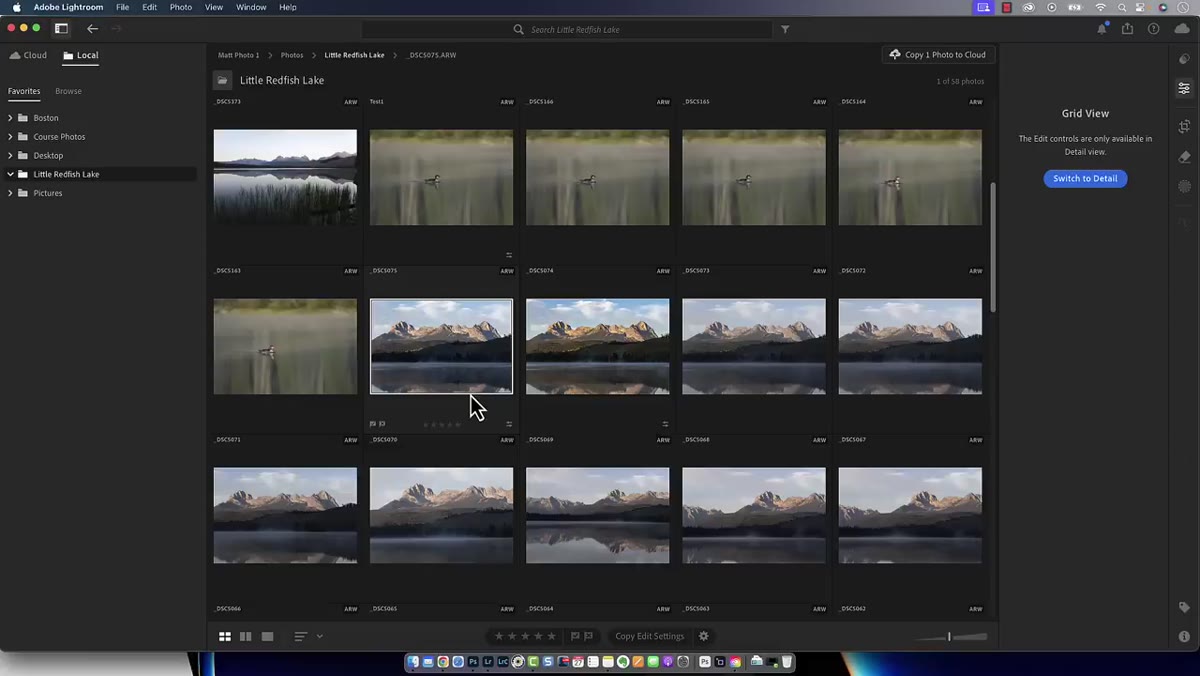 Editor panel open alongside browsed local photo
Here is where I think this feature earns its place even for Classic diehards. Think about the folders on your machine that never got imported into your organized catalog system. Event snapshots from a few years ago. Reference photos. Client selects you archived but never properly ingested. Most photographers have more of these than they want to admit.
Editor panel open alongside browsed local photo
Here is where I think this feature earns its place even for Classic diehards. Think about the folders on your machine that never got imported into your organized catalog system. Event snapshots from a few years ago. Reference photos. Client selects you archived but never properly ingested. Most photographers have more of these than they want to admit.
The Local tab gives you a way to open those folders, make edits, and export results without forcing them into a catalog workflow they were never meant to be part of. You are not cleaning up your library, you are just getting the work done. That is a legitimate use case, and it is one I had not given enough credit before watching this video.
Step 4: Star or Flag to Move Through a Folder Quickly
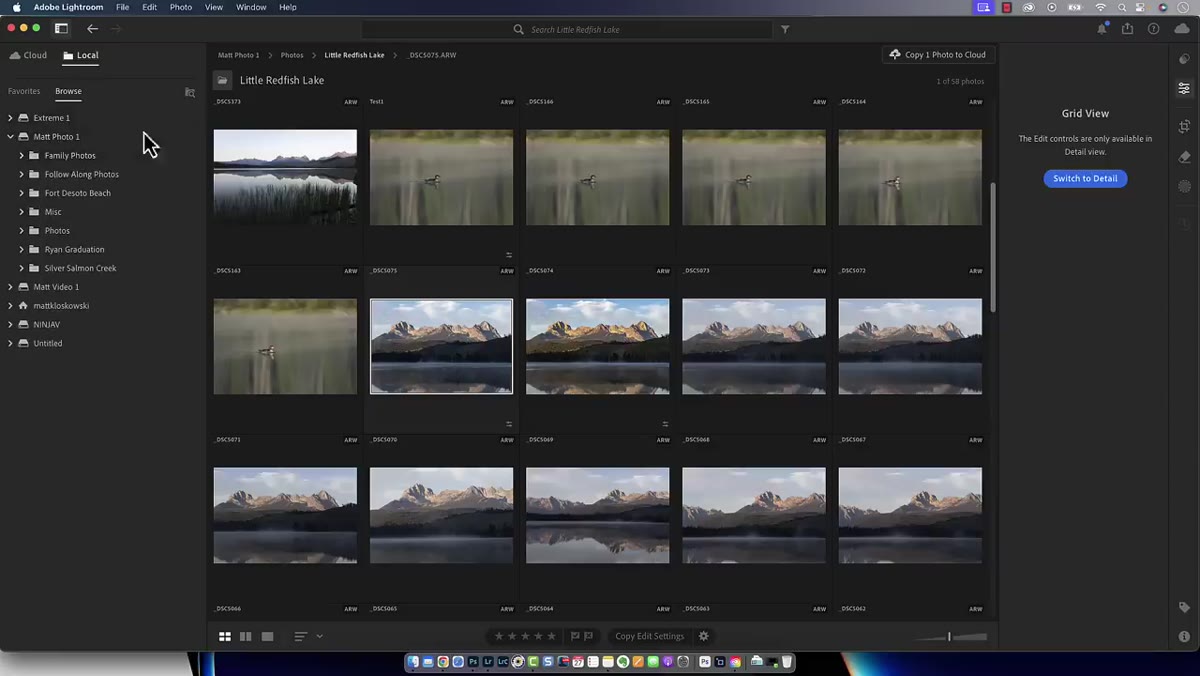 Favorites star option highlighted next to a folder name
Once you are inside a local folder, you have access to Lightroom’s rating and flagging tools. This means you can move through a batch of unimported photos and pick your selects using the same keyboard-driven workflow you use in Classic, without touching your main catalog at all.
Favorites star option highlighted next to a folder name
Once you are inside a local folder, you have access to Lightroom’s rating and flagging tools. This means you can move through a batch of unimported photos and pick your selects using the same keyboard-driven workflow you use in Classic, without touching your main catalog at all.
For anyone who does a lot of one-off shoots, product work, or pulls reference images from folders they share with clients or collaborators, this is genuinely useful. You get the speed of Lightroom’s culling interface on files that live anywhere on your system.
Step 5: Recognize What This Version Is and Is Not
 Lightroom app interface contrasted with Classic description
Kloskowski is careful to separate the two applications clearly, and it is worth repeating here. Lightroom Classic is the catalog-based desktop app that has existed since the mid-2000s. The modern Lightroom is a newer application that originally launched as cloud-first. These are separate programs with different strengths.
Lightroom app interface contrasted with Classic description
Kloskowski is careful to separate the two applications clearly, and it is worth repeating here. Lightroom Classic is the catalog-based desktop app that has existed since the mid-2000s. The modern Lightroom is a newer application that originally launched as cloud-first. These are separate programs with different strengths.
The modern Lightroom is not trying to replace Classic for photographers with deep catalog workflows. What it is doing is offering a lightweight, visually driven editing environment that works well for browsing, quick edits, and situations where you want the power of Lightroom’s tools without the commitment of a full catalog import. If you have been avoiding it because of its cloud-only origins, the Local tab changes that equation.
One Thing I Would Add From My Own Workflow
I have started using the Local tab specifically for preset testing. When I am building out a new preset, I want to see it against a variety of images quickly, across different lighting conditions and subjects, without cluttering my catalog with test files. I pull up a folder of reference shots through Local, apply the preset, and evaluate. When I am done, I close the folder and nothing has changed in my main library.
It is also useful for evaluating photos before deciding whether they deserve a full import. Think of it as a triage step. Browse locally, pick what earns a place in your catalog, and import only those. Your catalog stays cleaner and the decision gets made with full editing context rather than a thumbnail in Finder.
The single biggest takeaway from this tutorial is that the modern Lightroom is no longer just a cloud dependency with a stripped-down feature set. The Local tab alone makes it worth keeping installed alongside Classic, if only as a fast visual browser with a full editing panel attached. That is not a small thing.
Watch the full tutorial on YouTube to see Kloskowski walk through all five features, including the ones beyond the Local tab. He covers the kind of details that are easier to absorb by watching than by reading, and the full runtime is worth it.
Comments
Leave a Comment