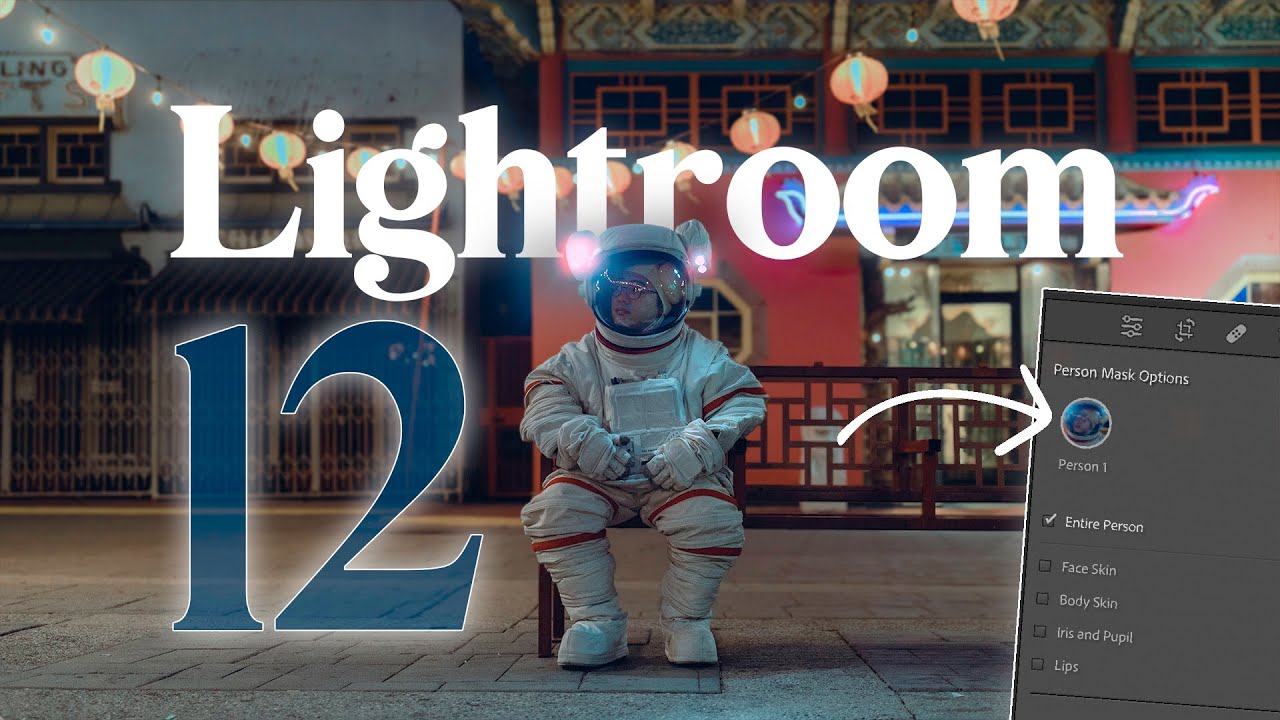
There’s a specific kind of frustration that comes from knowing exactly what you want a photo to look like and spending twenty minutes jumping between apps to get there. Lightroom for the broad strokes, Photoshop for the mask, back to Lightroom, export, repeat. I’ve been doing that dance long enough that I stopped questioning it. Then version 12 dropped and rearranged some things I thought were settled.
Watch the full tutorial on YouTube
In this Mango Street tutorial, Rachel and Daniel walk through the most significant batch of Lightroom updates in a while. The focus lands on AI-powered masking that goes well beyond subject selection, a content-aware removal tool that actually works, and a preset intensity slider that I wish had existed three years ago. These aren’t incremental tweaks. A few of them genuinely change the shape of a portrait editing session.
Step 1: Detect Multiple People in a Single Photo
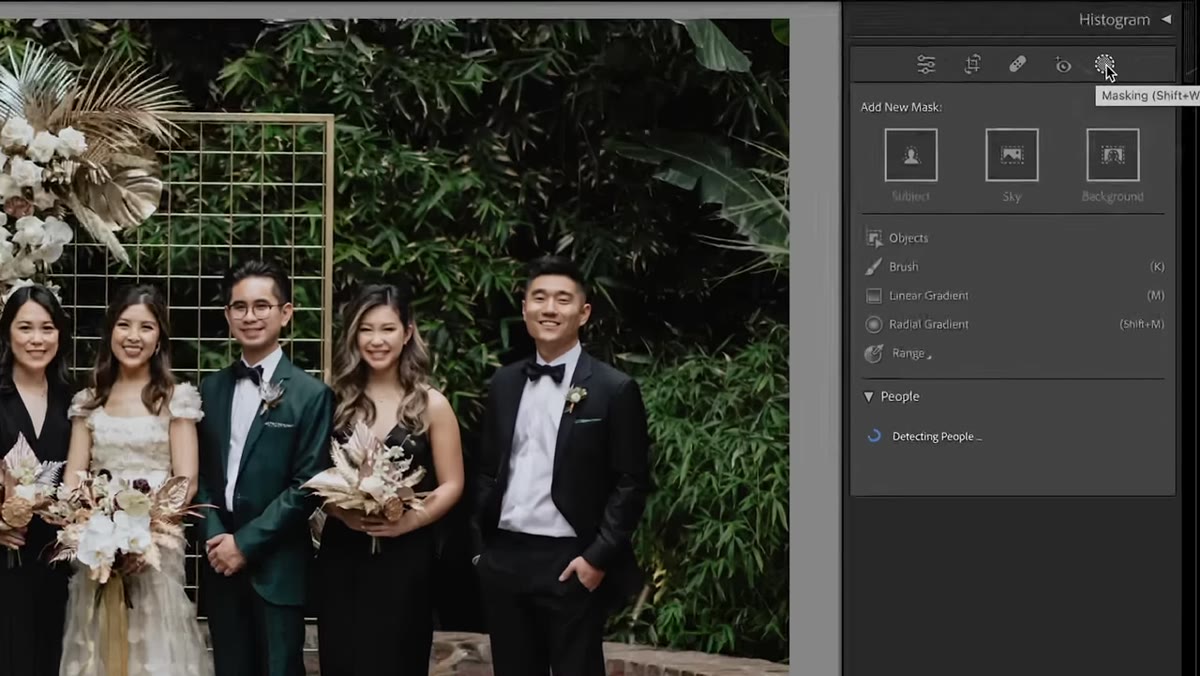 Masking panel open on a group photo with multiple subjects
Click the masking icon in the Develop module. If your photo contains more than one person, Lightroom will analyze the frame and identify each subject separately. Give it a few seconds. Once the detection is complete, you can generate individual masks for all eight people in a group shot, or just the two you want to retouch, without drawing a single selection by hand. This is the part that would have saved me an embarrassing amount of time on wedding gallery edits.
Masking panel open on a group photo with multiple subjects
Click the masking icon in the Develop module. If your photo contains more than one person, Lightroom will analyze the frame and identify each subject separately. Give it a few seconds. Once the detection is complete, you can generate individual masks for all eight people in a group shot, or just the two you want to retouch, without drawing a single selection by hand. This is the part that would have saved me an embarrassing amount of time on wedding gallery edits.
The workflow is straightforward: open the masking panel, select “People,” let the AI do its scan, then choose which subjects you want to isolate. Each person gets their own mask layer, which you can adjust independently. Exposure, color, texture. All of it non-destructive.
Step 2: Mask Specific Body Parts with One Click
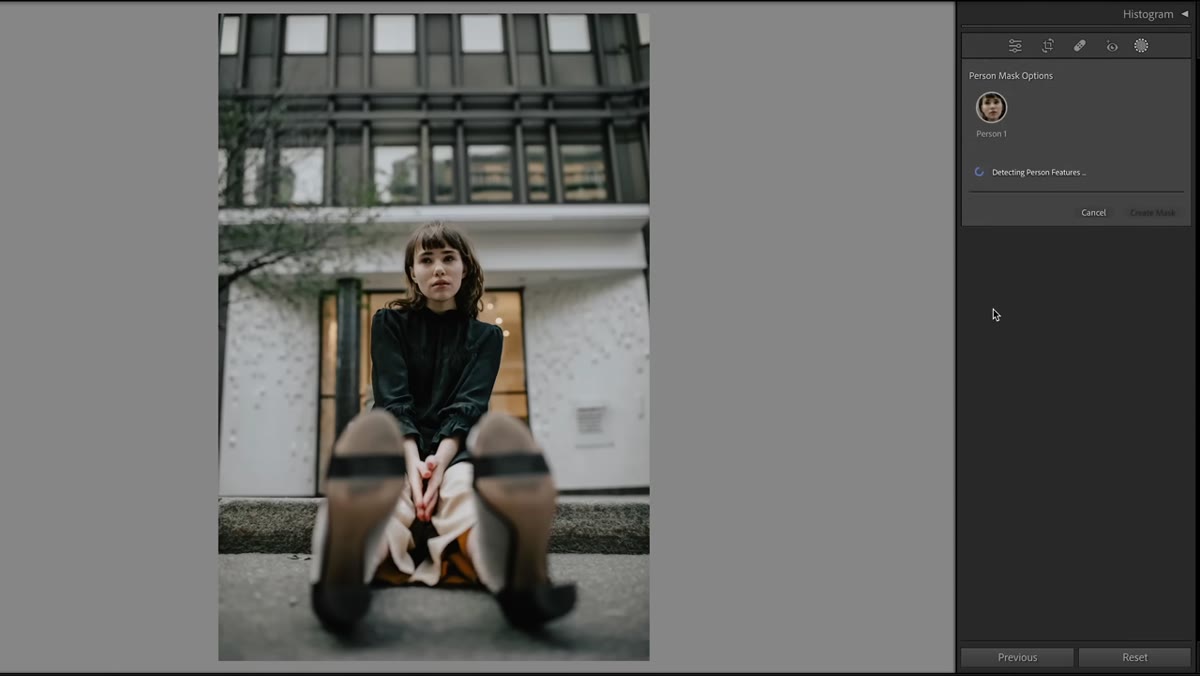 Body part submenu showing face, skin, eyes, lips options
This is where it gets genuinely interesting. Once Lightroom has identified a person, you’re not locked into masking the whole figure. The panel lets you isolate specific regions: face skin, body skin, hair, eyebrows, eyes, lips. Each one is its own selectable mask.
Body part submenu showing face, skin, eyes, lips options
This is where it gets genuinely interesting. Once Lightroom has identified a person, you’re not locked into masking the whole figure. The panel lets you isolate specific regions: face skin, body skin, hair, eyebrows, eyes, lips. Each one is its own selectable mask.
The practical application here is retouching without Photoshop. Start with the hair, pull the exposure down slightly and bring up the texture to add depth and definition. Add a second mask for the lips, nudge saturation and texture up a touch. Then create a face skin mask and soften it by lowering texture. If the eye region bleeds into the face mask in a way you don’t want, use the Subtract option to carve it back out. The level of control here used to require a dedicated retouching app. Now it’s three clicks inside a tool you’re already working in.
Step 3: Blur and Separate Backgrounds in One Step
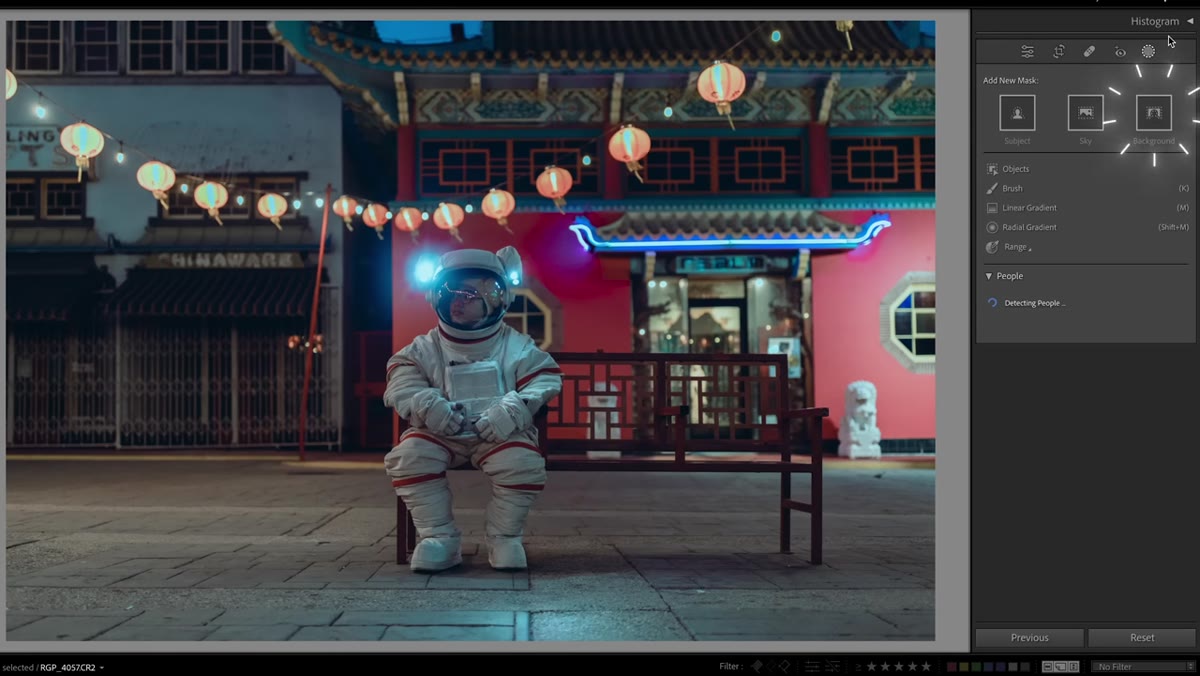 Background mask selected with sharpness and clarity pulled down
Masking the background is now a single click in the masking panel. Once that mask is active, you can use a brush to refine it, painting out areas like a bench or foreground element you want to keep sharp. From there, the editing is yours to drive.
Background mask selected with sharpness and clarity pulled down
Masking the background is now a single click in the masking panel. Once that mask is active, you can use a brush to refine it, painting out areas like a bench or foreground element you want to keep sharp. From there, the editing is yours to drive.
A useful approach: lower sharpness all the way, bring clarity down, and shift the temperature warmer. This creates a subtle separation between subject and background that reads as natural depth rather than an obvious edit. There’s also a mask intensity slider now. You can dial the whole effect back if it’s reading as too heavy, or push it further if you want more drama. Subtle adjustments here tend to age better than aggressive ones.
Step 4: Mask Specific Objects with Painted Selection
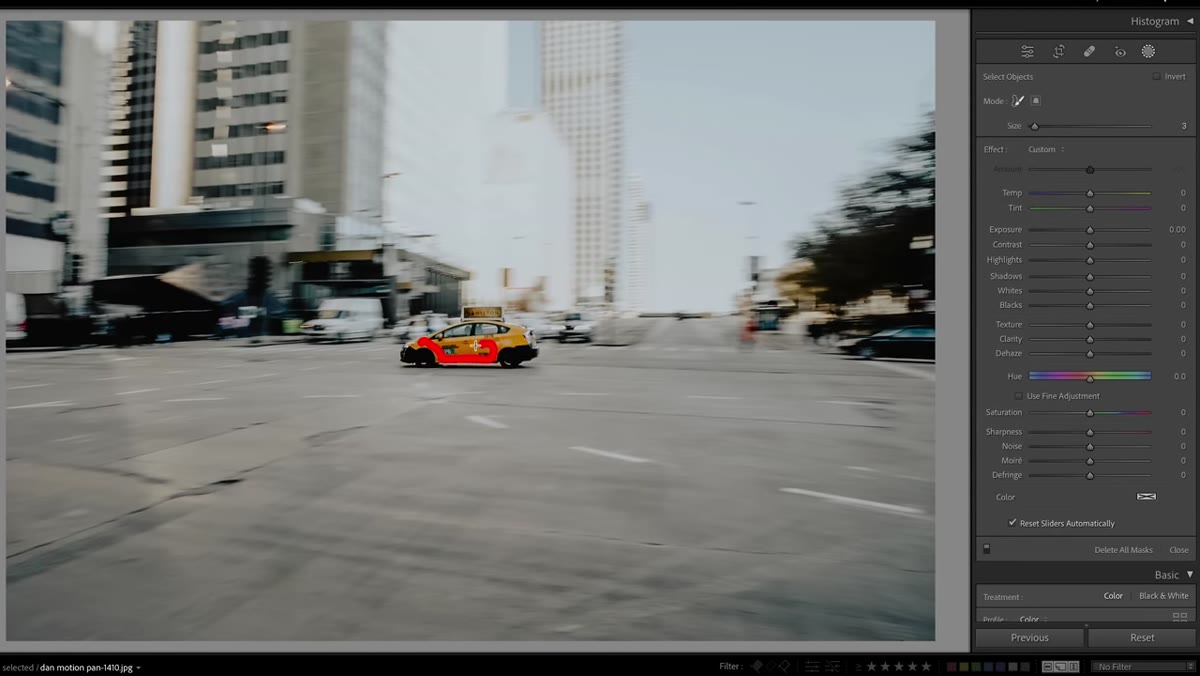 Object selection active after rough brush stroke over a car
The object masking tool works without a person in the frame at all. Roughly paint over any object you want isolated, and Lightroom figures out the edges. The selection is clean enough for color work. Shift the hue, change the saturation, and you’ve isolated a color grade to one specific element in the scene.
Object selection active after rough brush stroke over a car
The object masking tool works without a person in the frame at all. Roughly paint over any object you want isolated, and Lightroom figures out the edges. The selection is clean enough for color work. Shift the hue, change the saturation, and you’ve isolated a color grade to one specific element in the scene.
This isn’t a precision clipping path, but for color adjustments and stylistic grading it holds up well. It’s useful for product shots, editorial work, or any situation where one element in the frame needs to read differently than everything around it.
Step 5: Remove Objects with Content-Aware Fill
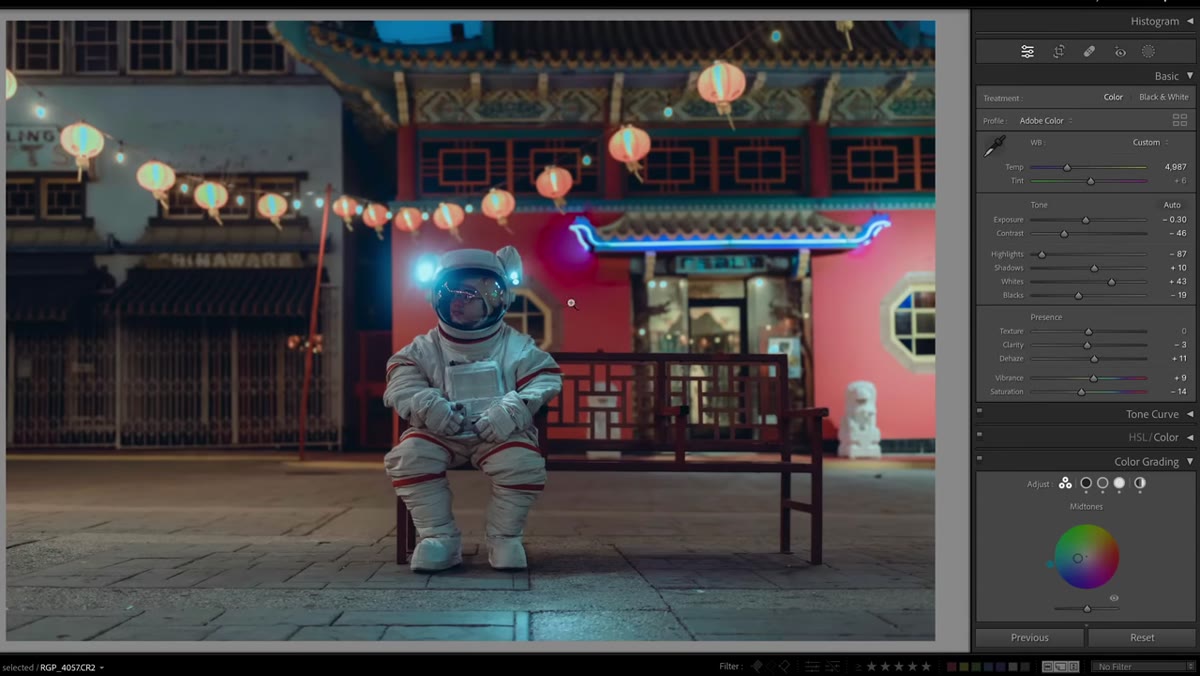 Red pole disappearing after content-aware removal applied
Content-aware removal has arrived in Lightroom, and it handles clean backgrounds well. Paint over the object you want gone and Lightroom samples the surrounding area to fill it in. On simple subjects like a pole against a flat wall or a watermark on a stock photo, the results are solid on the first try.
Red pole disappearing after content-aware removal applied
Content-aware removal has arrived in Lightroom, and it handles clean backgrounds well. Paint over the object you want gone and Lightroom samples the surrounding area to fill it in. On simple subjects like a pole against a flat wall or a watermark on a stock photo, the results are solid on the first try.
When the automatic sample isn’t quite right, hold Control (or Command on Mac) and click-drag to tell Lightroom exactly which part of the frame to pull from. If that still isn’t working, press the forward slash key to cycle through different sample areas automatically until you find one that reads cleanly. For complex scenes you’ll still want Photoshop, but for quick removals during a culling session this is fast enough to actually use.
Step 6: Control Preset Intensity with a Slider
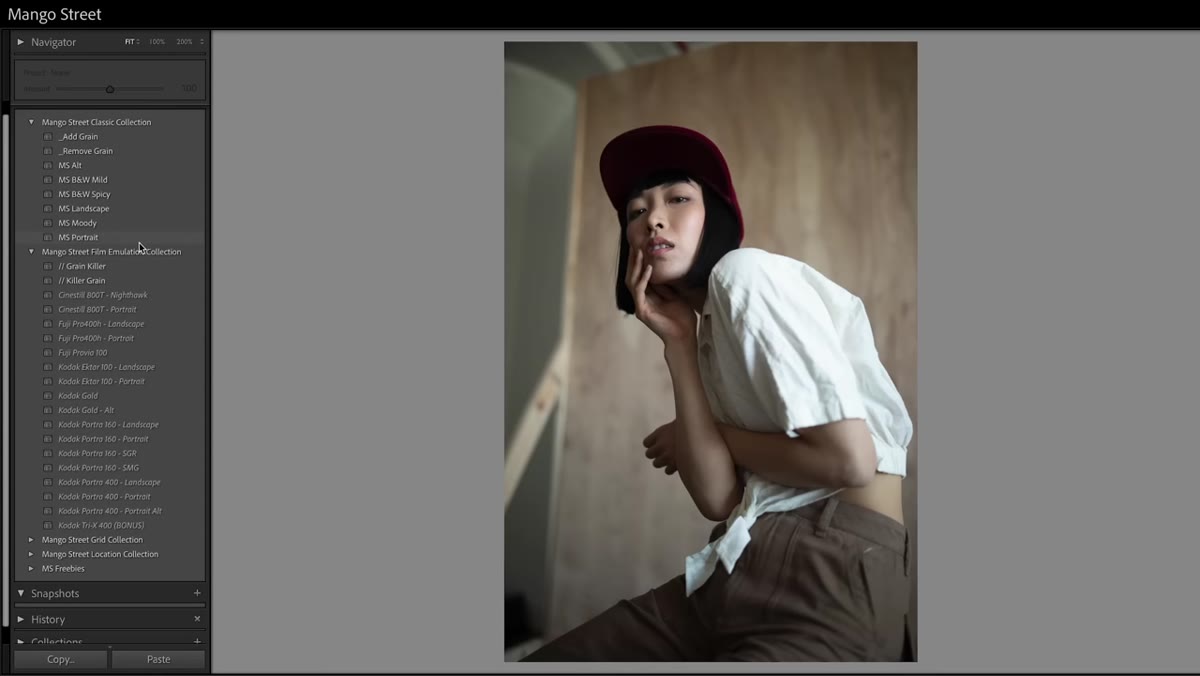 Preset intensity slider being pulled back on a JPEG file
This one was actually introduced in an earlier update but deserves attention here. After applying any preset, a slider lets you dial the intensity up or down as a percentage. This sounds small and turns out to be genuinely useful.
Preset intensity slider being pulled back on a JPEG file
This one was actually introduced in an earlier update but deserves attention here. After applying any preset, a slider lets you dial the intensity up or down as a percentage. This sounds small and turns out to be genuinely useful.
JPEGs and heavily processed files have less latitude than raws. A preset that looks perfect on a raw file can look overcooked on a JPEG at full strength. Being able to apply the same preset at 60 or 70 percent means you’re not managing separate preset packs for different file types. You keep your look consistent and just adjust how far you push it based on what the file can handle.
One Thing I’d Add from My Own Experience
Mango Street keeps the demo moving quickly, which is the right call for a tutorial, but the body-part masking feature rewards some patience on your first few uses. The AI selections aren’t always perfect on the first pass, especially around fine hair or where skin tones blend into a light background. The Subtract and Add tools in the masking panel are how you clean those up. Build a habit of zooming in to 100 percent to check your mask edges before you commit to any retouching adjustments. Spending thirty seconds on a mask check will save you from an edit that looks off in print or on a calibrated screen.
The other thing worth knowing: these masks are stackable. You can have a background mask, a hair mask, and a face skin mask all active on the same photo at the same time, each doing different work. That’s a portrait retouching stack that would have taken multiple adjustment layers and export-reimport trips a couple of versions ago. Now it lives in one Develop session.
The single most important shift in this update is that a complete portrait retouch, from subject isolation to skin work to background separation, is now possible without leaving Lightroom. That used to be a reason to open a second application. Now it isn’t.
Watch the full tutorial on YouTube to see Rachel walk through each of these tools on real photos. Seeing the before and after on the group shot alone is worth the few minutes.
Comments (3)
I've been looking for exactly this kind of tutorial. Perfect timing.
Solid advice. Especially the part about taking your time with it.
Couldn't agree more. I've seen this make a huge difference in landscape work specifically.
Leave a Comment