There’s a specific kind of dread that hits when you open Lightroom and your folder panel is suddenly full of question marks. It looks like your photos have vanished. Your carefully organized shoot folders seem to have evaporated overnight. If you’ve felt that cold drop in your stomach, you’re not alone, and more importantly, nothing is actually gone.
I ran into this exact situation after reorganizing a hard drive mid-project. I’d renamed and moved some folders outside of Lightroom, which is the classic mistake, and suddenly the catalog had no idea where anything lived. It’s like giving someone turn-by-turn directions to your house, then moving without telling them. Lightroom just stands at the old address, confused. In this CreativeLive tutorial, the instructor walks through exactly how to diagnose and fix this problem in a few clean steps. Here’s my breakdown of the technique with enough detail that you can follow along without pausing every ten seconds.
Step 1: Read the Drive Indicator Light Before Doing Anything Else
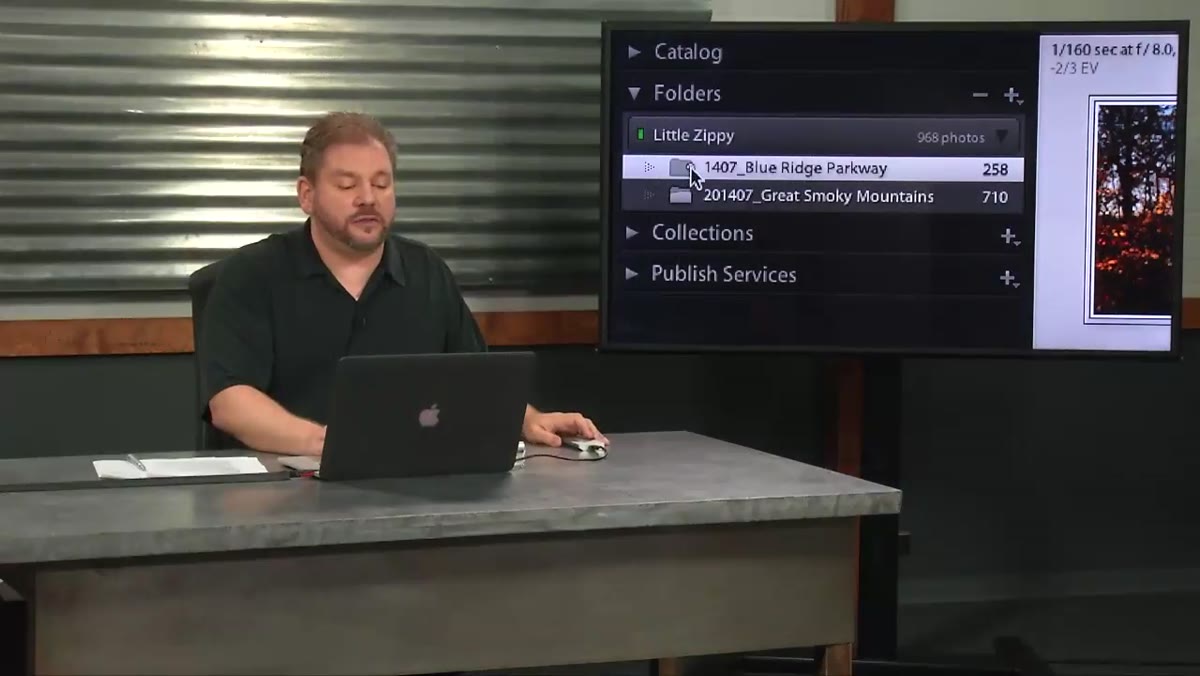 Folder panel showing question marks and a gray drive indicator
Before you start right-clicking or panicking, look at the small colored indicator next to your drive or folder in the Folders panel. Think of it as the status light on a hard drive, just built into the interface. If that indicator is dark gray, Lightroom isn’t being mysterious. The drive simply isn’t connected. Plug it back in, wait a moment for your system to mount it, and the question marks will clear on their own.
Folder panel showing question marks and a gray drive indicator
Before you start right-clicking or panicking, look at the small colored indicator next to your drive or folder in the Folders panel. Think of it as the status light on a hard drive, just built into the interface. If that indicator is dark gray, Lightroom isn’t being mysterious. The drive simply isn’t connected. Plug it back in, wait a moment for your system to mount it, and the question marks will clear on their own.
If the indicator is green, the drive is connected and Lightroom can physically see it. Orange means the drive is nearly full, which is a separate problem worth addressing, but not the cause of your missing folder issue. Color-coding your attention before you start troubleshooting saves a lot of unnecessary steps.
Step 2: Reconnect a Disconnected Drive and Watch Lightroom Catch Up
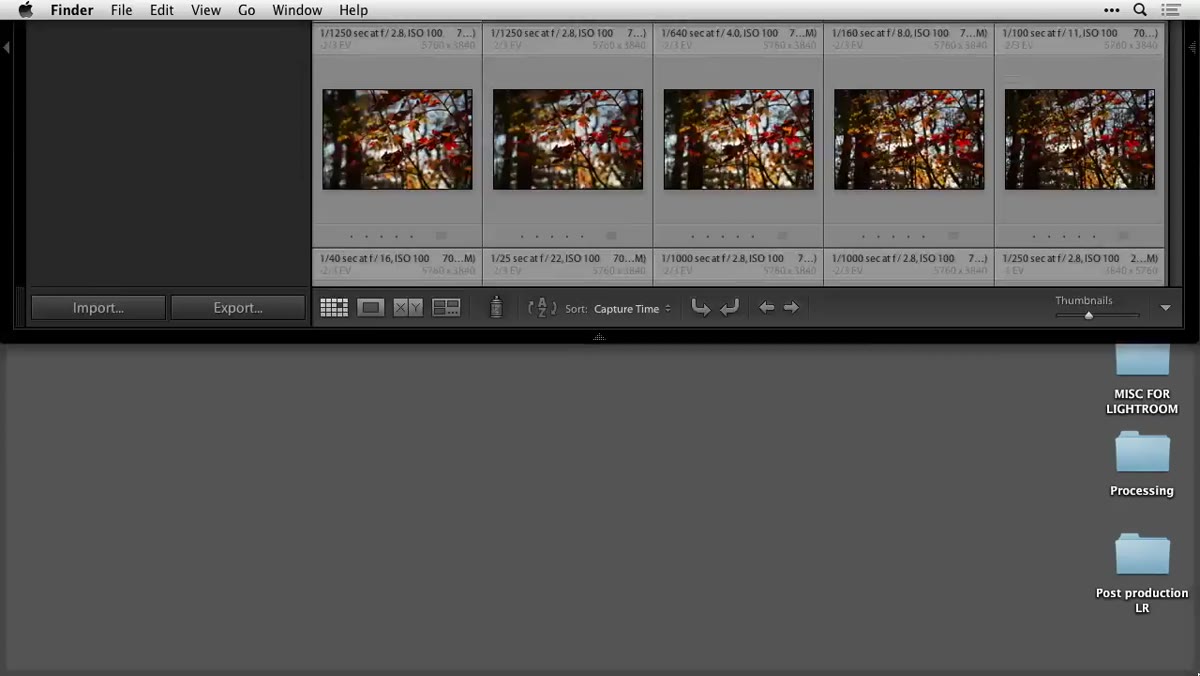 Drive being reconnected and indicator changing from gray to active
Lightroom doesn’t constantly ping your drives for updates. It checks in periodically, so there’s a short delay after you reconnect a drive before the panel reflects the change. In the tutorial, the instructor actually demonstrates this by ejecting a drive live, watching the indicator go gray and question marks populate the panel, then plugging it back in. The indicator lights up again and the question marks disappear, no manual intervention needed.
Drive being reconnected and indicator changing from gray to active
Lightroom doesn’t constantly ping your drives for updates. It checks in periodically, so there’s a short delay after you reconnect a drive before the panel reflects the change. In the tutorial, the instructor actually demonstrates this by ejecting a drive live, watching the indicator go gray and question marks populate the panel, then plugging it back in. The indicator lights up again and the question marks disappear, no manual intervention needed.
This is worth internalizing because a lot of people jump straight to “Find Missing Folder” when the real fix is just reconnecting the physical drive. That option is for a different scenario entirely. Start with the indicator, and save yourself the extra steps.
Step 3: Right-Click the Problem Folder and Choose “Find Missing Folder”
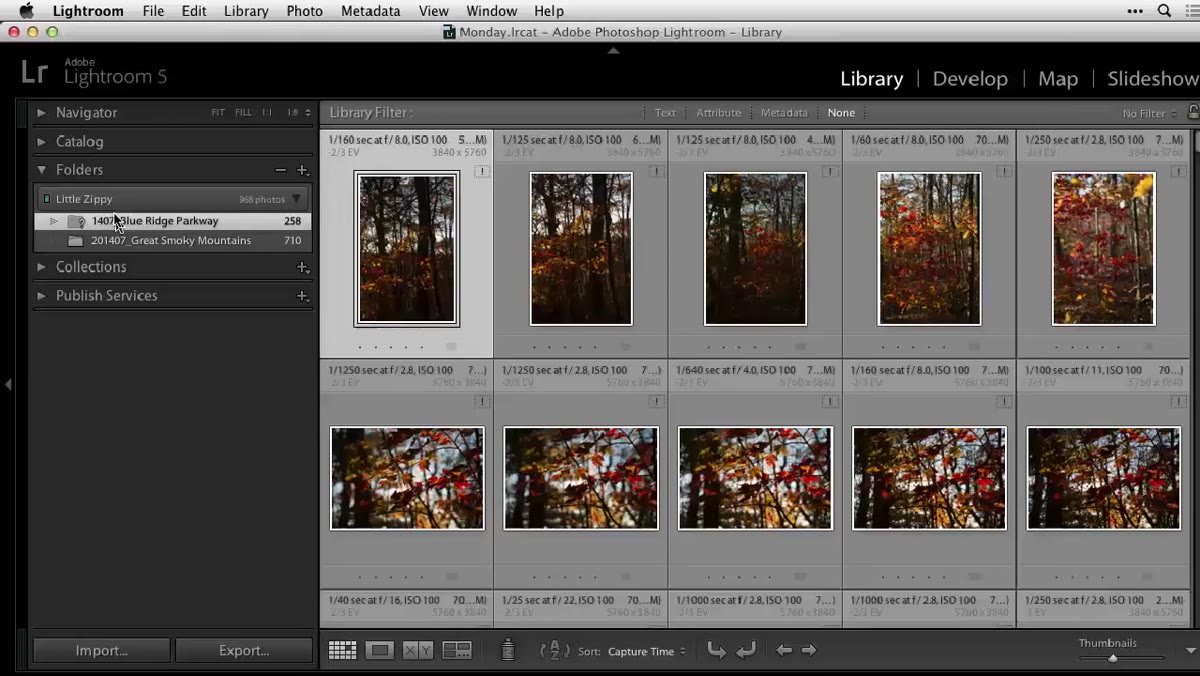 Right-click context menu open on a folder with a question mark
When your drive IS connected but a specific folder still shows a question mark, that’s when you need to step in manually. This happens most often after renaming or moving a folder through Finder or Windows Explorer instead of through Lightroom itself. The catalog still has the old folder name or path in memory, but the actual folder on disk has changed.
Right-click context menu open on a folder with a question mark
When your drive IS connected but a specific folder still shows a question mark, that’s when you need to step in manually. This happens most often after renaming or moving a folder through Finder or Windows Explorer instead of through Lightroom itself. The catalog still has the old folder name or path in memory, but the actual folder on disk has changed.
Right-click directly on the folder name in the Folders panel. On a Mac with a single-button mouse or trackpad, hold Control and click for the same result. In the context menu that appears, select “Find Missing Folder.” That’s your entry point into fixing the disconnect.
Step 4: Navigate to the Folder’s New Location and Click Select
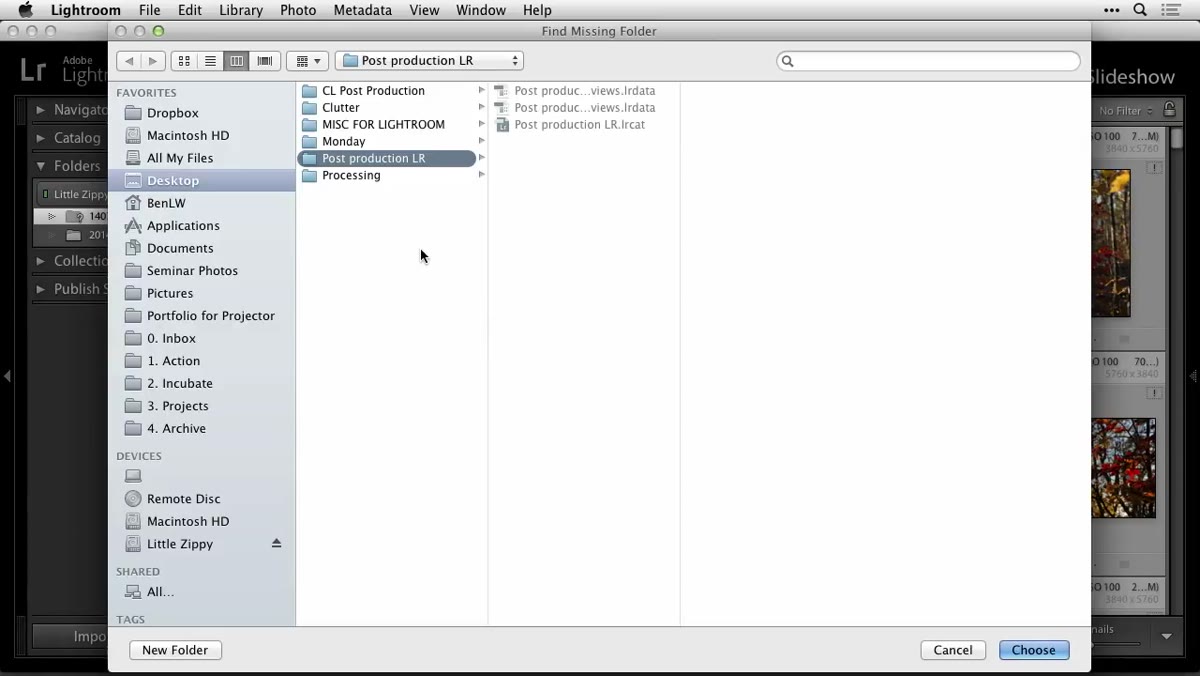 Standard file browser dialog open, navigating to renamed folder on hard drive
A standard file browser dialog opens, the same kind you’d use to navigate anywhere on your system. You’re not doing anything complicated here. Just find the folder as it currently exists on your hard drive, with whatever name or location it has now, and click on it to highlight it.
Standard file browser dialog open, navigating to renamed folder on hard drive
A standard file browser dialog opens, the same kind you’d use to navigate anywhere on your system. You’re not doing anything complicated here. Just find the folder as it currently exists on your hard drive, with whatever name or location it has now, and click on it to highlight it.
In the tutorial, the folder had been renamed to “Blue Ridge,” so the instructor navigates to that new name, selects it, and clicks the “Select” button in the bottom right corner of the dialog. Lightroom updates the folder name in the catalog immediately, the question mark disappears, and the link between the catalog and the actual files is restored. That’s the whole fix. The catalog now knows where to look.
Step 5: Create Subfolders Inside Existing Folders Without Leaving Lightroom
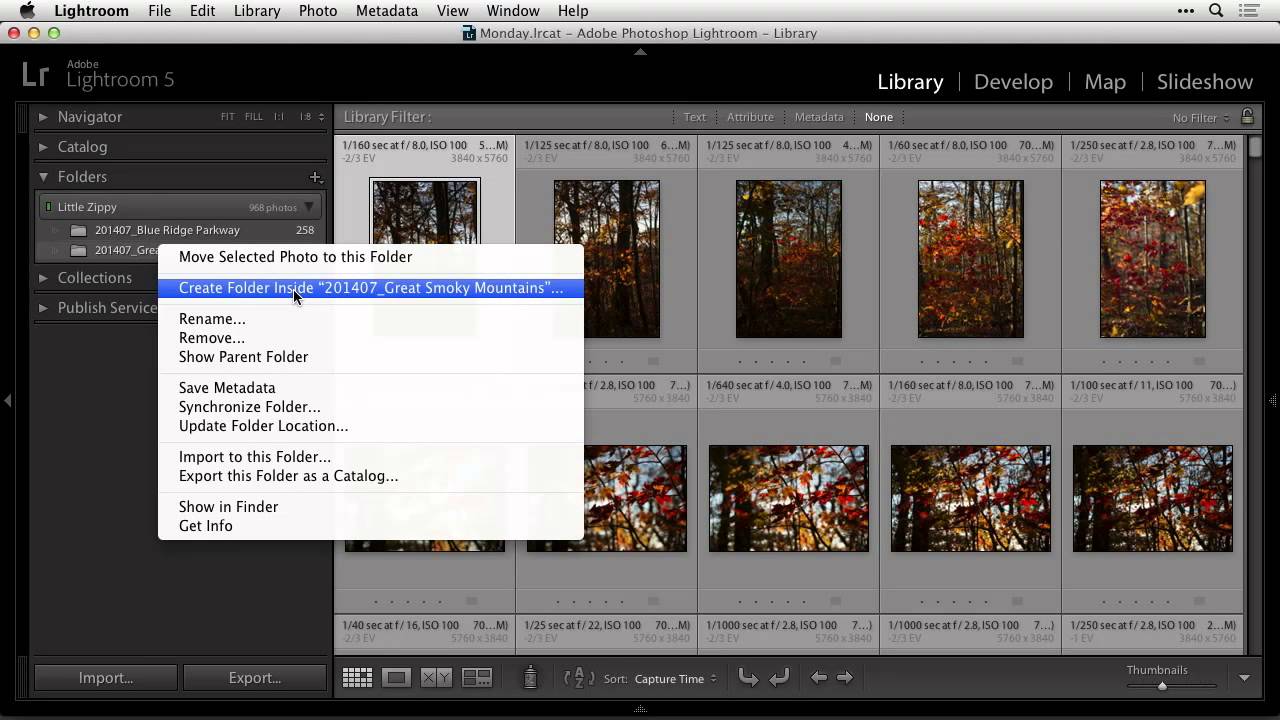
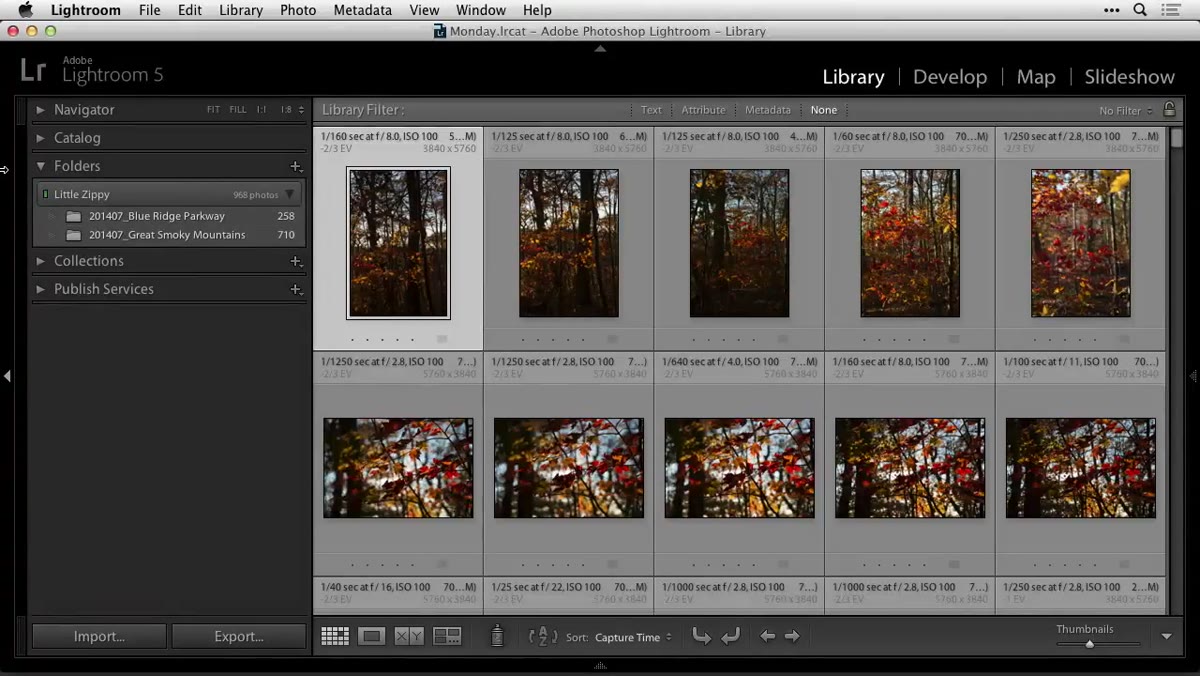 Right-click context menu showing “Create Folder Inside” option
This part of the tutorial goes a step further, into proactive organization rather than damage control. If you have a broad catch-all folder, say everything from a trip lumped together under one name, and you want to break it into more specific subfolders, Lightroom lets you do that without ever touching Finder or Explorer.
Right-click context menu showing “Create Folder Inside” option
This part of the tutorial goes a step further, into proactive organization rather than damage control. If you have a broad catch-all folder, say everything from a trip lumped together under one name, and you want to break it into more specific subfolders, Lightroom lets you do that without ever touching Finder or Explorer.
Right-click on the parent folder and look for the “Create Folder Inside” option. Name the new subfolder, click Create, and a triangle arrow appears next to the parent folder indicating it now contains subfolders. Click the triangle to expand it and confirm your new folder is there. It will appear gray initially because it’s empty, which is expected. From here you can drag photos into it from the main folder, or use it as a destination the next time you import.
A Note From My Own Workflow: Always Move Files Through Lightroom
The core reason people end up with missing folder headaches is doing file management outside of Lightroom. It’s easy to do. You open Finder, drag a folder somewhere, rename it, delete a duplicate. Lightroom had no idea any of that happened. Now your catalog references a path that no longer exists.
My rule is simple. If it involves folders that Lightroom is tracking, the move or rename happens inside Lightroom. The Folders panel gives you drag-and-drop, right-click renaming, and the ability to create nested folder structures. There’s rarely a reason to go around it. The one exception is when I’m doing a major hard drive migration, and in that case I do it all at once and use “Find Missing Folder” to repoint the catalog after. It takes about five minutes and saves hours of confusion.
The single most useful habit you can develop is checking that drive indicator before doing anything else when something looks wrong. It tells you whether the problem is physical or organizational, and that one piece of information determines your entire next move.
Watch the full tutorial on YouTube to see these steps demonstrated live, including the real-time reconnection demonstration that makes the indicator behavior much easier to understand.
Comments (2)
Great breakdown. The step-by-step approach really helps.
Really solid breakdown. This pairs perfectly with the photoshop work I've been writing about.
Leave a Comment