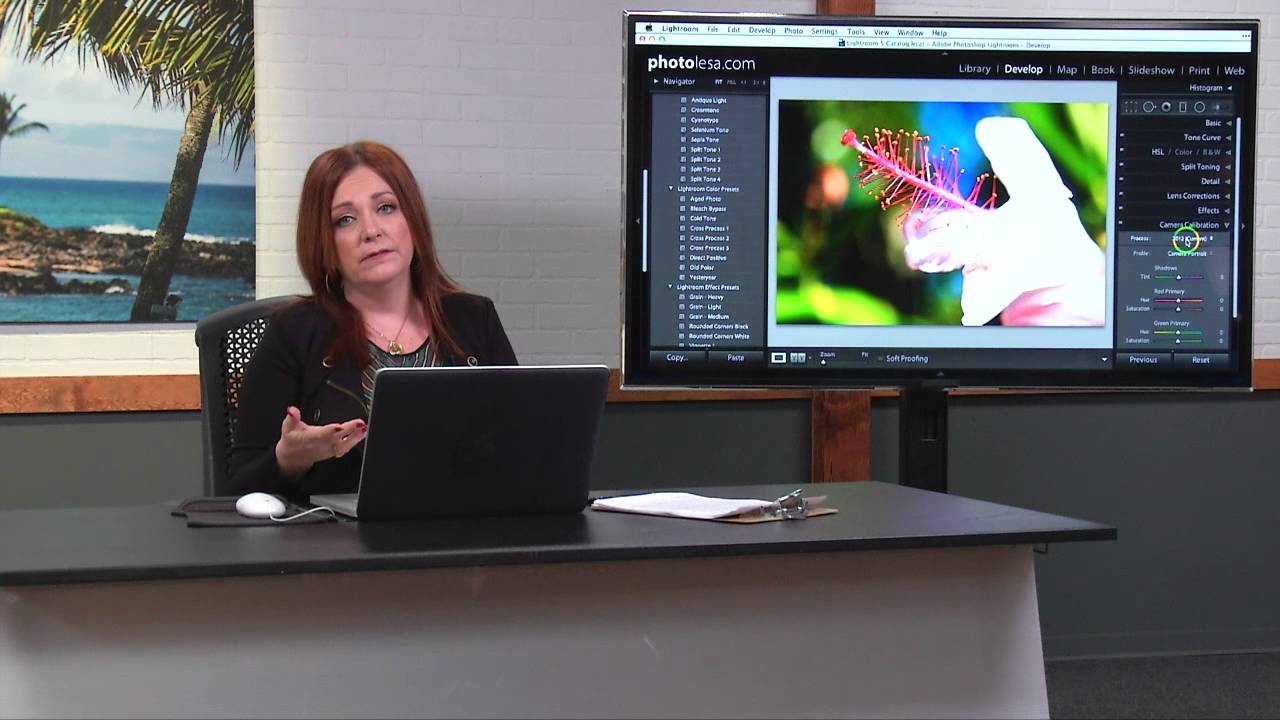
Every photographer I know has stared at an image in Lightroom and thought, “Why does this look so different from what I shot?” You adjust the whites, push the shadows, maybe nudge the saturation — and the color still feels off. I chased that feeling for months before I realized I was fixing the wrong thing. The color wasn’t shifting because of my slider work. It was shifting before I touched anything, down in a panel most people open maybe twice a year: Camera Calibration.
In this CreativeLive tutorial, Lesa Snider breaks down exactly why that happens and what to do about it. Watch the full tutorial on YouTube — but if you want the step-by-step breakdown you can follow in your own Develop module right now, keep reading. This is one of those sessions where a 20-minute video quietly rewires how you think about the editing process.
The part that hit me hardest was how simple the fix is once you understand the cause. Lightroom is making a translation call on your RAW file the moment you open it, and the profile it chooses for that translation is the starting point for every color decision you make afterward. Getting that starting point right means less fighting with your edits downstream.
Step 1: Open the Camera Calibration Panel
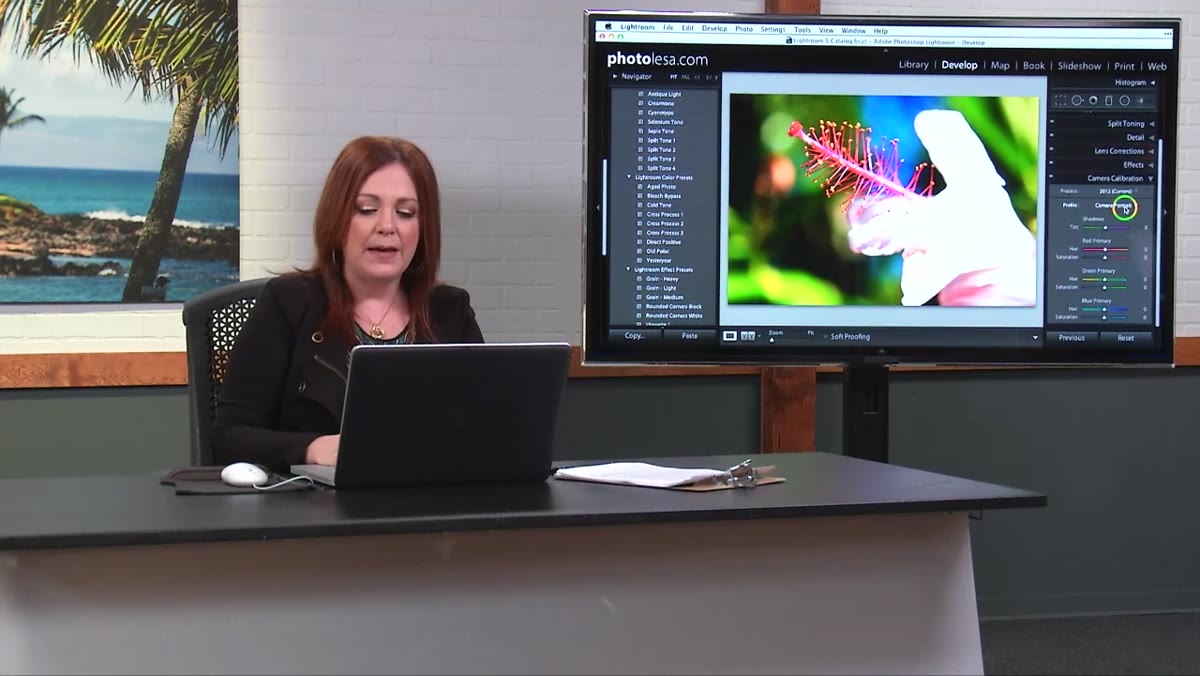 Camera Calibration panel open in Lightroom Develop module
Scroll all the way to the bottom of the Develop module’s right-hand panel stack. The Camera Calibration panel sits below everything else — below Lens Corrections, below Detail, below HSL. It’s easy to ignore precisely because it’s so far down. Open it up and look at the Profile dropdown at the top of the panel.
Camera Calibration panel open in Lightroom Develop module
Scroll all the way to the bottom of the Develop module’s right-hand panel stack. The Camera Calibration panel sits below everything else — below Lens Corrections, below Detail, below HSL. It’s easy to ignore precisely because it’s so far down. Open it up and look at the Profile dropdown at the top of the panel.
This is where Lightroom decides how to interpret your RAW file’s color information. The camera recorded raw light data. Lightroom has to convert that into something your screen can display, and the profile is the rulebook it uses for that conversion. Different profiles apply different color science, contrast curves, and saturation assumptions. The choice you make here affects every slider above it.
Step 2: Cycle Through the Camera Profiles and Watch What Changes
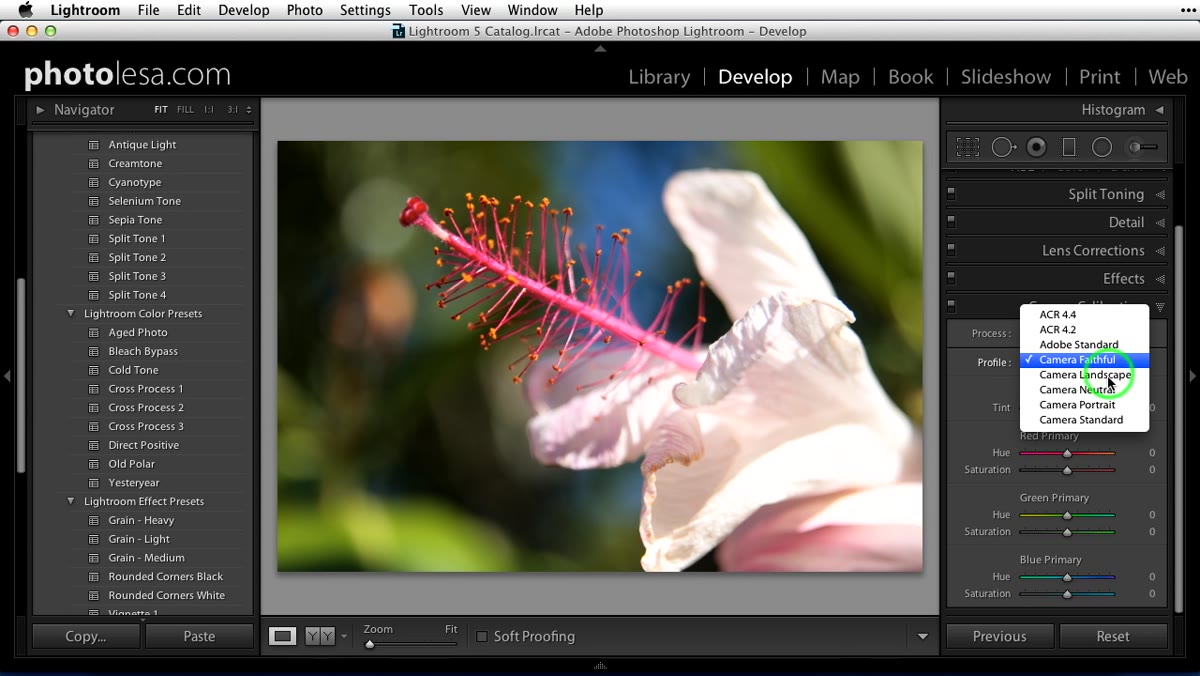 Camera Faithful and Camera Landscape profiles shown in dropdown
Click the Profile dropdown and try each option one at a time. You’ll typically see options like Camera Standard, Camera Faithful, Camera Landscape, Camera Neutral, and Camera Portrait. The names roughly signal their intent — Landscape tends to push saturation, Neutral pulls it back, Faithful tries to approximate what the camera’s own JPEG engine would produce.
Camera Faithful and Camera Landscape profiles shown in dropdown
Click the Profile dropdown and try each option one at a time. You’ll typically see options like Camera Standard, Camera Faithful, Camera Landscape, Camera Neutral, and Camera Portrait. The names roughly signal their intent — Landscape tends to push saturation, Neutral pulls it back, Faithful tries to approximate what the camera’s own JPEG engine would produce.
Watch the image as you switch. You’re not looking for “correct” here, you’re looking for a starting point that fits the feeling of the shot. Lesa’s example is honest: Camera Faithful looked nice but a little flat on her test image. Camera Landscape was too saturated. Camera Portrait landed where she wanted to start. Your results will vary by camera body and even by shooting conditions, which is exactly the point. There is no universal right answer.
Step 3: Fine-Tune the Profile With the Channel Sliders
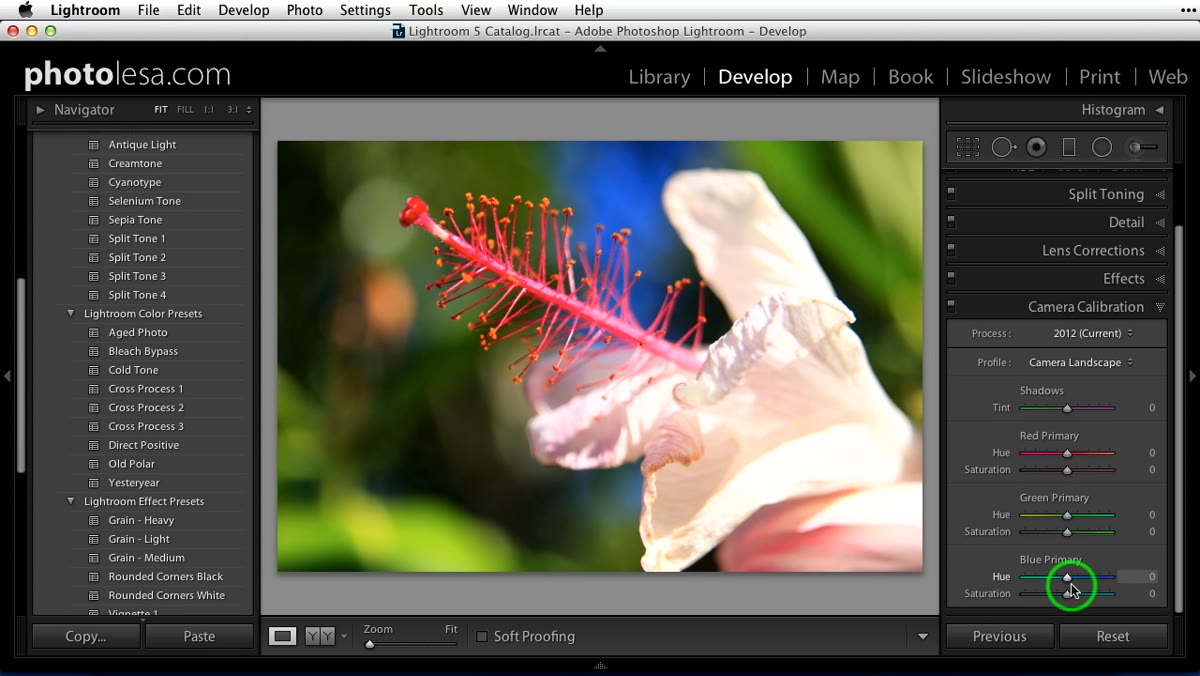 Hue and saturation sliders beneath the Profile dropdown
Below the Profile dropdown are individual sliders for the Red, Green, and Blue channels — each with a Hue and a Saturation control. These let you push the selected profile without abandoning it entirely. If Camera Portrait is close but your skin tones are reading slightly too warm, you can pull the Red Hue slider a touch rather than switching to a completely different profile and starting over.
Hue and saturation sliders beneath the Profile dropdown
Below the Profile dropdown are individual sliders for the Red, Green, and Blue channels — each with a Hue and a Saturation control. These let you push the selected profile without abandoning it entirely. If Camera Portrait is close but your skin tones are reading slightly too warm, you can pull the Red Hue slider a touch rather than switching to a completely different profile and starting over.
Think of the profile selection as choosing your paint color and these sliders as the amount of water you add. The base is set by the profile. The fine-tuning is yours. Most editors I know skip these sliders entirely, which is a miss — they’re genuinely useful for dialing in consistency across a session.
Step 4: Check Your Process Version
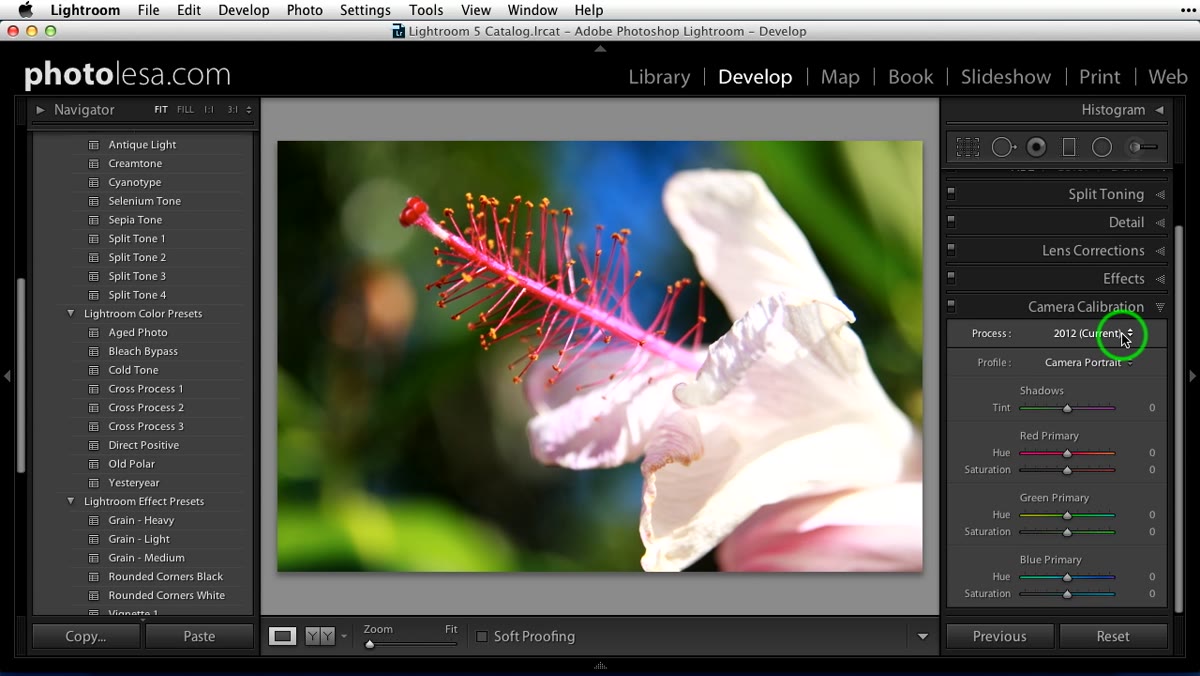 Process Version dropdown showing 2003, 2010, 2012 options
Just above the Profile dropdown in the Camera Calibration panel is the Process Version menu. This controls which version of Adobe’s RAW math is applied to your image. Adobe periodically updates the algorithms that handle the conversion from RAW to pixel data, and each major update gets a year label.
Process Version dropdown showing 2003, 2010, 2012 options
Just above the Profile dropdown in the Camera Calibration panel is the Process Version menu. This controls which version of Adobe’s RAW math is applied to your image. Adobe periodically updates the algorithms that handle the conversion from RAW to pixel data, and each major update gets a year label.
If you’re opening an older file that was processed in Camera Raw or an earlier version of Lightroom, it might be sitting on the 2003 or 2010 process version. The sliders in your Basic panel will actually look different depending on which version is active. The 2010 version had “Fill Light” and “Recovery” sliders that no longer exist in 2012. If you open an image and your sliders don’t match what you’re used to seeing, this is why.
Step 5: Update to the 2012 Process Version
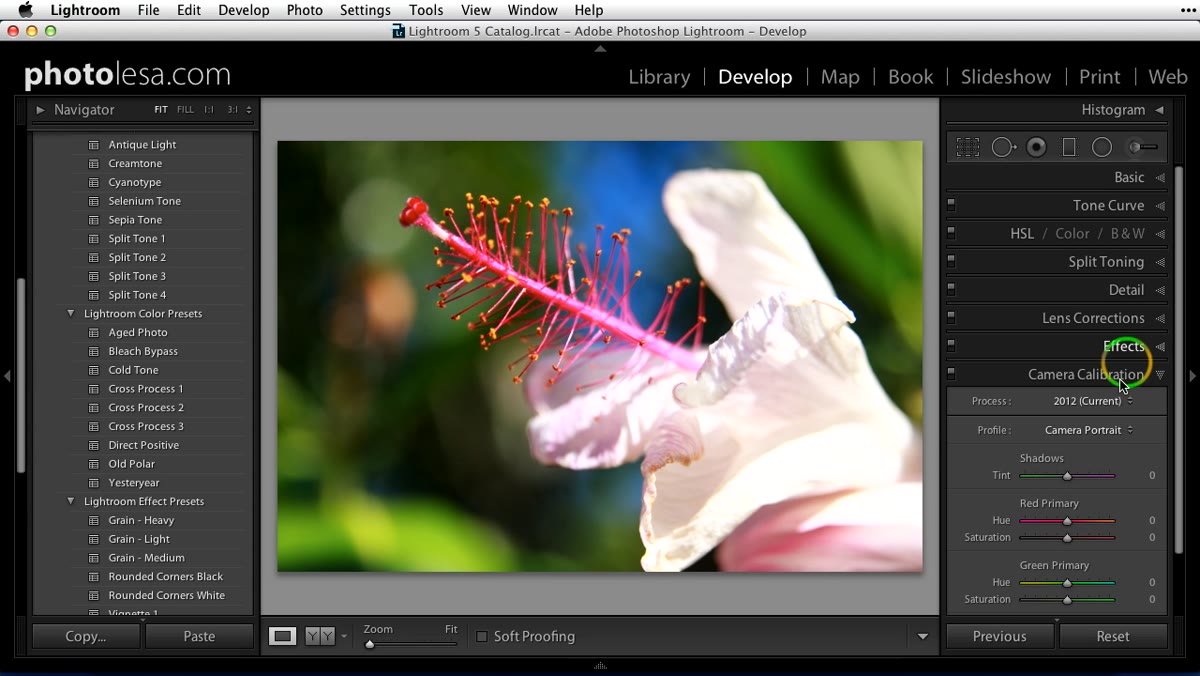 Selecting 2012 from the Process Version dropdown
Set the Process Version to 2012 for any image you’re actively working on. The 2012 update was significant — especially for highlight recovery. The math behind how Lightroom handles blown highlights improved enough that images which seemed unrecoverable on older versions can actually be pulled back with the 2012 Highlights slider.
Selecting 2012 from the Process Version dropdown
Set the Process Version to 2012 for any image you’re actively working on. The 2012 update was significant — especially for highlight recovery. The math behind how Lightroom handles blown highlights improved enough that images which seemed unrecoverable on older versions can actually be pulled back with the 2012 Highlights slider.
For new files shot today, Lightroom likely defaults to 2012 already. Where this matters is with archive edits. If you’re revisiting a catalog from several years ago or re-editing something that was first processed in an older version of Camera Raw, go to Camera Calibration first and confirm the process version before doing anything else. Changing it mid-edit can shift how existing slider positions render, so it’s better to set it before you start.
Step 6: Reset Before Setting a Default
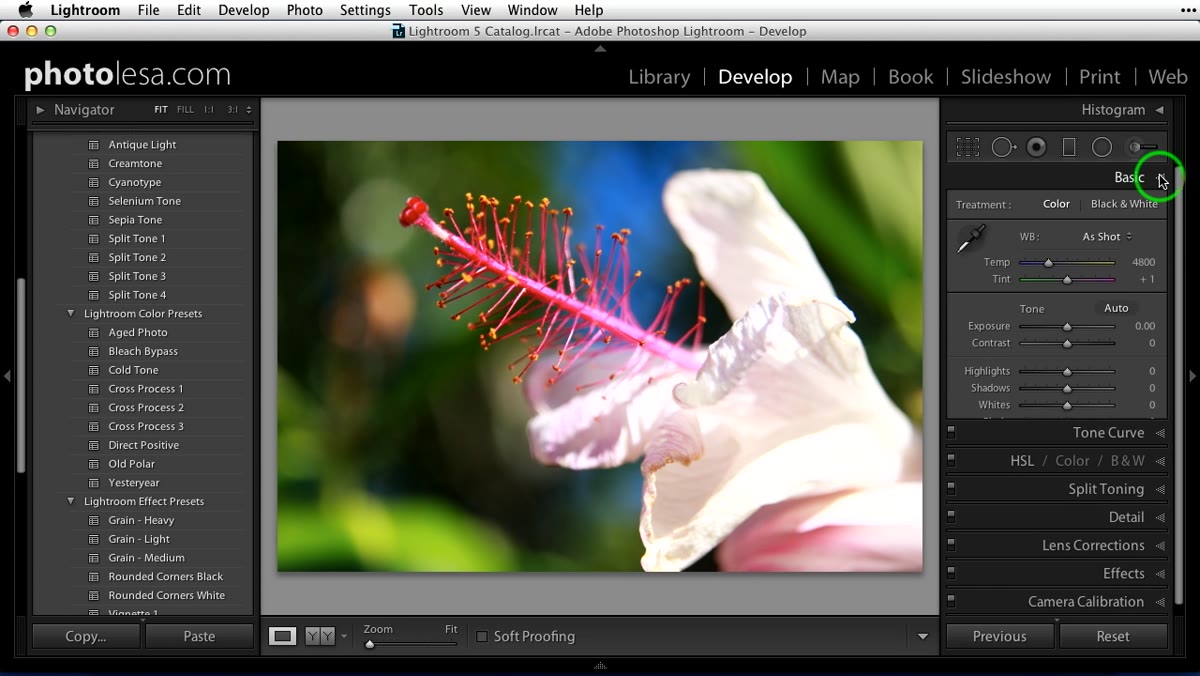 Reset button at the bottom of the Develop module
Once you’ve landed on a profile and process version you want to use as your standard starting point, hit the Reset button at the bottom of the Develop module. This zeros out every other adjustment so you’re only saving the profile and process version as the default, not accidentally baking in an exposure tweak or a highlight pull from the current image.
Reset button at the bottom of the Develop module
Once you’ve landed on a profile and process version you want to use as your standard starting point, hit the Reset button at the bottom of the Develop module. This zeros out every other adjustment so you’re only saving the profile and process version as the default, not accidentally baking in an exposure tweak or a highlight pull from the current image.
Setting a profile as your default means every new RAW file opens with that starting point already applied. You walk into every edit on the same foundation, which makes batch processing and preset behavior far more consistent.
My Caveat: Your Camera Body Matters More Than You Think
I shoot with two different bodies depending on the job, and I learned early on that a preset built around one body’s color science looks noticeably different when applied to files from the other. Camera profiles are manufacturer and model specific — a Canon Camera Portrait and a Fuji Camera Portrait are not doing the same thing. When I build presets now (still naming them after songs, still not stopping that habit), I build separate versions for each body and store them accordingly. It’s extra work upfront that saves a lot of corrective work later.
If you shoot hybrid or switch bodies regularly, spend 20 minutes running through this profile comparison process for each camera separately. Document what you find. Your future self will thank you.
The single most important thing this tutorial taught me: color problems that feel like slider problems are often profile problems. Get the foundation right before you touch exposure, contrast, or HSL, and the rest of the edit gets easier almost automatically.
Watch the full tutorial on YouTube to see Lesa walk through this live with her own images — the visual demonstration of how the profiles change the color in real time is worth seeing for yourself.
Comments
Leave a Comment