My Lightroom catalog used to look like the back seat of a touring van. Photos everywhere, collections named things like “final_REAL_v3,” no logical hierarchy, just a long scrolling list of panic. When you’re importing shoots constantly, organization is the thing that always feels like it can wait until later. Later never comes.
Collection Sets fixed that for me, and I genuinely wish someone had walked me through them when I was starting out. In Watch the full tutorial on YouTube, KelbyOne founder Scott Kelby does exactly that. He builds the concept from the ground up using a desktop folder metaphor that makes the whole system click in about five minutes. If you’ve been using Lightroom for a while and still aren’t using Collection Sets, this one is worth your time.
The core idea is simple: a Collection Set is a folder that holds other folders. But the way Kelby demonstrates it, starting with a scattered mess and building toward real structure, makes it land in a way that a dry definition never would. Here’s how it works, step by step.
Step 1: Understand the Problem Collection Sets Solve
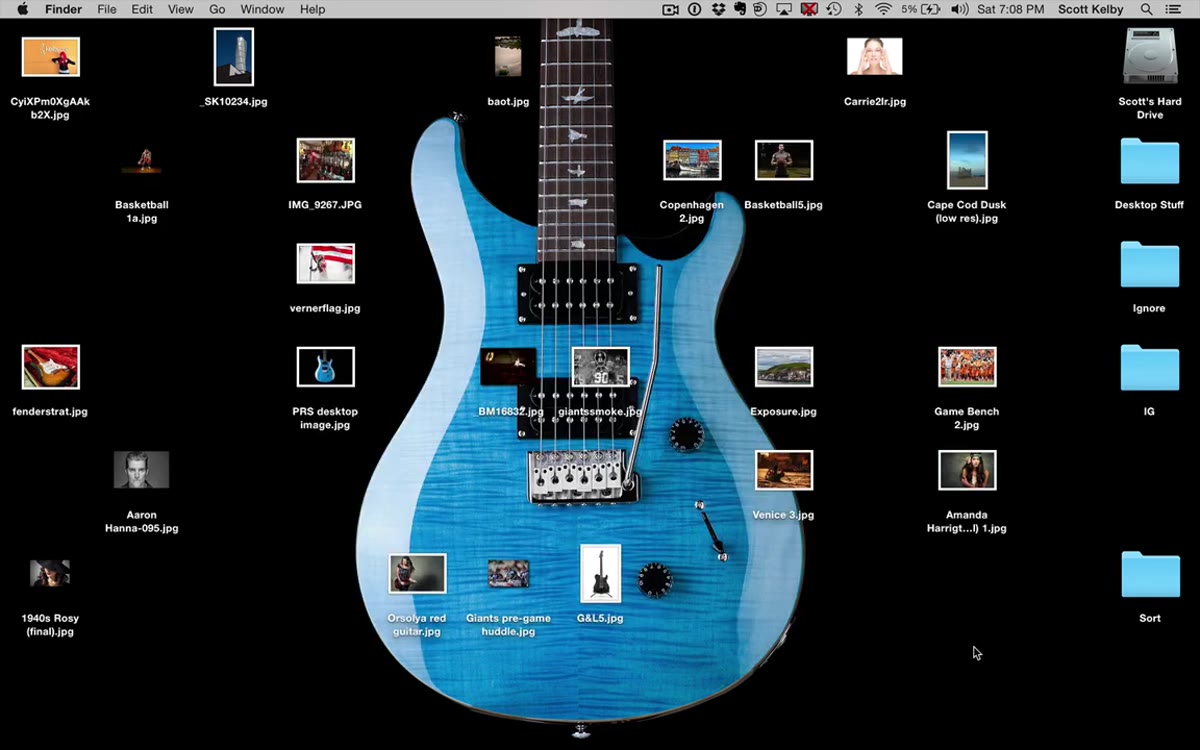 Desktop cluttered with unsorted photo files scattered everywhere
Before touching Lightroom, Kelby shows a desktop covered in photos with no organization whatsoever. It’s a familiar disaster. The point is immediate: without structure, even a small collection of images becomes hard to navigate. Scale that up to a real catalog with thousands of files across genres, clients, or years, and you have a genuine workflow problem. Collection Sets exist to give you the same nested folder logic you already use on your computer, but inside Lightroom where your edits and metadata live.
Desktop cluttered with unsorted photo files scattered everywhere
Before touching Lightroom, Kelby shows a desktop covered in photos with no organization whatsoever. It’s a familiar disaster. The point is immediate: without structure, even a small collection of images becomes hard to navigate. Scale that up to a real catalog with thousands of files across genres, clients, or years, and you have a genuine workflow problem. Collection Sets exist to give you the same nested folder logic you already use on your computer, but inside Lightroom where your edits and metadata live.
Step 2: Think in Categories First
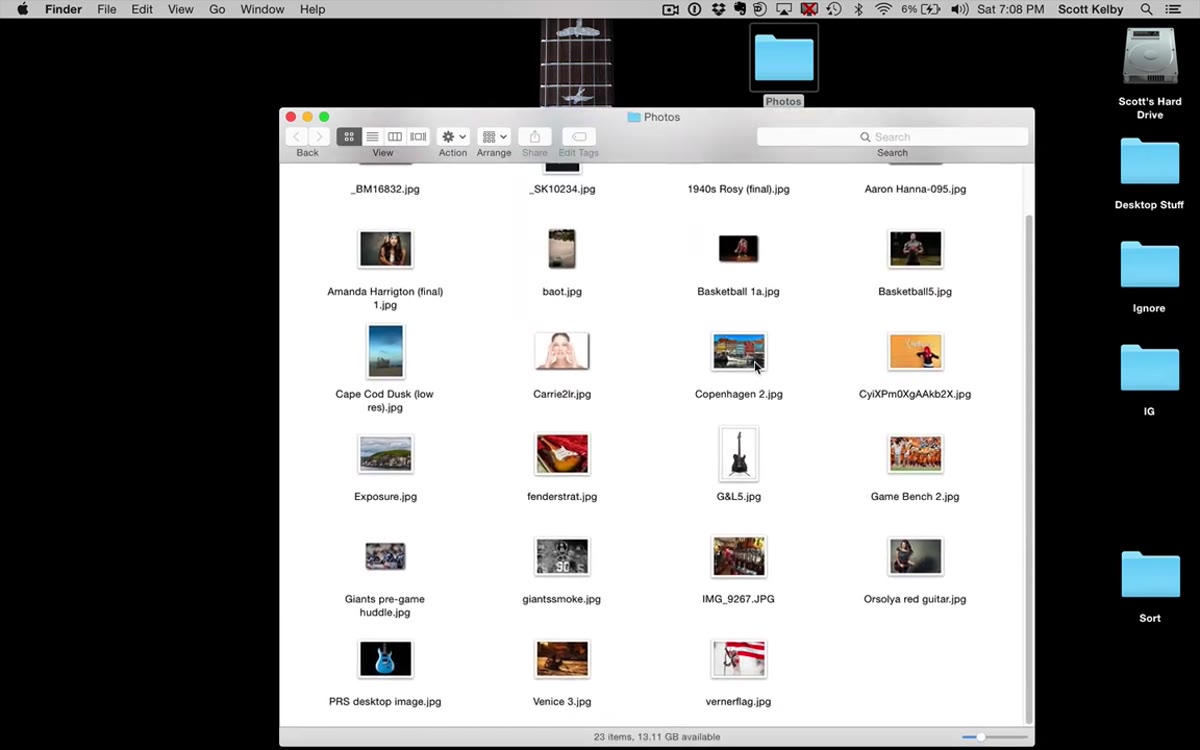 Desktop folder created and named, containing multiple photo types
Before creating anything in Lightroom, Kelby demonstrates the organizational thinking using actual desktop folders. He groups photos into broad categories: travel, guitars, sports. This pre-planning step matters more than most beginners realize. A Collection Set should represent a top-level category, something broad enough to contain multiple sub-groupings. If you have to think hard about where a photo belongs, your categories are probably too specific. Sports works. “2023 NFL Week 4” does not, at least not at the top level.
Desktop folder created and named, containing multiple photo types
Before creating anything in Lightroom, Kelby demonstrates the organizational thinking using actual desktop folders. He groups photos into broad categories: travel, guitars, sports. This pre-planning step matters more than most beginners realize. A Collection Set should represent a top-level category, something broad enough to contain multiple sub-groupings. If you have to think hard about where a photo belongs, your categories are probably too specific. Sports works. “2023 NFL Week 4” does not, at least not at the top level.
Take five minutes before building your first Collection Set to sketch out your categories on paper or in Notes. Future you will be grateful.
Step 3: Create a Collection Set in Lightroom
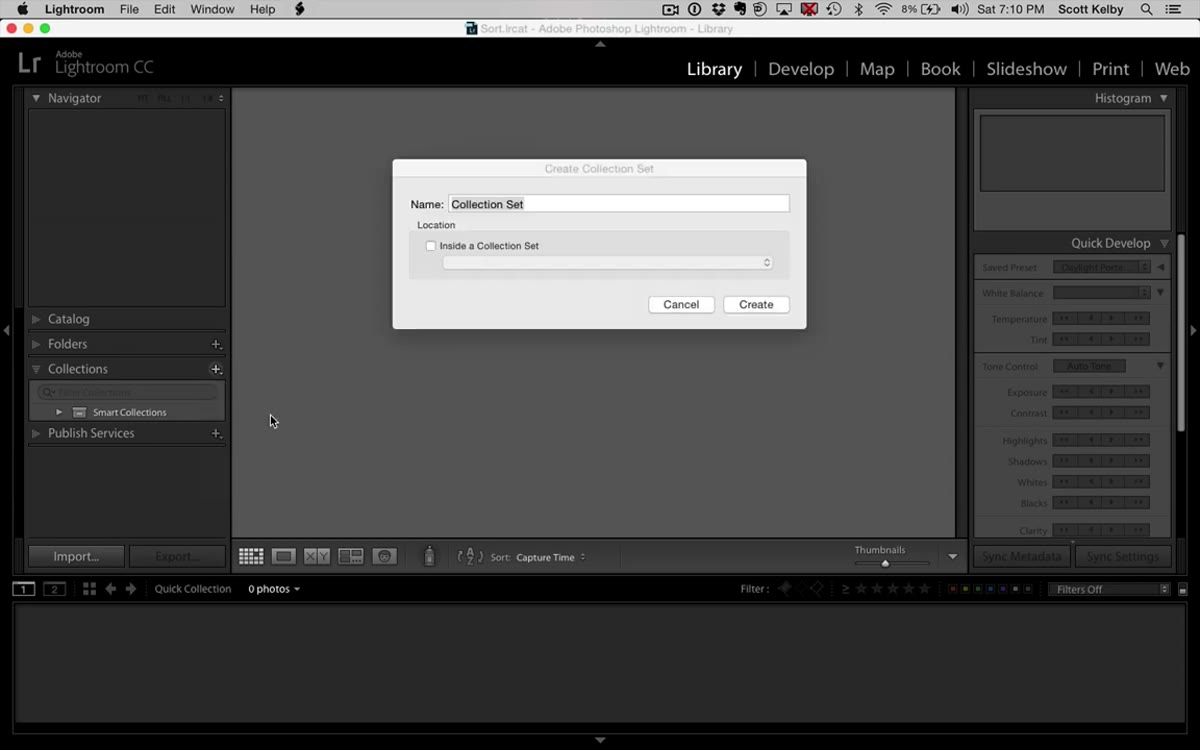 Lightroom Collections panel with new Collection Set being named “Sports”
Inside Lightroom’s Library module, navigate to the Collections panel on the left side. Click the plus icon and select “Create Collection Set.” Give it a broad category name. Kelby uses “Sports” as his example, and you’ll see it appear in the panel with a distinctive box icon rather than the stack-of-photos icon that regular collections use. That box icon is a useful visual reminder that a Collection Set is a container, not a collection you can add photos to directly. It holds collections the same way a filing cabinet drawer holds folders.
Lightroom Collections panel with new Collection Set being named “Sports”
Inside Lightroom’s Library module, navigate to the Collections panel on the left side. Click the plus icon and select “Create Collection Set.” Give it a broad category name. Kelby uses “Sports” as his example, and you’ll see it appear in the panel with a distinctive box icon rather than the stack-of-photos icon that regular collections use. That box icon is a useful visual reminder that a Collection Set is a container, not a collection you can add photos to directly. It holds collections the same way a filing cabinet drawer holds folders.
Step 4: Create Collections Inside the Set
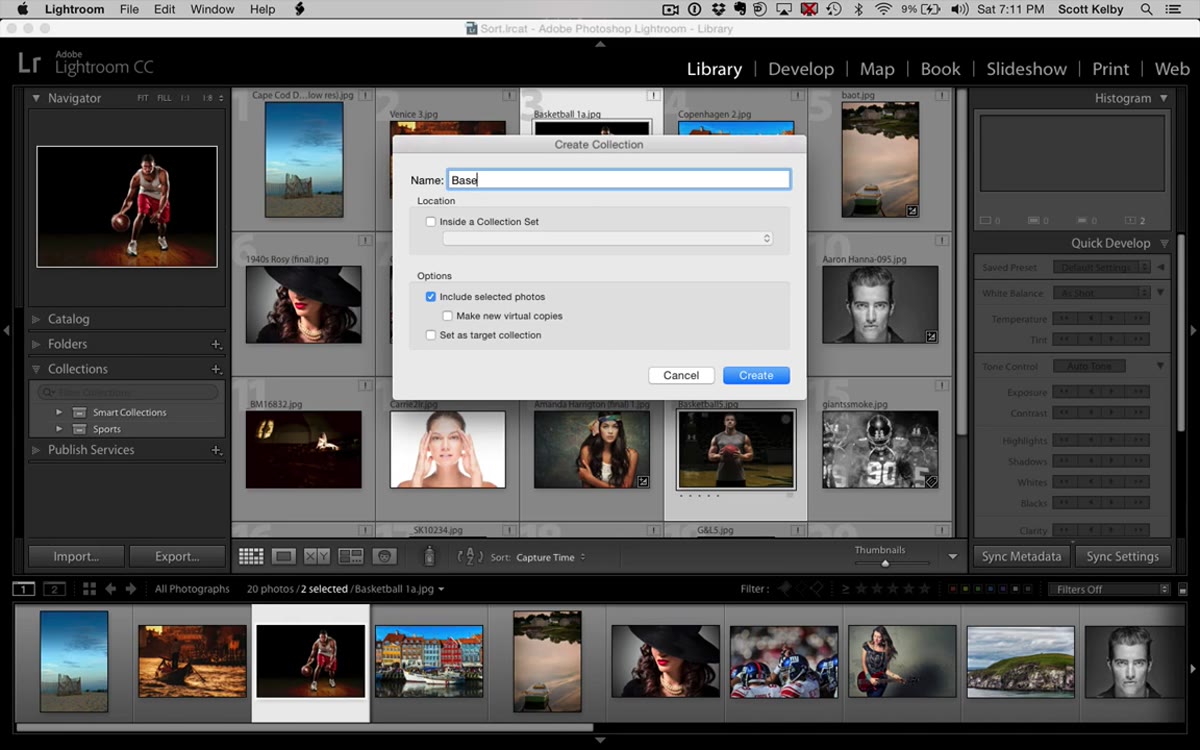 New collection dialog open with “Inside a Collection Set” option selected
Here’s where the nesting happens. When you create a new Collection (not a Collection Set), Lightroom gives you the option to place it inside an existing Collection Set. Kelby selects specific photos, opens the new collection dialog, names it “Basketball Portraits,” and assigns it to the “Sports” Collection Set he just created. Those photos now live inside Sports, nested one level deep. In the Collections panel, you can expand or collapse Sports to show or hide the Basketball Portraits collection underneath it. Clean and logical.
New collection dialog open with “Inside a Collection Set” option selected
Here’s where the nesting happens. When you create a new Collection (not a Collection Set), Lightroom gives you the option to place it inside an existing Collection Set. Kelby selects specific photos, opens the new collection dialog, names it “Basketball Portraits,” and assigns it to the “Sports” Collection Set he just created. Those photos now live inside Sports, nested one level deep. In the Collections panel, you can expand or collapse Sports to show or hide the Basketball Portraits collection underneath it. Clean and logical.
The key setting to notice in the dialog box is the checkbox that reads “Inside a Collection Set.” Check it, then choose your target set from the dropdown. If you skip this step, your new collection just floats loose in the panel and you’re back to the junk drawer.
Step 5: Build Multiple Collections Within One Set
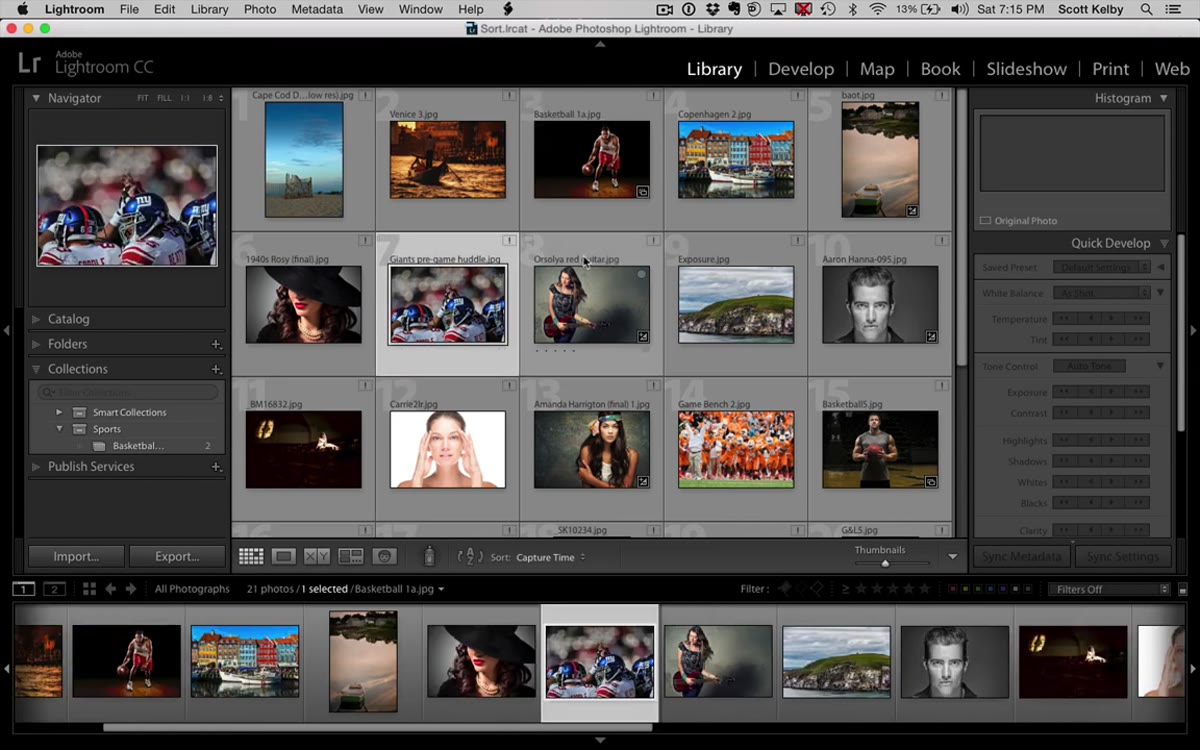 Sports Collection Set expanded showing Basketball Portraits nested inside
Once your Collection Set exists, adding more collections to it is fast. Kelby selects a group of NFL photos, hits Command+N on Mac (Control+N on Windows) to open the new collection dialog, names it “NFL,” and assigns it to Sports. He does the same for a “College” collection. The result is a Sports Collection Set containing three distinct collections: Basketball Portraits, NFL, and College. Each holds only the relevant photos, and all of them live under one organized parent.
Sports Collection Set expanded showing Basketball Portraits nested inside
Once your Collection Set exists, adding more collections to it is fast. Kelby selects a group of NFL photos, hits Command+N on Mac (Control+N on Windows) to open the new collection dialog, names it “NFL,” and assigns it to Sports. He does the same for a “College” collection. The result is a Sports Collection Set containing three distinct collections: Basketball Portraits, NFL, and College. Each holds only the relevant photos, and all of them live under one organized parent.
This is the move that scales. When a client’s project folder hits 800 images across multiple shoot days, breaking it into collections inside a single set keeps everything findable without flattening everything into one overwhelming list.
Step 6: Nest Collection Sets Inside Collection Sets
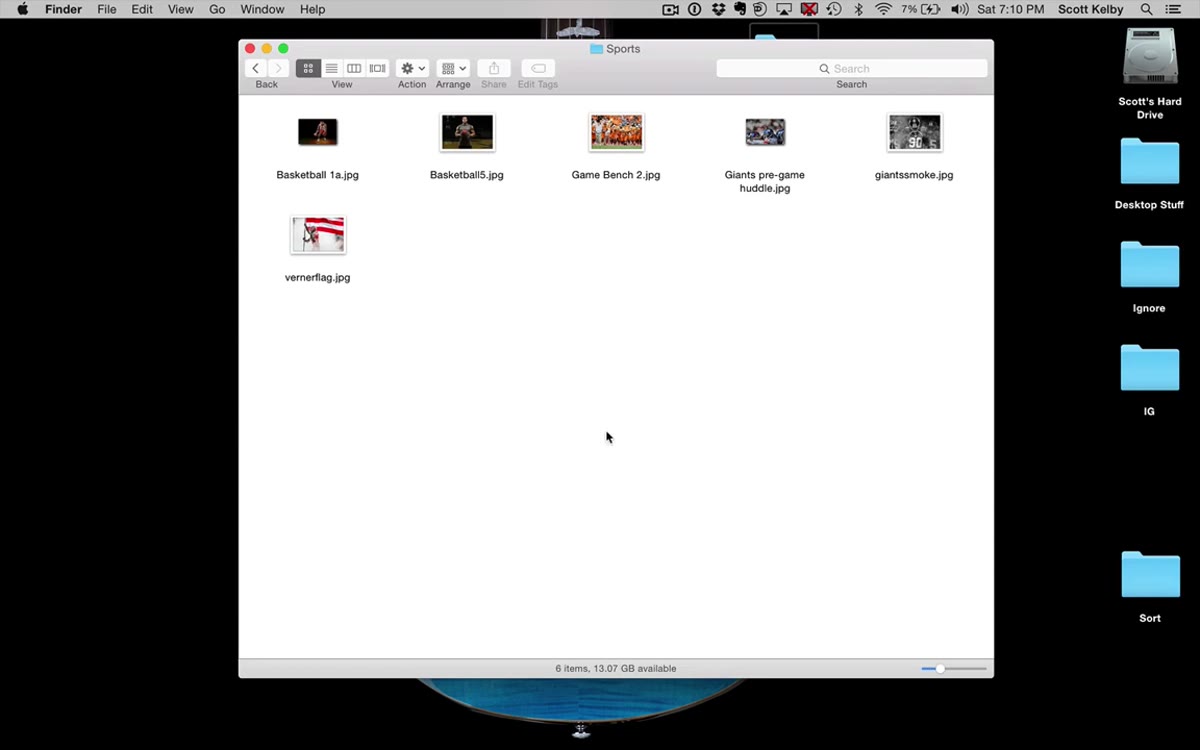 Desktop folders showing subfolders nested inside a Sports parent folder
Kelby’s desktop demonstration hints at something worth making explicit: you can put a Collection Set inside another Collection Set. He doesn’t dive deep into this in the beginner tutorial, but the same folder logic applies. A “Clients” Collection Set could contain a “Brand Work” Collection Set, which then contains individual collections for each campaign. Lightroom supports multiple levels of nesting, so your hierarchy can match however your brain naturally categorizes work.
Desktop folders showing subfolders nested inside a Sports parent folder
Kelby’s desktop demonstration hints at something worth making explicit: you can put a Collection Set inside another Collection Set. He doesn’t dive deep into this in the beginner tutorial, but the same folder logic applies. A “Clients” Collection Set could contain a “Brand Work” Collection Set, which then contains individual collections for each campaign. Lightroom supports multiple levels of nesting, so your hierarchy can match however your brain naturally categorizes work.
Don’t over-engineer it early on. Two levels of nesting handles most situations. If you find yourself three or four levels deep, that’s usually a sign the top-level category needs to be split into two separate Collection Sets.
What I Do Differently in My Own Catalog
The tutorial lays out the mechanics perfectly. Where I’ve extended the system is in using Collection Sets as project timelines. I have a top-level Collection Set for each year. Inside each year, I have Collection Sets for each major category of work: shows, portraits, personal projects. Individual collections sit inside those, often named after the specific session or event.
Because I name my presets after songs, I also keep a Collection Set called “Preset Development” where I gather reference images I’m editing while testing a new preset. When I finished the collection I released for free a couple of years back, those reference images were already organized and ready to reference. Fifty thousand downloads later, I’m convinced that an organized library is what lets you actually finish a project instead of losing it somewhere in the scroll.
The other thing I’d add: right-click any Collection Set and use the rename option freely. Your categories will evolve as your shooting does. Renaming a Collection Set takes three seconds and costs you nothing. Rebuilding a disorganized catalog costs you a weekend.
Collection Sets are not flashy. They don’t make your photos look better or speed up your export process. What they do is make your entire catalog feel manageable, which means you actually open Lightroom without dread and finish edits instead of avoiding them. That matters more than any single editing technique.
Watch the full tutorial on YouTube and build your first Collection Set before you import another shoot. You’ll thank yourself three months from now.
Comments (1)
Bookmarked. Coming back to this one for sure.
Leave a Comment