There is a specific kind of frustration that only Lightroom users understand. You are deep in your folder panel, you find five images that belong in a collection you made three months ago, and now you have to scroll through what feels like an archaeological dig of nested folders and collection sets just to drop those photos in the right place. And that is assuming you do not accidentally drop them into the wrong collection, which I have done more times than I want to admit. It is the kind of workflow tax that does not seem like a big deal until it happens fifteen times in a single editing session.
I was rewatching this CreativeLive tutorial with Lesa Snider, and she covers a fix so clean that I genuinely stopped and rewound it. Watch the full tutorial on YouTube - it is worth your full attention, not just a skim. The specific technique she demonstrates is the Target Collection workflow, and once it clicks, you will wonder how you survived without it.
The short version: instead of dragging photos to wherever a collection happens to live in your panel, you designate one collection as the “Target,” and then you add images to it with a single keystroke from anywhere in Lightroom. No scrolling, no dragging, no misfires.
Step 1: Understand the Problem with Standard Drag-and-Drop
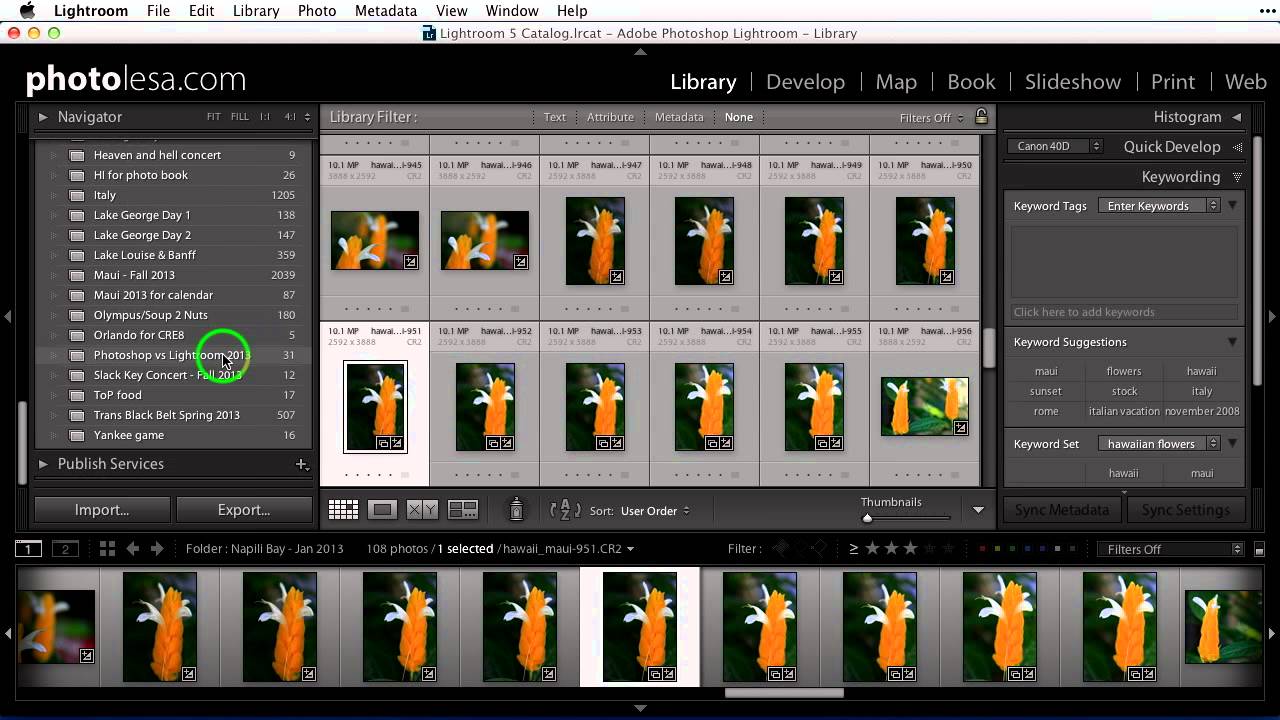
 Long collection list in the Lightroom Library panel
Regular collections in Lightroom are not smart - they do not auto-populate based on metadata or criteria. That means every time you want to add an image to one, you have to manually place it there. When your collection list is short, dragging and dropping works fine. When you have been using Lightroom seriously for more than a year, your collection list is never short. You end up in what Snider accurately calls “scrolling hell,” hunting for a specific collection while holding a selected image hostage.
Long collection list in the Lightroom Library panel
Regular collections in Lightroom are not smart - they do not auto-populate based on metadata or criteria. That means every time you want to add an image to one, you have to manually place it there. When your collection list is short, dragging and dropping works fine. When you have been using Lightroom seriously for more than a year, your collection list is never short. You end up in what Snider accurately calls “scrolling hell,” hunting for a specific collection while holding a selected image hostage.
This is not just annoying. It is a genuine accuracy problem. Drag-and-drop across a long list increases the chance of a misplaced photo, and if you do not catch it, that image quietly disappears into the wrong project.
Step 2: Identify the Collection You Want to Add To
 Folders panel open with active folder highlighted in white
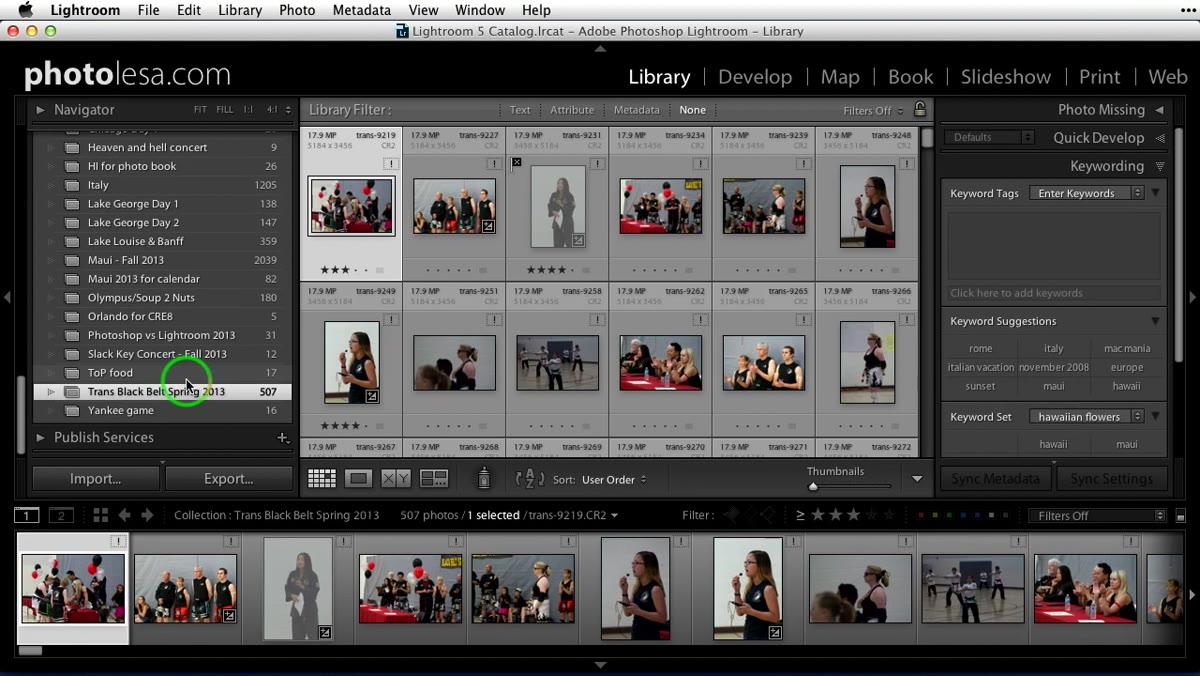
Before you set a Target Collection, make sure you know which one you are working toward. In Snider’s example, she is building a calendar project and has a specific collection for it. Navigate to your Collections panel on the left side of the Library module and find the collection you want to prioritize. It should be one you are actively filling, not an archive you have already closed out.
Folders panel open with active folder highlighted in white
Before you set a Target Collection, make sure you know which one you are working toward. In Snider’s example, she is building a calendar project and has a specific collection for it. Navigate to your Collections panel on the left side of the Library module and find the collection you want to prioritize. It should be one you are actively filling, not an archive you have already closed out.
The distinction matters: Target Collection is a temporary designation. You can change it any time, so think of it as tagging whichever collection is your current working destination.
Step 3: Set Your Target Collection
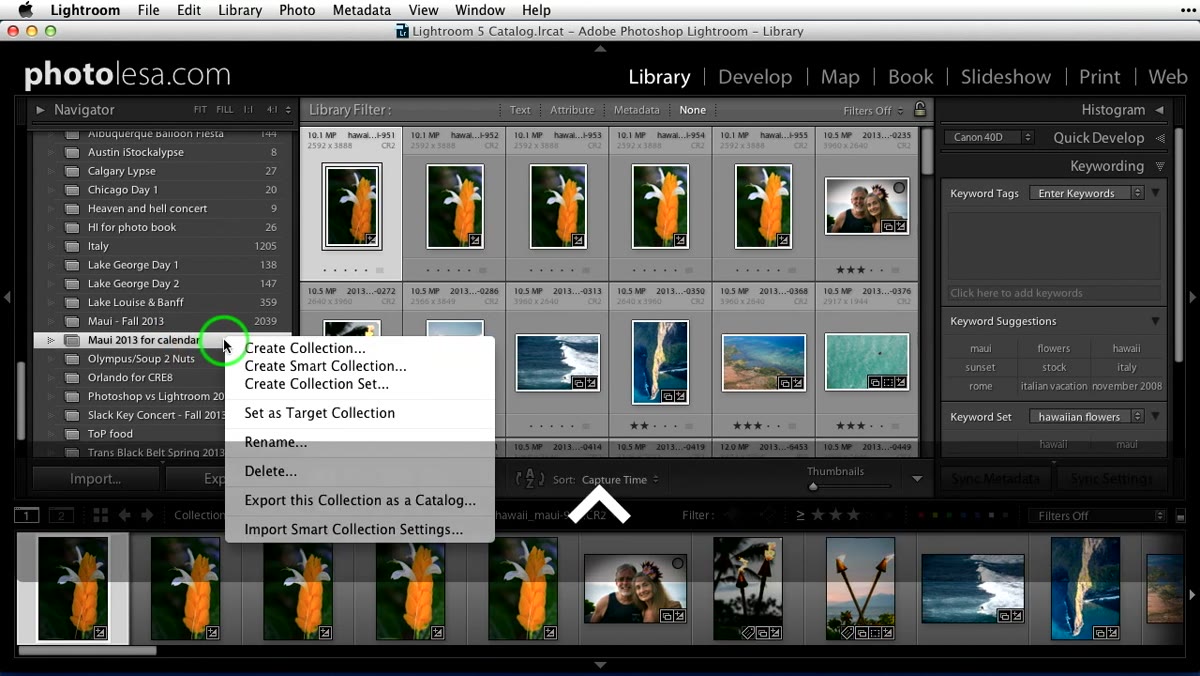 Right-click context menu open on a collection
Right-click (or Control-click on a Mac) directly on the collection name in the Collections panel. In the context menu that appears, you will see the option “Set as Target Collection.” Click it.
Right-click context menu open on a collection
Right-click (or Control-click on a Mac) directly on the collection name in the Collections panel. In the context menu that appears, you will see the option “Set as Target Collection.” Click it.
That is the whole step. Once you do, Lightroom will place a small plus sign next to that collection’s name in the panel. That little icon is your confirmation that the Target is active. You will see it every time you glance at the Collections panel, which makes it easy to remember what your current destination is.
Step 4: Navigate Freely to Your Source Images
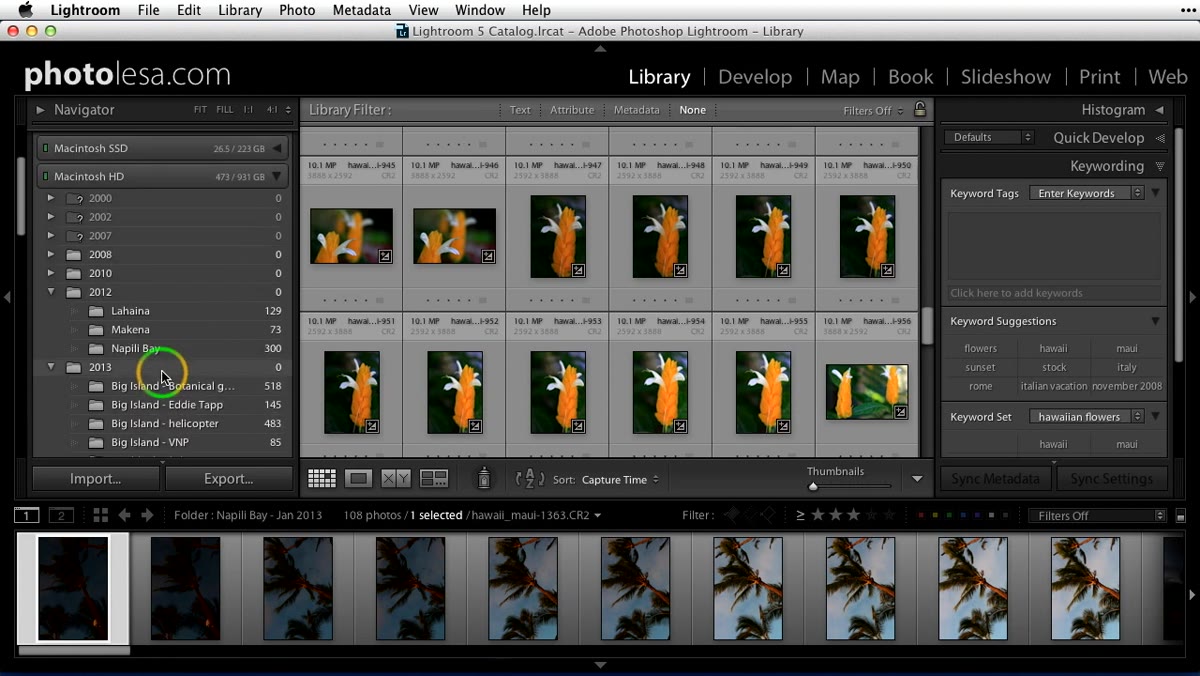
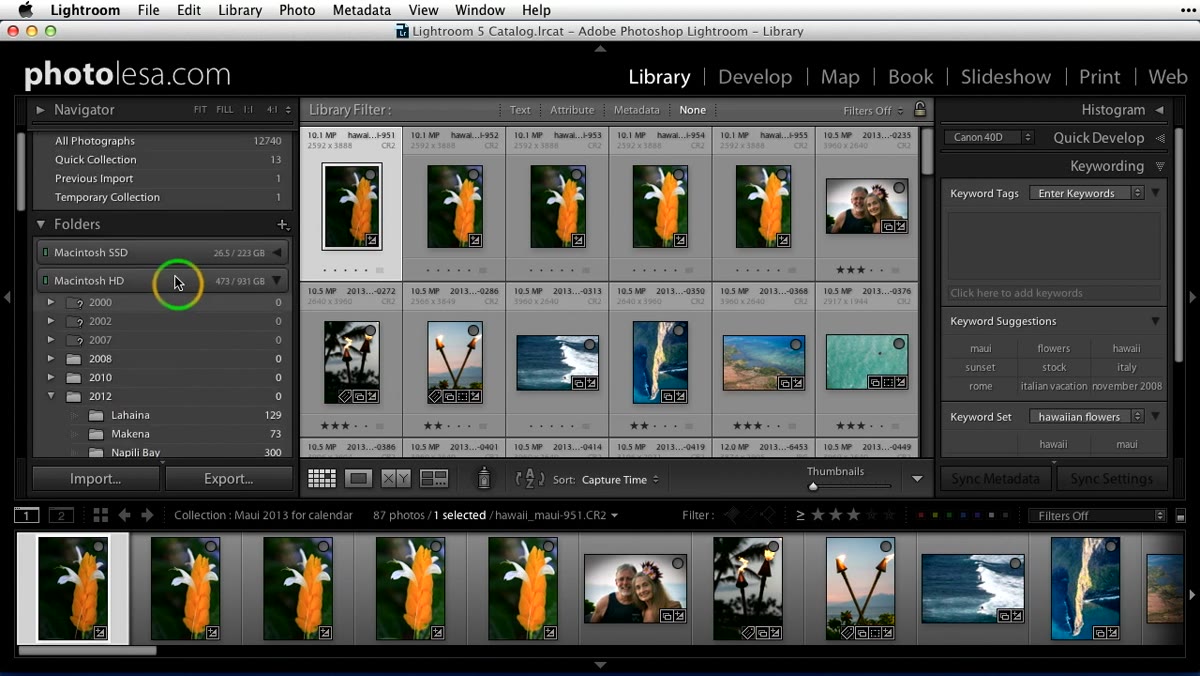 Folders panel active, browsing directory structure
Here is where the workflow opens up. Once your Target Collection is set, you can go anywhere in Lightroom - back to your Folders panel, into a different collection, wherever your source images live. You are not locked into proximity to the destination. Snider demonstrates this by moving back into her folder structure and finding a batch of images completely separate from the collection she set as the Target.
Folders panel active, browsing directory structure
Here is where the workflow opens up. Once your Target Collection is set, you can go anywhere in Lightroom - back to your Folders panel, into a different collection, wherever your source images live. You are not locked into proximity to the destination. Snider demonstrates this by moving back into her folder structure and finding a batch of images completely separate from the collection she set as the Target.
Browse to whichever folder or view contains the photos you want to add. Select them the way you normally would: click one, Shift-click to select a range, or Command/Ctrl-click to pick individual images.
Step 5: Add Images Using the Keyboard Shortcut
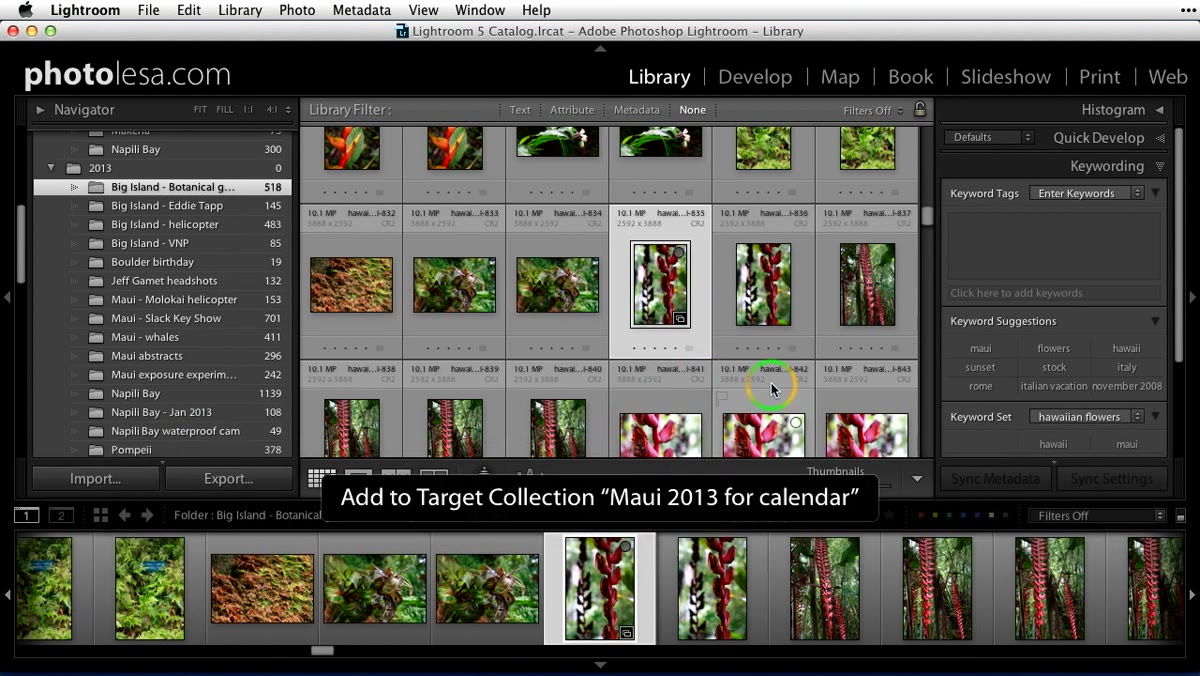 Images selected in grid view before shortcut is pressed
With your images selected, press the letter B. That is it. B adds the selected photos directly to whatever collection is currently set as your Target, without any dragging, without any scrolling, without leaving the view you are in.
Images selected in grid view before shortcut is pressed
With your images selected, press the letter B. That is it. B adds the selected photos directly to whatever collection is currently set as your Target, without any dragging, without any scrolling, without leaving the view you are in.
Snider walks through selecting a handful of images and pressing B to send them all to her calendar collection instantly. The images move in the background while she stays exactly where she is in her folder structure. No context switching, no panel-hunting. Just B and done.
Step 6: Verify the Photos Arrived Correctly
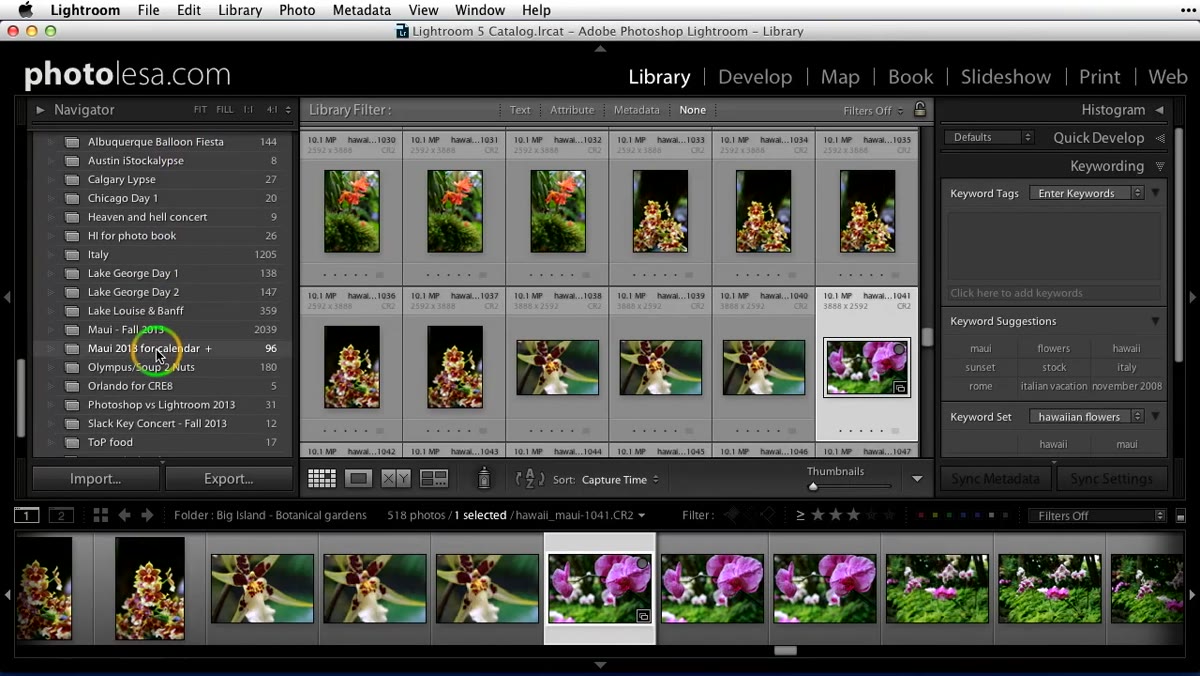 Target collection selected, newly added images visible in grid
After you have added a batch, scroll down to your Collections panel and click on the Target Collection to open it. You should see all the images you just added sitting alongside whatever was already there. This confirmation step takes five seconds and is worth building into your habit, especially early on when the workflow is new.
Target collection selected, newly added images visible in grid
After you have added a batch, scroll down to your Collections panel and click on the Target Collection to open it. You should see all the images you just added sitting alongside whatever was already there. This confirmation step takes five seconds and is worth building into your habit, especially early on when the workflow is new.
If something looks off, Lightroom’s History panel will show you exactly what happened and you can undo cleanly. But in practice, the B shortcut is far less error-prone than drag-and-drop because you are never trying to land a moving target.
A Caveat From My Own Library
I use this technique constantly, and the one trap I have fallen into is forgetting to update the Target Collection when I switch projects. B will keep sending images to whatever collection you last set as the target, even days later. I once added a solid twenty vacation photos to a client collection because I had not reset the Target after wrapping a job. Nothing catastrophic, but annoying to clean up.
My fix: whenever I close out a project, I right-click the Target Collection, remove its target status (or just set a fresh one), and make a note in my session. If you work on multiple projects in a single Lightroom session, check the plus sign in the Collections panel before you start firing off B shortcuts. That little icon is doing important communication work - pay attention to it.
The single most useful thing Lesa Snider demonstrates in this tutorial is how much workflow friction you can eliminate just by learning which tools Lightroom already has built in. Target Collections are not a hidden feature or a third-party plugin. They are native, they are fast, and they make a real difference when your library is large enough to be genuinely unwieldy. If you are managing any serious volume of images, this is one of those techniques that pays for itself the first time you use it.
Watch the full tutorial on YouTube to see Snider walk through this and several other library management techniques that are worth stealing for your own workflow.
Comments
Leave a Comment