I’ve been editing photos in Lightroom long enough to have opinions about it that could fill a book nobody asked me to write. My presets are named after songs. My cat ISO knocked my camera off a shelf at 12800. I know this software the way some people know their hometown streets. So when photographers kept telling me I was sleeping on a preprocessing step before I even opened Lightroom, I did what any overconfident editor does: I smiled, nodded, and kept doing things my way.
Then I watched this video and felt appropriately humbled.
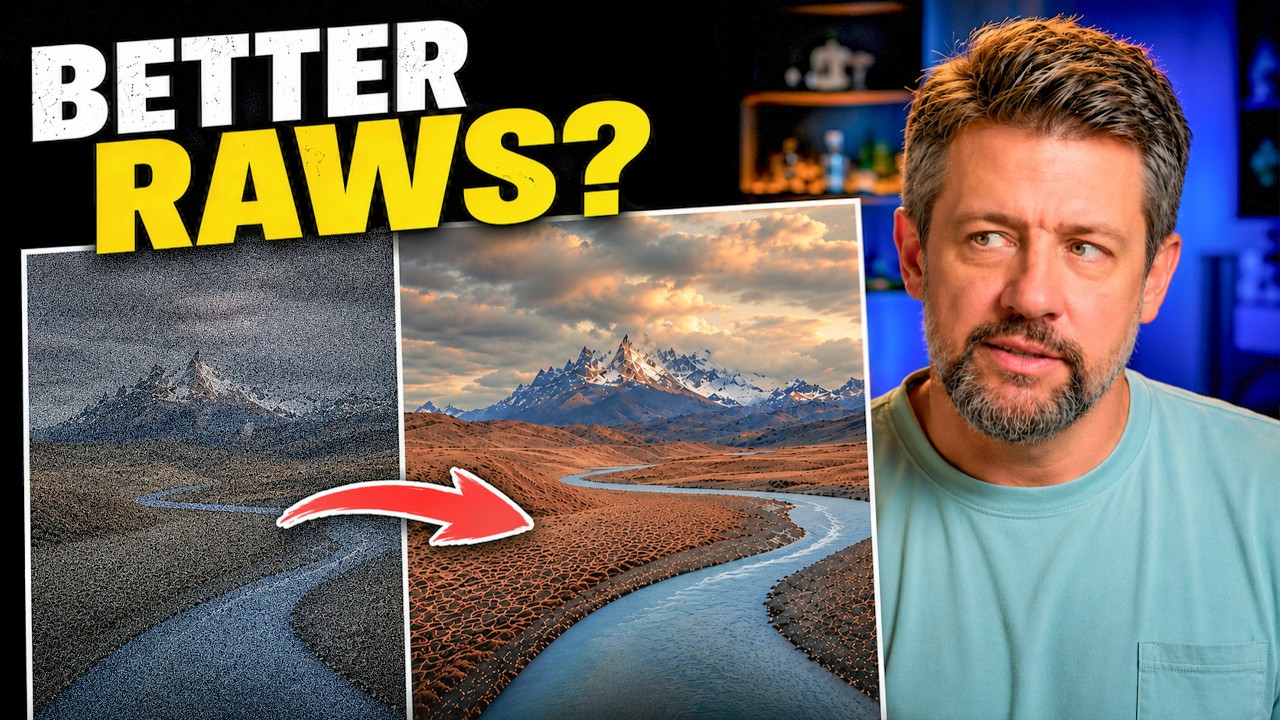
In this Mark Denney tutorial, he puts DxO PureRAW 6 through a real-world test on his own landscape images, comparing raw file quality before and after processing through the software. Mark is someone I pay attention to precisely because he doesn’t hype tools he doesn’t use. He spent years ignoring PureRAW too, which is the whole point of the video. When he finally tested it seriously, the results shifted his workflow. That credibility matters to me more than any sponsored talking point.
What DxO PureRAW 6 Actually Does Before Lightroom Sees Your File
The core idea is simple and worth stating plainly: PureRAW processes your RAW file before Lightroom ever touches it. It applies lens corrections, sharpening, and AI-powered noise reduction using DxO’s own optical modules, which are calibrated to specific camera and lens combinations. What lands in your Lightroom catalog is a cleaner, corrected DNG that you then edit normally.
This matters because Lightroom’s built-in noise reduction, even the AI-powered Denoise tool introduced a couple of years ago, works on a file that already has embedded lens distortion, vignetting, and chromatic aberration baked in. PureRAW handles those corrections at the demosaicing stage, which is earlier in the pipeline and theoretically more accurate. You’re not correcting problems after the fact. You’re preventing some of them from forming.
DeepPRIME 3 vs. DeepPRIME XD3 - Which One to Use
Mark tests both of PureRAW 6’s main noise reduction engines, and the distinction is worth understanding before you pick one and forget about it.
DeepPRIME 3 is the standard option. It produces cleaner files with smooth noise reduction that preserves good detail, and it processes faster. For most shooting situations, including landscape work at moderate ISOs, this is the one you’ll reach for.
DeepPRIME XD3 is the extended detail version. It pushes harder to recover fine texture in high-frequency areas like foliage, fur, or rock faces. The tradeoff is longer processing time and occasionally an almost over-sharpened quality in areas with complex detail. Mark’s comparison shots show XD3 pulling out texture that DeepPRIME 3 smooths over slightly, but he’s honest that the difference is subtle in many cases and dramatic mainly at higher ISOs.
His practical recommendation, which I’ve started following: use DeepPRIME 3 as your default and reach for XD3 specifically on high-ISO files where fine texture recovery is worth the extra processing time.
AI Dust Removal and High Fidelity File Compression
Two features in PureRAW 6 that don’t get enough attention in most write-ups.
The AI dust removal works the same way you’d hope it does. PureRAW identifies sensor dust spots and removes them before your file reaches Lightroom. If you shoot with a lens stopped down past f/11, you know exactly how much time this could save you. Mark’s test on a landscape shot with visible dust specks shows clean removal without the smearing artifacts that sometimes appear when you use Lightroom’s Heal tool on a busy background. It’s not magic and it won’t replace a sensor cleaning, but it’s a legitimate time saver on files where dust is consistently showing up in the same spots.
High Fidelity File Compression is the newer addition. It reduces the output DNG file size while preserving image quality. Mark’s comparison shows meaningful size reduction with no visible quality loss at normal editing and export magnifications. For photographers managing large landscape shoots on tight drive space, this is worth enabling.
Where I’d Push Back Slightly
Mark’s results are convincing, especially at ISO 3200 and above. But I’d add a practical caveat for photographers who shoot tethered or work with a fast turnaround: PureRAW adds a processing step that takes real time. On a batch of 300 files from a full day of shooting, that time adds up. If you’re editing a wedding or a fast news assignment, it doesn’t belong in your workflow. If you’re a landscape or travel photographer with a smaller, more selective keeper rate, the math is different.
I’ve started running my high-ISO keepers through PureRAW 6 and leaving the rest untouched. A selective approach means I’m not spending processing time on files I was going to export at web resolution anyway.
The Thing That Changes When You Try This
The most useful thing Mark demonstrates isn’t any single feature. It’s the idea that your RAW file isn’t automatically the best starting point for an edit. Preprocessing can give Lightroom better material to work with, and better input consistently produces better output. It sounds obvious once someone shows you the comparison. It just hadn’t been obvious to me before.
If you’re working primarily in Lightroom and you shoot in challenging light conditions, this step is worth testing on your own files before you decide it’s not for you. That’s exactly what Mark did, and the honest before and after comparisons he walks through make the case better than I can in text alone.
Watch the full video for the side-by-side visual comparisons, especially the XD3 detail crops, which are the kind of thing you really need to see on screen to evaluate properly: I Ignored This RAW Editing Step for Years by Mark Denney
Comments
Leave a Comment