I edit landscape photos shot at ISO 3200 more often than I’d like to admit. Nashville doesn’t exactly offer perfect golden-hour light on command, and when the light gets low, the ISO goes up, and then the noise shows up, and then I spend twenty minutes in Lightroom’s Denoise panel trying to recover something that looks clean without looking plastic. It works, most of the time. But I kept running into a ceiling, a point where the detail just wasn’t coming back no matter how carefully I pushed the sliders.
That’s the problem Mark Denney’s tutorial cracked open for me.
Why This Step Gets Skipped
Mark frames this perfectly: he avoided DxO PureRAW for years not because he doubted it, but because he couldn’t see a clear reason to add another tool to a workflow that already lived inside Lightroom and Photoshop. That’s exactly where I’ve been. My presets are dialed in, my export settings are muscle memory, and anything that breaks the chain feels like friction.
But his reasoning for finally testing it landed: PureRAW doesn’t replace your editing software. It processes the RAW file before you edit it, so by the time your photo hits Lightroom, you’re already working with cleaner data. The editing you do after that point builds on a better foundation. That reframe is what made me actually pay attention.
What DxO PureRAW 6 Actually Does to Your File
The workflow Mark demonstrates is straightforward. You import your RAW files into PureRAW 6, choose your processing engine, and let it run. The output is a new DNG file that lands back into Lightroom alongside your original. You haven’t touched your source file. You haven’t changed your editing process. You’ve just upgraded the raw material.
The two main processing engines are DeepPRIME 3 and DeepPRIME XD3. Mark tests both side by side on the same landscape files, and the differences are visible even in the video at normal playback size. DeepPRIME 3 handles noise reduction extremely well, pulling grain out of shadow areas while keeping edge detail intact. DeepPRIME XD3 goes further, specifically targeting the fine luminance detail that gets lost in high-ISO shots, the kind of micro-texture in bark, rock faces, or dry grass that makes a landscape feel tactile rather than rendered.
For most shots, DeepPRIME 3 is the right call. For anything shot above ISO 1600 where texture is a key part of the image, XD3 earns its longer processing time.
The Two Features That Actually Changed My Mind
Mark spends time on two newer additions that weren’t part of earlier PureRAW versions, and they’re the ones that made me download the trial immediately.
The first is AI dust removal. If you shoot outdoors with any frequency, you know the ritual: check the sky, spot the sensor dust, go into Photoshop, heal it out, repeat across twenty frames. PureRAW 6 detects and removes sensor dust automatically during processing, before you’ve even opened the file in Lightroom. Mark shows this on actual files with visible dust spots, and the results are clean without any halos or smearing at the edges. That alone probably saves me an hour per trip.
The second is High Fidelity File Compression. PureRAW’s processed DNGs are large, noticeably larger than the originals because of everything the software has done to them. The new compression option reduces file size significantly without degrading the image quality you just paid for. Mark’s comparison in the video shows the numbers clearly, and the visual difference is negligible. If storage is a constraint in your workflow, this matters.
Where I’d Push Back (or at Least Adjust)
Here’s where I’d do things a little differently. Mark processes entire batches through PureRAW before editing, which makes sense for his landscape work where most of the shots have similar noise characteristics and he’s likely keeping a higher percentage of frames.
I’d be more selective. When I’m culling a session, maybe thirty percent of the photos are actually going to get edited. Running all of them through PureRAW first means waiting on processing time for files I’ll delete anyway. My adjusted version of this workflow: do a rough cull in Lightroom first based on composition and exposure, then export only the selects to PureRAW for processing. You get all the quality benefits without paying the time cost on frames you were going to trash regardless.
Processing time on the current version is meaningful but not punishing. Mark notes it varies by file size and engine choice. On a modern machine, expect somewhere in the range of one to three minutes per file for XD3. Batch it overnight if you’re working with a full landscape shoot.
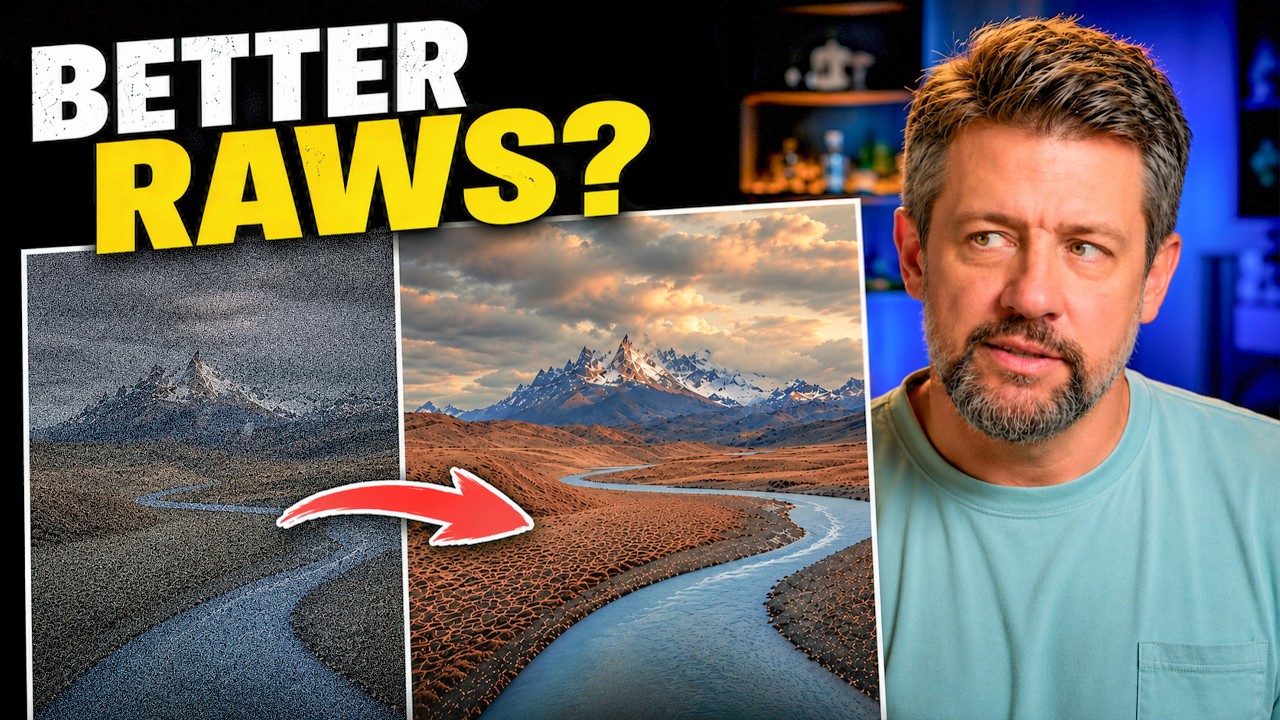
What the Before/After Actually Looks Like
Mark’s comparison shots are the most persuasive part of the video. He pulls up the same frame from both the straight-from-camera DNG and the PureRAW-processed version, zoomed into the shadow areas and high-frequency detail regions. The unprocessed version shows the kind of noise that Lightroom’s Denoise handles adequately but not elegantly: it softens things slightly to cover the grain. The PureRAW version shows the same areas with grain actually removed, not smoothed over, which means the sharpening you apply afterward is working on real detail instead of compensating for softness introduced by noise reduction.
That distinction matters more than the before/after photos suggest. It’s not just a cleaner image. It’s a more workable image. Every adjustment you make downstream lands more accurately because the underlying pixel data is more accurate.
The single most useful takeaway here: better noise reduction before editing produces better edits, not just better base files, because every slider you touch after that point is responding to cleaner information. Watch Mark’s full video for the visual comparison that makes this concrete.
Comments
Leave a Comment