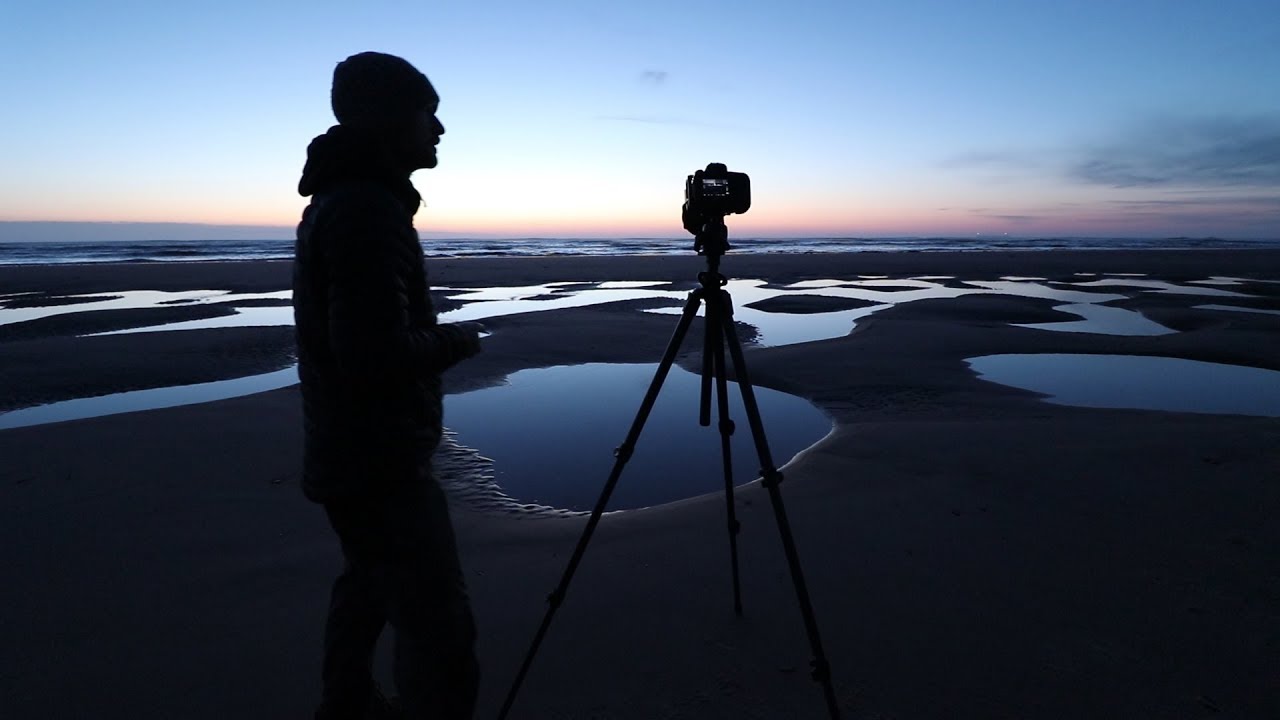
There’s a specific kind of frustration I know well: you show up to a location, the light is mediocre, your expectations are low, and somehow you still come home with a frame worth editing. The trap most people fall into is that they only learn to edit the easy shots, the ones with dramatic skies and perfect golden light. But the real skill, the one that actually makes you better, is knowing how to draw something out of a photo that wasn’t handed to you on a plate.
That’s exactly what hooked me about this Thomas Heaton tutorial, where he documents a full sunrise shoot at his local beach in northeast England, from scouting the scene to finishing the edit in Lightroom. Watch the full tutorial on YouTube. The beach had been reshaped by winter storms, leaving behind a series of tide pools that Heaton had been watching for weeks, waiting for the exact moment when low tide and sunrise would overlap. The conditions on this particular morning weren’t spectacular. Clear sky, a heavy bank of cloud sitting on the horizon, no fiery drama. What he does with that scenario, both in the field and in post, is worth walking through carefully.
I edit out of a small setup here in Nashville, usually with a record on the turntable and ISO the cat somewhere inconvenient. The lessons in this one landed practically for me because Heaton doesn’t manufacture drama. He works with what’s real, and that’s the kind of editing problem I find myself solving most often.
Step 1: Read the Location Before You Lift the Camera
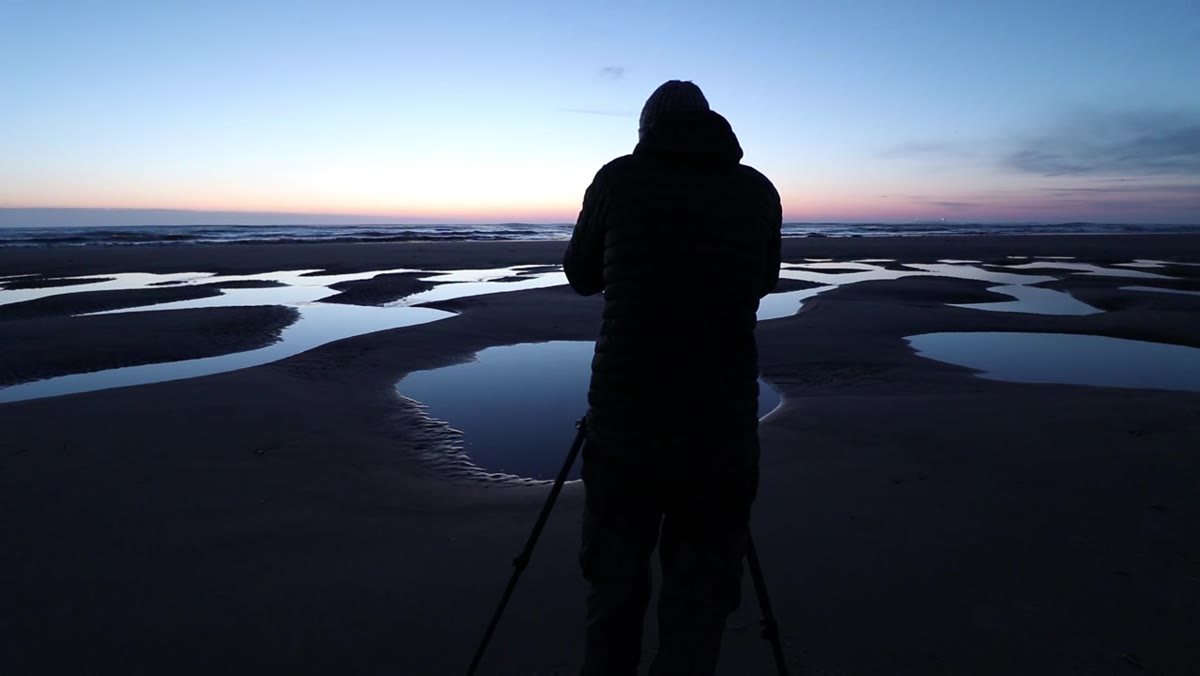 Heaton walking a beach transformed by recent storms
Heaton doesn’t just show up and start shooting. He spends real time observing how the beach has changed. The storms had eroded the flat, open sand and replaced it with a network of interlocking tide pools, each one holding still, reflective water at low tide. Before he even sets up his tripod, he’s building a mental model of what this scene offers structurally.
Heaton walking a beach transformed by recent storms
Heaton doesn’t just show up and start shooting. He spends real time observing how the beach has changed. The storms had eroded the flat, open sand and replaced it with a network of interlocking tide pools, each one holding still, reflective water at low tide. Before he even sets up his tripod, he’s building a mental model of what this scene offers structurally.
For your own shoots, this translates directly into a pre-shot habit: walk the location first, identify what’s genuinely interesting, and resist the urge to photograph the first thing you see. Heaton had been visiting this beach for years, which is why he immediately recognized that it was at its peak. Familiarity with a location pays off in ways that one-time visits simply can’t replicate.
Step 2: Choose a Composition Built Around a Strong Foreground Anchor
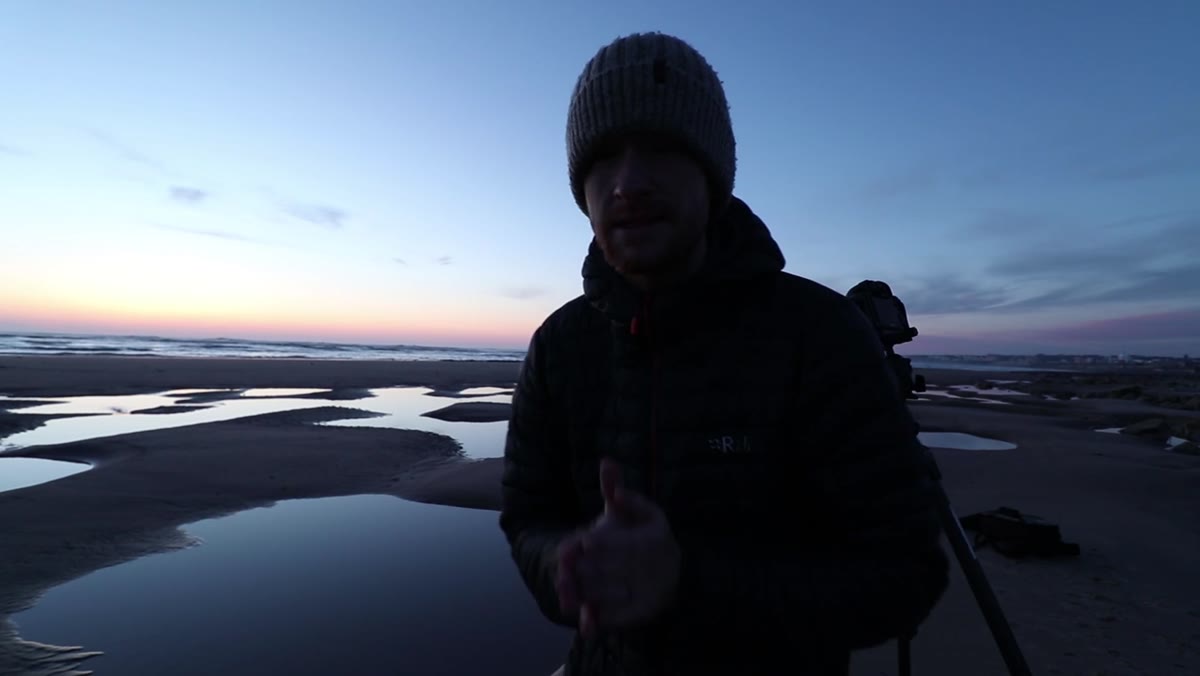 Wide foreground tide pool dominating lower two-thirds of the frame
The composition Heaton settles on is deliberately bold. He places a large, circular tide pool in the immediate foreground, letting it fill most of the lower frame. Behind it, smaller pools trail off toward the waterline, creating a natural sense of depth and movement. The sky, because it offered very little, is kept to a minimum.
Wide foreground tide pool dominating lower two-thirds of the frame
The composition Heaton settles on is deliberately bold. He places a large, circular tide pool in the immediate foreground, letting it fill most of the lower frame. Behind it, smaller pools trail off toward the waterline, creating a natural sense of depth and movement. The sky, because it offered very little, is kept to a minimum.
This is a compositional decision worth studying. When conditions don’t give you a dramatic sky, you stop trying to feature it. The foreground becomes the whole argument. By letting texture, shape, and reflection do the work, Heaton builds an image that doesn’t need a pink and purple sunrise to justify itself. Simplicity, as he puts it, is the point.
Step 3: Match Your Lens Choice to the Story You’re Telling
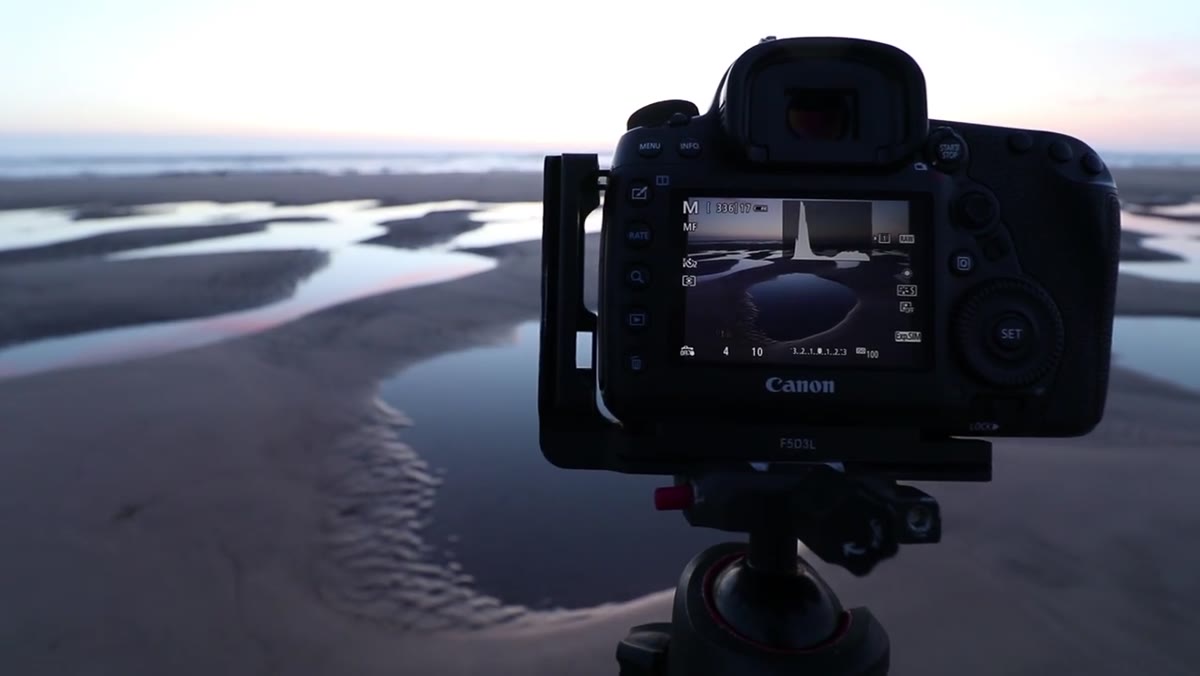
 Camera settings shown, 16mm focal length for foreground emphasis
Heaton shoots this at 16mm, the widest point of his lens. That’s not an accident. Wide angles compress time and space in a way that forces foreground elements to dominate, and they exaggerate the sense of depth as the eye travels from the foreground pool out to the ocean. If he had shot this at 35mm or 50mm, the tide pool in front of him would feel like a detail rather than a subject.
Camera settings shown, 16mm focal length for foreground emphasis
Heaton shoots this at 16mm, the widest point of his lens. That’s not an accident. Wide angles compress time and space in a way that forces foreground elements to dominate, and they exaggerate the sense of depth as the eye travels from the foreground pool out to the ocean. If he had shot this at 35mm or 50mm, the tide pool in front of him would feel like a detail rather than a subject.
When you’re choosing focal length, ask yourself what the scene’s primary argument is. Here, the argument is the geometry of these pools and the story of a storm-changed landscape. The wide angle makes that argument loudly and clearly. Everything else, the sky, the horizon, the water in the distance, is supporting material.
Step 4: Use a Graduated Filter to Balance Exposure in Camera
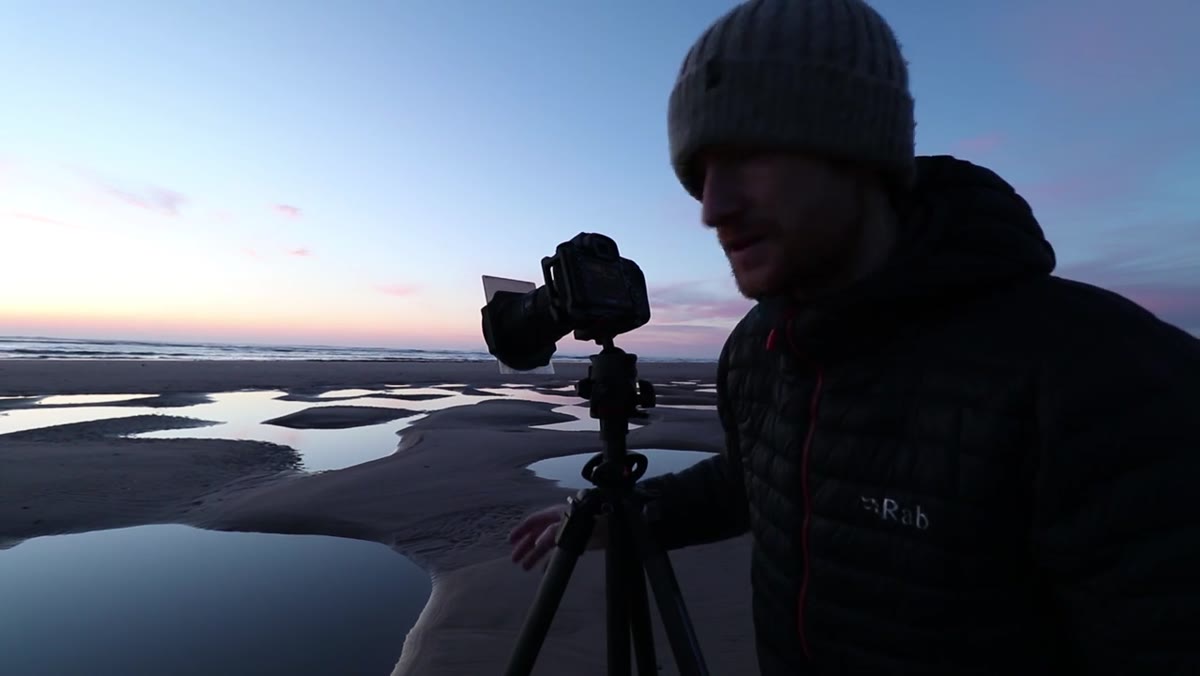
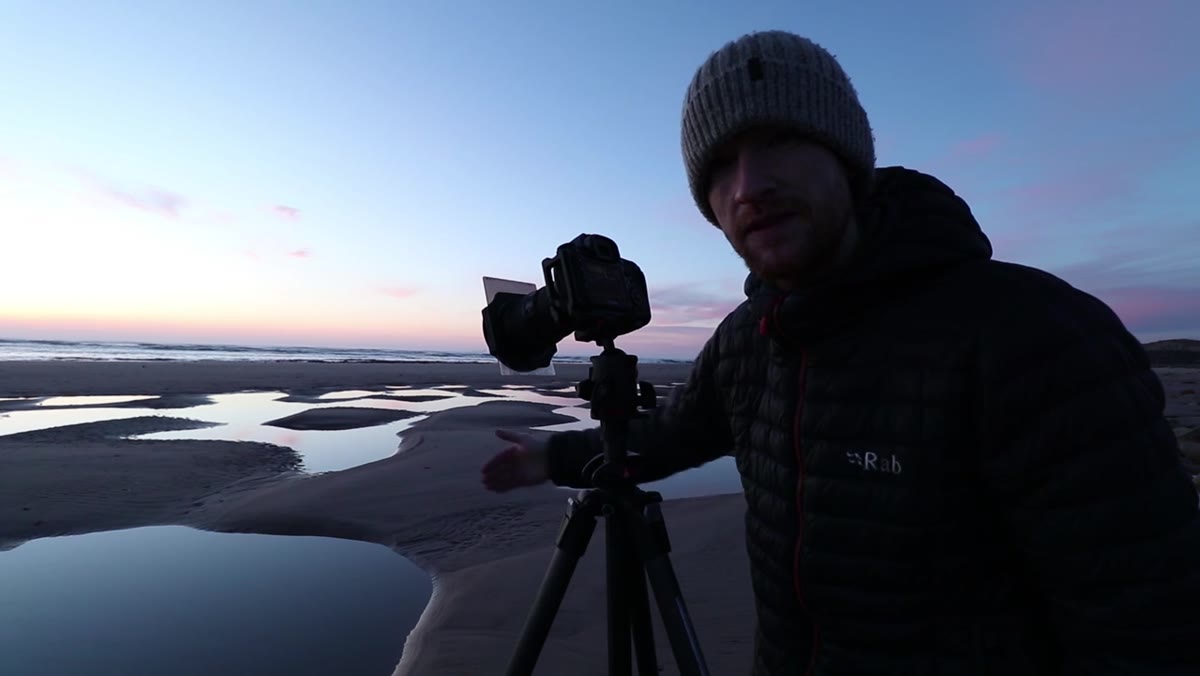
 Hard-edge graduated ND filter positioned over the sky
To manage the exposure difference between the bright pre-sunrise sky and the darker sand and water, Heaton uses a two-stop hard-edge graduated filter. This holds back light in the sky so the camera sensor doesn’t have to choose between a well-exposed foreground and a blown-out sky.
Hard-edge graduated ND filter positioned over the sky
To manage the exposure difference between the bright pre-sunrise sky and the darker sand and water, Heaton uses a two-stop hard-edge graduated filter. This holds back light in the sky so the camera sensor doesn’t have to choose between a well-exposed foreground and a blown-out sky.
This is still the most reliable way to handle high-contrast landscape scenes, even if you’re comfortable with HDR blending in post. Getting the exposure right in camera means you’re starting your Lightroom edit from a healthier file, with more usable data in both the highlights and shadows. Less recovery work in post means more time spent on creative decisions rather than damage control.
Step 5: Focus for Maximum Depth of Field
 Camera focused to infinity with foreground in sharp detail
Heaton focuses to infinity, which at 16mm gives him enough depth of field to keep the foreground tide pool sharp from near edge to far horizon. This is a calculated trade-off. He’s not using hyperfocal distance calculations on the fly because his years of experience with this focal length tell him where to set focus to get the result he wants.
Camera focused to infinity with foreground in sharp detail
Heaton focuses to infinity, which at 16mm gives him enough depth of field to keep the foreground tide pool sharp from near edge to far horizon. This is a calculated trade-off. He’s not using hyperfocal distance calculations on the fly because his years of experience with this focal length tell him where to set focus to get the result he wants.
If you’re less experienced with wide-angle landscape shooting, the practical version of this advice is to focus roughly one-third of the way into the frame, or to use your camera’s depth of field preview to check sharpness before committing. Sharp foreground is non-negotiable in this kind of composition because the foreground is where your viewer’s eye enters the image.
One Thing I’d Add From My Own Editing Workflow
What Heaton demonstrates in the field maps directly onto how I think about the Lightroom edit that follows a shoot like this. When your source image has a strong compositional foundation and a properly exposed file, the edit becomes about refinement rather than rescue.
For a scene like this, I’d use a radial gradient in Lightroom to gently brighten the main tide pool in the foreground, drawing the eye toward it even more intentionally. I’d also pull back texture and clarity slightly on the sky to keep it from competing with the detailed foreground. The temptation in landscape editing is to crank clarity everywhere, but restraint in the background makes the foreground pop more naturally than any single slider can on its own.
One more thing worth noting: Heaton makes the call to shoot this location only at sunrise because evening foot traffic makes pristine sand impossible. That’s a real-world constraint informing a creative decision, and those kinds of constraints are worth building into your own location notes. Knowing when NOT to shoot somewhere is just as valuable as knowing where to stand.
The single biggest takeaway here is this: conditions don’t make a great photograph, preparation does. Heaton had been visiting this beach for years, waiting for the specific overlap of tide, storm geography, and light that would make the scene worth capturing. The editing reflects that patience because he had something real to work with. Go in with a plan, build your edit on a solid foundation, and stop waiting for the sky to do all the work for you.
Watch the full tutorial on YouTube to see Heaton’s complete Lightroom edit and the second composition he pulls from the same location before the dog walkers arrive.
Comments (3)
Great breakdown. The step-by-step approach really helps.
My workflow just got 10x faster. Not even kidding.
Really solid breakdown. This pairs perfectly with the retouching work I've been writing about.
Leave a Comment