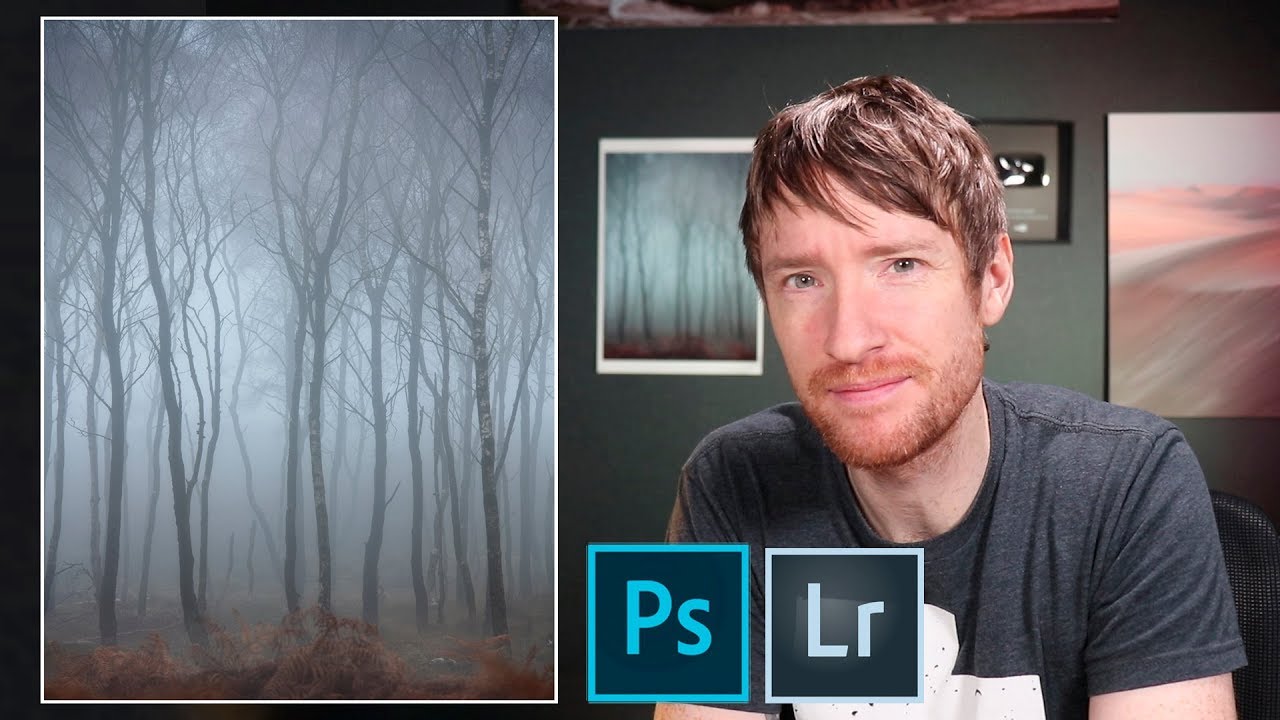
There’s a trap I fell into early in my editing life, back when I was still learning Lightroom to fix mediocre band press shots in my apartment. I thought more editing meant better photos. More sliders moved, more panels touched, more time spent meant more value delivered. Thomas Heaton’s work has consistently pushed back against that instinct for me, and his tutorial on editing a set of autumn tree photographs puts that philosophy into practice in a way that’s genuinely worth studying. Watch the full tutorial on YouTube before or after reading this, depending on how you learn best.
In this Thomas Heaton tutorial, he works through three landscape images shot in the same location, with the same camera settings, of essentially the same subject. The fact that he immediately eliminates one of them based purely on composition logic, before touching a single slider, is the first real lesson. The edit starts long before Lightroom opens. The second lesson is more practical: the images he ends up keeping required no luminosity masking, no exposure blending, none of the technically complex techniques he had been studying at the time. Good light solves problems that no amount of post-processing can fix after the fact.
What follows is a step-by-step breakdown of how he moves from raw file to finished image, with enough detail that you can apply the same thinking to your own work.
Step 1: Choose Your Hero Frame Before You Edit Anything
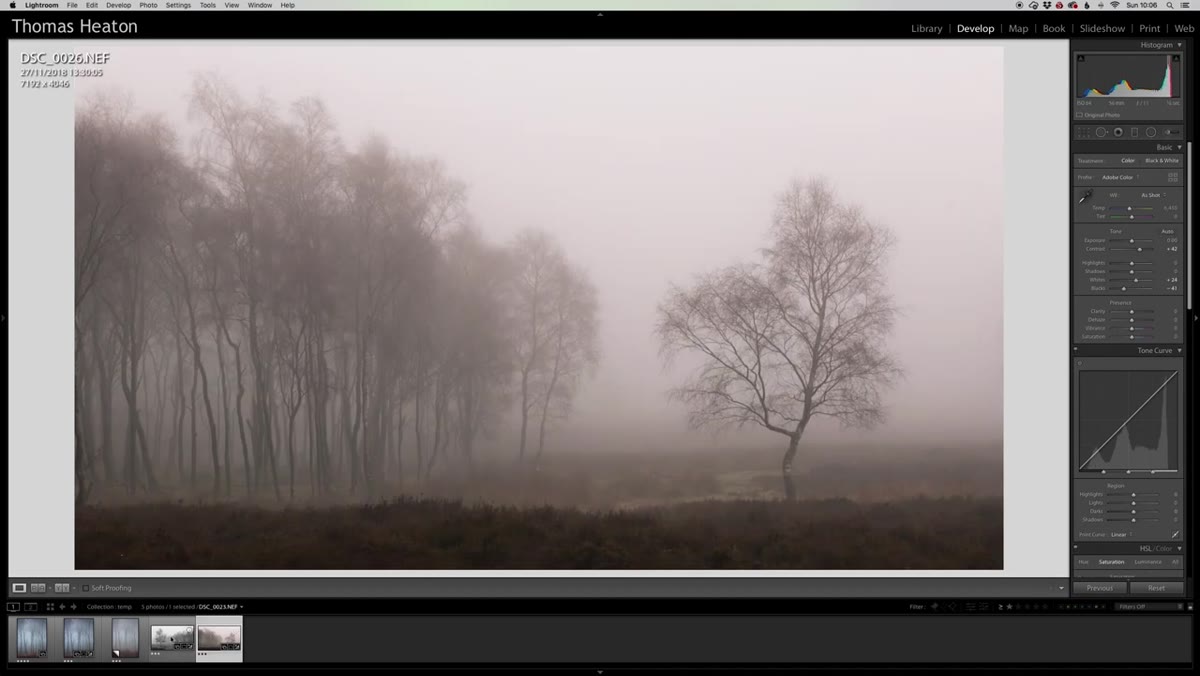 Three landscape images displayed in Lightroom grid view
Heaton opens with three files in Lightroom’s grid and spends real time deciding which ones are worth developing. Two images are nearly identical - same trees, same light, same focal length - but one has the main tree clearly separated from the supporting trees behind it, while the other has the treeline bleeding together into visual noise. He drops the weaker one immediately.
The practical move here is to do your culling with composition logic, not emotional attachment. Ask whether your main subject has breathing room from everything else in the frame. If the answer is no, and you can’t fix it with a crop, let the file go. Time spent editing a structurally weak image is time you’re not spending on the strong ones.
Step 2: Zoom In On Your Raw File Before You Do Anything Else
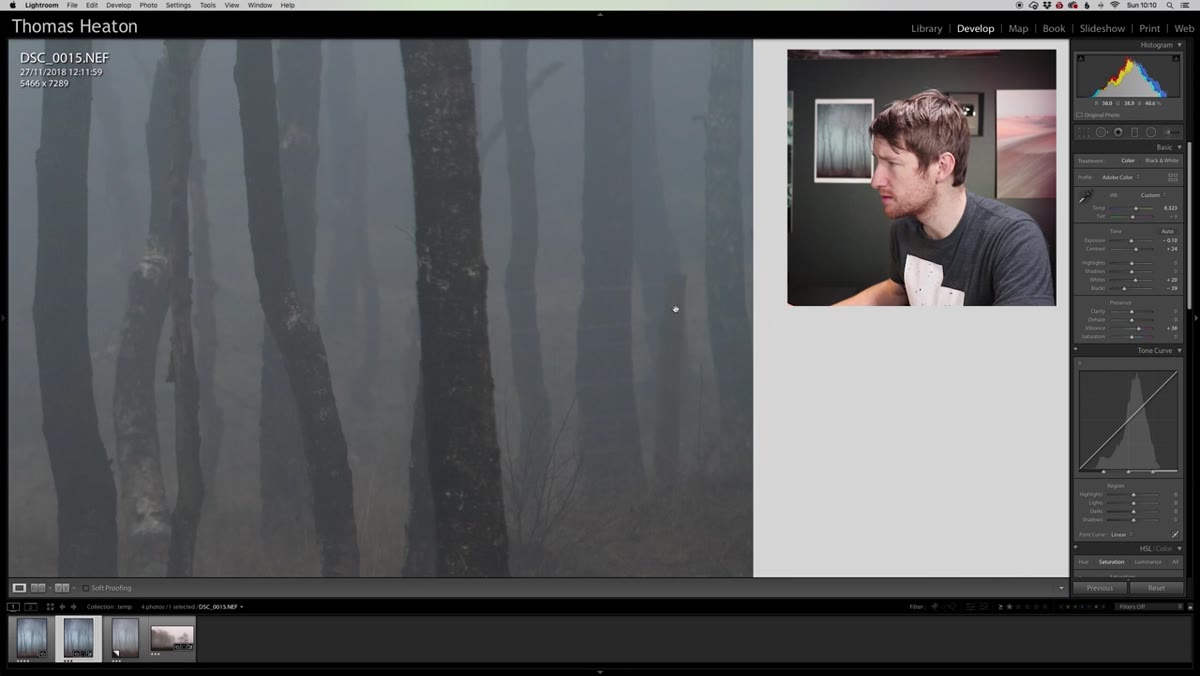 Zoomed-in view revealing fence post and barbed wire in trees
This one surprised me when I first watched it. Heaton zooms into the full-resolution raw file at 100% and finds a fence post and barbed wire sitting right in the middle of the trees, completely invisible when he was shooting on location. A file this large - close to 7,000 pixels on the long edge - shows details your eye skipped entirely in the field.
Make this a habit. Before you adjust a single setting, zoom to 100% and scan the frame for distractions you didn’t notice: stray branches, litter, fencing, blown highlights in small areas, sensor dust. Finding these early means you can decide whether the image is worth cleaning up before you invest twenty minutes of editing time into it.
Step 3: Set Your Crop Ratio to Fit the Subject, Not Your Default
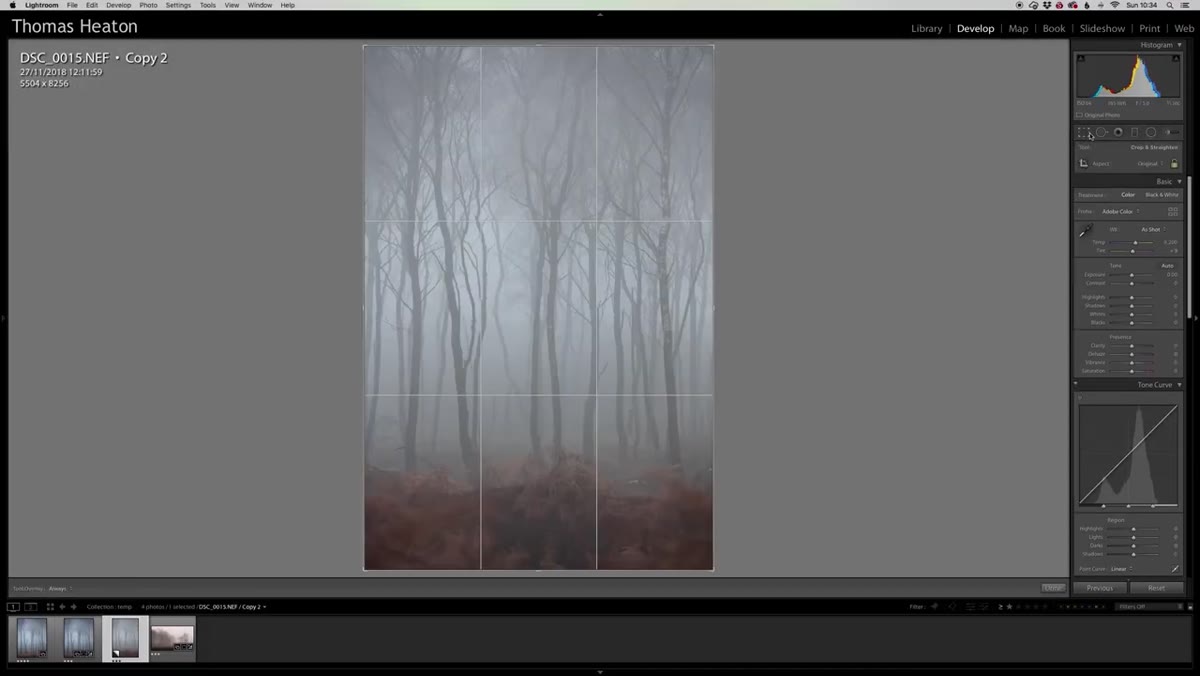 Crop tool open, switching from 4:5 to 4:3 vertical ratio
Heaton’s default for vertical images is a 4:5 ratio, but when he applies it here it makes the frame feel boxy. The trees are tall and narrow, with strong vertical energy, and the 4:5 crop works against that. Switching to 4:3 gives the composition more height and lets the trees stretch naturally toward the top of the frame.
The rule I apply to this in my own work: let the subject’s dominant line drive the aspect ratio. Tall, narrow subjects want taller, thinner crops. Wide, horizontal scenes want wider crops. Your camera’s native ratio is a starting point, not a mandate. Try two or three options before committing, because a wrong crop can undermine an otherwise strong image before the color work even begins.
Step 4: Warm the White Balance Subtly, Then Stop
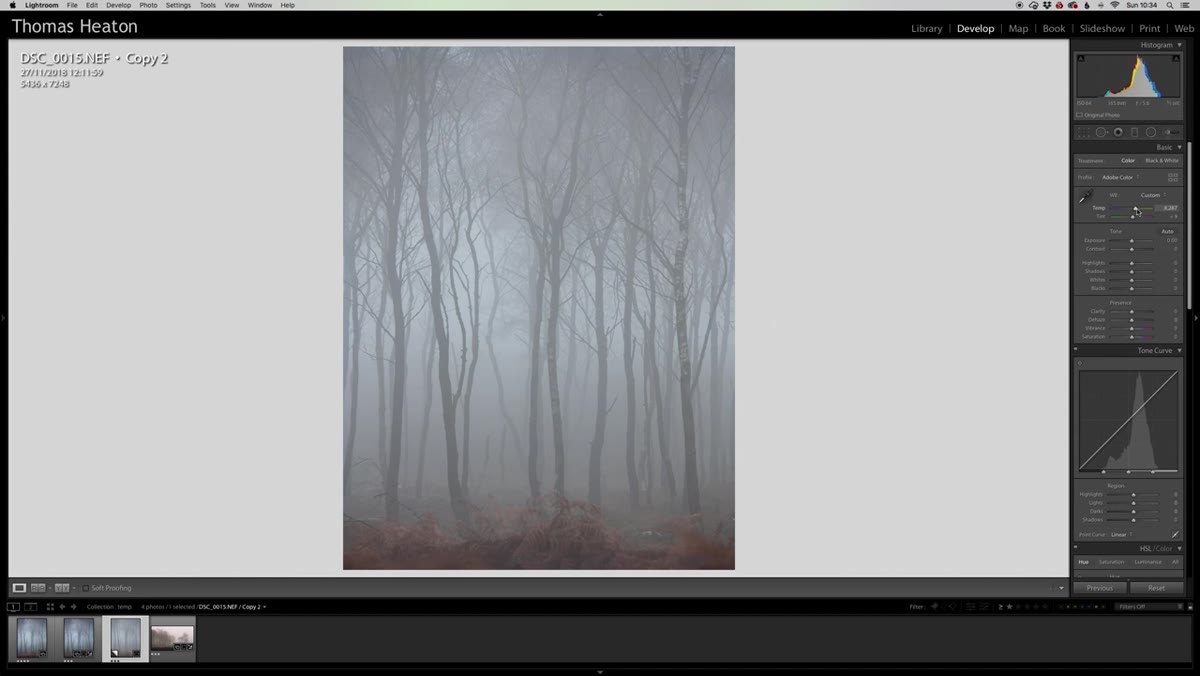 White balance slider nudged slightly warmer in Basic panel
The raw file already has a pleasing natural light quality. Heaton nudges the white balance just slightly warmer, a small move in terms of Kelvin value, and leaves it there. He doesn’t chase a “golden hour look” with an aggressive warm push. The light itself was already doing that work.
This is where a lot of edits go wrong. When the ambient light already has warmth in it, adding more warmth in post creates an artificial, over-cooked look that reads as processed rather than natural. A nudge of 100 to 200K warmer is usually all a well-exposed golden hour image needs. If you’re pushing 500K or more, you might be compensating for a missed exposure rather than enhancing what was already there.
Step 5: Use Photoshop to Remove Distractions, Then Bring the File Back
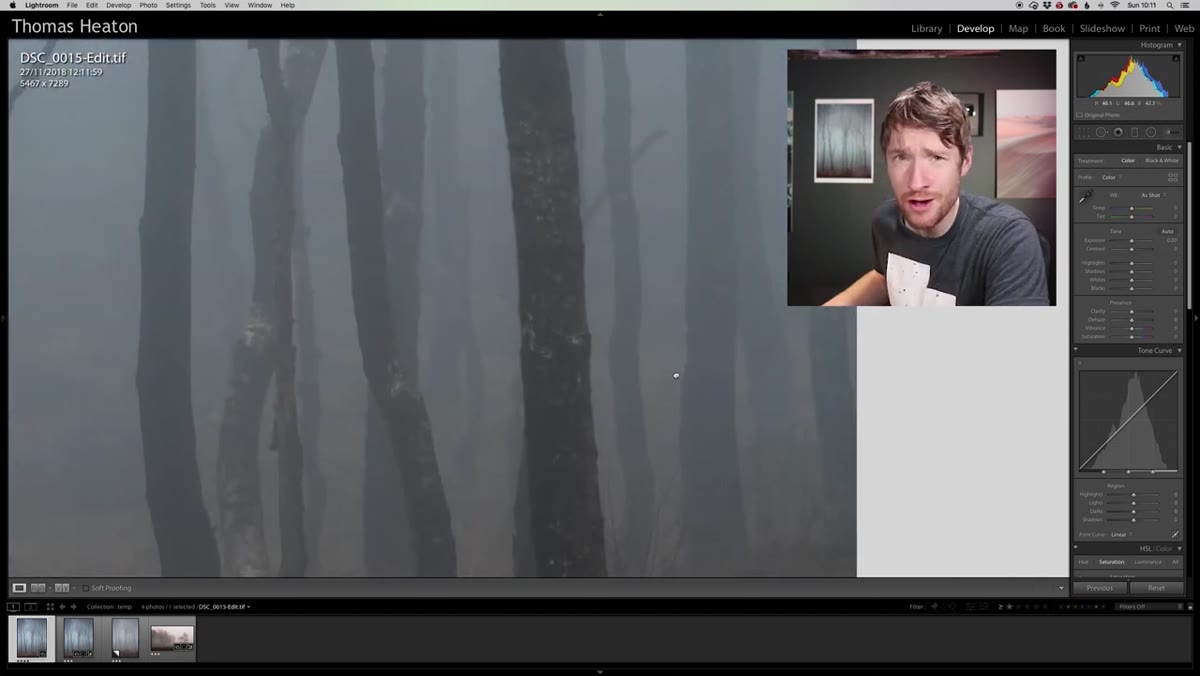 Edited TIF file showing trees with fence and twig removed
For the fence removal and the distracting twig he found during the zoom-in check, Heaton moves the file into Photoshop rather than trying to handle it inside Lightroom. He uses Photoshop’s retouching tools to clean the areas, then brings the finished TIF back into Lightroom to finish the color work.
Lightroom’s healing brush has gotten better over the years, but for complex organic textures like tree bark, branches, and foliage, Photoshop still handles the content-aware work more convincingly. If you’re not in the habit of round-tripping files between the two apps, right-click any image in Lightroom, select “Edit In,” and choose Photoshop. The file comes back automatically as a TIF sitting next to your original raw in the catalog.
What I’d Add From My Own Workflow
Heaton’s point about great light requiring less editing is one I’ve tested repeatedly, and it holds. But there’s a companion idea he implies without stating directly: the strongest edits are the ones that preserve the feeling of the moment rather than replace it. I’ve made the mistake of going back to images shot in flat, uninspiring light and trying to manufacture drama through aggressive contrast and saturation moves. The result always looks fabricated.
The better use of editing skill is on images that were already strong, where the job is just to surface what the raw file is hiding rather than invent something the original exposure never captured. That’s a different mindset than “fix it in post,” and it changes how you approach your sessions on location too. The more intentional you are in the field, the less remediation you need at the desk - and the more time you get to spend on the genuinely fun parts of the edit.
The single most transferable idea from this tutorial is the one Heaton drops almost offhandedly: the best conditions require the least editing. That’s worth writing on a sticky note and putting it where you can see it. Great light is the most powerful editing tool you have, and it costs nothing except patience and an early alarm.
Watch the full tutorial on YouTube to see the complete before-and-after and hear Heaton’s commentary on the final image decisions.
Comments (4)
Great breakdown. The step-by-step approach really helps.
Would love to see a follow-up going deeper into this topic.
This is fantastic. I've been recommending this approach to my readers too.
Would love to see a follow-up going deeper into this topic.
Leave a Comment