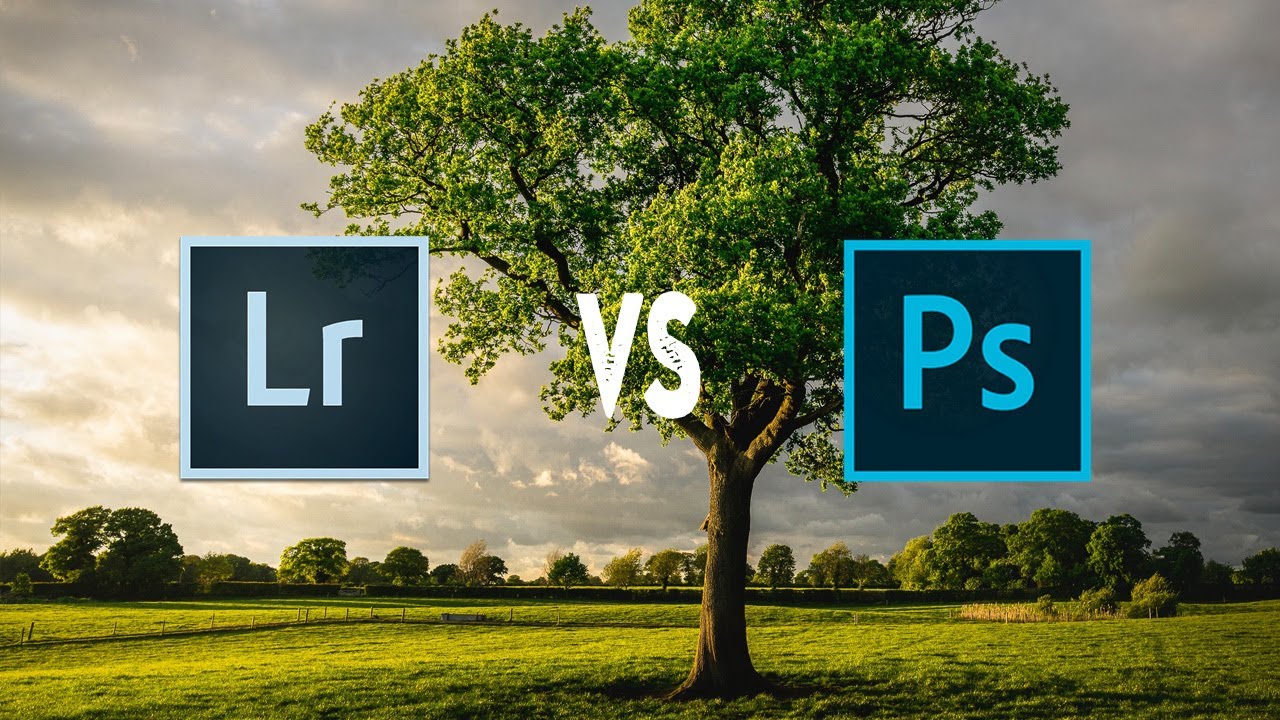
I spend about 95% of my editing life inside Lightroom. It’s faster, it keeps me working directly on raw data, and honestly, it handles most of what landscape and portrait photographers actually need. But every once in a while, I hit a wall. There’s something in the frame that needs to disappear, or I’ve got two shots that need to become one, and suddenly Lightroom just shrugs at me. That’s when Photoshop earns its place in the subscription.
Watch the full tutorial on YouTube
In this Nigel Danson tutorial, he does something I genuinely appreciate: instead of hyping Photoshop as some essential daily tool, he’s honest that Lightroom is his default, and then walks through the specific, narrow situations where Photoshop is simply the better instrument for the job. It’s the kind of thinking that separates working photographers from gear-and-software collectors. I took notes, tested each technique on my own files, and wanted to break it down step by step for anyone who wants to follow along without pausing the video every thirty seconds.
One thing worth flagging before you dive in: when you send an image from Lightroom into Photoshop and save it back, it returns as a TIFF, not a raw file. That means you lose the raw editing flexibility Lightroom gives you natively. Danson’s advice, which I fully agree with, is to finish all your Lightroom edits first, then jump to Photoshop for these tasks as a final step.
Step 1: Remove Distracting Objects with Content-Aware Fill
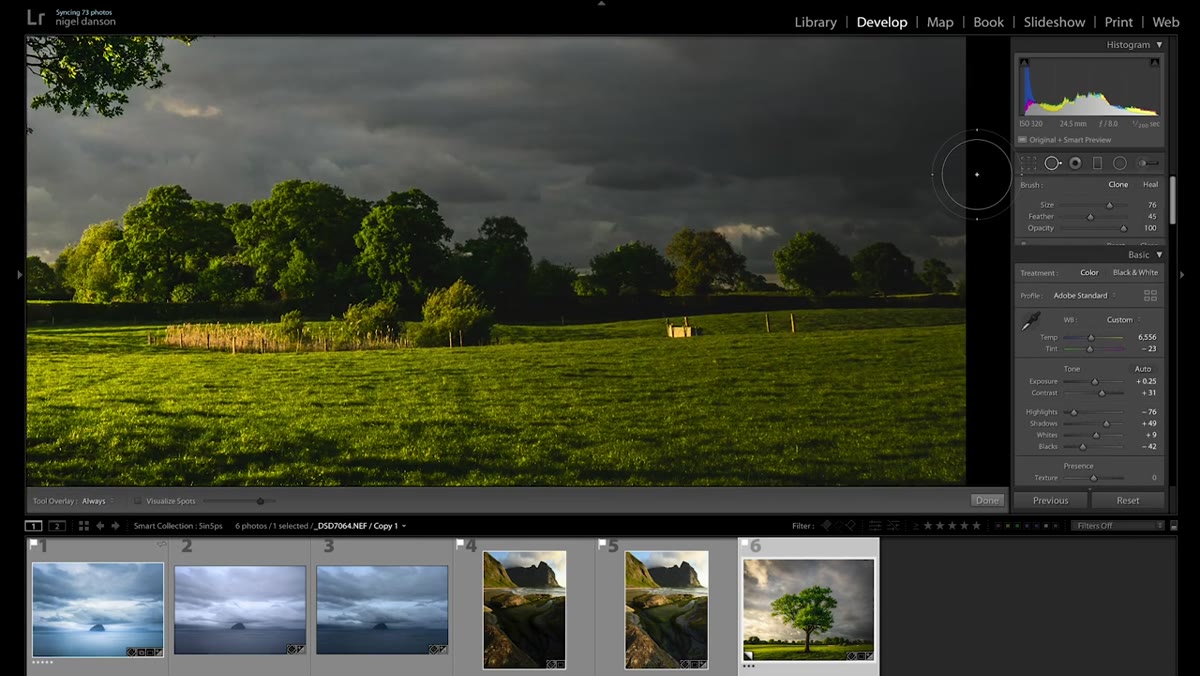 Lasso tool drawn around a cow water trough in the foreground
Lightroom’s healing tools have improved a lot, but they still struggle when the area you’re removing sits next to content with different textures, edges, or tones. Photoshop’s Content-Aware Fill is more powerful here because it lets you control exactly which parts of the image it samples from when reconstructing the removed area.
Lasso tool drawn around a cow water trough in the foreground
Lightroom’s healing tools have improved a lot, but they still struggle when the area you’re removing sits next to content with different textures, edges, or tones. Photoshop’s Content-Aware Fill is more powerful here because it lets you control exactly which parts of the image it samples from when reconstructing the removed area.
In Danson’s example, he’s working with a landscape shot featuring an oak tree and a cattle water trough sitting in the foreground grass. He right-clicks the image in Lightroom and selects “Edit in Photoshop,” then uses the Lasso tool to draw loosely around the trough. From there, he opens Content-Aware Fill (Edit > Content-Aware Fill), where a green overlay shows Photoshop which areas it will sample from. The key move here is painting away any parts of that overlay you don’t want influencing the result. In this case, he removes the tree and hedge from the sample area so Photoshop only pulls from the surrounding grass, which gives a much cleaner, more realistic fill.
Step 2: Know When to Save and Return to Lightroom
 Saving the Photoshop file and returning to Lightroom with TIFF visible
Once the object removal is done, Danson saves the file in Photoshop without renaming it. Lightroom automatically picks it up as a new TIFF sitting next to the original raw file in your catalog. No importing needed.
Saving the Photoshop file and returning to Lightroom with TIFF visible
Once the object removal is done, Danson saves the file in Photoshop without renaming it. Lightroom automatically picks it up as a new TIFF sitting next to the original raw file in your catalog. No importing needed.
The practical habit he mentions is worth building into your own workflow: treat the Photoshop round-trip as a one-way door. Because the returned file is a TIFF with a fixed color space rather than raw data, you want to do it once and do it right. If you need to remove multiple things, batch them all in one Photoshop session rather than bouncing back and forth. For quick single-layer edits like this, a flat save is fine. For more complex composites or multi-step work, he notes that opening as a Smart Object in Photoshop is worth the extra step because it preserves your layers if you need to go back in.
Step 3: Focus Stack Multiple Exposures for Deep Sharpness
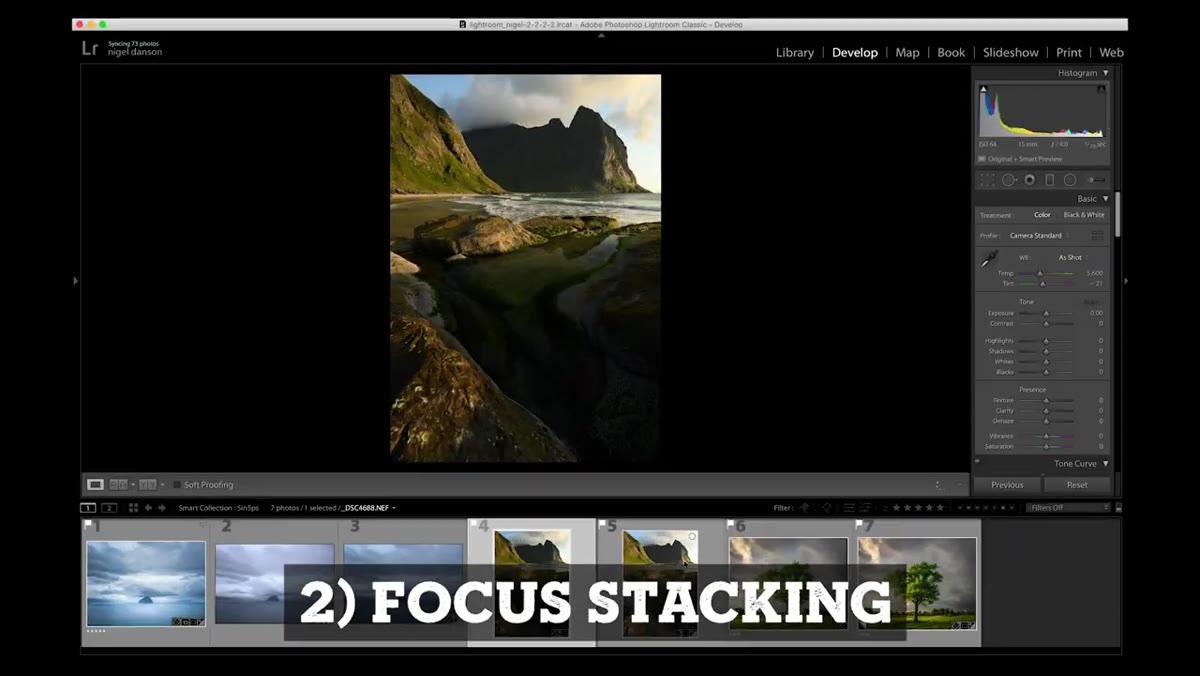 Two separate images shown side by side, foreground soft, background sharp
This is the technique I use most often after object removal, especially when I’m shooting close-up foreground elements with a wide-angle lens. Even stopped down to f/11 or f/16, you often can’t get both a detailed foreground rock or flower and a sharp horizon in a single frame. Focus stacking solves this by merging two or more shots taken at different focus points.
Two separate images shown side by side, foreground soft, background sharp
This is the technique I use most often after object removal, especially when I’m shooting close-up foreground elements with a wide-angle lens. Even stopped down to f/11 or f/16, you often can’t get both a detailed foreground rock or flower and a sharp horizon in a single frame. Focus stacking solves this by merging two or more shots taken at different focus points.
In Lightroom, select both images, sync your basic edits so they match, then right-click and choose “Edit In > Open as Layers in Photoshop.” Once both layers are in Photoshop, select them both in the Layers panel, then go to Edit > Auto-Align Layers (use “Auto” projection), followed by Edit > Auto-Blend Layers, checking “Stack Images” and “Seamless Tones and Colors.” Photoshop analyzes which parts of each frame are sharpest and builds a mask automatically. Flatten the result, save, and it comes back into Lightroom as a TIFF with both focal planes sharp. Danson walks through this with a real landscape shot and the result is noticeably cleaner than trying to fake depth of field in post.
Step 4: Use Luminosity Masks for Precise Tonal Control
 Nigel Danson at his desk with landscape image open in Photoshop
Lightroom’s masking tools have come a long way with luminance range masking, but Photoshop’s luminosity mask workflow still gives you finer control, especially when you’re blending exposures or making targeted adjustments to very specific tonal ranges like bright highlights in a sky without touching clouds or water.
Nigel Danson at his desk with landscape image open in Photoshop
Lightroom’s masking tools have come a long way with luminance range masking, but Photoshop’s luminosity mask workflow still gives you finer control, especially when you’re blending exposures or making targeted adjustments to very specific tonal ranges like bright highlights in a sky without touching clouds or water.
Danson touches on this as one of his five reasons, and the core idea is that Photoshop lets you build selection masks based precisely on pixel brightness values. Panels like Lumenzia or TKActions make this faster, but you can do it natively by going to Channels, holding Ctrl/Cmd and clicking the RGB channel thumbnail to load a luminosity selection, then refining from there. Combine that selection with a Curves or Levels adjustment layer and you have a mask that perfectly follows the light in your image without any manual painting.
Step 5: Composite and Blend Multiple Exposures
 Finished landscape photo displayed after editing workflow is complete
When a scene’s dynamic range exceeds what a single exposure can handle cleanly, blending two or more bracketed shots in Photoshop gives you results that HDR tonemapping in Lightroom simply can’t match for realism. The process starts the same way as focus stacking: open both exposures as layers in Photoshop after syncing your Lightroom edits.
Finished landscape photo displayed after editing workflow is complete
When a scene’s dynamic range exceeds what a single exposure can handle cleanly, blending two or more bracketed shots in Photoshop gives you results that HDR tonemapping in Lightroom simply can’t match for realism. The process starts the same way as focus stacking: open both exposures as layers in Photoshop after syncing your Lightroom edits.
Place the darker exposure (better sky detail) on top, add a black layer mask, and then paint in white only where you want the darker exposure to show. Use a large, soft brush at low opacity to build up the transition naturally along the horizon line. If the sky has complex edges like trees, luminosity masks or Select > Sky (in newer Photoshop versions) will handle the selection far more cleanly than painting by hand.
My Caveat: Lightroom’s Masking Is Closer Than You Think
Before you make Photoshop a regular stop in your workflow, spend some time with Lightroom’s current masking panel if you haven’t revisited it lately. The Luminance Range and Color Range masks inside Lightroom’s AI-powered masking tools have genuinely closed the gap on several of these techniques. I’ve handled exposure blending and sky isolation entirely inside Lightroom on recent edits without feeling like I was compromising. Photoshop is still the right tool for content-aware removal and true focus stacking, but for tonal masking, test Lightroom first. You might not need to leave.
The single biggest shift Danson’s approach gives you is permission to treat Photoshop as a specialist, not a default. Open it for the five specific jobs it handles better: object removal, focus stacking, luminosity masking, exposure blending, and complex compositing. Finish everything else in Lightroom where the raw data stays intact and the workflow stays fast. That’s not a limitation. That’s just knowing which tool to pick up.
Watch the full tutorial on YouTube to see Danson’s full walkthrough with his actual landscape files, including the focus stacking and luminosity mask sections in more detail than I had space to cover here.
Comments (2)
Wow, I had no idea you could do this. Mind blown.
Love how you break down complex stuff into manageable steps.
Leave a Comment