
There’s a version of me from about six years ago who spent three hours editing forty-seven press photos one by one. Same lighting conditions, same camera, same location — and I manually adjusted every single frame like some kind of masochist. If I’d known then what I know now about batch editing in Lightroom Classic, I could have wrapped that job before the record finished spinning. That’s not an exaggeration. Batch editing is genuinely one of those techniques that changes how you think about post-processing.
In this Aaron Nace (PHLEARN) tutorial from his 30 Days of Lightroom series, he walks through exactly how to edit a single image and push those settings across an entire collection with just a few clicks. Watch the full tutorial on YouTube - but read this first, because I want to make sure you understand not just the steps but why each one matters before you dive in.
The example he uses is a set of camping photos, all shot in similar conditions, where every frame needs the same basic treatment. That scenario is going to feel familiar to anyone who shoots events, portraits, or really any multi-image project. The technique he demonstrates is fast, flexible, and - crucially - gives you granular control over exactly which edits carry over and which ones stay specific to individual frames.
Step 1: Open Your First Image in the Develop Module
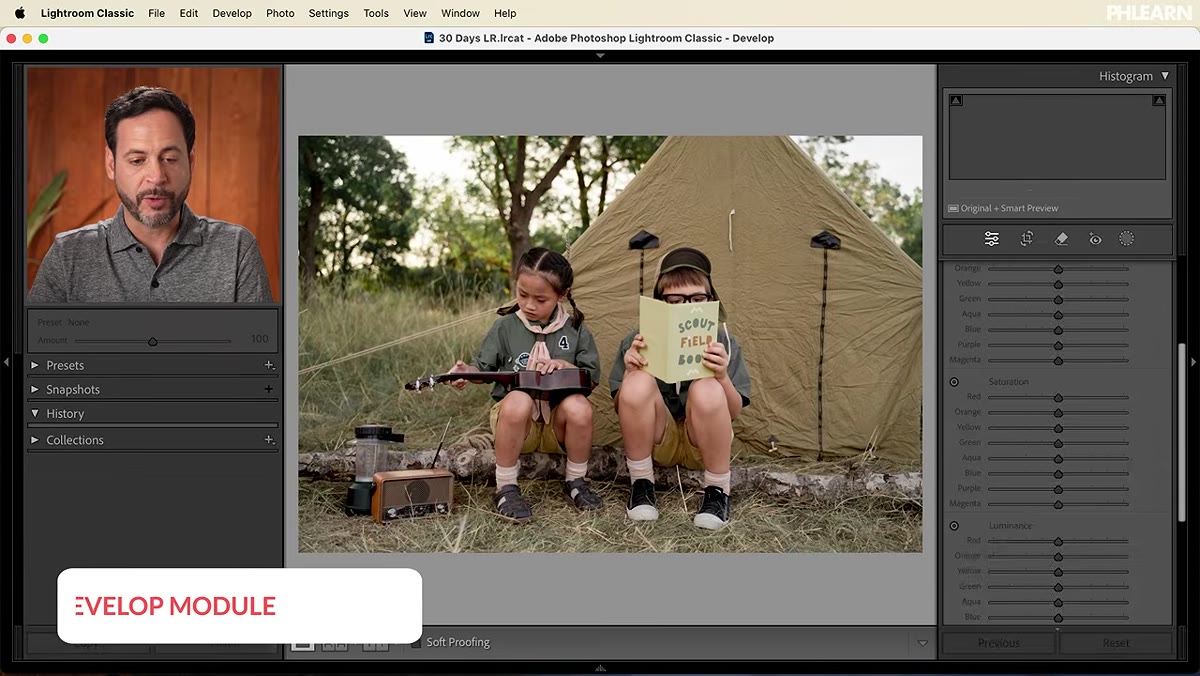 First image selected, Develop module open in Lightroom
Start in the Library module and click on the photo you want to use as your “source” edit. Then press D to jump into the Develop module. This is the image that will serve as the template for your entire batch, so pick one that represents the set well - ideally something with typical exposure and color conditions for the shoot.
First image selected, Develop module open in Lightroom
Start in the Library module and click on the photo you want to use as your “source” edit. Then press D to jump into the Develop module. This is the image that will serve as the template for your entire batch, so pick one that represents the set well - ideally something with typical exposure and color conditions for the shoot.
Before touching anything, hit Reset at the bottom of the right panel to clear any previous adjustments. You want to start clean so nothing unexpected carries over to your other frames.
Step 2: Apply Your Base Edit Using Auto Tone
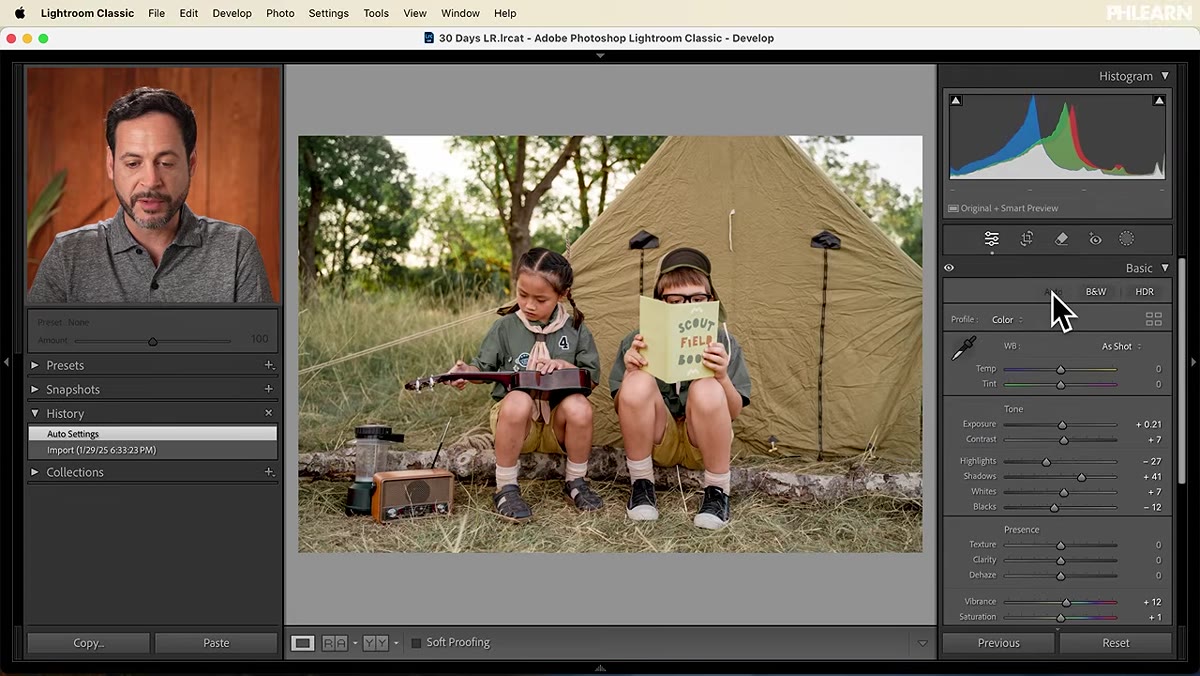 Basic panel open, Auto button highlighted
With a clean slate, go to the Basic panel on the right side of the Develop module and click the Auto button. Lightroom will analyze the image and make intelligent adjustments to highlights, shadows, whites, blacks, and often add a touch of vibrance and saturation. It’s not always perfect, but it’s a surprisingly solid starting point - especially for batch work where you want a consistent foundation across all your frames.
Basic panel open, Auto button highlighted
With a clean slate, go to the Basic panel on the right side of the Develop module and click the Auto button. Lightroom will analyze the image and make intelligent adjustments to highlights, shadows, whites, blacks, and often add a touch of vibrance and saturation. It’s not always perfect, but it’s a surprisingly solid starting point - especially for batch work where you want a consistent foundation across all your frames.
In the tutorial, the Auto correction pulls the highlights down slightly, lifts the shadows, and adds a bit of color depth. From here you can refine further, but for a batch base edit, this gets you most of the way there in about two seconds.
Step 3: Use AI Masking to Target Specific Subjects
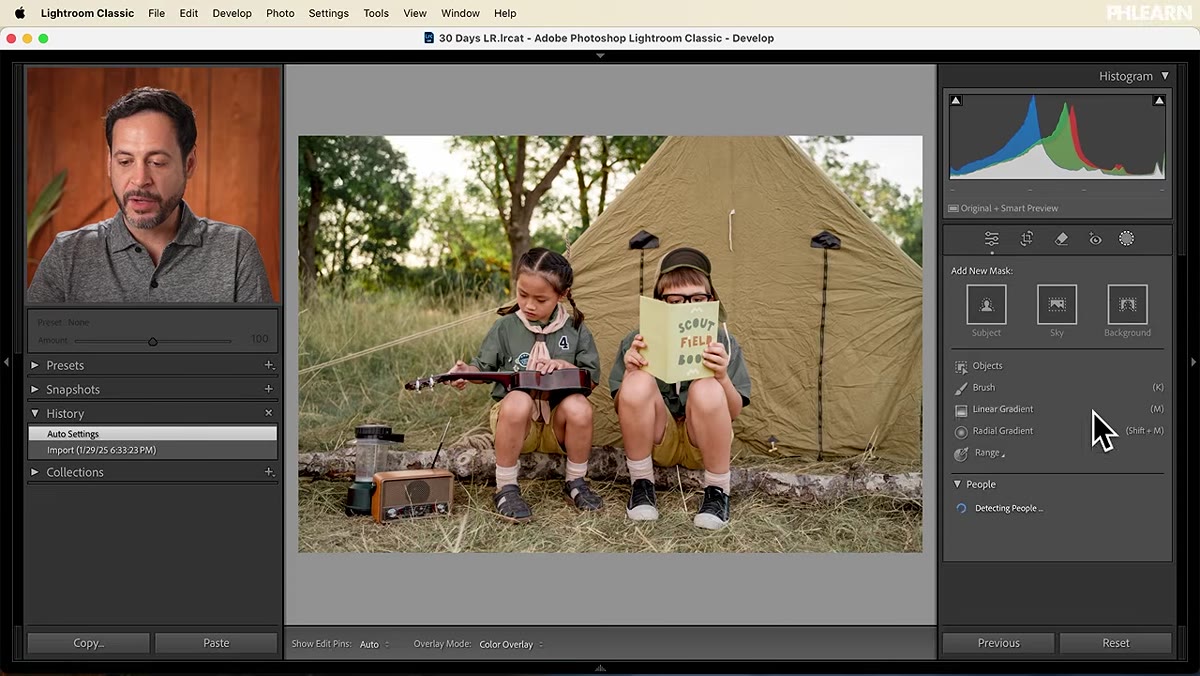 Masking panel open, People mask selected
Here’s where things get genuinely interesting. Open the Masking panel (the icon that looks like a dotted circle, or press Shift+W). Select People, then choose Entire Person and click Create Mask. Lightroom’s AI will detect every person in the frame and build a precise selection around them automatically.
Masking panel open, People mask selected
Here’s where things get genuinely interesting. Open the Masking panel (the icon that looks like a dotted circle, or press Shift+W). Select People, then choose Entire Person and click Create Mask. Lightroom’s AI will detect every person in the frame and build a precise selection around them automatically.
Once the mask is active, bring up Exposure a small amount and lift the Shadows slider just slightly. The goal isn’t a dramatic change - it’s subtle separation between your subjects and the background. A before/after toggle (press backslash) will show you the difference clearly. When subjects pop just a little more than the environment, the whole image reads as more intentional.
Step 4: Return to the Library Module
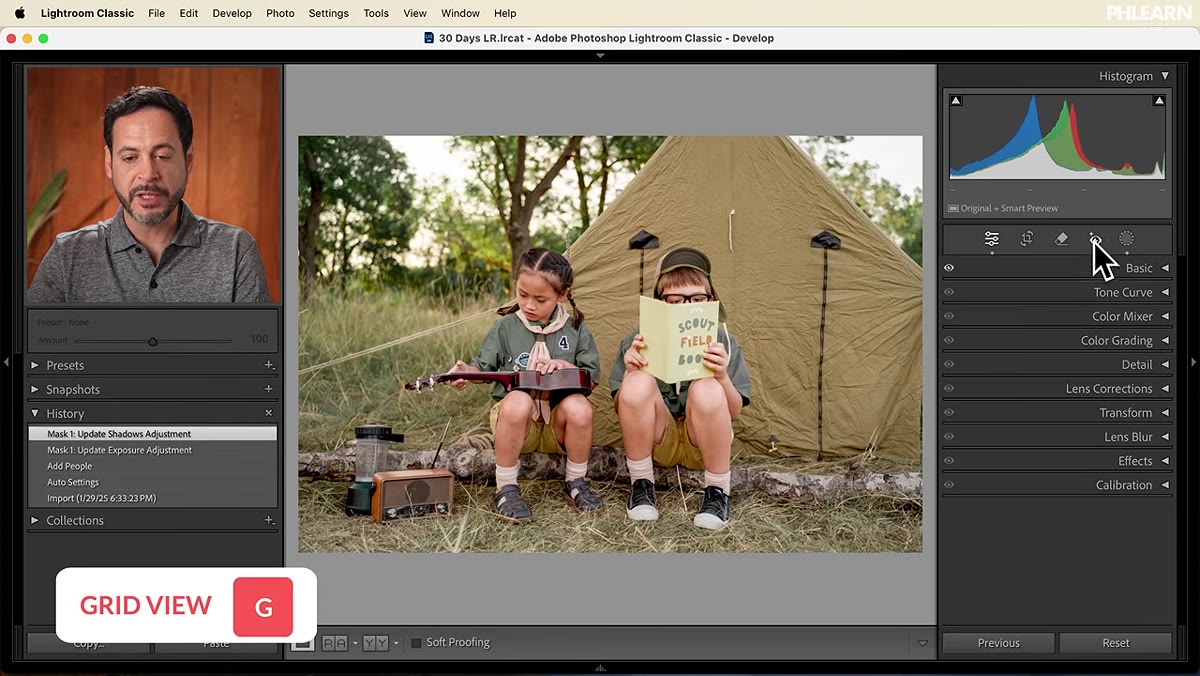 Library module grid view with edited image visible
Press G to jump back to the Library module grid view. You’ll see your edited image in the grid - it should already look a bit different from the untouched frames next to it. This is your reference point. Everything from here is about pushing that work onto the rest of your images.
Library module grid view with edited image visible
Press G to jump back to the Library module grid view. You’ll see your edited image in the grid - it should already look a bit different from the untouched frames next to it. This is your reference point. Everything from here is about pushing that work onto the rest of your images.
It’s important that you’re in the Library module - not Develop - for the next steps. The sync workflow lives here, and trying to do this from the Develop module is a different process with fewer options.
Step 5: Select Your Images with a Clear Primary Image
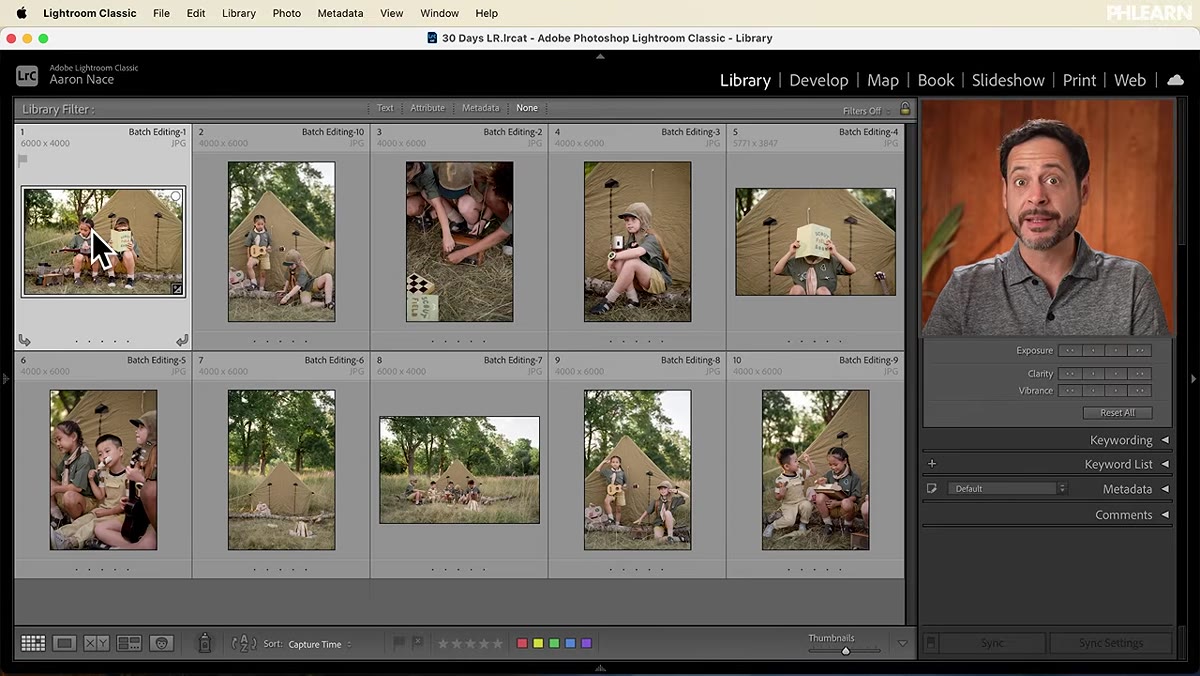 Grid view showing bright-bordered primary image selected
Click on your edited image first. Then hold Shift and click the last image in your series to select the entire range. You’ll notice that your edited photo has a slightly brighter border than the others in the selection. That brighter border indicates it’s the primary image - the one whose settings will be pushed outward to everything else.
Grid view showing bright-bordered primary image selected
Click on your edited image first. Then hold Shift and click the last image in your series to select the entire range. You’ll notice that your edited photo has a slightly brighter border than the others in the selection. That brighter border indicates it’s the primary image - the one whose settings will be pushed outward to everything else.
This primary/secondary distinction matters. Lightroom is telling you: “This is the source. These are the destinations.” If you accidentally click a different image first, your blank frames become the source and you’ll sync nothing useful. Take a second to confirm the right image has that bright border before moving on.
Step 6: Open Sync Settings and Choose What to Apply
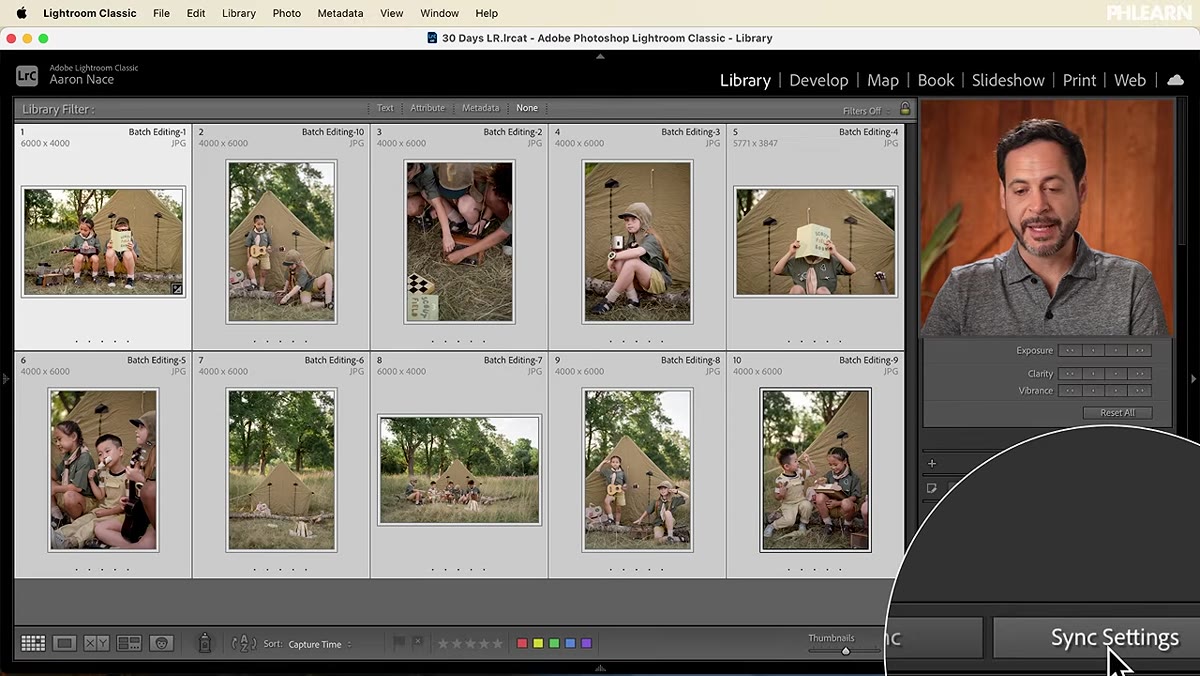 Sync Settings dialog box open with checkboxes visible
With your images selected, look at the bottom right of the Library module for the Sync Settings button and click it. A dialog box opens showing a list of every possible adjustment category - exposure, color, lens corrections, masking, and more - each with its own checkbox.
Sync Settings dialog box open with checkboxes visible
With your images selected, look at the bottom right of the Library module for the Sync Settings button and click it. A dialog box opens showing a list of every possible adjustment category - exposure, color, lens corrections, masking, and more - each with its own checkbox.
This is the real power of Lightroom’s batch workflow. You don’t have to sync everything blindly. If your base exposure correction applies to all frames but your mask was specific to one composition, you can uncheck Masks and leave everything else active. Check the boxes for the adjustments you want to carry across, then click Synchronize. Lightroom applies the settings to every selected image instantly.
A Note on Using Batch Editing Without Losing the Details
The technique Aaron demonstrates is clean and fast, but there’s one thing I’d add from my own workflow: use Auto Sync carefully if you’re working with a really mixed set of images. For example, if some frames are backlit and others are front-lit, a single base edit won’t serve them all equally. What I do is group similar shots together first, edit one from each group, and run separate sync passes for each cluster. Takes a little longer upfront but saves you the cleanup work of going back and fixing outliers individually.
Also worth noting: AI masking via the People tool is photo-specific by nature. If your subject positions change significantly between frames, each mask will read the new composition correctly - but verify a few frames manually after syncing to make sure nothing weird got selected.
Batch editing is the single biggest efficiency upgrade available in Lightroom Classic, and it takes about ten minutes to learn properly. The key insight from this tutorial is that the sync process gives you genuine control - you’re not just stamping a look onto everything, you’re choosing exactly which elements travel and which ones stay put. That control is what separates a clean batch workflow from a mess you have to untangle later.
Watch the full tutorial on YouTube to see Aaron walk through the whole process with the actual camping photo set - it’s Day 14 of a genuinely excellent 30-part series that’s worth bookmarking.
Comments (1)
Printing this out and pinning it next to my monitor. That good.
Leave a Comment