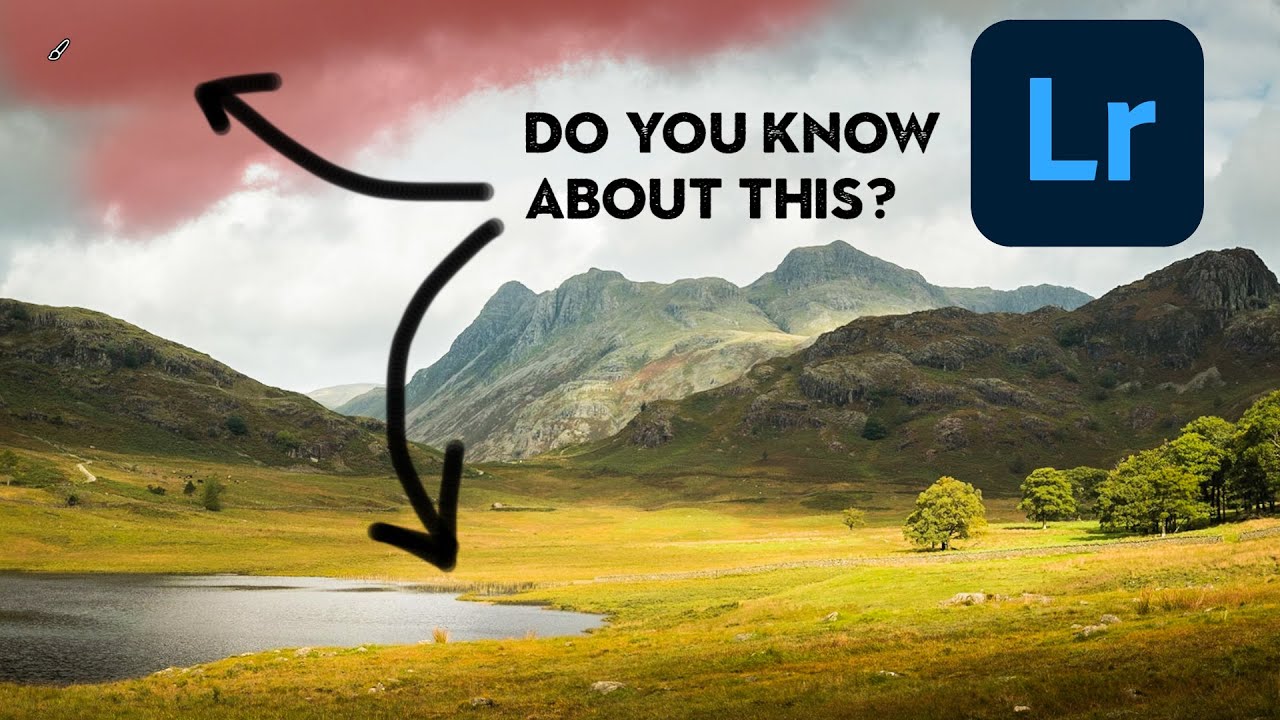
Lightroom's Most Underused Tool (And How Nigel Danson Actually Uses It)

Lightroom's Most Underused Tool (And How Nigel Danson Actually Uses It)

I spent years treating the Lightroom brush tool like a finishing move — something you reached for at the end of an edit when everything else had failed. Broad adjustments first, local adjustments never, maybe a graduated filter if I was feeling ambitious. It wasn’t until I started studying how working landscape photographers actually move through an edit that I realized I had it completely backwards. The brush isn’t a rescue tool.
5 Lightroom Classic Tips That Will Actually Change How You Edit

5 Lightroom Classic Tips That Will Actually Change How You Edit

There’s a particular kind of frustration that comes from knowing a tool has more to offer than you’re pulling out of it. I’ve been editing in Lightroom for years, and I still hit moments where I realize I’ve been doing something the slow way, or skipping a feature entirely because I didn’t quite understand what it was for. That’s what kept me watching this tutorial from start to finish. Watch the full tutorial on YouTube before or after you read this breakdown – either way, you’ll get more out of it with both.

Lightroom Mobile Finally Gets a Brush (And Sharpening Too) - Here's How to Use Both

Lightroom Mobile Finally Gets a Brush (And Sharpening Too) - Here's How to Use Both

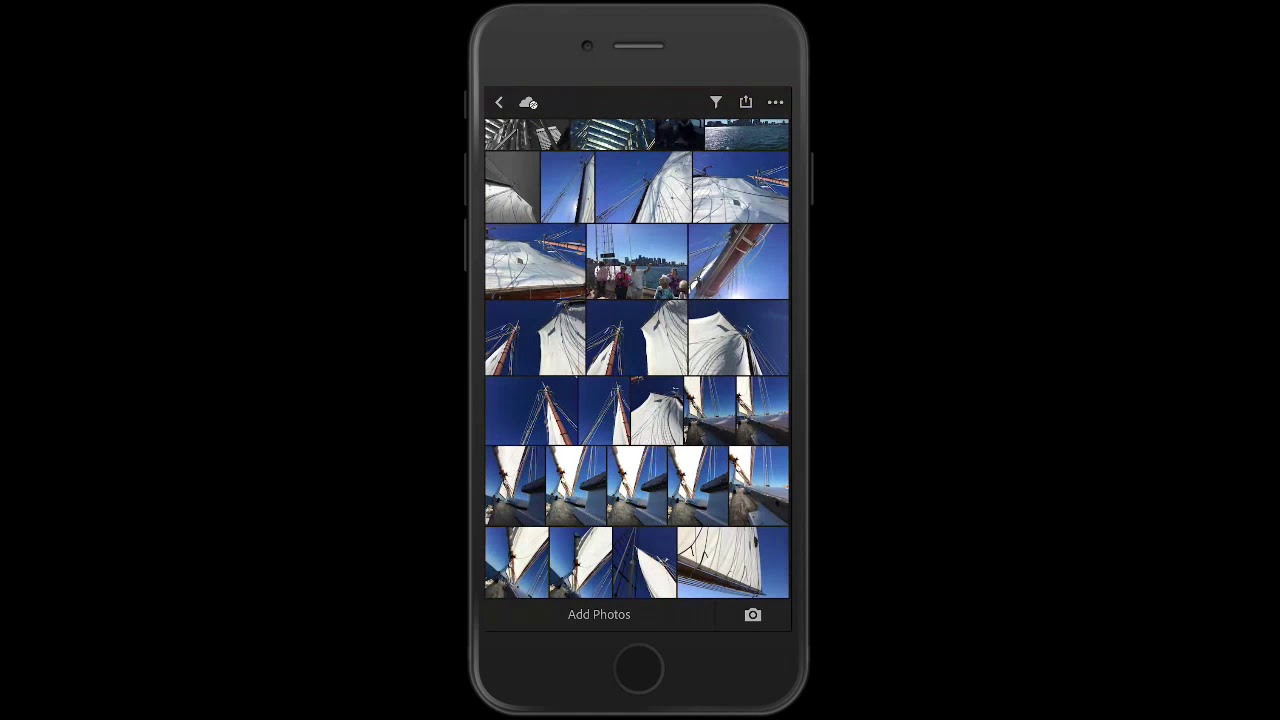
If you edit photos on your phone with any regularity, you already know the specific frustration of reaching for a tool that should be there and finding nothing. For me, that tool was the brush. Every time I handed off a mobile edit workflow to a client or walked someone through Lightroom Mobile at a workshop, the question was the same: “Where’s the brush?” And every time, I had to explain that it just wasn’t there yet.