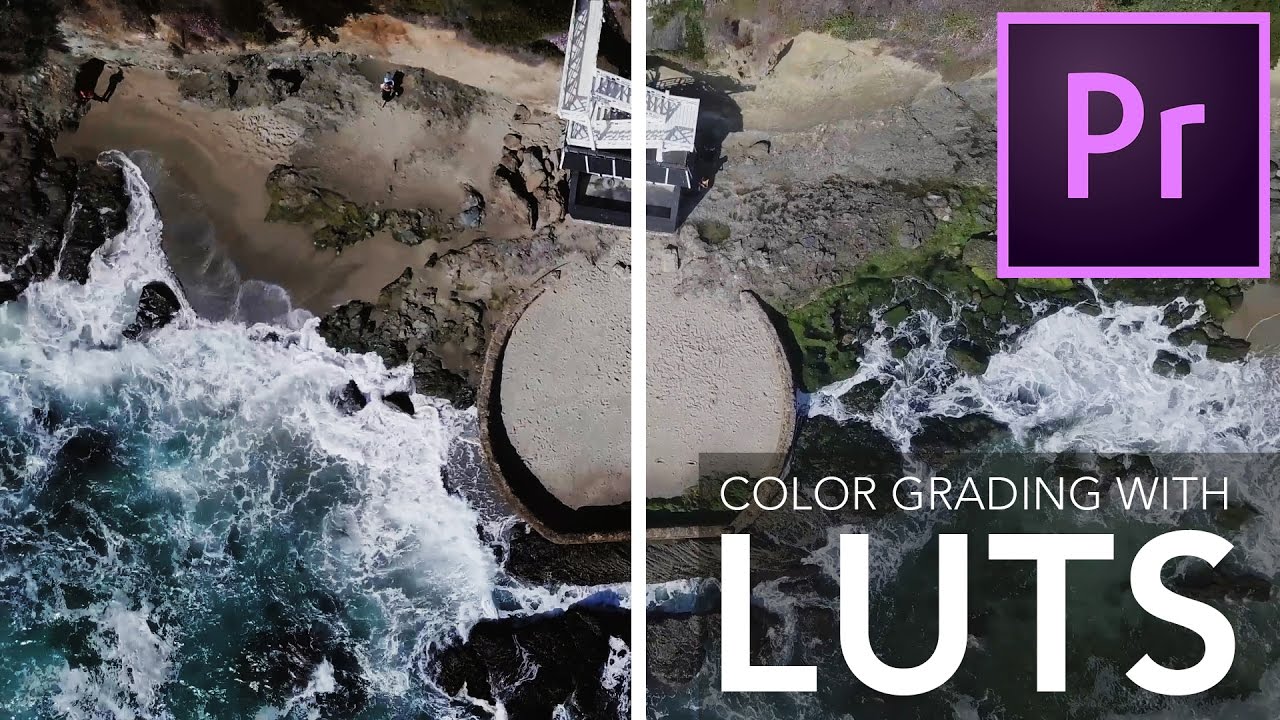
LUTs Explained: How to Color Grade Your Videos the Peter McKinnon Way

LUTs Explained: How to Color Grade Your Videos the Peter McKinnon Way

Every editor I know has a folder somewhere called something like “finals_FINAL_v3” and inside it, footage that looks technically fine but emotionally flat. Sharp, exposed correctly, maybe even well-composed. And yet it feels like a screenshot instead of a frame. That gap between “recorded” and “cinematic” is exactly what LUTs are designed to close, and it’s something I think about constantly, even though my main home is in Lightroom editing stills.

How to Use LUTs for Cinematic Color Grading in Premiere (Without Wrecking Your Footage)

How to Use LUTs for Cinematic Color Grading in Premiere (Without Wrecking Your Footage)

Color grading video has always been the part of post-production where I’ve seen talented creators give up and just hit “auto.” I get it. You shoot something beautiful, you drag it into Premiere, and then you stare at flat, lifeless footage wondering where the cinematic magic is supposed to come from. LUTs promise to fix that in one click, and sometimes they deliver. But more often, people slap a LUT onto raw footage and wonder why it looks muddy, blown out, or just… wrong.