Why Your RAW Photos Look Dull on Import (And the Lightroom Fix That Takes 5 Minutes)

Why Your RAW Photos Look Dull on Import (And the Lightroom Fix That Takes 5 Minutes)

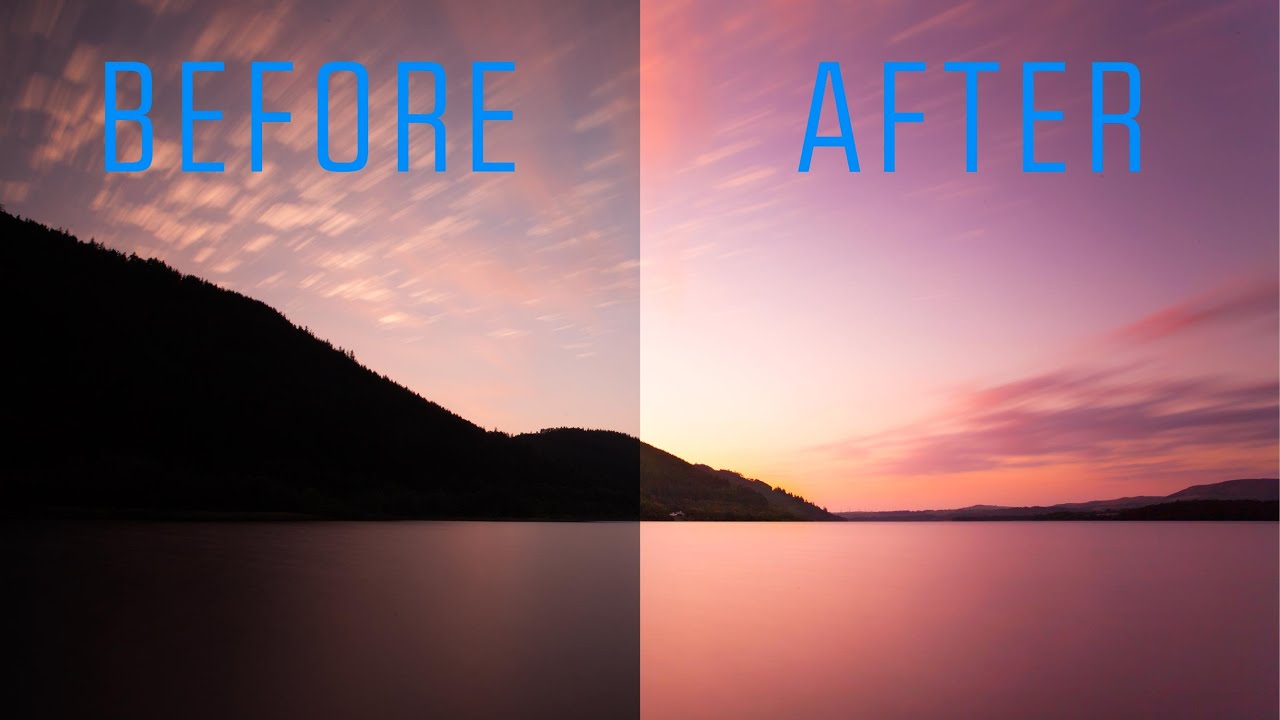
Every photographer I know has had the same deflating moment. You’re on location, chimping your shots on the back of the camera, thinking yes, this is the one — rich shadows, punchy colors, exactly the mood you were going for. Then you import into Lightroom and watch the life drain out of the image in real time. That vivid preview collapses into something flat and gray, and you spend the next twenty minutes chasing a look you already had on a two-inch LCD screen.
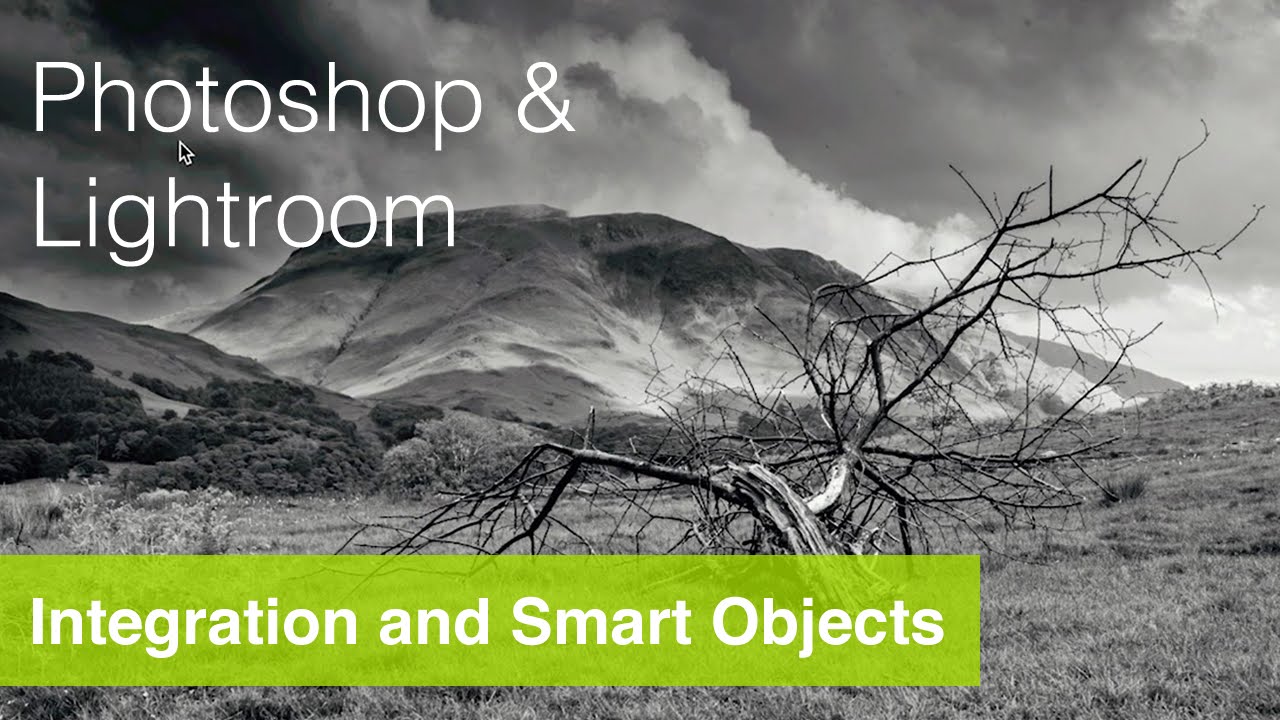
From Foggy RAW File to Final Print: What I Learned Watching Nigel Danson Edit a Landscape Photo

From Foggy RAW File to Final Print: What I Learned Watching Nigel Danson Edit a Landscape Photo

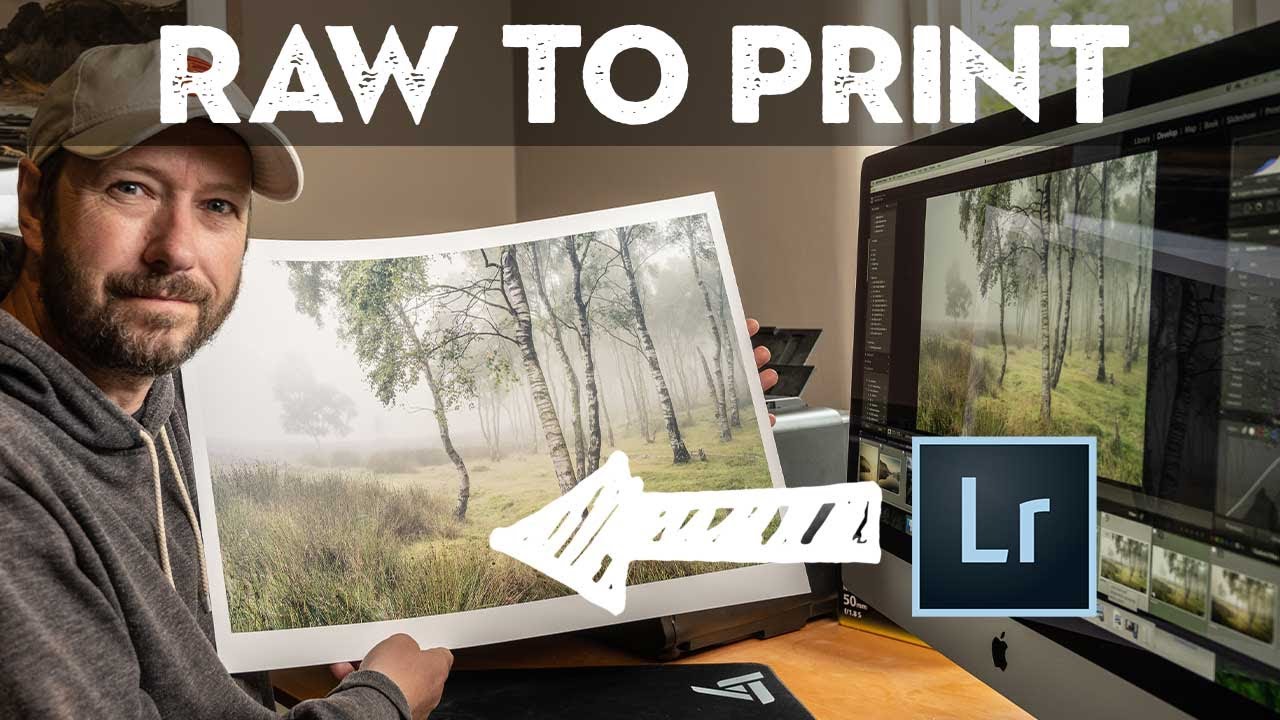
There’s a particular kind of frustration that comes from shooting a genuinely great scene and then watching the edit fall apart at your desk. You were there. You saw the fog rolling through the heather. You exposed carefully. And now the RAW file looks flat, muddy, and nothing like what you remember. This is the problem that a strong, repeatable editing workflow actually solves, and it’s why I keep coming back to tutorials from photographers who shoot seriously and edit seriously.

Read Your Raw Files Like a Pro: Lightroom's Exposure Slider Trick Beginners Almost Always Skip

Read Your Raw Files Like a Pro: Lightroom's Exposure Slider Trick Beginners Almost Always Skip

There’s a moment early in most photographers’ Lightroom journeys where they open a raw file, squint at the histogram, decide it “looks okay,” and start dragging sliders around hoping something good happens. I did that for longer than I’d like to admit. The result was a lot of technically mediocre edits that I thought were finished until I looked at them a week later and cringed. What I was missing wasn’t a better preset or a more sophisticated technique.

Stop Doing Noise Reduction One Photo at a Time — Here's the Smarter Lightroom Workflow

Stop Doing Noise Reduction One Photo at a Time — Here's the Smarter Lightroom Workflow

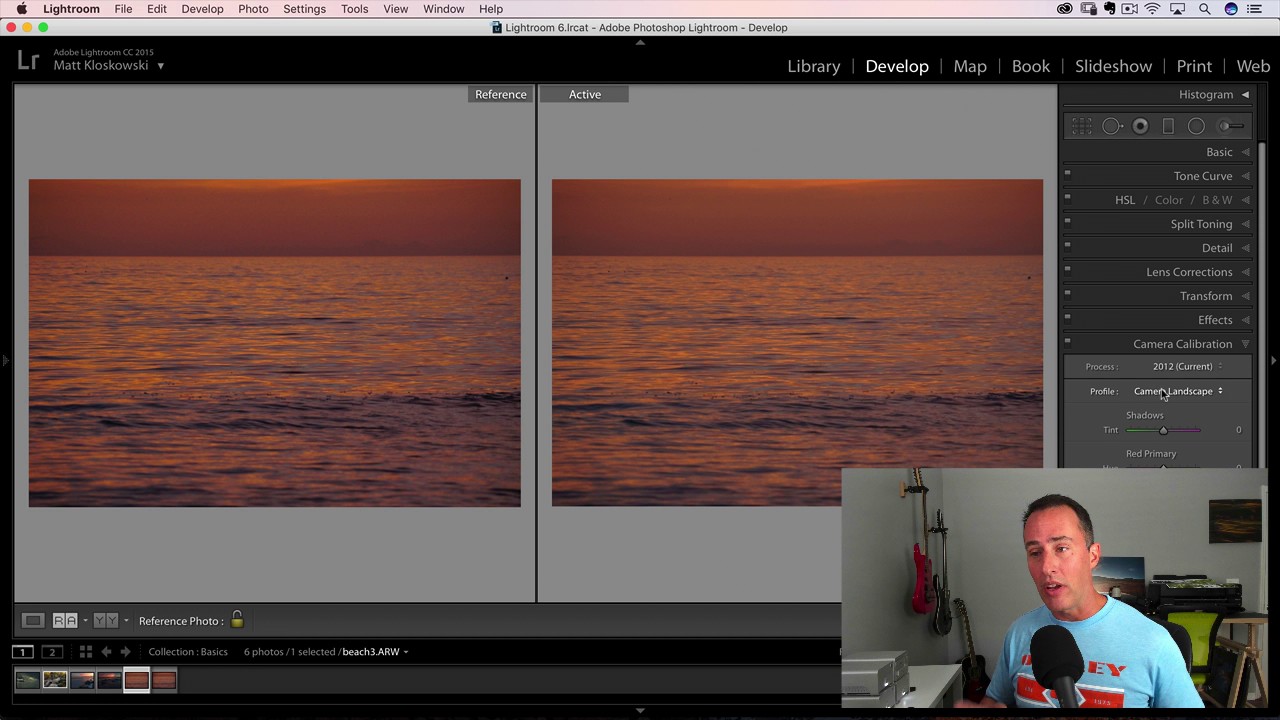
Every time I get back from a shoot in low light, I face the same silent negotiation with myself: do I sit here and run AI Denoise one photo at a time, or do I just hope for the best and export? For a long time I was doing it wrong on both ends, either skipping it entirely or babysitting each file like it owed me money. Then I watched Matt Kloskowski walk through his batch processing workflow after a bear photography trip in Alaska, and something clicked.

Why Your Colors Look Flat After Editing (And the Lightroom Workflow That Fixes It)

Why Your Colors Look Flat After Editing (And the Lightroom Workflow That Fixes It)

I used to export a photo, post it, and immediately see what was wrong with it. The colors looked fine in Lightroom. On Instagram, everything went a little gray and dead. This happened to me for months before I finally slowed down and figured out why, and the answer wasn’t a better preset or a fancier monitor. It was the order in which I was doing things. Color grading in Lightroom isn’t just about moving sliders until something looks cool.

From Flat RAW to Film-Style Masterpiece: Using Lightroom and Photoshop Together the Right Way

From Flat RAW to Film-Style Masterpiece: Using Lightroom and Photoshop Together the Right Way

Every time I open a fresh RAW file, I’m reminded of the same uncomfortable truth: the camera lies. Not in a dramatic way, but in a flat, uninspiring, “did I even take this correctly?” kind of way. RAW files are intentionally unprocessed, and that blank-slate quality is either your best friend or your worst enemy depending on whether you have a clear workflow to get from capture to finished image. For years, I treated Lightroom and Photoshop as two separate tools I’d open at different times for different jobs.

What Seven Years of Lightroom Experience Actually Looks Like (And What You Can Steal From It)

What Seven Years of Lightroom Experience Actually Looks Like (And What You Can Steal From It)

I have a folder on my hard drive called “Do Not Open.” It’s full of edits from my early years that I cannot look at without physically wincing. Over-sharpened skies. Shadows crushed to pure black like I was trying to make every photo look like a crime scene. Clarity sliders pushed so far right that the rocks look like they’re made of sandpaper. We’ve all been there. The problem is most of us don’t have a way to clearly see what changed between then and now, and more importantly, why it changed.

One Raw File, Zero Blown Highlights: The Lightroom HDR Trick That Saves Product Shots

One Raw File, Zero Blown Highlights: The Lightroom HDR Trick That Saves Product Shots

Product photography doesn’t forgive blown highlights. When a client is paying you to show off their product, “you can kind of see the shape of it” is not an acceptable answer. I ran into this exact wall early on, shooting press photos for my band on a budget that left exactly zero dollars for a professional photographer. One overexposed candle top, one blown-out guitarist’s shirt, same problem: the detail is gone, and the client (or bandmate) is unhappy.

Lightroom Classic Is Here: Speed Upgrades and Range Masks That Actually Change How You Edit

Lightroom Classic Is Here: Speed Upgrades and Range Masks That Actually Change How You Edit

There’s a specific kind of frustration that every working photographer knows. You come back from a shoot with 800 RAW files, you sit down to cull, and Lightroom moves like it’s running on dial-up. Every right-arrow keypress feels like a small act of patience. I used to put on a full record side just to get through the culling process without losing my mind. So when Adobe pushed significant speed improvements in October 2017 alongside a structural name change and a genuinely useful new masking tool, I paid attention.

The Lightroom Setting I Ignored for Years (And Why That Was a Mistake)

The Lightroom Setting I Ignored for Years (And Why That Was a Mistake)

For the longest time, I treated the Profile field in Lightroom’s Basic panel like the terms and conditions on a software update. I knew it was there. I scrolled past it every single time. My photos came out fine, my clients were happy, and I told myself the default was good enough. Then I started digging into how other editors actually approach the beginning of their workflow, and I realized I had been skipping one of the most powerful starting points in the entire develop module.

From Flat RAW to Cinematic: How Pierre T. Lambert's Lightroom Workflow Actually Works

From Flat RAW to Cinematic: How Pierre T. Lambert's Lightroom Workflow Actually Works

There’s a particular kind of frustration that hits when you open a RAW file and it looks absolutely nothing like what you saw through the viewfinder. Flat, muddy, lifeless. I’ve been editing photos long enough to know that the gap between the RAW capture and the finished image is where most photographers either give up or develop a real workflow. For a long time, my own workflow was a patchwork of habits I’d picked up from a dozen different sources, none of them quite fitting together.

How to Pull a Usable Image Out of an Underexposed RAW File in Lightroom

How to Pull a Usable Image Out of an Underexposed RAW File in Lightroom

We’ve all been there. You’re out shooting, the light is doing something genuinely magical, you fire off the shot, and then you look at the back of the camera and feel your stomach drop. The exposure is off. Two stops under, maybe more. The moment is gone and you’re left with a dark, flat file that looks like it belongs in the trash. I used to think those shots were just losses.