
There’s a particular kind of frustration that hits when you’re back at your desk, image open in Lightroom, and you realize the shot you were so excited about in the field has a problem you can’t unsee. A branch cutting through the wrong place. A background element that reads like visual noise. A crop that almost works but doesn’t quite. I’ve been there more times than I’d like to admit, and for a long time I assumed those were just losses. Bad luck in the field. Move on.
What shifted my thinking was watching how good landscape photographers review their own work with real honesty. In this Nigel Danson tutorial, Danson walks through a specific session at a location he’d been trying to shoot for years, compares two mornings of images side by side, and shows exactly where his in-field composition decisions fell short. Then he fixes them in Lightroom. Not with heavy-handed manipulation, but with precise, intentional tools that any Lightroom user has access to right now.
What makes this useful isn’t just the technique. It’s watching a skilled photographer be genuinely critical of his own work and then do something about it. That’s the part most tutorials skip.
Step 1: Review Your Image With Fresh Eyes and Identify the Composition Problems
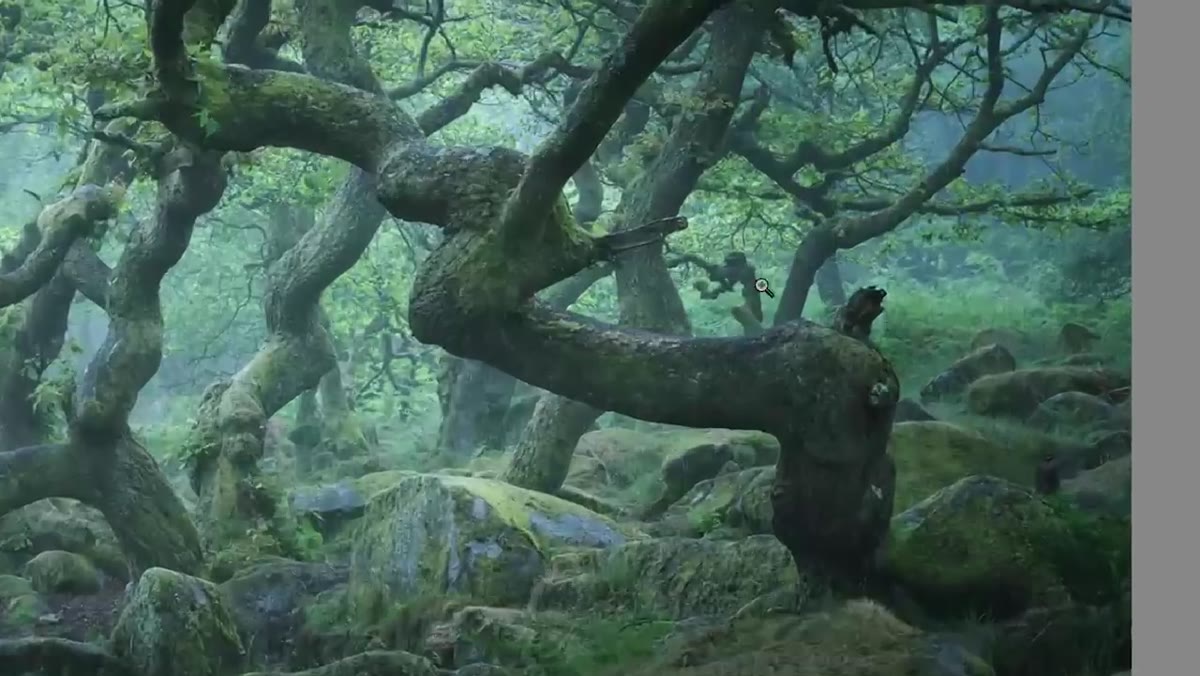
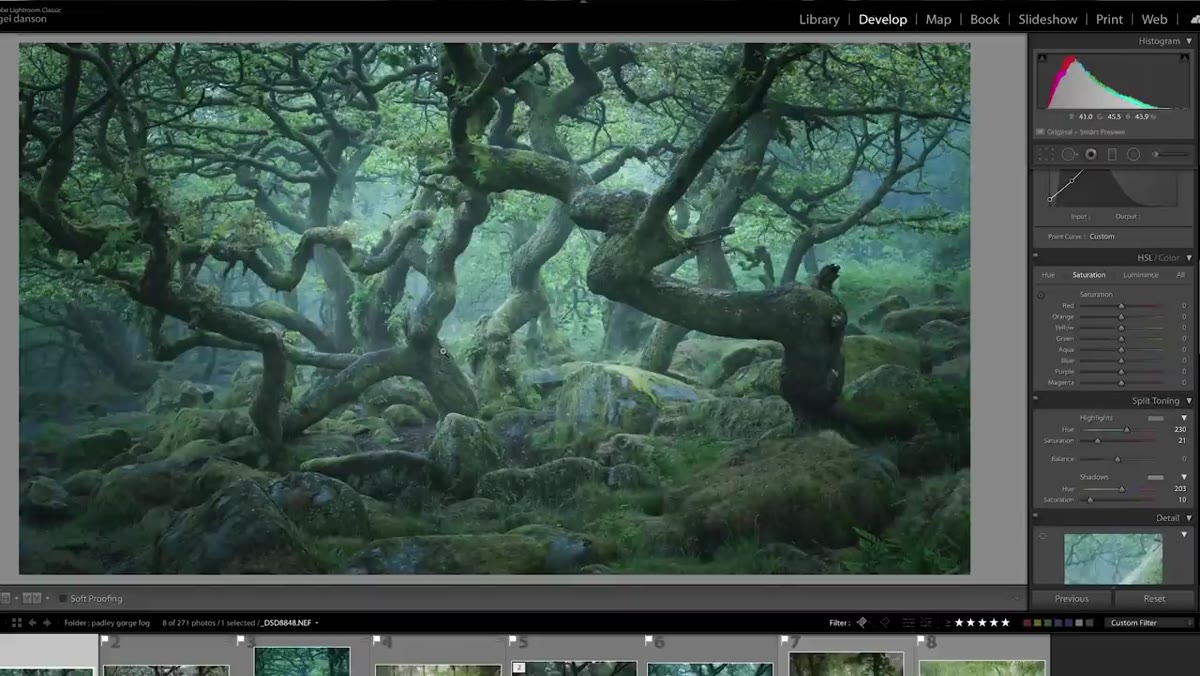 Danson pointing out a distracting tree element in the frame
Before you touch a single slider, Danson’s first move is a structured critique of the image. He looks for elements that compete with the main subject, background details that distract, and areas where the emotional impact of the scene isn’t being communicated. In his woodland image, he spots a tree whose branches cross and tangle with other elements in a way that creates visual confusion. He also identifies a background shape that reads oddly against the primary subject trees. Write these down or mark them mentally before you start editing. Reactive editing without a clear diagnosis usually makes things worse.
Step 2: Compare Against an Alternative Shot to Understand What You Actually Want
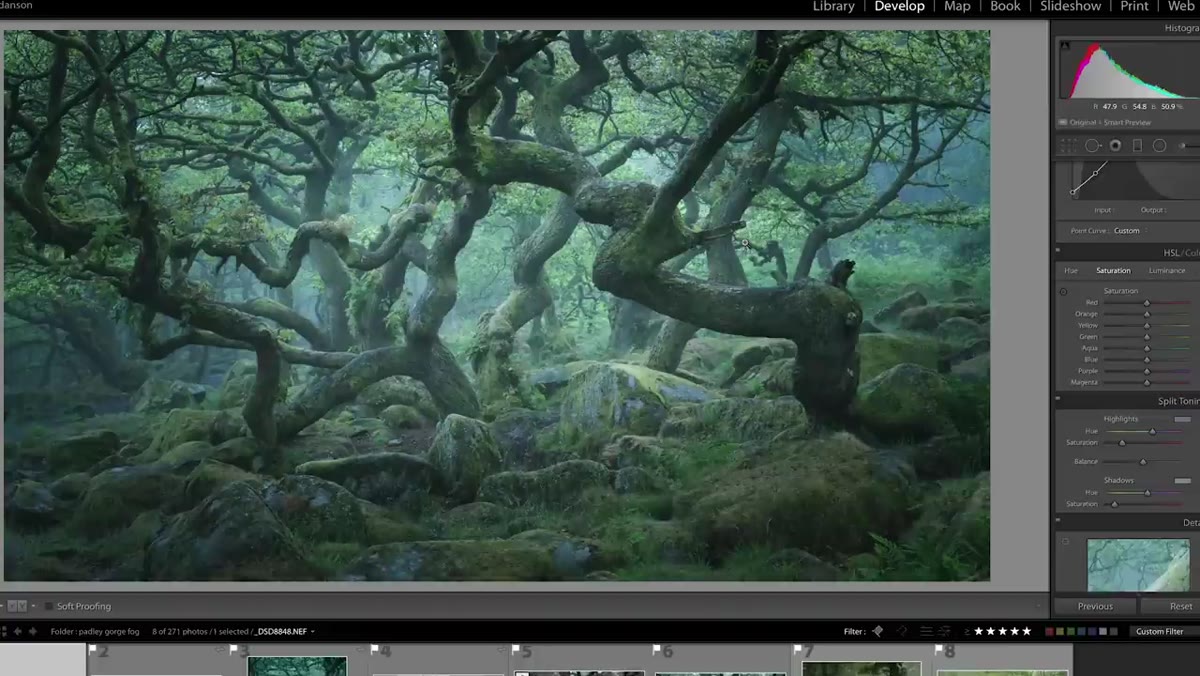
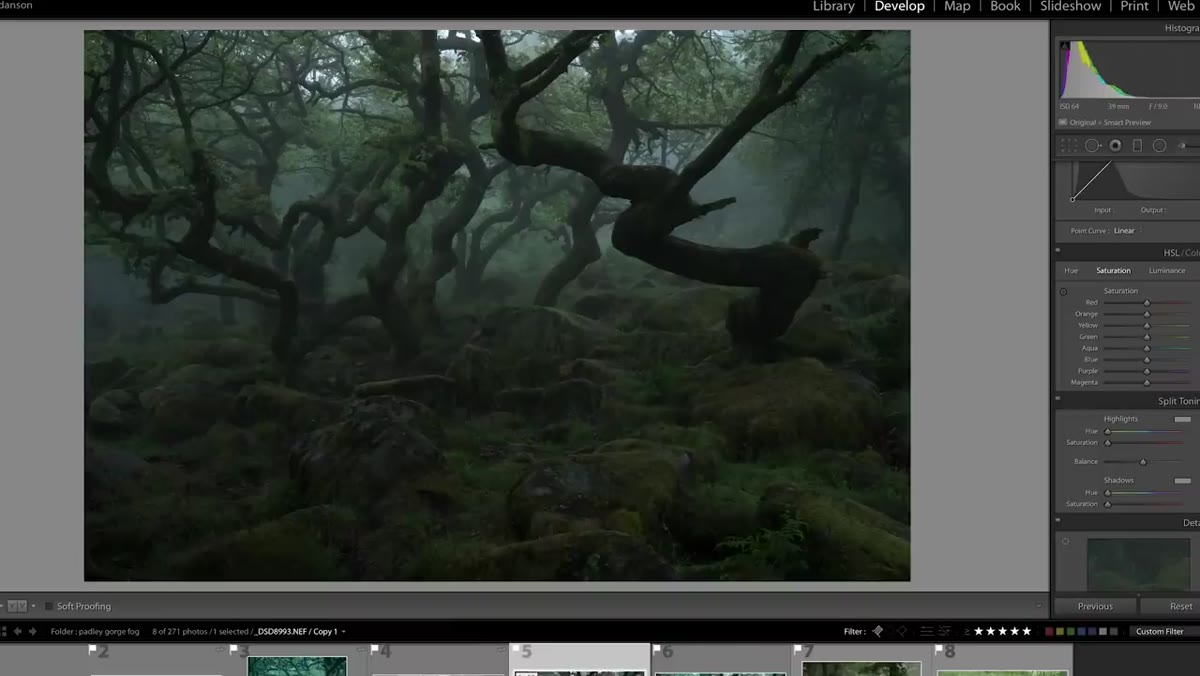 Side-by-side comparison of two different morning sessions in Lightroom
Danson had two mornings at this location, and he pulls both images into Lightroom to compare them directly. The first morning shot is well-edited and genuinely good, but the second version captures better fog conditions and a cleaner light. This step isn’t always possible, but when you have multiple frames from a session, comparing them in Lightroom’s grid view forces clarity about what’s working. Import your selects, give yourself a few minutes to look at them without editing, and ask what each one is actually doing. The goal is to enter the edit knowing exactly what the image needs to become, not discovering it mid-process.
Step 3: Set Your White Balance to Match the Emotional Tone
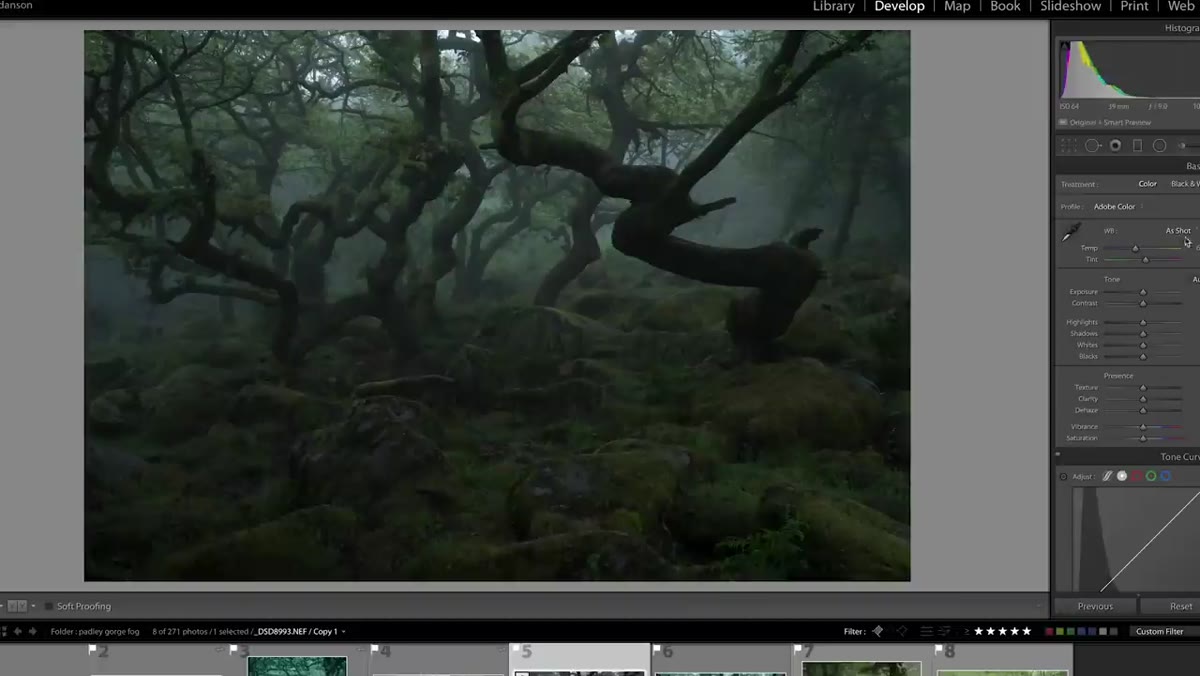 White balance panel showing camera default setting around 6000K
The second morning image was captured at a camera default white balance around 6000K, but Danson notes the scene’s natural light was closer to 4000-5000K. That cooler temperature preserved the blue-hour mood that makes foggy woodland scenes feel cinematic rather than just overcast. In Lightroom’s Develop module, pull the Temp slider left toward cooler values and watch how the image atmosphere shifts. For landscape work in early morning or late evening, a temperature between 4000K and 5500K is almost always more truthful to the scene than a warmer auto or daylight setting. Don’t just pick a preset. Compare your edit at several temperatures before committing.
Step 4: Correct Exposure and Check Your Shadows for Recoverable Detail
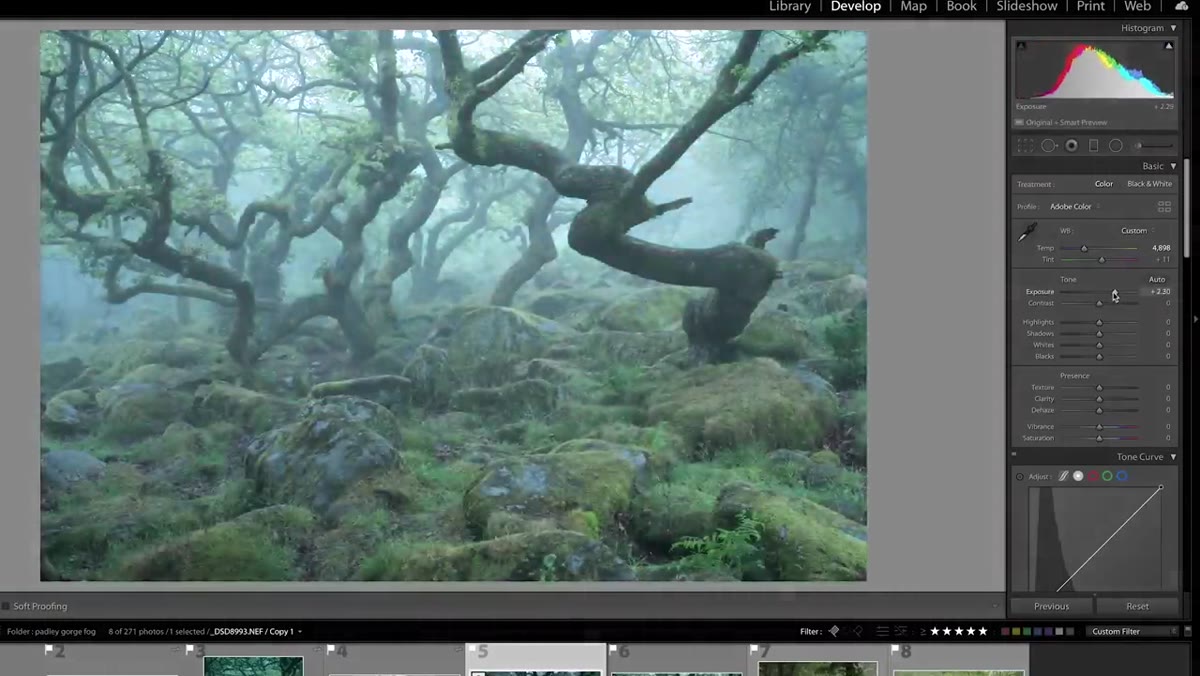 Exposure slider being pushed up to reveal shadow detail in the image
Danson is upfront that he underexposed this image in the field. He was shooting long exposures and got distracted by composition decisions, forgetting to adjust his ISO to compensate. Back in Lightroom, he pulls the Exposure slider up and uses the histogram to check whether shadow detail actually exists to recover. The lesson here is practical: a slightly underexposed raw file is usually workable, but you need to check before assuming. Bring your exposure up, zoom into the shadow areas, and look for noise and color shifts. If the shadows hold detail cleanly, you’re fine. If they go muddy or noisy above a modest push, note that for next time and use the Shadows slider more conservatively than the Exposure slider.
Step 5: Use the Crop Tool to Solve Compositional Problems You Couldn’t Fix in the Field
 Crop overlay tool active with distracting tree element being removed from frame
This is the core technique of the tutorial. Danson uses Lightroom’s crop tool (keyboard shortcut: R) to remove the distracting tree element from the edge of his frame and to reposition the key background shape relative to his main subject trees. When you open the crop tool, enable the overlay grid to keep your horizon straight, and try multiple crop ratios. Don’t just crop to tighten. Crop to fix. Ask yourself which elements are pulling the viewer’s eye somewhere you don’t want it to go, and see if removing them with a crop changes the image’s hierarchy. A modest crop that removes a 10 percent edge distraction often does more for the image than 30 minutes of masking and color work.
Step 6: Adjust for Atmosphere - Use Dehaze and Fog to Restore the Scene’s Character
 Effects panel with haze and atmosphere adjustments being applied
The fog was a defining feature of this location and this morning, but Danson felt his first-morning image hadn’t quite captured the depth and softness of it. In Lightroom, the Dehaze slider (found in the Effects panel) works in both directions. Pulling it left, toward negative values, actually adds haze and softness back into a scene. For misty or foggy landscapes, try values between -10 and -30 and watch how the atmospheric depth changes. Combine this with a slight reduction in texture and clarity in the mid-tones to enhance the feeling of distance. The goal isn’t to make the image look processed. The goal is to make it feel like you were standing there.
What I’d Add: The Composition Review Should Happen Before the Color Grade
Danson’s workflow is crop and structure first, then color, and I think that order matters more than most people realize. I used to jump straight to the tone curve because it’s the fun part. Then I’d do my crop and realize the new frame made my color work look wrong. Now I treat the crop tool as part of the raw import process. The moment I open an image in Lightroom’s Develop module, I hit R before I touch anything else, just to see if the frame is actually right. Usually it is. But when it isn’t, catching it before the grade saves a lot of rework.
The biggest thing I took from this tutorial is that composition review in Lightroom isn’t a workaround for bad field work. It’s part of the process. Even experienced photographers like Danson come back with frames that need structural adjustment. The tools are there. Using them deliberately and early, before color grading pulls your attention elsewhere, is what separates a good edit from a great one.
Watch the full tutorial on YouTube to see Danson work through the enchanted oaks images in real time. The way he talks through his own mistakes is worth the watch on its own.
Comments
Leave a Comment