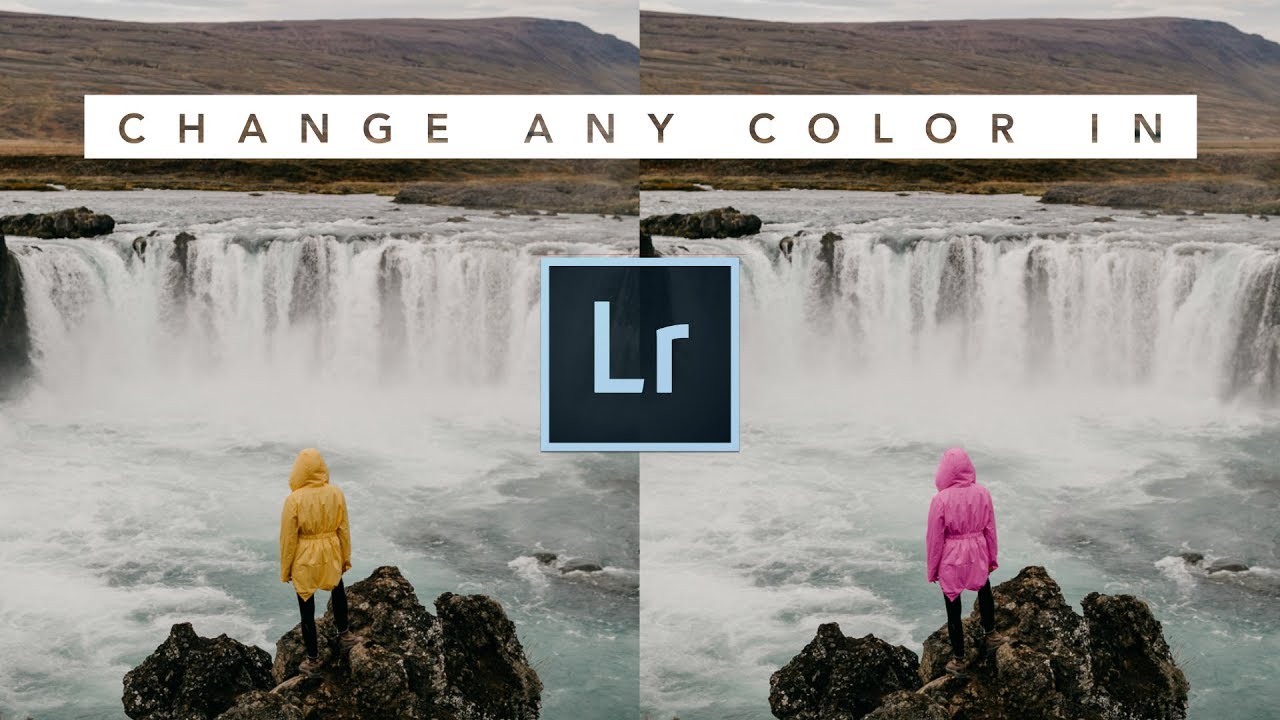
Most of my clients have no idea how much color work happens after the shutter clicks. A jacket that photographs as a muddy burgundy. A sky that came out flat and grey when it was golden in real life. A product shot where the background color just isn’t sitting right against the subject. These are the kinds of problems I used to punt to Photoshop, fire up a Select and Mask workflow, and spend twenty minutes fixing what should have taken five. Then I started leaning harder into Lightroom’s masking tools, and a lot of that extra time just disappeared.
Watch the full tutorial on YouTube
In this Mango Street tutorial, Rachel and Daniel walk through two distinct use cases for color-changing in Lightroom: a practical one (swapping the color of a jacket in a portrait) and a more surreal, creative one (turning the water at the Blue Lagoon pink). They also cover range masks, which is a feature that I think is criminally underused given how much precision it adds to a workflow that most people assume requires Photoshop. Here’s how to follow along, step by step.
Step 1: Open the Adjustment Brush and Configure Your Settings
 Adjustment brush tool selected in Lightroom develop module
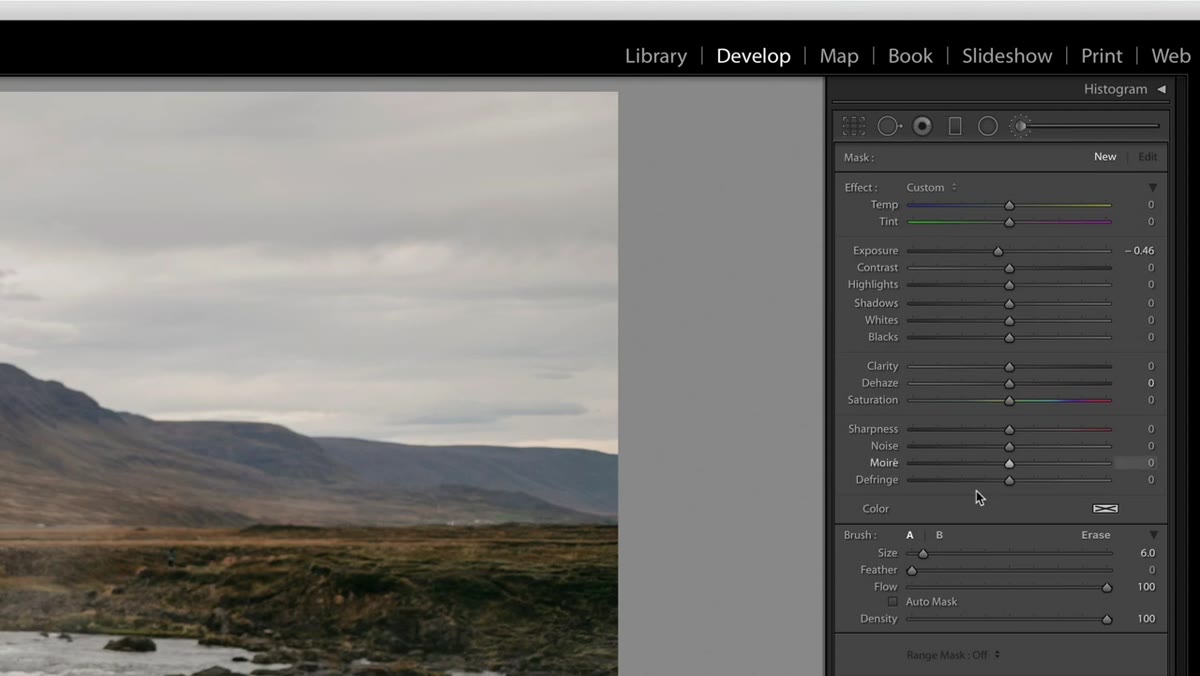
Start in the Develop module and select the Adjustment Brush tool from the toolbar just below the histogram. Before you paint a single pixel, get your brush settings right. The tutorial recommends a relatively small brush size, medium feather, and both flow and density cranked up to 100. The feather softens the edges of your brush strokes, which helps transitions look natural rather than stamped on.
Adjustment brush tool selected in Lightroom develop module
Start in the Develop module and select the Adjustment Brush tool from the toolbar just below the histogram. Before you paint a single pixel, get your brush settings right. The tutorial recommends a relatively small brush size, medium feather, and both flow and density cranked up to 100. The feather softens the edges of your brush strokes, which helps transitions look natural rather than stamped on.
The most important toggle here is Auto Mask. Turn it on. Auto Mask detects edges and tries to keep your brush strokes inside the boundaries of whatever object you’re painting over. It’s not magic, but on high-contrast edges like a jacket against a wall, it does a solid job and saves you from having to be overly precious with your strokes.
Step 2: Paint Your Mask Over the Target Area
 Red mask overlay painted across subject’s jacket
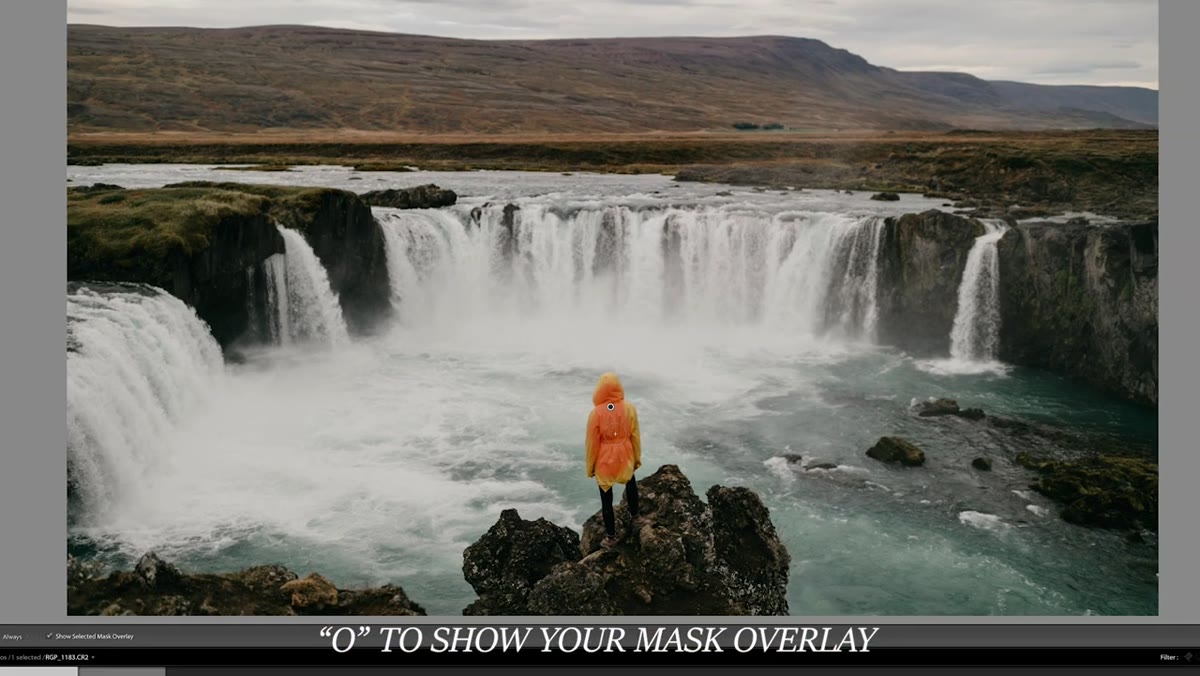
With your brush configured, start painting over the object you want to recolor. Press the O key on your keyboard to toggle the mask overlay, which renders as a red tint over your painted area. This lets you see exactly what’s inside the mask while you work. Zoom in as you go, especially around detailed edges like lapels, collars, or anywhere the subject blurs into the background.
Red mask overlay painted across subject’s jacket
With your brush configured, start painting over the object you want to recolor. Press the O key on your keyboard to toggle the mask overlay, which renders as a red tint over your painted area. This lets you see exactly what’s inside the mask while you work. Zoom in as you go, especially around detailed edges like lapels, collars, or anywhere the subject blurs into the background.
Auto Mask will occasionally refuse to paint over areas you actually want included. When that happens, just temporarily toggle it off, paint those spots manually, then turn it back on. On the flip side, if your mask bleeds into an area it shouldn’t, hold Alt on PC or Option on Mac to switch your brush to erase mode and clean it up. The cleanup is the slowest part of this whole process, but doing it well is the difference between a result that looks composited and one that looks shot.
Step 3: Desaturate the Masked Area Completely
 Saturation slider pulled to -100 in adjustment brush panel
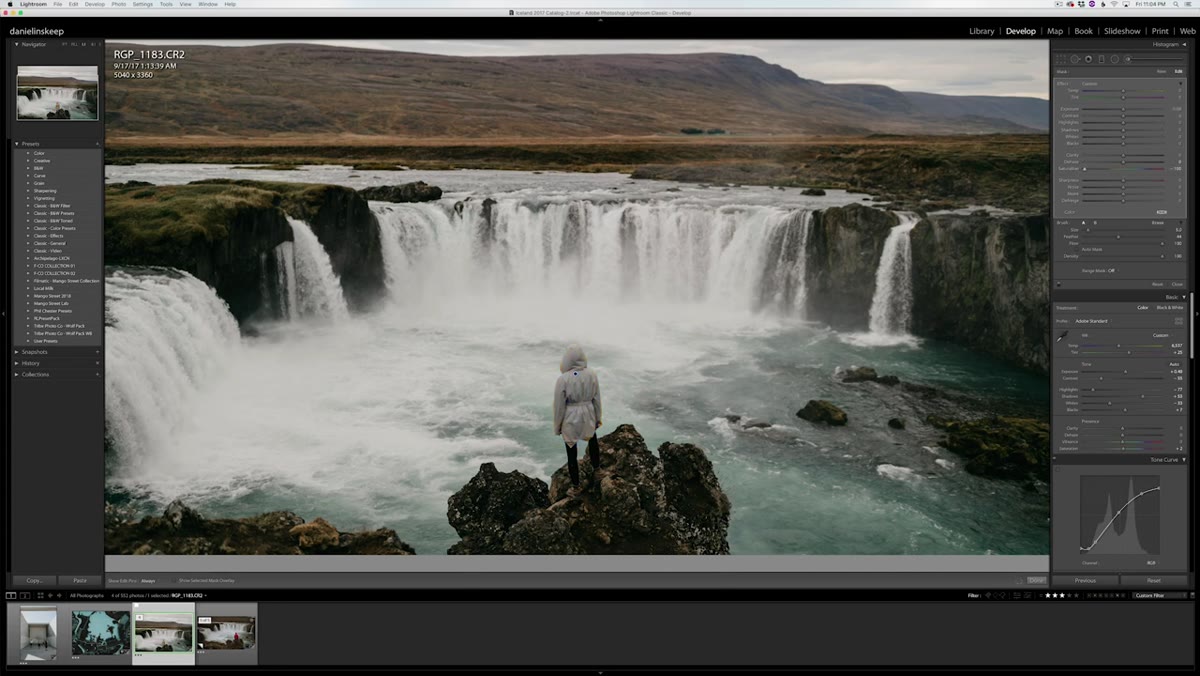
Once your mask covers the full target area cleanly, drag the Saturation slider all the way down to -100. This strips the original color from your selection and gives you a neutral grey base to work from. Think of it as bleaching the fabric before you dye it a new color. If you skip this step and just pile a new hue on top of the existing color, the two will fight each other and you’ll get muddy results.
Saturation slider pulled to -100 in adjustment brush panel
Once your mask covers the full target area cleanly, drag the Saturation slider all the way down to -100. This strips the original color from your selection and gives you a neutral grey base to work from. Think of it as bleaching the fabric before you dye it a new color. If you skip this step and just pile a new hue on top of the existing color, the two will fight each other and you’ll get muddy results.
This is also a great moment to review your mask one more time. The desaturated result makes problem areas obvious. Any patch that still has color is a spot your mask missed.
Step 4: Apply a New Color Using the Color Rectangle
 Color picker open with pink hue selected in brush panel
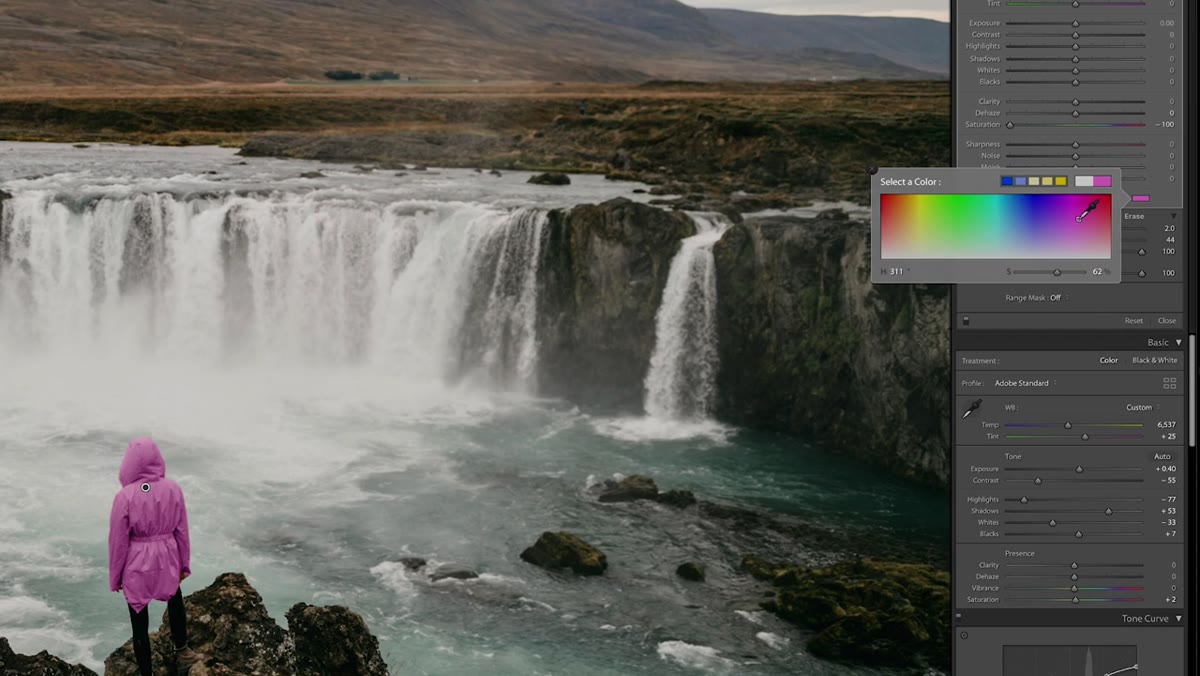
Look for the small color rectangle inside the Adjustment Brush panel. Click it and a color picker opens. From here you can dial in whatever hue you want. The tutorial goes with a pink, which looks striking against the portrait’s tones. Pick your color, and watch it drop over the desaturated area in real time.
Color picker open with pink hue selected in brush panel
Look for the small color rectangle inside the Adjustment Brush panel. Click it and a color picker opens. From here you can dial in whatever hue you want. The tutorial goes with a pink, which looks striking against the portrait’s tones. Pick your color, and watch it drop over the desaturated area in real time.
One thing to watch for: some hues will cause the edges of your mask to look desaturated or slightly off. If you see that happening, head to the Lens Corrections section and pull down the Vignetting slider under the Manual tab to compensate. You can also nudge the Saturation slider back up slightly from -100 to let a little of the original color mix in with your new overlay. That blending can actually make the color change look more realistic rather than painted on.
Step 5: Dial In the Exposure for Realism
 Exposure adjustment being made to color-changed jacket
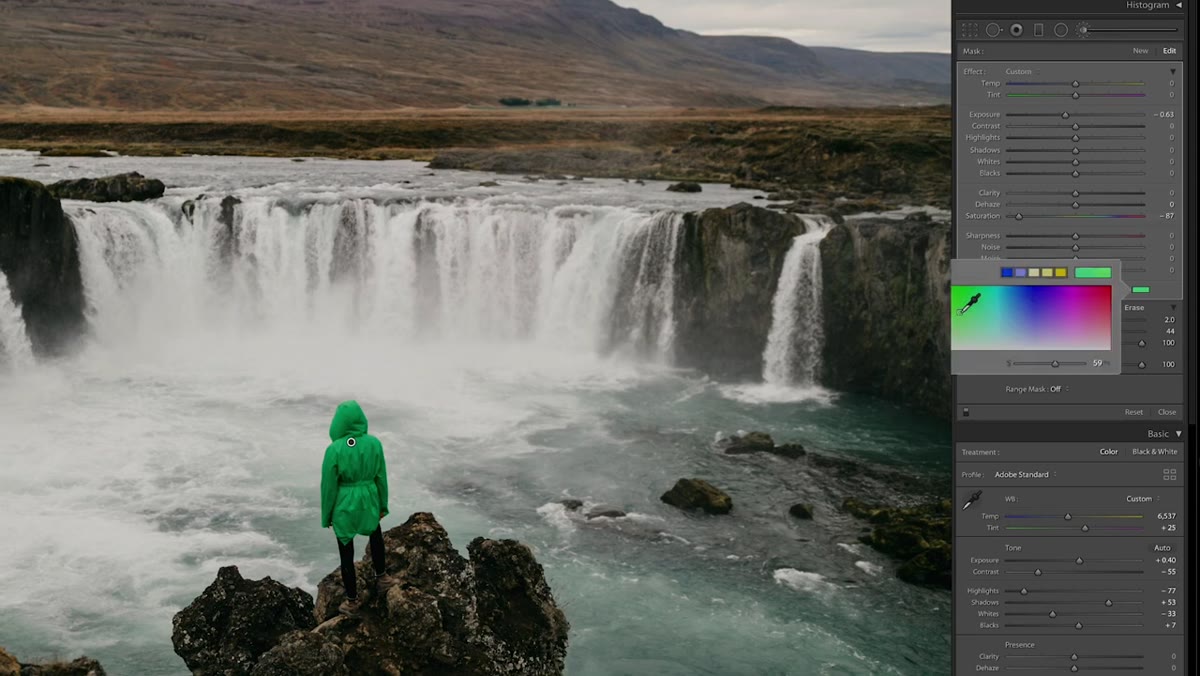
Different hues carry different perceived brightness. A bright yellow reads lighter than a deep navy even at the same technical exposure value. After you’ve applied your new color, check whether the exposure on your masked area needs a nudge up or down to match the lighting that exists in the rest of the image. The tutorial flags this as a step people skip, and it’s why some color swaps look fake even when the mask is clean. A small exposure adjustment, sometimes just plus or minus 0.3, makes the recolored area feel like it belongs in the same light as everything else.
Exposure adjustment being made to color-changed jacket
Different hues carry different perceived brightness. A bright yellow reads lighter than a deep navy even at the same technical exposure value. After you’ve applied your new color, check whether the exposure on your masked area needs a nudge up or down to match the lighting that exists in the rest of the image. The tutorial flags this as a step people skip, and it’s why some color swaps look fake even when the mask is clean. A small exposure adjustment, sometimes just plus or minus 0.3, makes the recolored area feel like it belongs in the same light as everything else.
Step 6: Use Range Masks to Isolate Colors for Large Areas
 Graduated filter applied over sky with range mask color selector open
For large areas like skies or bodies of water, the Adjustment Brush gets tedious fast. A better approach is the Graduated Filter combined with a Color Range Mask, which has been available since Lightroom Classic CC 2017. Drag a Graduated Filter over the area you want to affect, then scroll down in the panel and set Range Mask to Color. Click the eyedropper and drag a small selection box over the target area. Lightroom samples those hues and restricts the mask to only pixels that match.
Graduated filter applied over sky with range mask color selector open
For large areas like skies or bodies of water, the Adjustment Brush gets tedious fast. A better approach is the Graduated Filter combined with a Color Range Mask, which has been available since Lightroom Classic CC 2017. Drag a Graduated Filter over the area you want to affect, then scroll down in the panel and set Range Mask to Color. Click the eyedropper and drag a small selection box over the target area. Lightroom samples those hues and restricts the mask to only pixels that match.
If the sky or water has varied hues across the frame, hold Shift and click additional areas with the eyedropper to add sample points. If the filter still bleeds into parts of the image you want untouched, switch to the Brush mode within the filter settings and erase those areas out with Alt or Option held down. From there, pick your new color, drop the saturation, adjust exposure, and you’re done in a fraction of the time it would take to hand-paint the same area.
One Thing the Tutorial Doesn’t Mention: Start With a Flat Edit
Before I run any color-change workflow like this, I strip my global edits back to something close to flat. High-contrast edits with crushed shadows make it harder for Auto Mask to read edges accurately, and they can also make your new color look inconsistent at different luminance levels across the subject. I get the mask clean first, then bring my overall edit back in. It takes an extra two minutes up front and saves five minutes of troubleshooting at the end.
The single biggest takeaway from this technique is that Lightroom’s masking tools are genuinely capable of color work most people assume requires Photoshop. The masking is slower, and you have to be patient with the cleanup, but the result lives inside your raw file, stays non-destructive, and travels with your preset stack cleanly. For portrait retouching, product photography, or creative landscape work, it belongs in your regular toolkit.
Watch the full tutorial on YouTube to see both the practical jacket swap and the surreal water recolor in action.
Comments
Leave a Comment