
I’ll be honest with you. For years I was a Lightroom Classic loyalist. Classic felt like home base, the place where my catalogs lived, where my presets (named after Wilco songs, naturally) were organized just the way I liked them. The cloud-based version of Lightroom felt like a younger sibling I hadn’t bothered to get to know. Then my editing workflow got messier as I started shooting more on the go, and I needed a way to access and edit images across devices without driving myself crazy. That’s when this Aaron Nace tutorial from PHLEARN finally clicked for me. Watch the full tutorial on YouTube
In this Aaron Nace (PHLEARN) tutorial, part of a 30-day Lightroom series, Aaron walks through the entire interface of Adobe Lightroom, the cloud-based desktop app, not Lightroom Classic. This distinction matters more than it seems. The two programs share a name and a lot of DNA, but they serve meaningfully different purposes. If you’ve been avoiding the cloud app because you assumed it was just a stripped-down version of Classic, this walkthrough will change your mind. It has features that Classic flat out doesn’t have, and the sync capabilities alone make it worth understanding.
What I found most valuable about Aaron’s approach here is that he doesn’t just click around and describe buttons. He explains the logic of the program’s design, which is what actually helps you build a mental model you can work from. Below is my breakdown of the walkthrough, with enough detail that you can follow along in the app yourself.
Step 1: Import Photos Using the Cloud Module
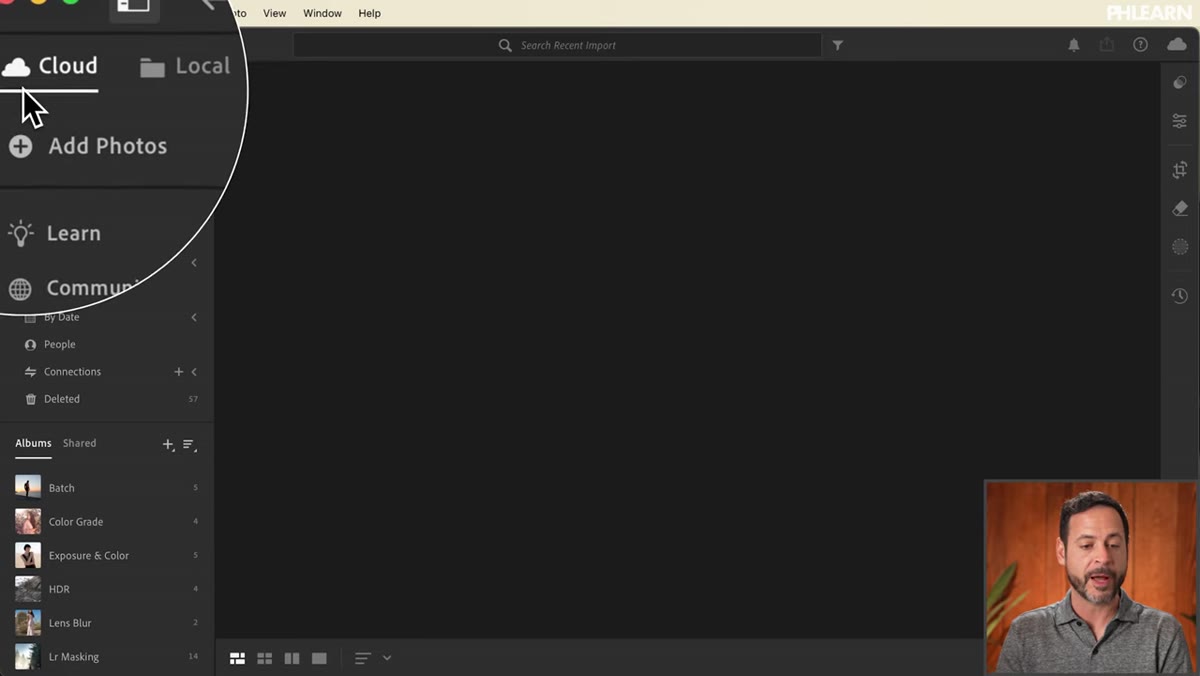 Aaron clicking Add Photos with an empty Lightroom grid view
The first thing Aaron does is navigate to the cloud module and drag photos directly into the app. This is important because Lightroom (the cloud app) has two distinct modes: cloud and local. When you’re in the cloud module, any photo you import is automatically synced to Adobe’s cloud servers. That means the moment your images land in the app, they start backing up and become accessible on your phone, tablet, and the web.
Aaron clicking Add Photos with an empty Lightroom grid view
The first thing Aaron does is navigate to the cloud module and drag photos directly into the app. This is important because Lightroom (the cloud app) has two distinct modes: cloud and local. When you’re in the cloud module, any photo you import is automatically synced to Adobe’s cloud servers. That means the moment your images land in the app, they start backing up and become accessible on your phone, tablet, and the web.
Aaron imports three RAW yoga images included free with the tutorial, and you can immediately see the cloud sync icon activate in the top bar. If you’re following along with your own images, just drag them into the main grid area or use the “Add Photos” button. RAW files are supported, which is worth emphasizing because some people assume the cloud app is JPEG-only.
Step 2: Understand the Cloud vs. Local Distinction
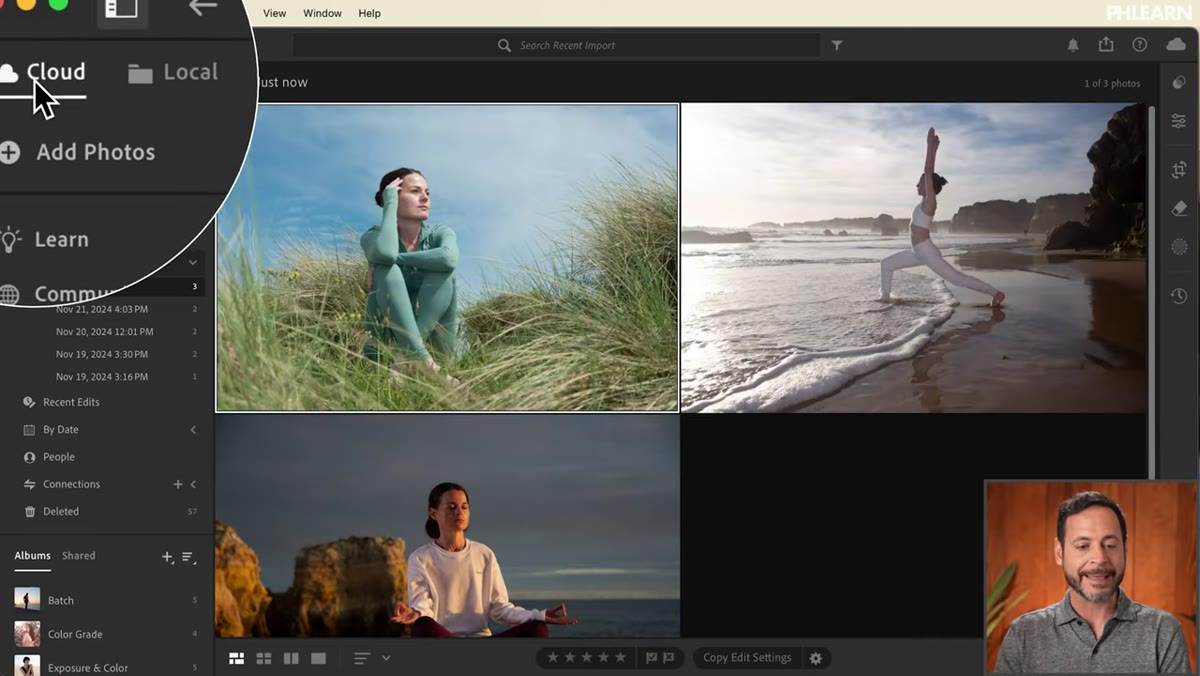 Cloud and Local module tabs visible in the left sidebar
This is the step most people skip, and it causes real confusion later. Aaron takes a moment to explain that the app now supports both cloud-based and local editing. In local mode, you can browse and edit files that live on your hard drive without syncing them anywhere. Think of it as a lightweight alternative to Classic if you just want to edit files without committing to the cloud ecosystem.
Cloud and Local module tabs visible in the left sidebar
This is the step most people skip, and it causes real confusion later. Aaron takes a moment to explain that the app now supports both cloud-based and local editing. In local mode, you can browse and edit files that live on your hard drive without syncing them anywhere. Think of it as a lightweight alternative to Classic if you just want to edit files without committing to the cloud ecosystem.
The key limitation is that edits made in local mode do not sync. If you’re working locally, your changes stay on that machine. For most people building a flexible, multi-device workflow, staying in cloud mode is the right call. But if you’re working with a client’s drive on-location and don’t want files going anywhere, local mode gives you that control.
Step 3: Explore the Learn Tab
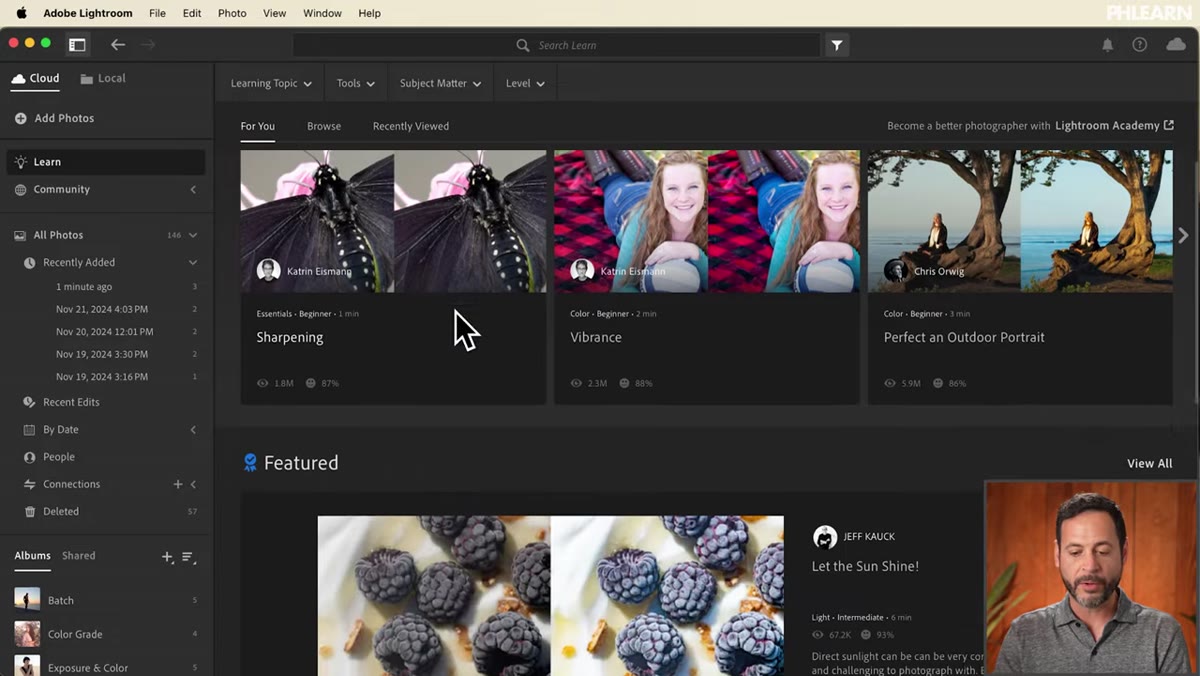 Learn tab open showing built-in tutorial cards inside Lightroom
Buried inside Lightroom’s left sidebar is a Learn tab that most new users walk right past. Aaron highlights it here, and it’s genuinely useful. Adobe has built guided tutorials directly into the application, so you can learn techniques without leaving the program. For anyone who learns by doing rather than by watching, this is a much better entry point than hunting around YouTube.
Learn tab open showing built-in tutorial cards inside Lightroom
Buried inside Lightroom’s left sidebar is a Learn tab that most new users walk right past. Aaron highlights it here, and it’s genuinely useful. Adobe has built guided tutorials directly into the application, so you can learn techniques without leaving the program. For anyone who learns by doing rather than by watching, this is a much better entry point than hunting around YouTube.
If you’re teaching someone else Lightroom for the first time, pointing them to the Learn tab first is a solid move. It keeps them in the environment where they’ll actually be working, and the tutorials are tied to real editing actions rather than abstract explanations.
Step 4: Check Out the Community Tab
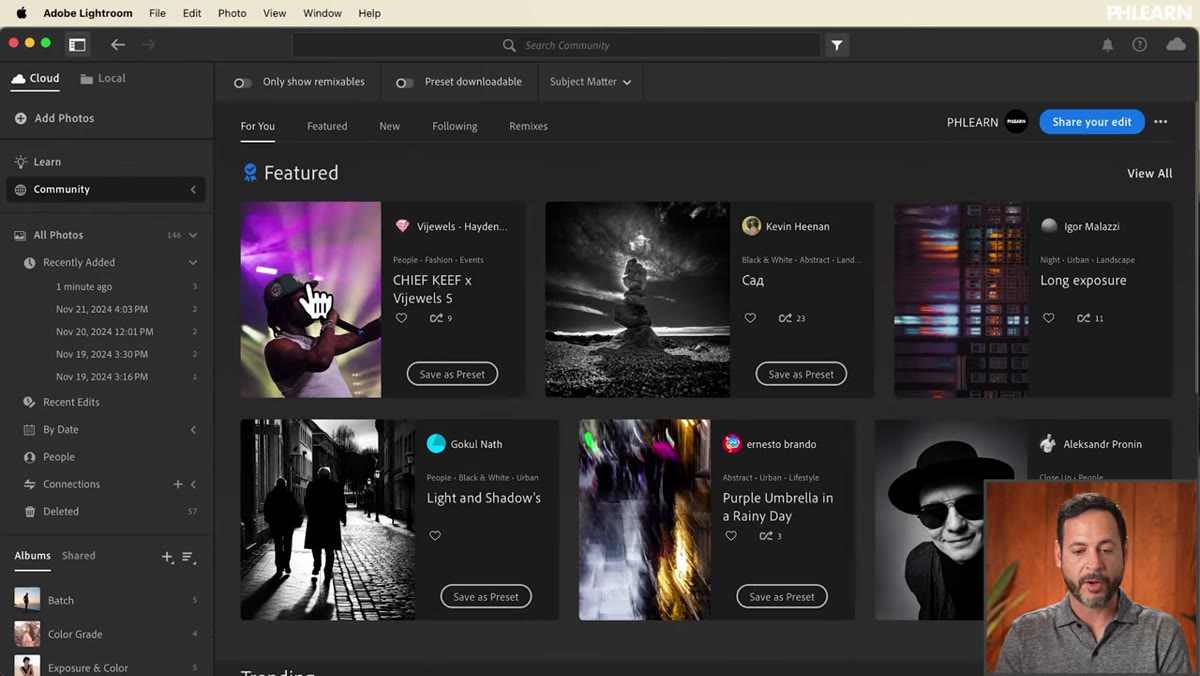 Community tab showing featured public photos and remix option
The Community tab is where Lightroom starts to feel genuinely different from Classic. Here you can browse publicly shared images from other photographers, and here’s the feature that still surprises people: you can “remix” those images. That means you can open someone else’s publicly shared photo and apply edits to it, exploring their settings, experimenting with different looks, and learning from real-world examples without needing your own test files.
Community tab showing featured public photos and remix option
The Community tab is where Lightroom starts to feel genuinely different from Classic. Here you can browse publicly shared images from other photographers, and here’s the feature that still surprises people: you can “remix” those images. That means you can open someone else’s publicly shared photo and apply edits to it, exploring their settings, experimenting with different looks, and learning from real-world examples without needing your own test files.
You also get a personal profile where you can share your own work publicly if you want to. For photographers who are building an audience or just want feedback on their editing style, this is a built-in community layer that Classic has never had. It’s not something I use every day, but when I’m in a creative rut, browsing featured images and remixing a few is a surprisingly effective way to shake loose.
Step 5: Navigate the Photos Grid and View Options
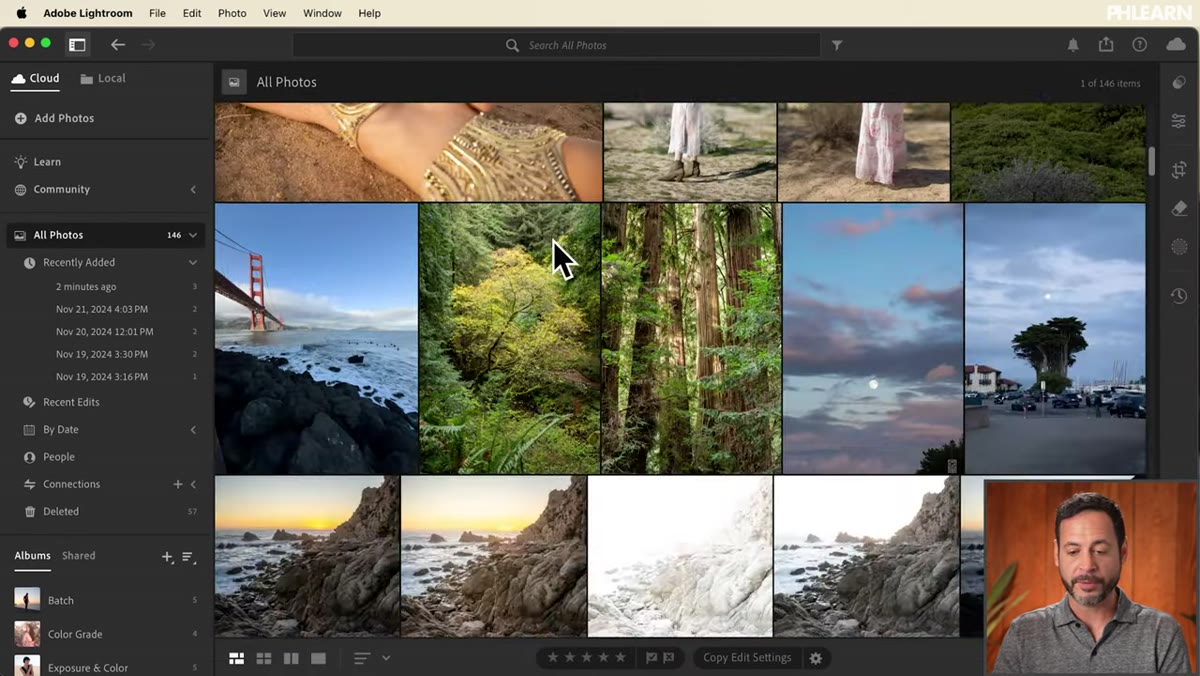 Main photo grid view with view toggle icons visible at the bottom
Once your photos are imported, Aaron walks through the grid view and the different ways you can browse your library. The standard grid shows thumbnails, and at the bottom of the screen there are icons to switch between layout styles. You can see all photos, filter by recent imports, or drill into albums you’ve created.
Main photo grid view with view toggle icons visible at the bottom
Once your photos are imported, Aaron walks through the grid view and the different ways you can browse your library. The standard grid shows thumbnails, and at the bottom of the screen there are icons to switch between layout styles. You can see all photos, filter by recent imports, or drill into albums you’ve created.
The organizational structure here is simpler than Classic’s folder and collection hierarchy, which is a trade-off. You gain speed and accessibility, but if you’re managing thousands of images across dozens of projects, you’ll hit the limits of this system faster than you would in Classic. For photographers with focused projects or a manageable catalog size, it’s more than enough.
One Thing Aaron Doesn’t Cover (But You Should Know)
Preset syncing between Lightroom and Lightroom Classic has gotten dramatically better, but it’s still not seamless. Presets you create in the cloud app will sync to your mobile devices, but they don’t always appear in Classic without manual importing. If you’re running both programs, keep a folder of your most-used presets exported as XMP files so you can load them into either application without hunting around. I learned this the hard way before a deadline when none of my go-to looks were available in the app I had open.
The single most important thing this tutorial communicates is that Lightroom (cloud) and Lightroom Classic are genuinely different tools, and treating one as a lesser version of the other causes you to miss what each one is actually good at. The cloud app is fast, syncs everywhere, has a community layer, and works beautifully as a starting point for photographers who don’t need Classic’s deep catalog management. Understanding the difference means you can choose intentionally rather than defaulting to whichever one you opened first.
Watch the full tutorial on YouTube and follow along with the free sample RAW files Aaron includes. The best way to build a real mental model of any tool is to have it open in front of you while someone who knows it well walks you through it. Aaron is very good at that.
Comments
Leave a Comment