Masking Tools in Lightroom: The Secret Weapon for Surgical Color Grading
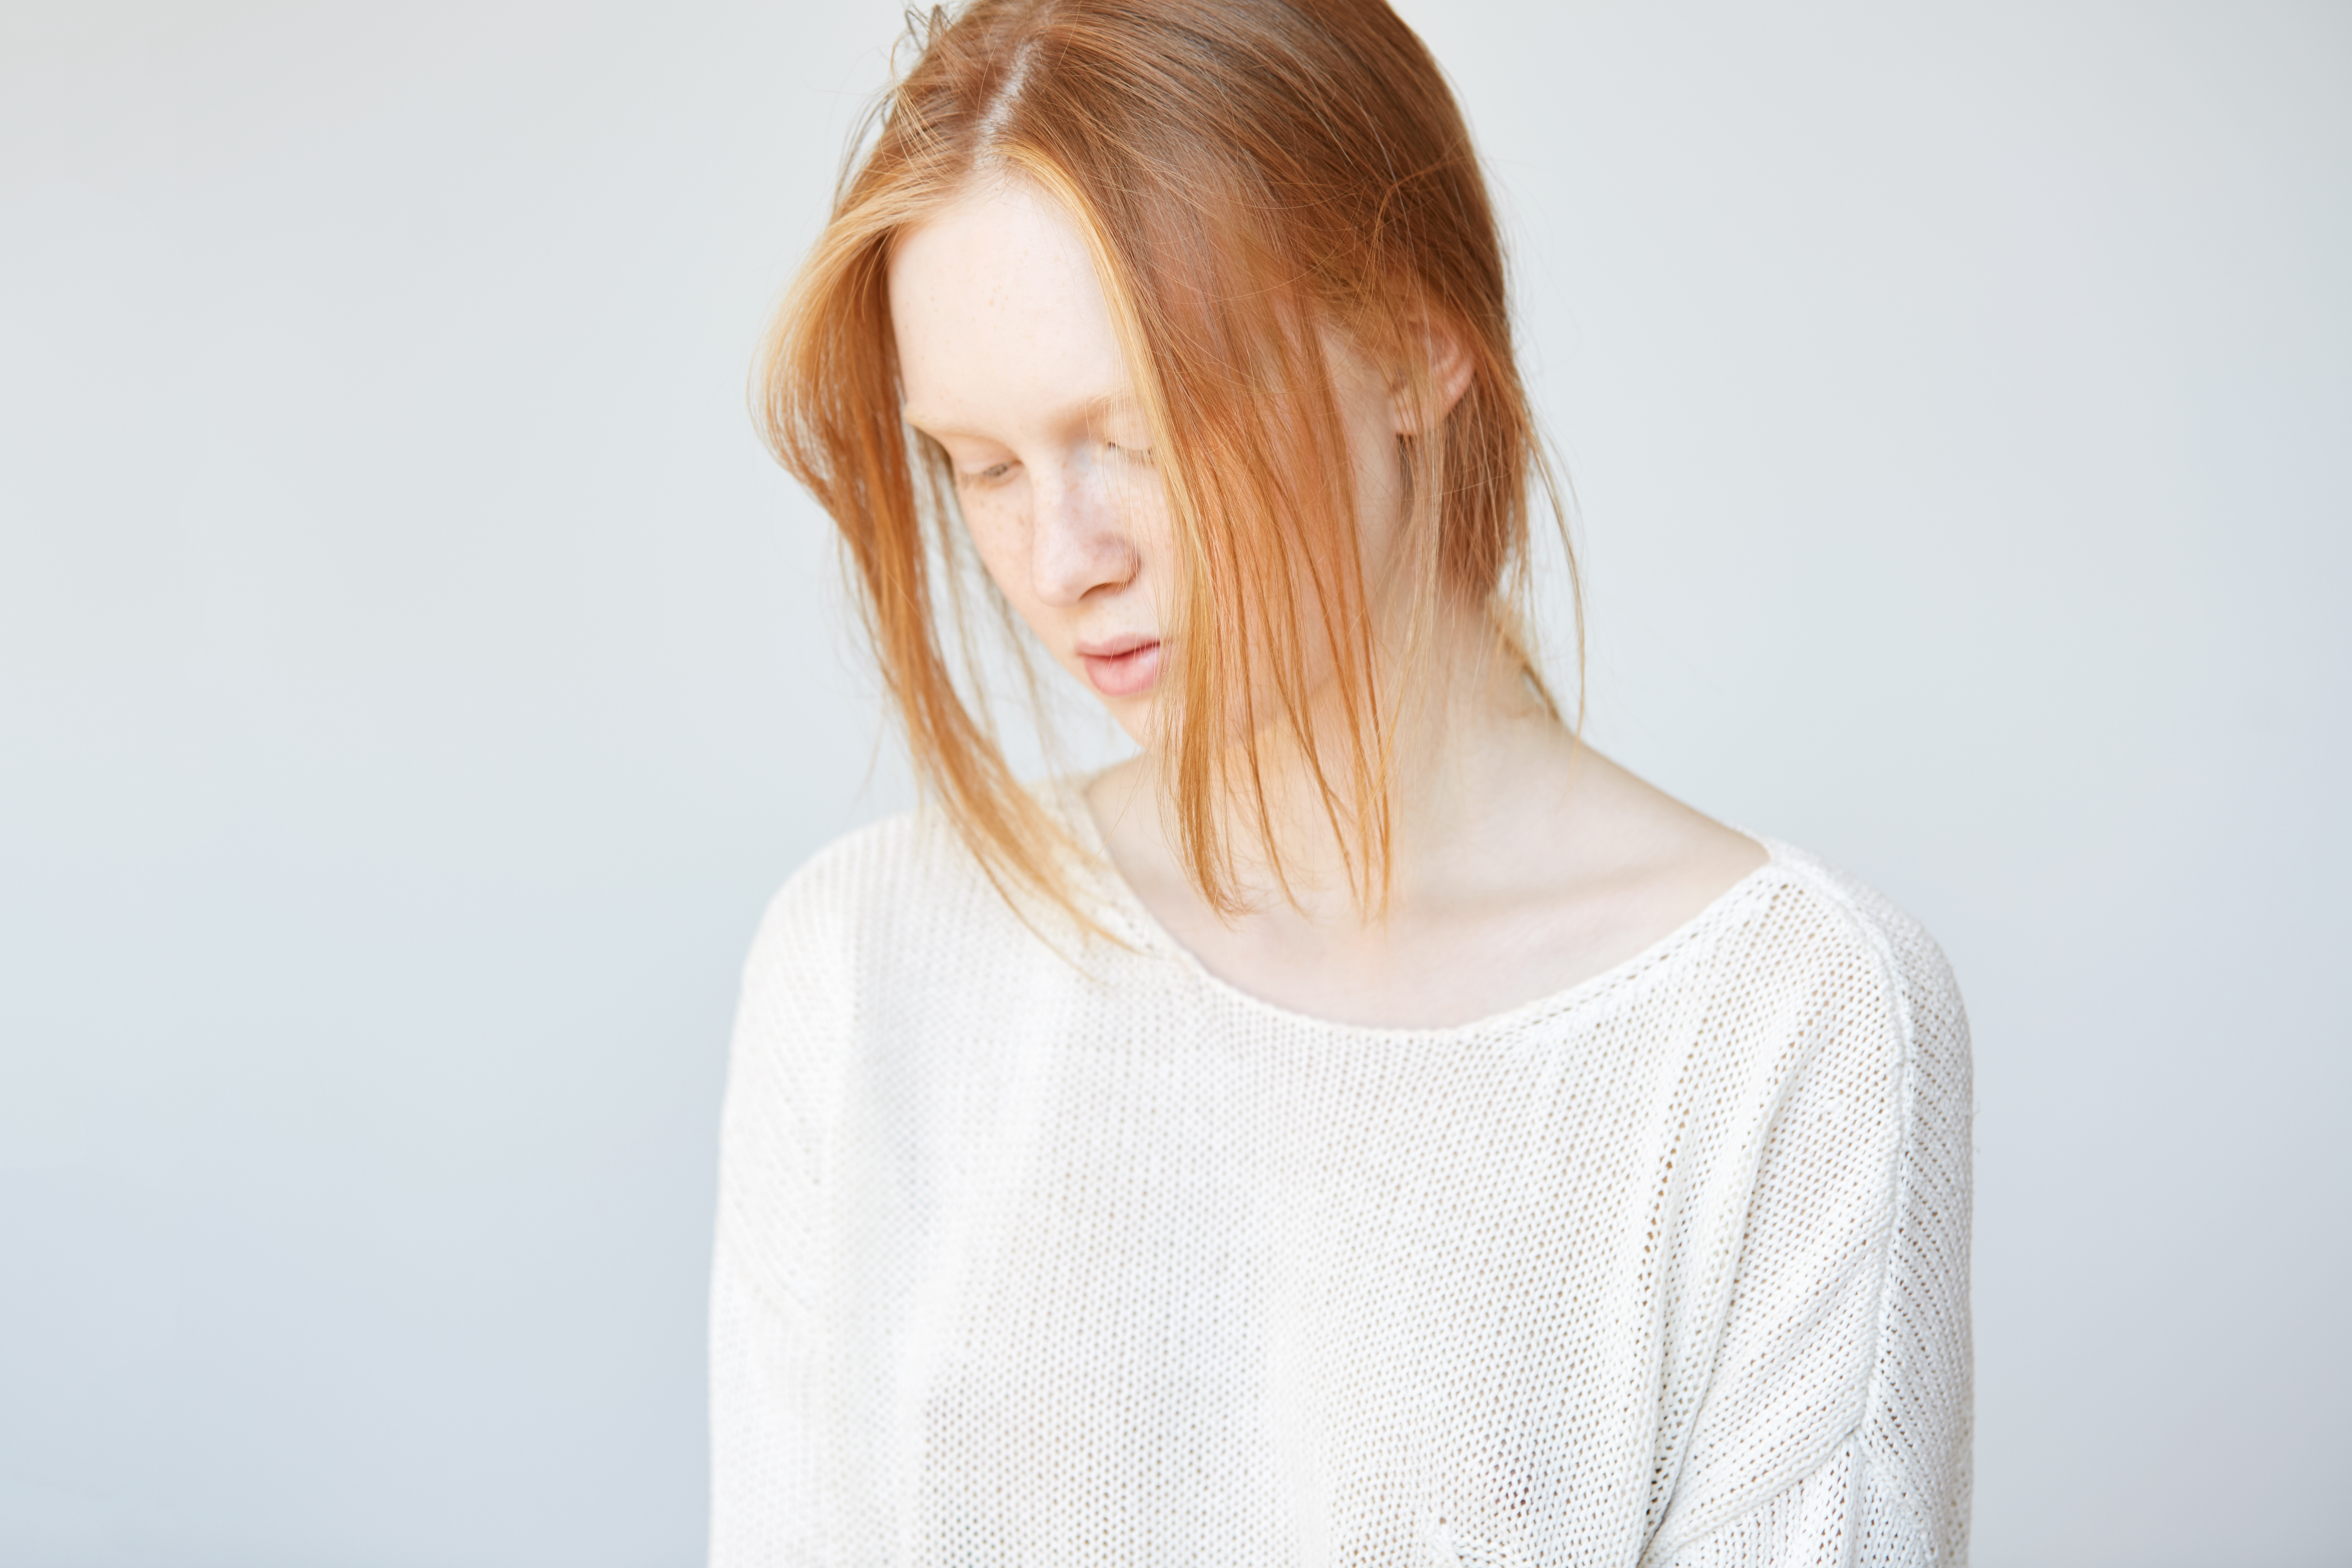
I remember the moment masking clicked for me. I was editing a portrait where the skin looked perfect but the background was blown out and lifeless. I used to just accept that trade-off—nail one element, compromise another. Then I discovered Lightroom’s masking tools, and suddenly I could treat different parts of my image like they deserved their own color grade. It’s genuinely life-changing.
Think of masking as giving yourself a scalpel instead of a sledgehammer. Instead of applying adjustments to your entire image, you’re saying: “This adjustment? Only this 40% of the photo gets it.” That’s the power we’re unlocking today.
Why Masking Matters More Than You Think
Before we dive into the how, let’s talk about the why. Every photo tells a story across different zones. Your subject’s face might need warmth and clarity, while the background needs to recede into cool tones. Your sky might be screaming for saturation recovery while your foreground is already perfectly exposed.
Without masking, you’re making compromises. With masking, you’re making choices.
I started using masking seriously when I realized my landscape editing had a ceiling. I’d crush the blacks to add drama, but then the foreground would look muddy. I’d brighten the midtones for detail, but the sky would blow out. Masking let me give each zone exactly what it needed.
The Three Masking Tools You Actually Need
Lightroom offers several masking approaches, but I focus on three that cover 95% of my work:
Subject and Sky Masks
This is your gateway drug to masking. Hit Alt+O (or find it in the Mask menu) and Lightroom uses AI to automatically detect your subject or sky. It’s that good. I’ve been editing for years, and I still use this constantly because it saves ridiculous amounts of time.
For a landscape, I’ll create a Sky mask, then crush the vibrance and lift the shadows independently. The foreground stays untouched. Compare that to the old way of dodging and burning manually—it’s not even a competition.
Pro tip: After Lightroom creates a mask, always refine the edges. The Refine Mask slider prevents those obvious halos that scream “I used a masking tool.”
Brush Masks
When you need total control, the adjustment brush is your friend. Paint directly onto your image to affect only that area. I use this for:
- Bringing attention to eyes (slight clarity boost, tiny vibrance increase)
- Cooling down hot spots (blown highlights on faces, shine on foreheads)
- Adding local contrast to specific features
The brush masks aren’t perfect—they require more precision than AI masks. But that precision is exactly why they’re powerful.
Range Masks
This is the sophisticated one. Range masks let you select based on tone or color. Want to brighten only the highlights? Want to desaturate just the reds? Range masks are your answer.
I recently edited a sunset where the oranges were completely overblown. A Color range mask targeting that specific orange range let me pull down saturation and exposure only in those tones. The rest of the image stayed untouched. That’s surgical.
A Practical Workflow That Works
Here’s how I actually use these tools in order:
- Create your base edit first. Global adjustments only. Get your white balance, exposure, and overall contrast dialed.
- Deploy AI masks (Subject/Sky) for the big zones that need different treatment.
- Add range masks for tricky color or tonal issues.
- Finish with brush masks for fine details like eyes or problem spots.
This order prevents you from painting over areas you’ve already masked intelligently, and it keeps your adjustment panel organized.
The Moment Everything Changes
The real magic happens when you stop thinking about masking as an advanced technique and start thinking about it as the normal way to edit. Your images will suddenly have more dimensionality, more intention, and more of your personal vision.
Stop accepting compromises. Start making decisions. That’s what these tools are really for.
Comments
Leave a Comment