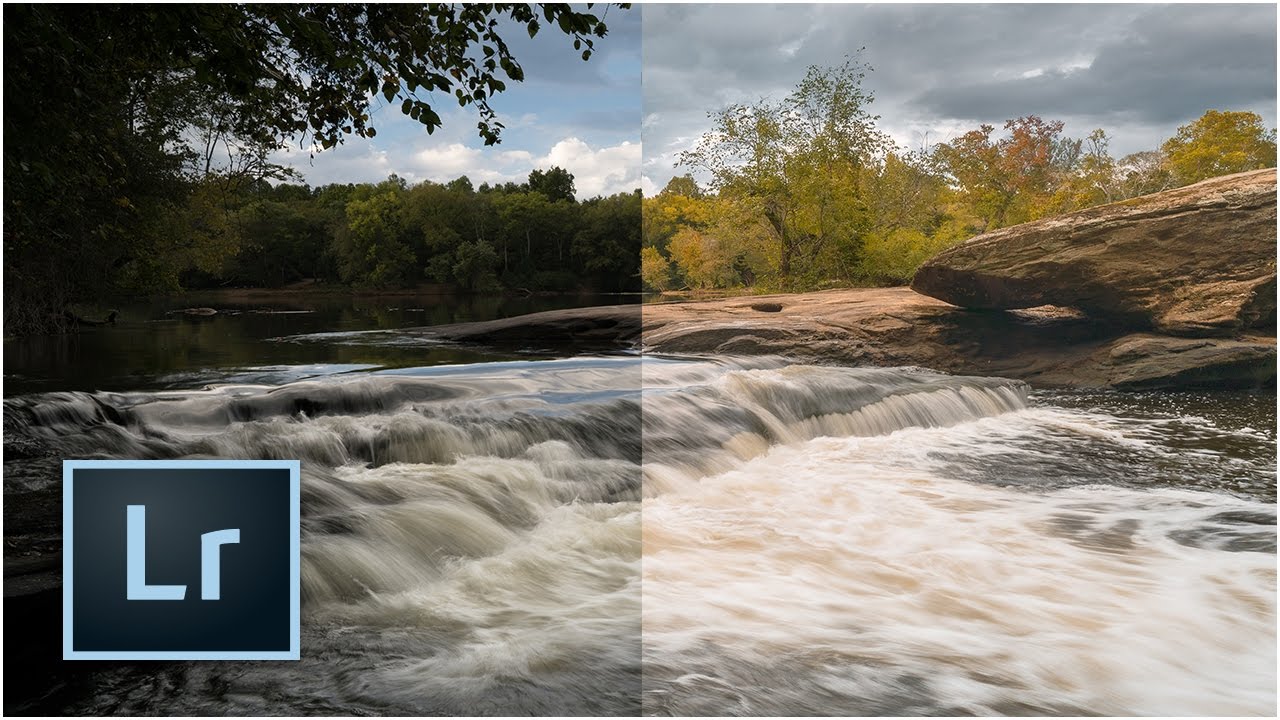
Every landscape photo I’ve edited in a hurry has the same problem: I rush the foundation. I skip lens correction, eyeball the exposure, and convince myself I’ll fix the color “later.” Later never comes, and the image ends up sitting in a reject folder next to seventeen other almost-good shots from a trip I was genuinely excited about.
That’s why this tutorial from Mark Denney landed so well for me. It’s a Lightroom-only landscape workflow, no Photoshop, no plugins, no excuses. Watch the full tutorial on YouTube and you’ll see him take a noticeably underexposed RAW file and pull out a finished image that looks like it came from a completely different shooting session. What I want to do here is slow that process down, name each decision, and give you the actual numbers so you can follow along without pausing and rewinding every thirty seconds.
The image he’s working with is dark, heavy in the shadows, and the kind of shot most people would delete before breakfast. He keeps it. That choice alone says something about how he thinks about raw files.
Step 1: Set Your Monitor Brightness Before You Touch Anything
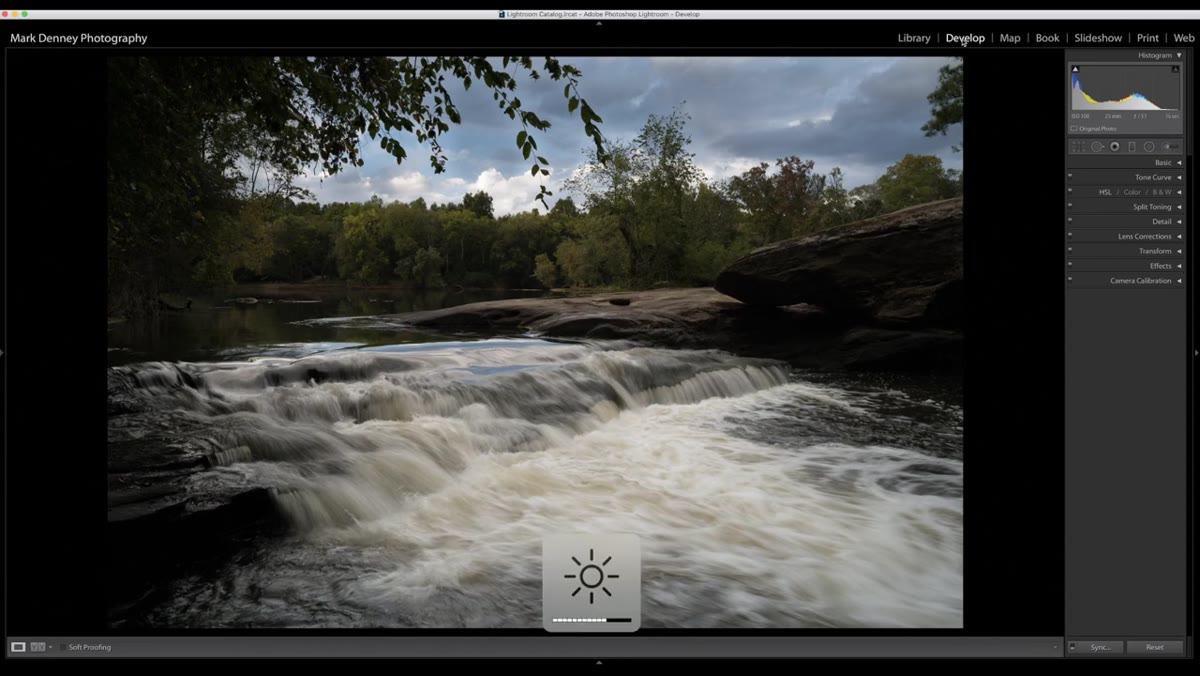 Monitor brightness check before opening the Develop module
Before opening a single slider, Denney makes a point of checking his monitor brightness - setting it to roughly halfway. This sounds basic, but it’s the kind of thing that quietly ruins editing sessions. If your screen is too bright, your images will print darker than they look. Too dim, and you’ll push exposure way past where it needs to be. Half brightness is a reliable neutral starting point, especially if you’re working in a room where ambient light changes throughout the day. Get this right once and your export consistency will improve immediately.
Monitor brightness check before opening the Develop module
Before opening a single slider, Denney makes a point of checking his monitor brightness - setting it to roughly halfway. This sounds basic, but it’s the kind of thing that quietly ruins editing sessions. If your screen is too bright, your images will print darker than they look. Too dim, and you’ll push exposure way past where it needs to be. Half brightness is a reliable neutral starting point, especially if you’re working in a room where ambient light changes throughout the day. Get this right once and your export consistency will improve immediately.
Step 2: Apply Lens Corrections First, Not Last
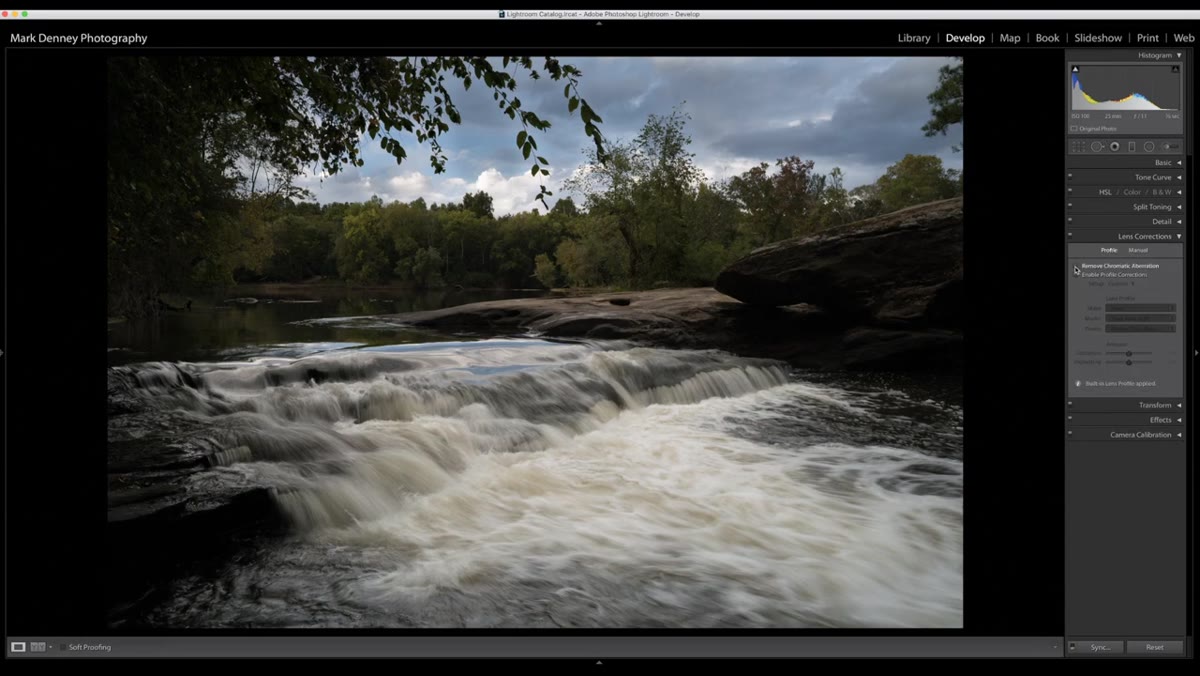 Lens Corrections panel open with profile corrections enabled
The next stop is the Lens Corrections panel, and Denney treats it like a mandatory first step rather than an optional polish. He checks “Remove Chromatic Aberration” every time, even when the image doesn’t visibly need it. The reasoning is solid: it costs you nothing, and on some images it prevents subtle color fringing from compounding through later edits. He also enables Profile Corrections, which automatically pulls the natural vignette off the lens and corrects barrel distortion. On his Zeiss 25mm, the change is visible and clean. The image opens up slightly at the edges and the straight lines stop curving. Do this before you crop or adjust exposure. If you correct the geometry after the fact, you’re working with a warped version of the frame.
Lens Corrections panel open with profile corrections enabled
The next stop is the Lens Corrections panel, and Denney treats it like a mandatory first step rather than an optional polish. He checks “Remove Chromatic Aberration” every time, even when the image doesn’t visibly need it. The reasoning is solid: it costs you nothing, and on some images it prevents subtle color fringing from compounding through later edits. He also enables Profile Corrections, which automatically pulls the natural vignette off the lens and corrects barrel distortion. On his Zeiss 25mm, the change is visible and clean. The image opens up slightly at the edges and the straight lines stop curving. Do this before you crop or adjust exposure. If you correct the geometry after the fact, you’re working with a warped version of the frame.
Step 3: Straighten the Horizon Manually
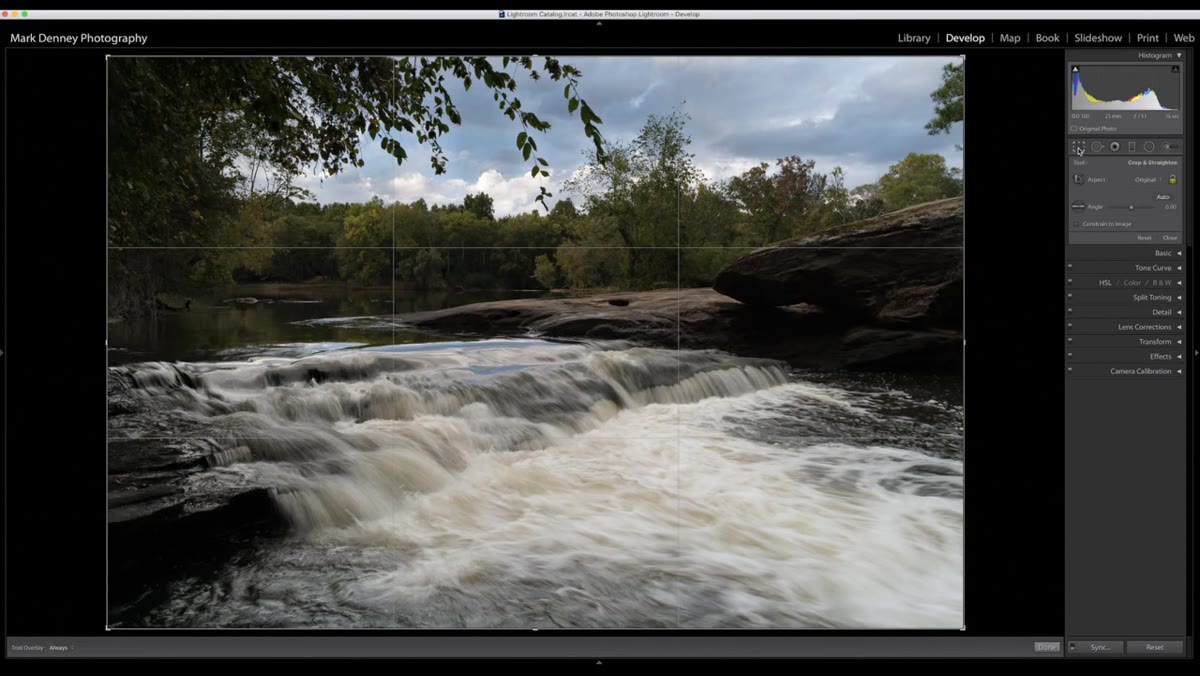 Crop and straighten tool active with grid overlay on horizon
Denney is old-fashioned about straightening and I respect it. He uses the crop tool’s grid overlay and manually drags until the horizon line matches a grid reference - in this case, the riverbank. He lands around -0.7 degrees of rotation. He also makes a point I’ve repeated to every person I’ve taught Lightroom to: crop in the field, not in post. He’d rather spend ten extra minutes adjusting his tripod on location than lose part of a composition on a screen back home. Straightening is fine. Recropping because you didn’t frame it right? That’s a habit worth breaking.
Crop and straighten tool active with grid overlay on horizon
Denney is old-fashioned about straightening and I respect it. He uses the crop tool’s grid overlay and manually drags until the horizon line matches a grid reference - in this case, the riverbank. He lands around -0.7 degrees of rotation. He also makes a point I’ve repeated to every person I’ve taught Lightroom to: crop in the field, not in post. He’d rather spend ten extra minutes adjusting his tripod on location than lose part of a composition on a screen back home. Straightening is fine. Recropping because you didn’t frame it right? That’s a habit worth breaking.
Step 4: Use Lightroom’s Auto Exposure as a Starting Point, Not a Finish Line
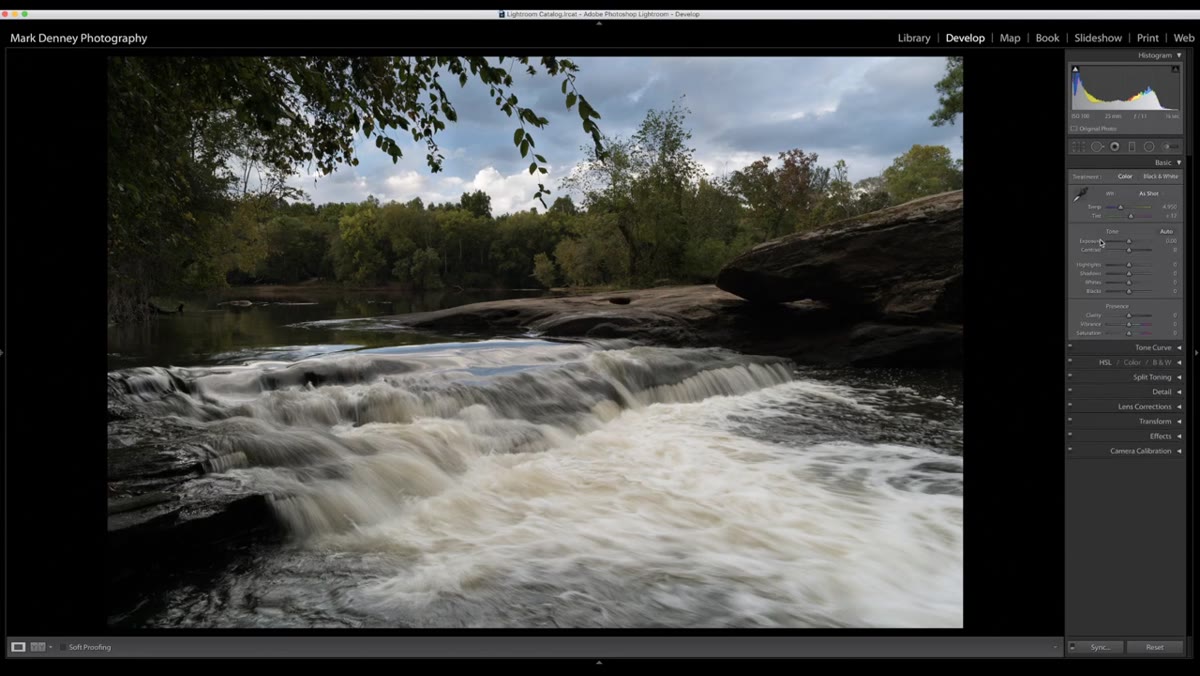 Basic panel with Exposure, Highlights, and Shadows sliders adjusted
Here’s where Denney does something clever. He holds Shift and double-clicks the Exposure slider, which triggers Lightroom’s automatic exposure suggestion. He uses it specifically as a reference, not as an answer. His take: Lightroom tends to overcook the exposure value, pushing it too far into the bright range. So he accepts the starting point and then dials it back. He follows the same Shift-double-click approach for Highlights and Shadows, where he says Lightroom is actually much more accurate. For Highlights, he pushes a bit further than the auto suggestion, landing around -60. For Shadows, he also extends the recovery further to bring back texture that was buried under the rocks and boulders in the foreground. The goal isn’t a technically “correct” histogram - it’s recovering detail that was always there in the RAW file.
Basic panel with Exposure, Highlights, and Shadows sliders adjusted
Here’s where Denney does something clever. He holds Shift and double-clicks the Exposure slider, which triggers Lightroom’s automatic exposure suggestion. He uses it specifically as a reference, not as an answer. His take: Lightroom tends to overcook the exposure value, pushing it too far into the bright range. So he accepts the starting point and then dials it back. He follows the same Shift-double-click approach for Highlights and Shadows, where he says Lightroom is actually much more accurate. For Highlights, he pushes a bit further than the auto suggestion, landing around -60. For Shadows, he also extends the recovery further to bring back texture that was buried under the rocks and boulders in the foreground. The goal isn’t a technically “correct” histogram - it’s recovering detail that was always there in the RAW file.
Step 5: Set Whites and Blacks with the Clipping Overlay
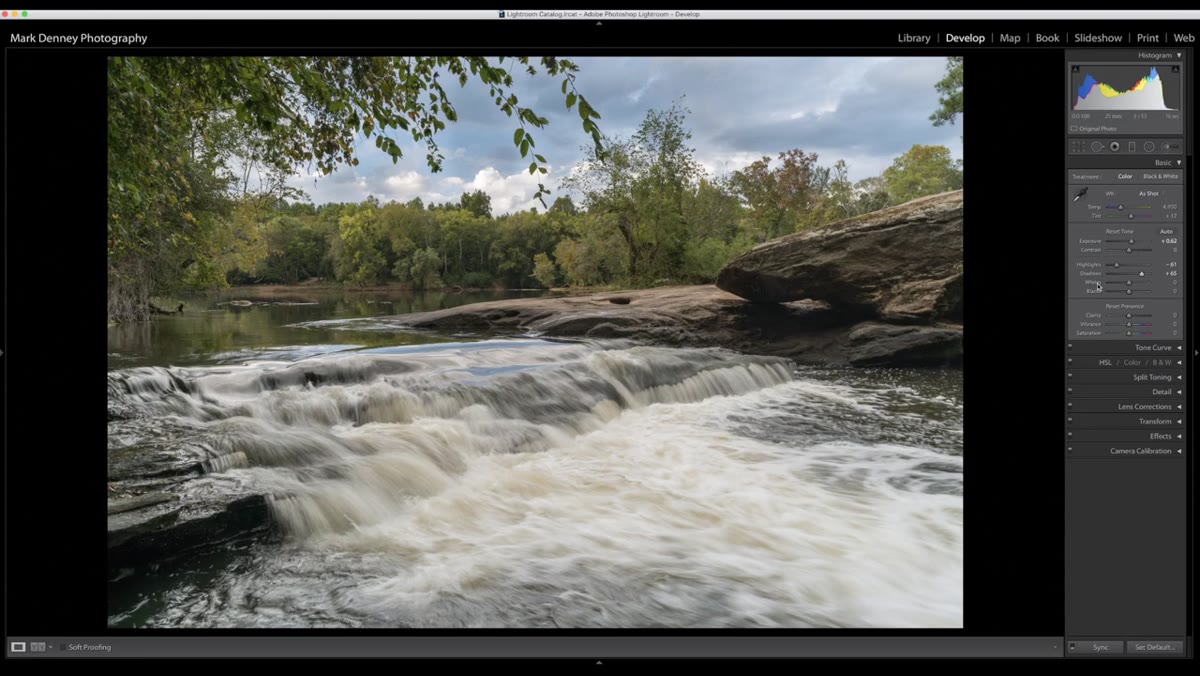 Whites slider with clipping overlay active showing color bleed
For Whites and Blacks, Denney uses the clipping overlay method: hold Option on Mac (Alt on Windows) while dragging the slider. The screen goes black for Whites and white for Blacks, and color starts bleeding through the moment a channel clips. He sets Whites to where the first hint of color appears - around +13 - and stops there. For Blacks, he goes noticeably further, pulling to around -19, letting a small amount of clipping appear. Darker blacks give the image weight and contrast without flattening it. This method takes all the guesswork out of setting your tonal range and works on every RAW file regardless of how it was exposed.
Whites slider with clipping overlay active showing color bleed
For Whites and Blacks, Denney uses the clipping overlay method: hold Option on Mac (Alt on Windows) while dragging the slider. The screen goes black for Whites and white for Blacks, and color starts bleeding through the moment a channel clips. He sets Whites to where the first hint of color appears - around +13 - and stops there. For Blacks, he goes noticeably further, pulling to around -19, letting a small amount of clipping appear. Darker blacks give the image weight and contrast without flattening it. This method takes all the guesswork out of setting your tonal range and works on every RAW file regardless of how it was exposed.
Step 6: Treat Clarity, Vibrance, and Saturation Like Salt
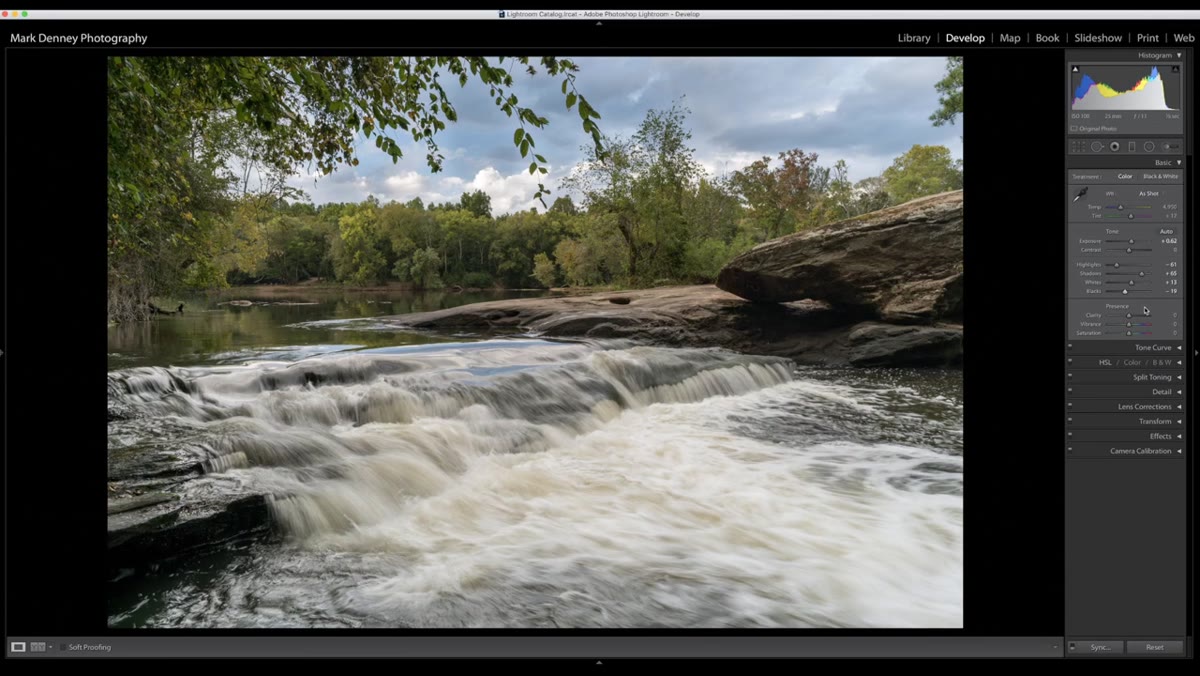 Presence sliders showing conservative Clarity and Vibrance values
Denney’s warning about the Presence sliders is the most useful thirty seconds in the entire video. He calls out the pattern directly: overcranked clarity makes images look crusty, maxed-out vibrance and saturation turns a landscape into something that looks rendered in a gaming engine. His personal limits - clarity around 10 to 15, vibrance around 10, saturation just a small nudge - are conservative on purpose. These sliders respond exponentially. Moving clarity from 0 to 20 looks different than moving it from 20 to 40. Stay on the low end and add more only if the specific image genuinely needs it.
Presence sliders showing conservative Clarity and Vibrance values
Denney’s warning about the Presence sliders is the most useful thirty seconds in the entire video. He calls out the pattern directly: overcranked clarity makes images look crusty, maxed-out vibrance and saturation turns a landscape into something that looks rendered in a gaming engine. His personal limits - clarity around 10 to 15, vibrance around 10, saturation just a small nudge - are conservative on purpose. These sliders respond exponentially. Moving clarity from 0 to 20 looks different than moving it from 20 to 40. Stay on the low end and add more only if the specific image genuinely needs it.
What I’d Add from My Own Editing Process
The workflow Denney lays out here is clean and replicable, which is exactly what makes it useful. If I were adding one step, it would come right after the Presence sliders: check your image at 1:1 zoom before going any further. Sharpening, noise, and clarity artifacts that are invisible at fit-to-screen become obvious at 100%, and it’s much easier to course-correct before you’ve built color grading on top of a foundation with hidden problems. Especially on underexposed RAW files like the one in this tutorial, shadow noise can get amplified quickly once you start recovering detail.
One other thing worth naming: his entire argument for doing more work in the field - getting the frame right, nailing the horizon, thinking about exposure before the shutter fires - isn’t just efficiency advice. It changes how you shoot. When editing becomes a refinement process instead of a rescue operation, you stop dreading the back end of the workflow and start looking forward to it.
The single biggest thing I took from this tutorial is the idea that auto tools aren’t cheating - they’re calibration. Shift-double-clicking Lightroom’s sliders gives you a reference point. You’re not accepting its answer, you’re starting a conversation with the data. That mental shift alone will make your basic panel edits faster and more intentional.
Watch the full tutorial on YouTube to see every adjustment in real time - the before and after comparison at the start is worth watching on its own.
Comments
Leave a Comment