Lightroom's Masking Tools Are Smarter Than You Think — Here's How to Actually Use Them

Lightroom's Masking Tools Are Smarter Than You Think — Here's How to Actually Use Them

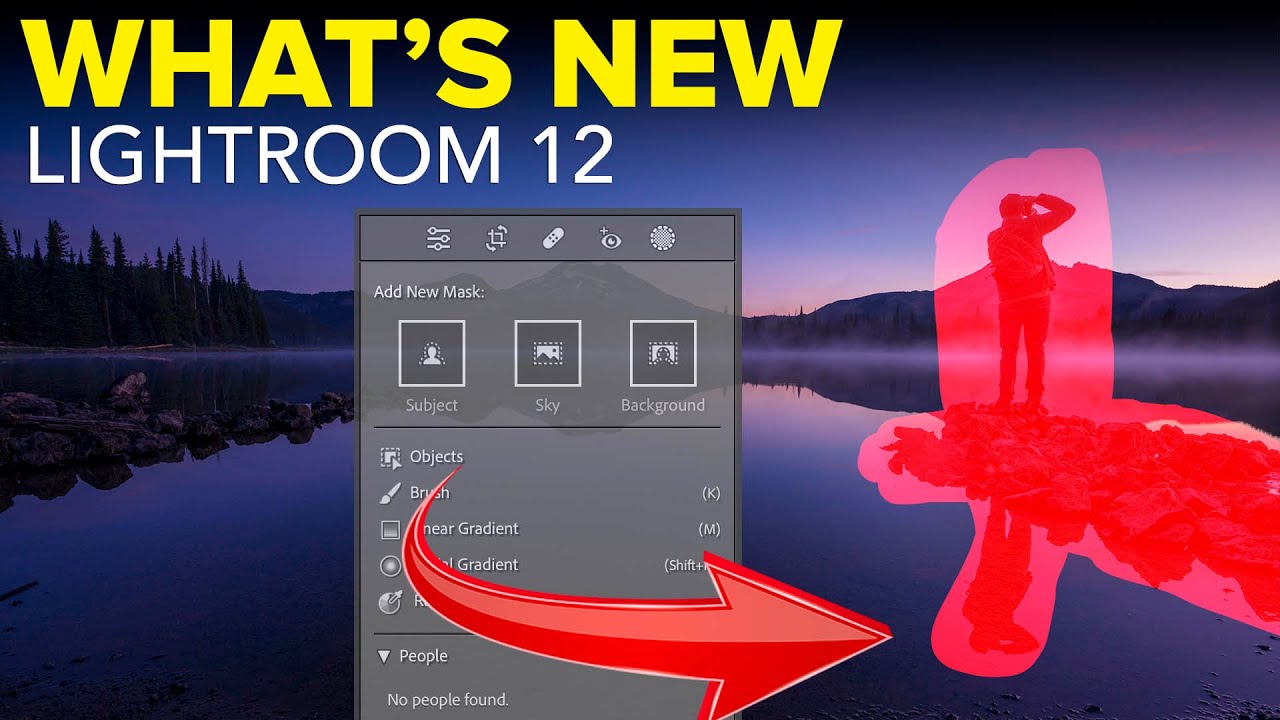
I was editing a portrait session last spring, rushing to get a gallery delivered before my copy of Rumours finished its second side, when I realized I’d been doing it wrong for years. Not wrong-wrong. Just inefficient. I was still painting adjustment brushes over skies by hand like it was 2015, carefully avoiding tree branches like I was defusing something. Then I clicked “Select Sky” in the Masking panel and watched Lightroom trace every pine needle in about four seconds.
Edit Your Subject and Background Like They're on Separate Layers - Without Leaving Lightroom

Edit Your Subject and Background Like They're on Separate Layers - Without Leaving Lightroom

One problem that used to send me into Photoshop almost every single shoot was this: the subject looks great but the background is flat, or the background has beautiful color and the subject is overexposed. Treating them as one image and dragging sliders around never actually solves it. You end up compromising both. For a long time, the clean solution meant round-tripping to Photoshop, painting masks by hand, and praying your selection held up at 100%.

Lightroom's New Portrait Masking Tools Are the Biggest Skin-Editing Leap in Years

Lightroom's New Portrait Masking Tools Are the Biggest Skin-Editing Leap in Years

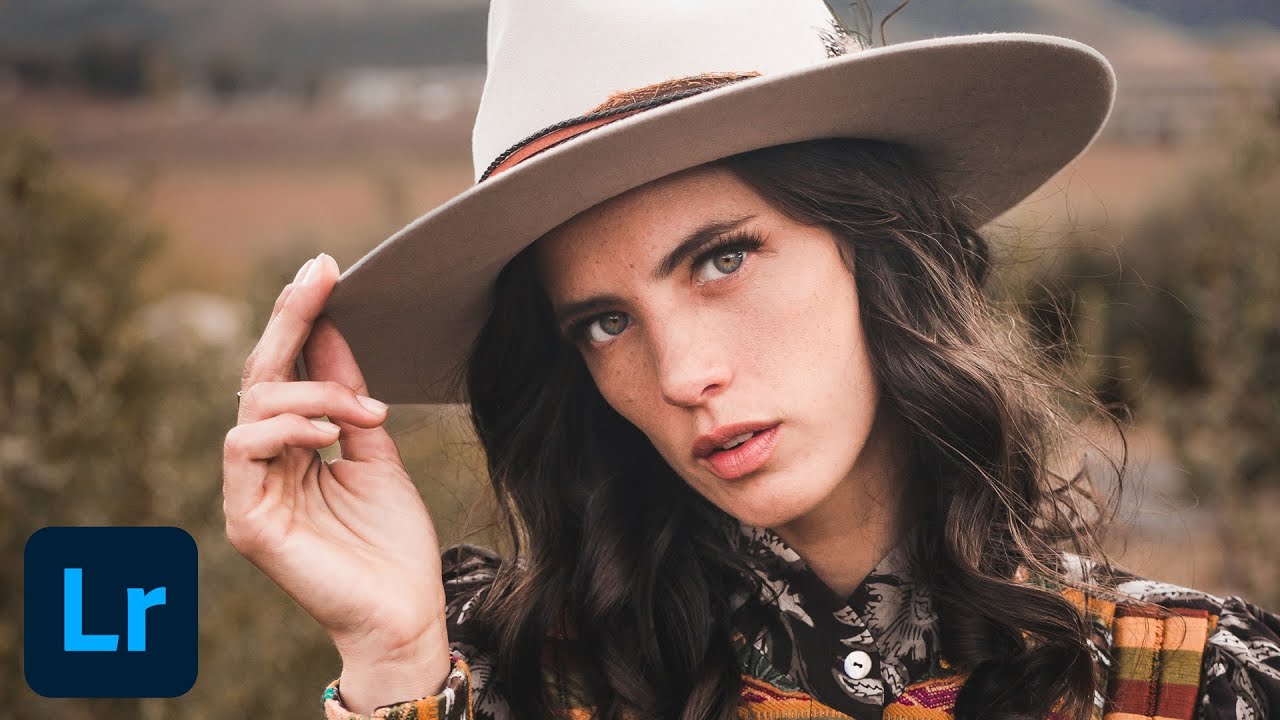
Portrait editing used to be the part of my workflow I’d put on in the background while I went to make coffee. Click a few sliders, dodge some shadows under the eyes, call it done. But client expectations have shifted, and lately I’ve been getting asked to deliver retouching that would have taken me into Photoshop two years ago. So when Adobe dropped the October 2022 update to Lightroom Classic, I needed to know exactly what was new and whether any of it would actually save me time on a real session.

Adobe's AI Denoise Tool Put to the Ultimate Test: An ISO 12800 Aurora Shot

Adobe's AI Denoise Tool Put to the Ultimate Test: An ISO 12800 Aurora Shot

There’s a specific kind of dread that hits when you open a raw file the morning after a shoot and realize you were working at ISO 12,800 in near-total darkness. I know that feeling well. It’s the same feeling I had the first time I edited press shots for my band under a single kitchen light with a copy of Lightroom I barely understood. High ISO noise isn’t just an aesthetic problem.

Lightroom's AI Denoise Tool Actually Works — Here's the Proof

Lightroom's AI Denoise Tool Actually Works — Here's the Proof

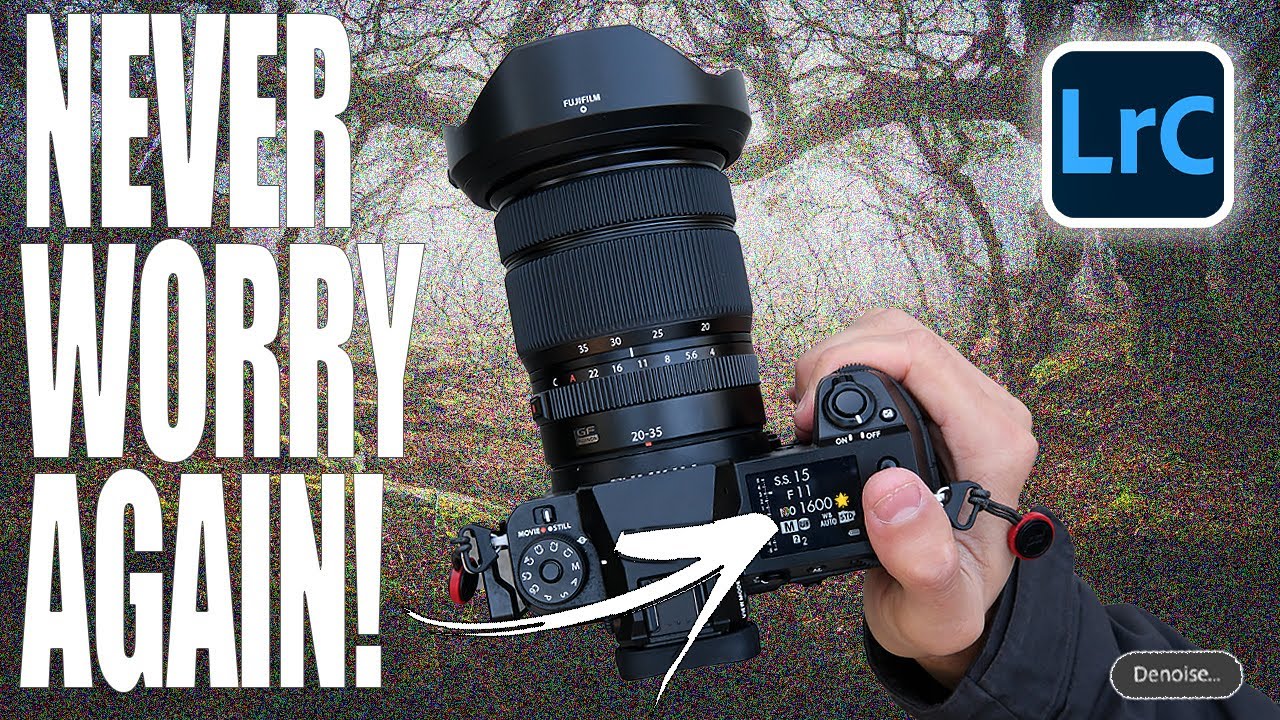
I shoot a lot of golden hour and blue hour landscapes, which means I spend a lot of time fighting noise. ISO creep is real, especially when you’re chasing a specific shutter speed to keep moving water silky or freeze wind-blown leaves. For years, Lightroom’s built-in noise reduction was my least favorite part of the workflow. Crank the luminance slider and yes, the grain disappears, but so does everything else. The fine texture in bark, the detail in distant ridgelines, the individual strands of a waterfall.