Stop Bracketing Your Shots and Hoping for the Best — Here's How to Build a Proper HDR in Lightroom

Stop Bracketing Your Shots and Hoping for the Best — Here's How to Build a Proper HDR in Lightroom

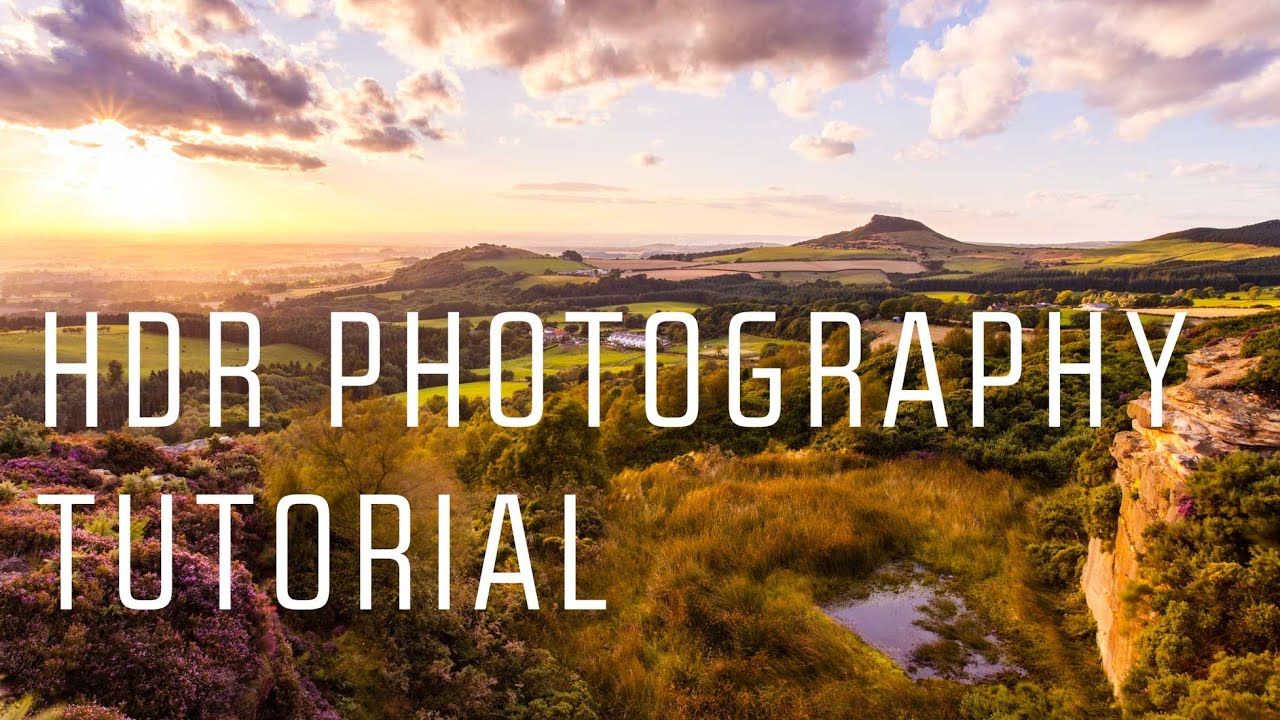
There’s a specific kind of frustration that comes from shooting a scene your eyes can see perfectly and your camera absolutely cannot. You know the one. Golden hour, gorgeous window light, a landscape where the sky is electric and the shadows are still full of detail. You look at the RAW file later and half of it is blown out or buried in noise. For years, the workaround was clunky: export to Photomatix, fight with tone mapping sliders, end up with something that looked like a painting of a sunset rather than a photograph of one.

How to Merge HDR Photos in Lightroom (Without Making It Look Like a Nightmare)

How to Merge HDR Photos in Lightroom (Without Making It Look Like a Nightmare)

There’s a specific kind of frustration that hits when you’re standing in front of a stunning landscape, you nail the composition, you fire the shutter, and then you open the file later and half the image is either blown out or buried in shadow. Your eyes handled the scene beautifully. Your camera did not. This is the dynamic range problem, and it’s one of the most common reasons a photo that felt incredible in the field ends up looking flat or broken on screen.