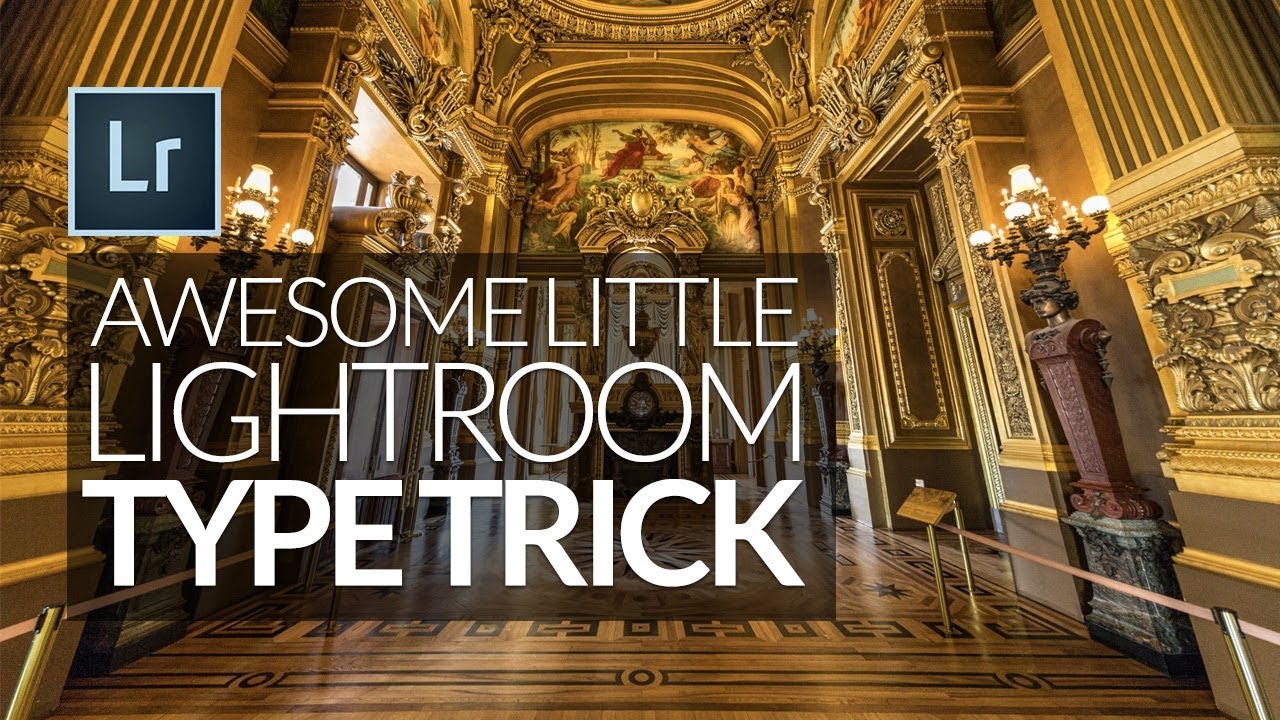
Stop Typing Blind in Lightroom's Print Module — Use This Copy-Paste Trick Instead

Stop Typing Blind in Lightroom's Print Module — Use This Copy-Paste Trick Instead

If you’ve ever tried to build a proper print layout in Lightroom and wanted to add more than a single line of text, you’ve probably hit the same wall I did. The identity plate field looks simple enough until you try to hit Return and Lightroom treats it like you just clicked OK. That’s it. Done. No line breaks, no centering, no tracking. Just a flat string of text sitting on your print like a name tag at a conference.

Stop Using Default Book Layouts: How to Build Custom Page Cells in Lightroom

Stop Using Default Book Layouts: How to Build Custom Page Cells in Lightroom

Every time I finished a project and moved into the Book module, I’d spend ten minutes scrolling through the built-in layout templates, picking the least-wrong one, and moving on. Not the best one. The least wrong one. There’s a difference, and if you’ve used Lightroom’s Book module for anything more than a quick blurb project, you know exactly what I mean. The templates are fine for generic use, but the moment you have a specific vision for how three tall portraits should sit side by side, or how an image should bleed into a particular corner, the template library starts feeling like trying to find a song you like on a radio station that’s almost right.

Stop Manually Dragging Sliders Back to Zero — There's a Much Faster Way

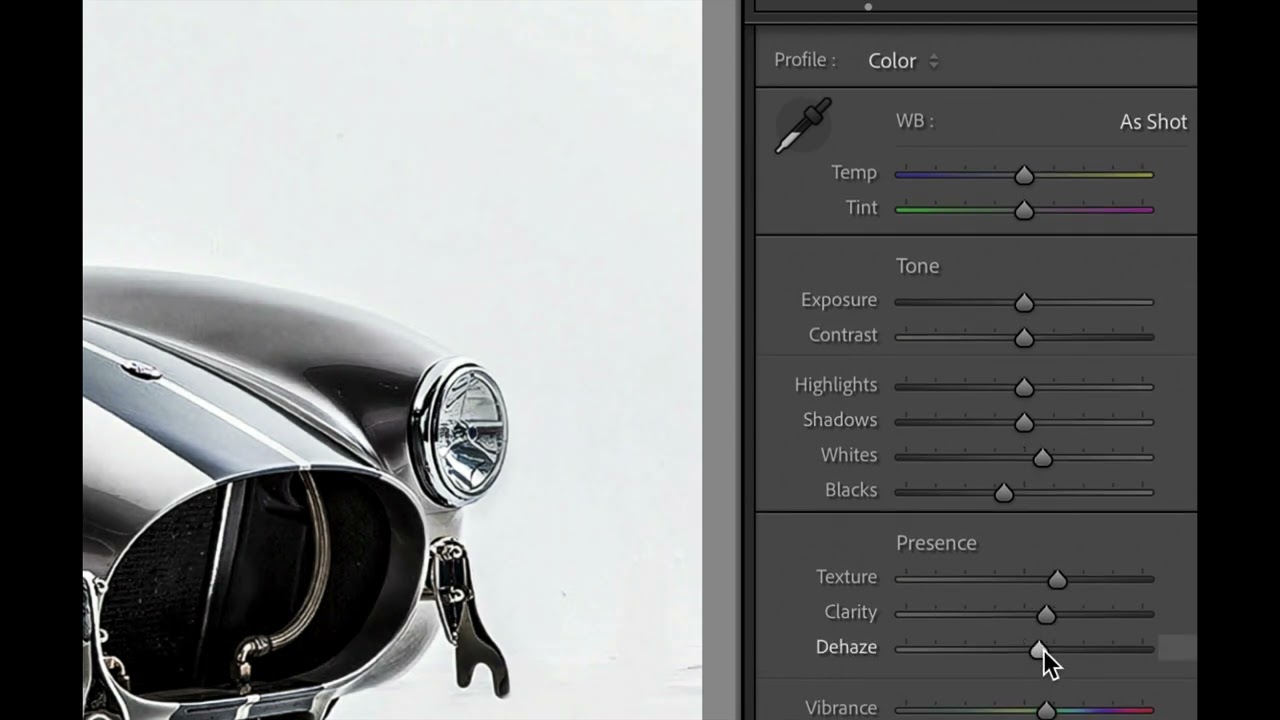
Stop Manually Dragging Sliders Back to Zero — There's a Much Faster Way

There’s a particular kind of frustration that hits when you’re deep in an edit and you realize a whole section of adjustments has gone sideways. The Presence panel is a mess, your Tone sliders look like a seismograph readout, and you need to back everything out and start fresh. For a long time, my solution was to drag each slider back to zero by hand, one at a time, like some kind of monk doing penance.

The Lightroom Panic Attack: Why Your Photos Aren't Really Gone (And How to Find Them)

The Lightroom Panic Attack: Why Your Photos Aren't Really Gone (And How to Find Them)

The Lightroom Panic Attack: Why Your Photos Aren’t Really Gone (And How to Find Them) We’ve all been there. You open Lightroom on a Monday morning, coffee in hand, ready to dive into color grading that weekend shoot. But instead of your carefully organized grid of thumbnails, you’re staring at an empty library. Your stomach drops. Where did everything go? Before you start imagining your entire photo collection evaporating into the digital void—take a breath.

Mobile Editing with Lightroom: Professional Results in Your Pocket

Mobile Editing with Lightroom: Professional Results in Your Pocket

Mobile Editing with Lightroom: Professional Results in Your Pocket I’ll be honest—when I first started shooting, the idea of serious editing on my phone felt like asking a chef to prepare a five-course meal in a shoebox. But after spending the last few years pushing Lightroom’s mobile app to its limits, I’ve completely changed my tune. Mobile editing isn’t a compromise anymore. It’s a legitimate, powerful workflow that can produce results that rival desktop editing.

Lightroom Presets: The Shortcut to Consistent, Professional Color Grading

Lightroom Presets: The Shortcut to Consistent, Professional Color Grading

Lightroom Presets: The Shortcut to Consistent, Professional Color Grading I used to spend 20 minutes editing each photo. Twenty minutes! Adjusting whites, shadows, vibrance, HSL sliders—the whole tedious dance. Then I discovered the real power of Lightroom presets, and my entire workflow changed. I’m not talking about one-click Instagram filters that make your photos look flat and over-processed. I’m talking about smart, customizable starting points that cut my editing time in half while actually improving consistency across my library.