Lightroom 7.4 Updated Presets and Profiles Management — Here's What Actually Changed

Lightroom 7.4 Updated Presets and Profiles Management — Here's What Actually Changed

My preset panel used to look like a junk drawer. Adobe presets I never touched sitting next to film packs I use every day, next to the black-and-white collection I hadn’t opened in eight months. Every time I went to grab something fast on a deadline, I was scrolling past three folders I didn’t need. It’s a small friction point, but small friction points add up across a hundred-photo edit session.
The Lightroom Previous Button Is Doing the Work While You Sleep

The Lightroom Previous Button Is Doing the Work While You Sleep

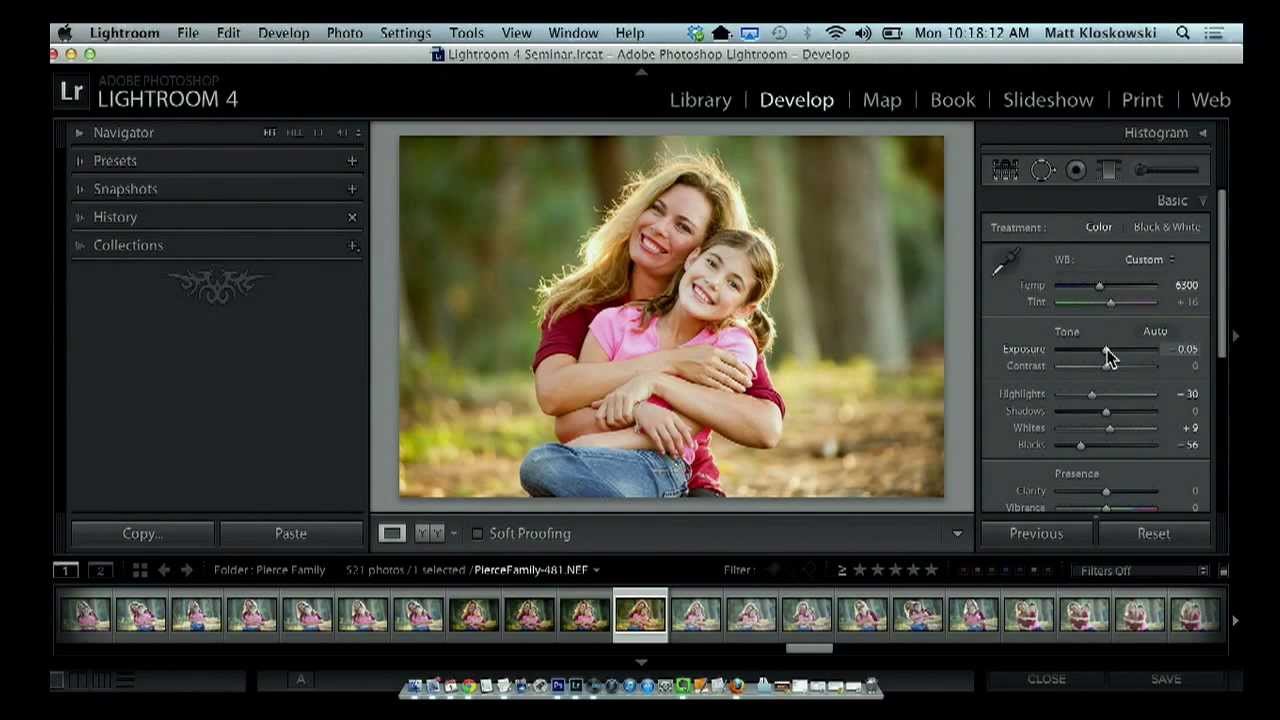
There’s a certain rhythm to editing a session of photos. You dial in the first image, get it exactly right, and then you look at the next 47 frames from the same shoot with the same light and the same subjects and quietly accept your fate. That used to be my Friday nights. Not anymore. In this Matt Kloskowski tutorial, he walks through one of the most criminally underused buttons in Lightroom’s Develop module, and it’s the kind of tip that makes you feel like you’ve been carrying groceries up four flights of stairs when there was an elevator the whole time.

The Smart Collection Trick That Catches the Photos You Forgot to Flag

The Smart Collection Trick That Catches the Photos You Forgot to Flag

There’s a specific kind of frustration that doesn’t get talked about enough in photography circles. You upload a batch of photos, you’re excited about two or three of them, you jump into the Develop module and start pushing sliders around — the image is coming to life, it’s looking good — and then your phone buzzes, your dog needs to go out, life happens. You close Lightroom without flagging the photo, without adding it to a collection, without doing any of the responsible organizational things you know you should do.

Shadow Recovery Is Killing Your Photos (Here's How to Fix the Noise It Creates)

Shadow Recovery Is Killing Your Photos (Here's How to Fix the Noise It Creates)

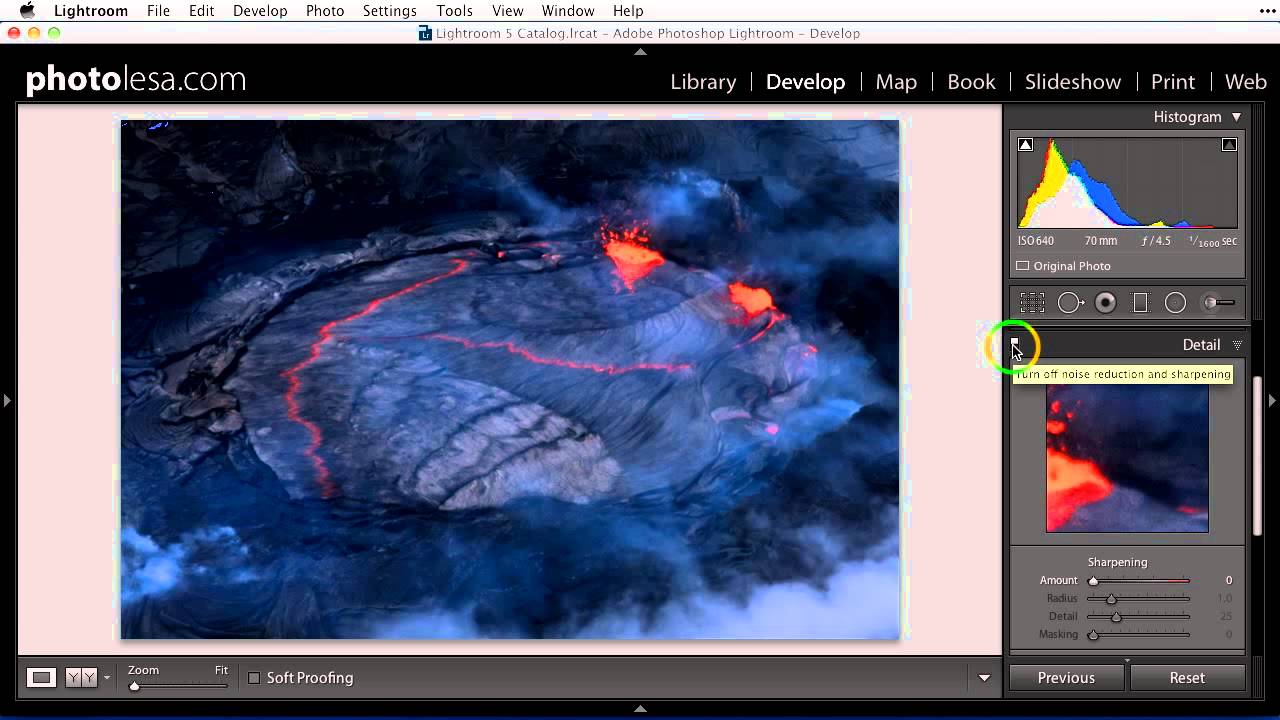
There’s a trade-off nobody warns you about when you first start editing in Lightroom. You shoot something in low light, you get it into the Develop module, and you drag those shadows up to rescue all that beautiful detail you knew was hiding in the dark. The image opens up. You feel like a genius. Then you zoom in and see it: grain. Speckles. A texture that looks less like film and more like your sensor had a bad night.

Beyond the Contrast Slider: How to Build an S-Curve That Actually Bites

Beyond the Contrast Slider: How to Build an S-Curve That Actually Bites

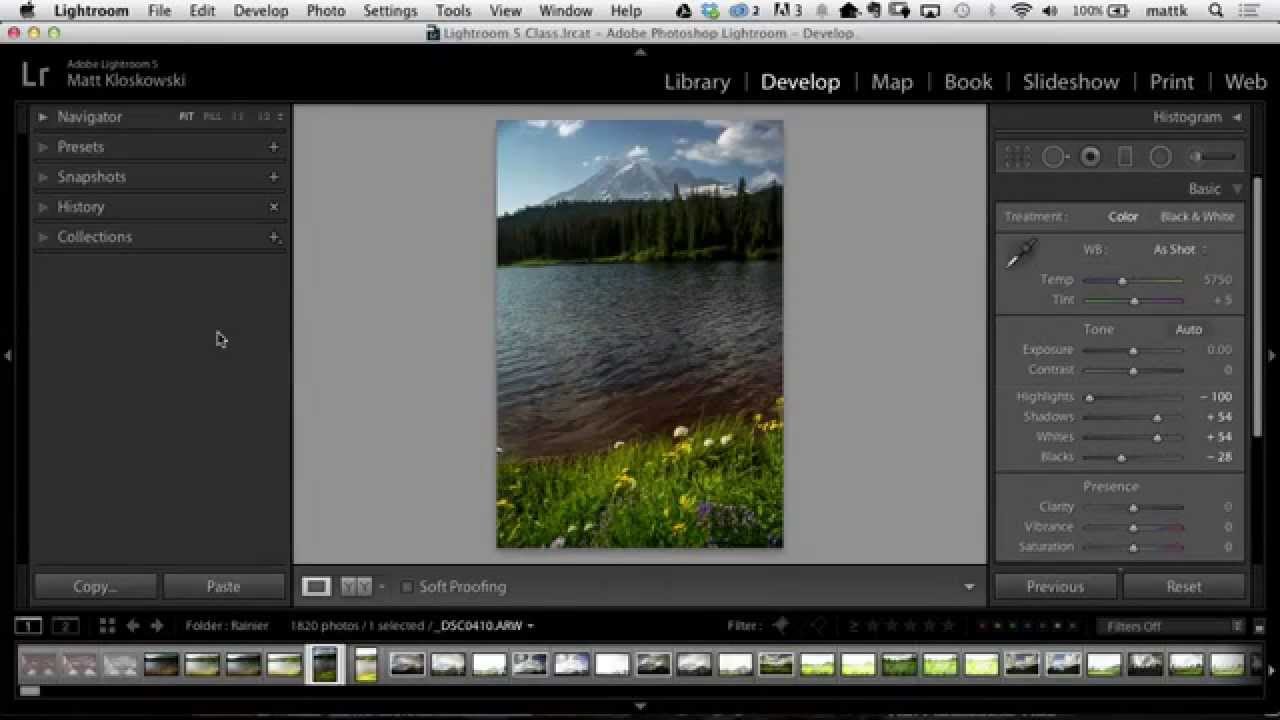
There’s a specific kind of frustration I’ve felt more times than I can count: you’re editing a photo, the image looks flat, you drag the Contrast slider all the way to +100, and it still feels like the picture is behind a layer of gauze. The slider tops out and you’re left thinking, “That’s it? That’s all you’ve got?” For a long time I just lived with it, stacking other adjustments on top and hoping something would stick.