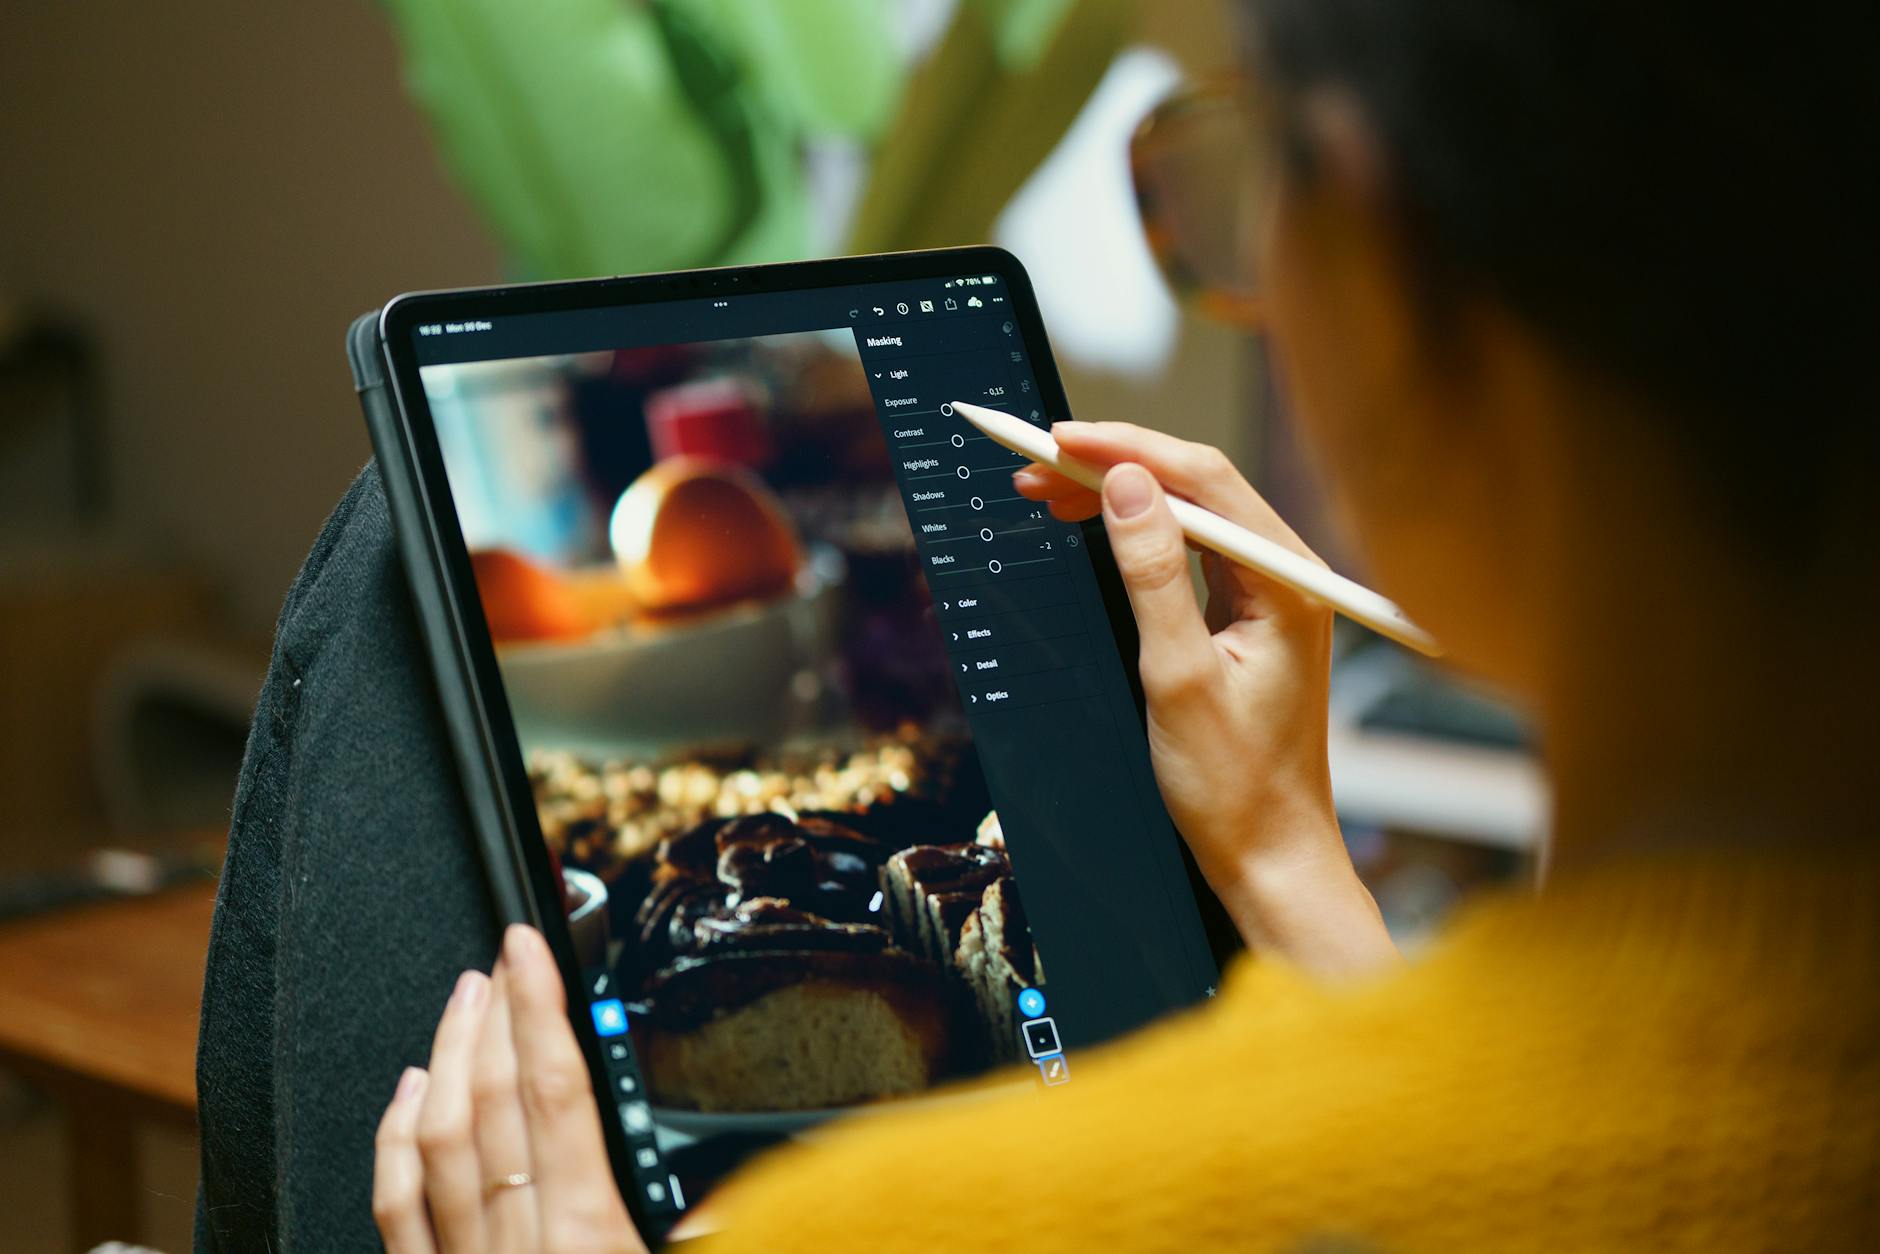
Your Phone Is a Darkroom: How to Actually Edit in Lightroom Mobile Without Ruining Your Photos

Your Phone Is a Darkroom: How to Actually Edit in Lightroom Mobile Without Ruining Your Photos

Last spring I was shooting a friend’s engagement session at Centennial Park when their other photographer canceled two hours before golden hour. I ended up shooting the whole thing on my Sony A7IV and editing the delivery batch on my phone that same night, because my laptop was at a repair shop with a dead keyboard. Twenty-four RAW files. Lightroom Mobile. A glass of water and a bad attitude. The edits were some of the cleanest I’ve delivered all year.

How I Edit 200 Photos in 20 Minutes Using Lightroom's Batch Tools (Without Everything Looking the Same)

How I Edit 200 Photos in 20 Minutes Using Lightroom's Batch Tools (Without Everything Looking the Same)

Last month I finished a 214-image shoot by midnight. I had the whole catalog exported by 12:47 AM. That’s not because I rushed, cut corners, or slapped one preset on everything and called it done. It’s because I’ve spent years building a batch editing system inside Lightroom Classic that actually respects the difference between a hero shot and a throwaway frame, and applies effort proportionally to both. Most photographers treat batch editing like a dirty shortcut.

Stop Editing One Photo at a Time: A Real Workflow for Batch Editing in Lightroom

Stop Editing One Photo at a Time: A Real Workflow for Batch Editing in Lightroom

Last Tuesday I had 847 photos from a single session sitting in Lightroom. Wedding, golden hour, outdoor ceremony, great light. The kind of shoot where everything goes right and you pay for it later in the culling process. My needle was playing through a Fleetwood Mac record and I had exactly four hours before delivery. I didn’t panic, because I’ve been here before. I batch edited the whole set in about ninety minutes and spent the remaining time on targeted fine-tuning.

Split Toning Is the Difference Between a Good Edit and a Memorable One

Split Toning Is the Difference Between a Good Edit and a Memorable One

I had a folder of band press shots sitting on my desktop for three days before I figured out what was wrong with them. The exposure was right. The white balance was dialed. The skin tones looked natural. And the photos were completely, aggressively boring. They looked like stock photos of musicians rather than actual musicians. It wasn’t until I added a warm amber to the shadows and a faint blue to the highlights that the whole thing clicked.

Your Phone Is a Darkroom: How to Actually Color Grade in Lightroom Mobile Without Ruining Your Files

Your Phone Is a Darkroom: How to Actually Color Grade in Lightroom Mobile Without Ruining Your Files

Last month I was sitting in a coffee shop in East Nashville, waiting on a client to send over a shoot location change, when I got a message from a photographer asking why her Lightroom Mobile edits always looked “off” compared to her desktop work. She’d sent me a screenshot. The skin tones were orange, the shadows were crushed, and the overall look had that telltale flat-but-too-saturated thing that happens when people treat Lightroom Mobile like Instagram.

Film Emulation in Lightroom: How to Master Analog Aesthetics in the Digital Age

Film Emulation in Lightroom: How to Master Analog Aesthetics in the Digital Age

Film Emulation in Lightroom: How to Master Analog Aesthetics in the Digital Age I’ll be honest—I spent three years shooting digital before I realized what I was missing. It wasn’t the gear. It was the soul. There’s something about film that makes images feel like memories rather than just pictures. The problem? Film costs money, requires a scanner, and honestly, not every shot deserves to be shot on Portra 400.

Creating Film Emulation Looks in Lightroom

Creating Film Emulation Looks in Lightroom

There’s a reason film photography has seen a massive revival: film looks beautiful. The colors, grain, and tonal characteristics of classic film stocks have a quality that digital images straight out of camera don’t naturally have. But you don’t need to shoot film to get the look. Lightroom can convincingly emulate the characteristics of popular film stocks if you understand what makes each one distinctive. What Makes Film Look Like Film Several characteristics separate film rendering from digital:

How to Create and Sell Your Own Lightroom Presets

How to Create and Sell Your Own Lightroom Presets

I made $400 from my first preset pack. Not life-changing money, but $400 from work I did once and sold repeatedly. Two years later, preset sales contribute a consistent $1,500-2,000/month to my income. Selling presets isn’t a get-rich-quick scheme. But if you have a distinctive editing style that people admire, it’s a legitimate business. Creating Presets That People Want to Buy Develop Your Signature Look First Nobody buys generic presets. “Clean and bright” presets exist by the thousands.