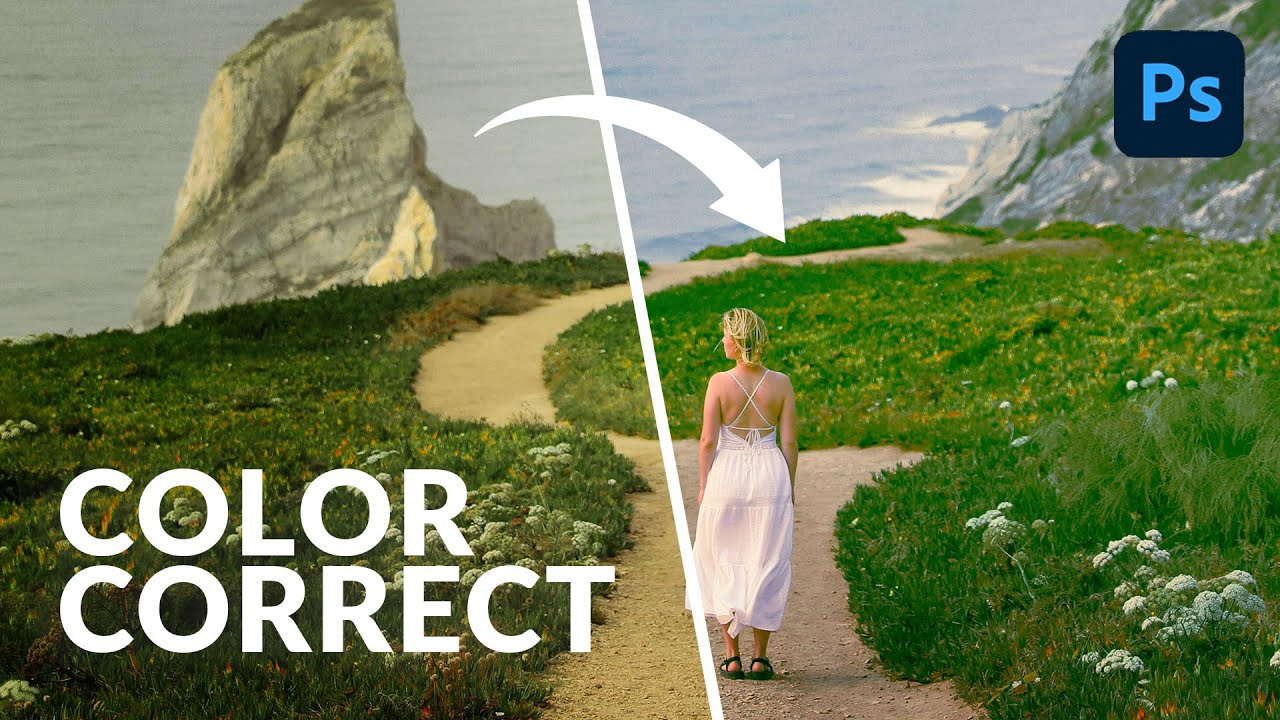
Color Grading in Adobe Camera Raw: The Lightroom Trick Photoshop Users Are Sleeping On

Color Grading in Adobe Camera Raw: The Lightroom Trick Photoshop Users Are Sleeping On

Most of my color grading happens in Lightroom. That’s just the reality of my workflow. But I’ve had clients send me layered Photoshop files and ask for “that warm, filmy look” - and jumping between apps to pull it off is the kind of friction that quietly kills your afternoon. What I didn’t realize until recently is that I’ve been making it harder than it needs to be. In this Aaron Nace (PHLEARN) tutorial, he walks through the Camera Raw filter inside Photoshop and shows how it gives you access to the exact same color grading tools you’d use in Lightroom Classic, Lightroom mobile, or Lightroom desktop.
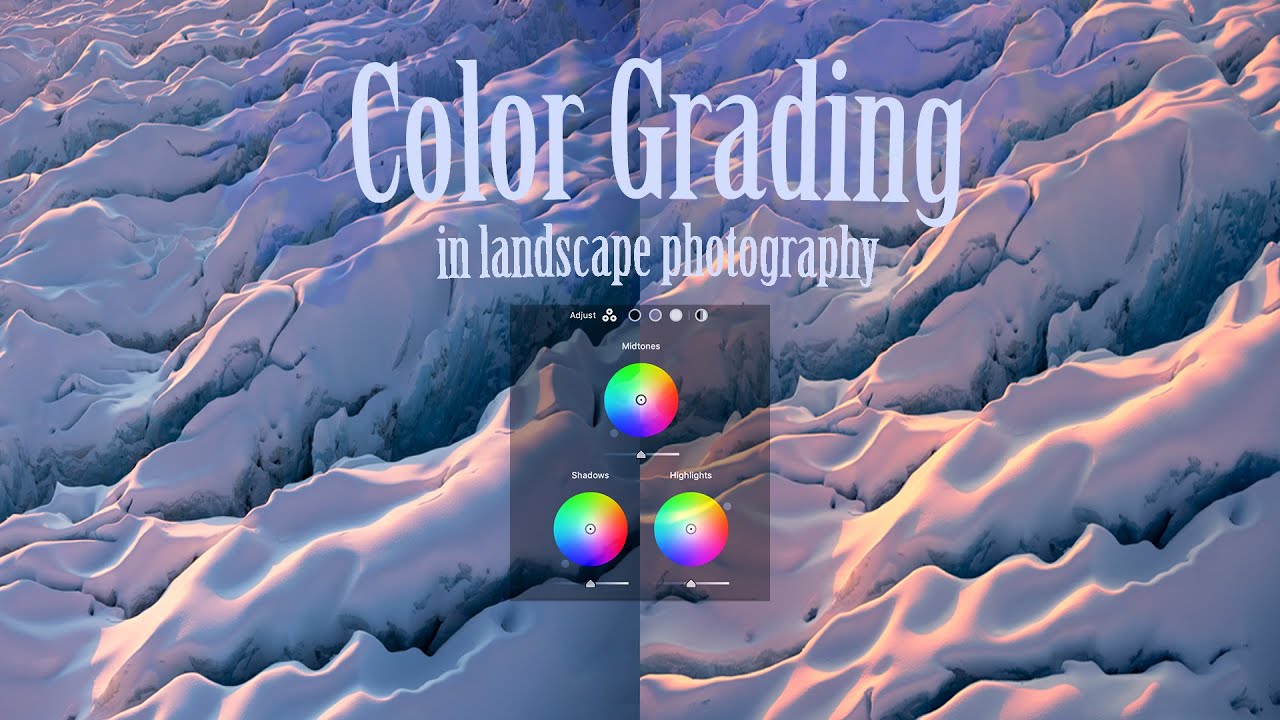
Warm Highlights, Cool Shadows: How to Actually Use Photoshop's Color Grading Wheels

Warm Highlights, Cool Shadows: How to Actually Use Photoshop's Color Grading Wheels

Every raw file I open has the same problem: the light looks flat. Technically correct, emotionally absent. The histogram is fine, the exposure is fine, and somehow the image still feels like it was shot through a grey sock. Color grading is the tool I reach for when the basic sliders have done their job and the photo still isn’t alive yet. Not the heavy-handed, “I watched a YouTube tutorial once” color grading.

Adobe Camera Raw Gets a Glow-Up: Three Analog Effects That Change Everything

Adobe Camera Raw Gets a Glow-Up: Three Analog Effects That Change Everything

Adobe Camera Raw Gets a Glow-Up: Three Analog Effects That Change Everything I’ve been watching Adobe’s raw processing tools evolve, and I have to say—the latest update to Camera Raw 18.6 feels like the company finally listened to what we’ve been asking for. They’ve dropped a native Glow tool directly into the Effects panel, and it’s bringing some seriously nostalgic analog vibes to digital editing. The Glow Effect Trifecta What makes this update particularly interesting is that Adobe didn’t just slap a generic “glow” slider into the software.

Bridge Isn't Dead: 5 Things It Does That Lightroom Still Can't

Bridge Isn't Dead: 5 Things It Does That Lightroom Still Can't

I used to dismiss Adobe Bridge the same way I dismiss genre labels for music - confidently, and without much actual evidence. It felt like the old, clunky thing you used before Lightroom existed. Then I started shooting more on weekends for fun, not for clients, and I found myself resenting the Lightroom import process every single time I wanted to glance at a handful of raw files. Nobody wants to sit through a catalog import just to grab one good frame from a Saturday afternoon shoot.

How to Build Custom Lightroom Profiles Using LUTs (And Why It Changes Everything)

How to Build Custom Lightroom Profiles Using LUTs (And Why It Changes Everything)

There’s a specific kind of frustration that comes from applying a preset and watching it fight your image the entire way through the edit. The preset wants to go orange and teal. Your photo wants to stay true to the golden hour light you actually shot in. Something always loses. For a long time, my workaround was building elaborate preset stacks, layering adjustments until I got close to the starting point I wanted.

Adobe's New AI Masking Is the Local Adjustment Upgrade I Didn't Know I Needed

Adobe's New AI Masking Is the Local Adjustment Upgrade I Didn't Know I Needed

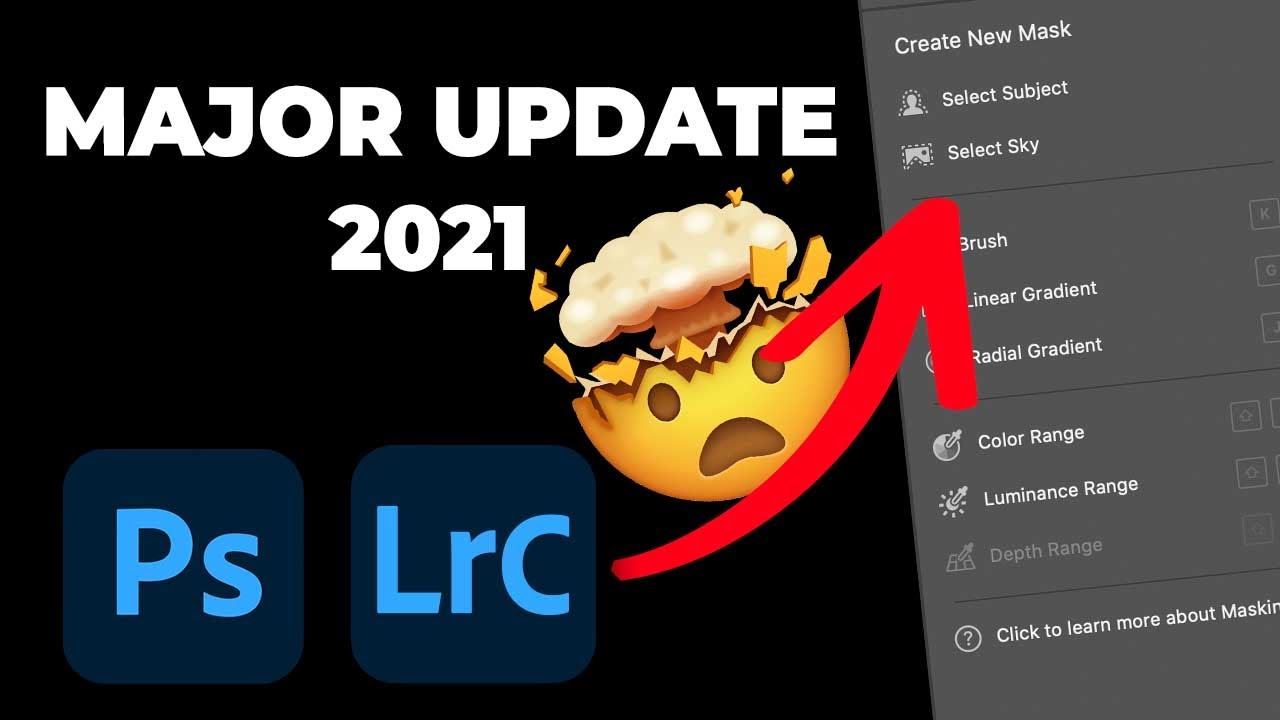
For years, my local adjustment workflow in Lightroom and Adobe Camera Raw felt like managing a cluttered desk. Pins scattered across the canvas, no clear visual reference for which adjustment was doing what, and a lot of hovering and guessing. I knew the tools were powerful, I just had to hold a lot of context in my head while using them. When Adobe rolled out their 2021 masking overhaul, I honestly didn’t expect it to change much.

Bridge Meets Lightroom: What Actually Happens When Your Workflows Collide

Bridge Meets Lightroom: What Actually Happens When Your Workflows Collide

There’s a particular kind of panic that hits when you realize you’ve been editing photos in two different programs and you have no idea which one is “winning.” I’ve been there. You’re browsing a folder in Adobe Bridge, you make a quick tweak in Camera Raw, and then you open Lightroom and stare at the screen wondering why nothing looks right. It’s not a fun place to be, especially mid-deadline.

Adobe's AI Denoise Tool Put to the Ultimate Test: An ISO 12800 Aurora Shot

Adobe's AI Denoise Tool Put to the Ultimate Test: An ISO 12800 Aurora Shot

There’s a specific kind of dread that hits when you open a raw file the morning after a shoot and realize you were working at ISO 12,800 in near-total darkness. I know that feeling well. It’s the same feeling I had the first time I edited press shots for my band under a single kitchen light with a copy of Lightroom I barely understood. High ISO noise isn’t just an aesthetic problem.

Lightroom's Quietly Dropped Two Masking Features That Change Everything About Local Adjustments

Lightroom's Quietly Dropped Two Masking Features That Change Everything About Local Adjustments

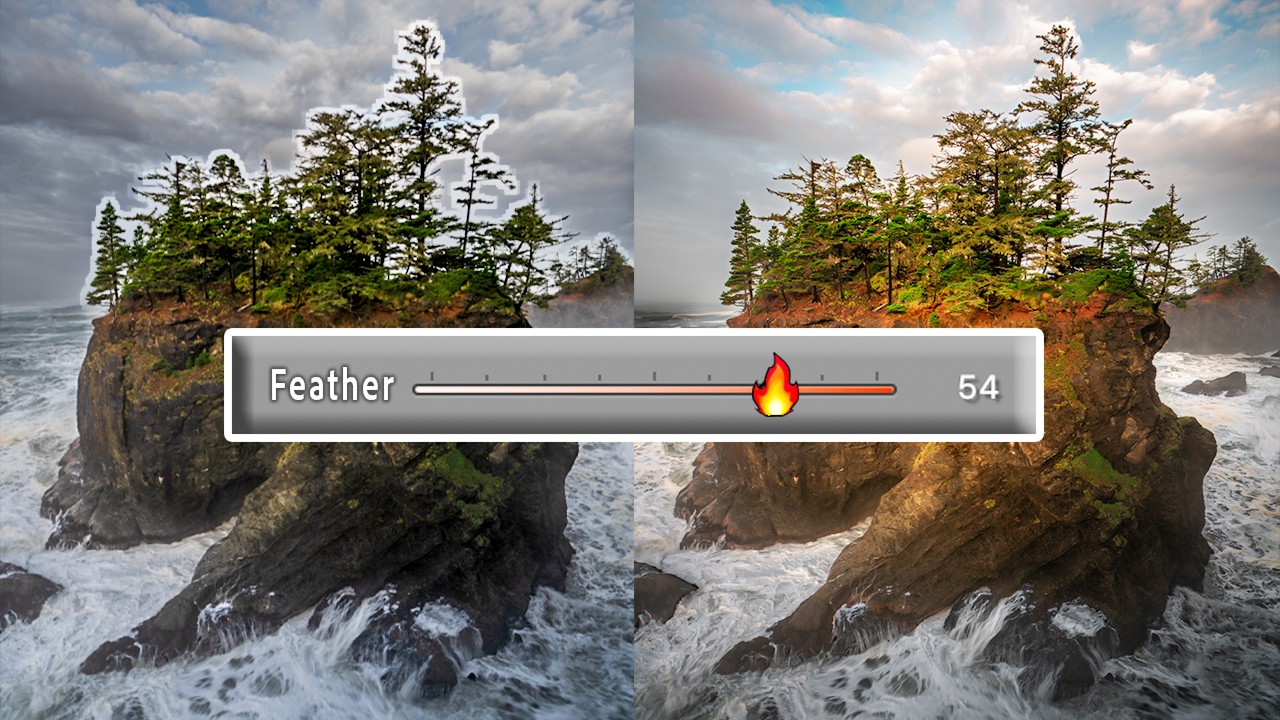
Color grading has always felt like one of those tools that’s 90% of the way there. The ability to push your highlights toward gold, nudge your shadows into teal, or breathe some cinematic warmth into your midtones is genuinely powerful. I use it on almost every landscape and portrait edit I touch. But for years, there’s been this maddening ceiling on what it can do: color grading applies globally, across the entire image, based on tonal values alone.