Lightroom's Creative Profiles and LUTs Just Changed How I Edit Everything

Lightroom's Creative Profiles and LUTs Just Changed How I Edit Everything

Every few years, something shifts in Lightroom that makes me stop mid-edit and actually pay attention. Not a UI refresh, not a slider rename — something that changes how I think about the whole workflow. I’ve been editing photos since my old band needed press shots and couldn’t afford anyone with a real portfolio, so I learned Lightroom out of necessity. That history means I’ve watched a lot of updates come and go without much fuss.

How to Build Custom Lightroom Profiles Using LUTs (And Why It Changes Everything)

How to Build Custom Lightroom Profiles Using LUTs (And Why It Changes Everything)

There’s a specific kind of frustration that comes from applying a preset and watching it fight your image the entire way through the edit. The preset wants to go orange and teal. Your photo wants to stay true to the golden hour light you actually shot in. Something always loses. For a long time, my workaround was building elaborate preset stacks, layering adjustments until I got close to the starting point I wanted.

Shoot Flat, Grade Hard: How to Color Grade Video and Build Your Own LUTs from Scratch

Shoot Flat, Grade Hard: How to Color Grade Video and Build Your Own LUTs from Scratch

Most of my work lives in Lightroom. Sliders, HSL panels, tone curves named after Wilco songs. That’s my comfort zone. But I shoot video too, and for a long time my footage looked exactly like what it was: stills-shooter-attempts-video. Decent composition, completely lifeless color. The two disciplines share a visual language, but the tools and the pipeline are different enough that my Lightroom instincts didn’t transfer cleanly. That changed when I worked through Watch the full tutorial on YouTube from Sean Tucker, where he breaks down his entire color grading process for video.

How to Color Grade Video in Photoshop (And Why Your Photo Editing Skills Already Got You Halfway There)

How to Color Grade Video in Photoshop (And Why Your Photo Editing Skills Already Got You Halfway There)

Most of my work lives in Lightroom. Presets, tone curves, HSL panels — that’s my natural habitat. But clients don’t always hand me JPEGs anymore. More and more, they’re showing up with phone footage, drone clips, or short brand videos that need to match the look of the stills I’ve already edited for them. For a long time, I treated that as a separate problem requiring a separate tool. Turns out I was making it harder than it needed to be.

Stop Making Presets. Start Making Profiles: A Practical Guide to Building Your Own LUTs in Photoshop and Lightroom

Stop Making Presets. Start Making Profiles: A Practical Guide to Building Your Own LUTs in Photoshop and Lightroom

Every preset pack I’ve ever built started the same way: me fiddling with HSL sliders in Lightroom, convincing myself I could get exactly the tone I wanted if I just pushed the Aqua Luminance a little further. Sometimes it worked. Usually it didn’t. The controls in Lightroom are powerful, but they’re also a ceiling, and for years I bumped my head against that ceiling without realizing there was a door in it.

LUTs Explained: How to Color Grade Your Videos the Peter McKinnon Way

LUTs Explained: How to Color Grade Your Videos the Peter McKinnon Way

Every editor I know has a folder somewhere called something like “finals_FINAL_v3” and inside it, footage that looks technically fine but emotionally flat. Sharp, exposed correctly, maybe even well-composed. And yet it feels like a screenshot instead of a frame. That gap between “recorded” and “cinematic” is exactly what LUTs are designed to close, and it’s something I think about constantly, even though my main home is in Lightroom editing stills.

How to Use LUTs for Cinematic Color Grading in Premiere (Without Wrecking Your Footage)

How to Use LUTs for Cinematic Color Grading in Premiere (Without Wrecking Your Footage)

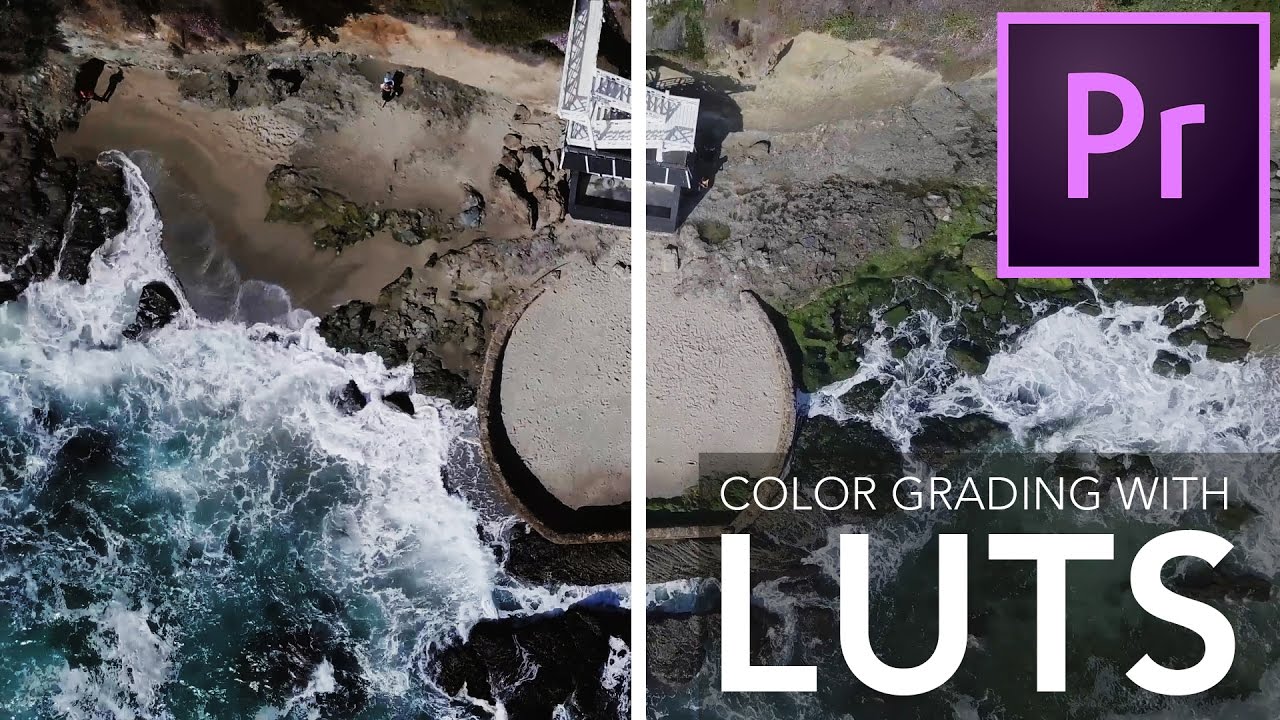
Color grading video has always been the part of post-production where I’ve seen talented creators give up and just hit “auto.” I get it. You shoot something beautiful, you drag it into Premiere, and then you stare at flat, lifeless footage wondering where the cinematic magic is supposed to come from. LUTs promise to fix that in one click, and sometimes they deliver. But more often, people slap a LUT onto raw footage and wonder why it looks muddy, blown out, or just… wrong.