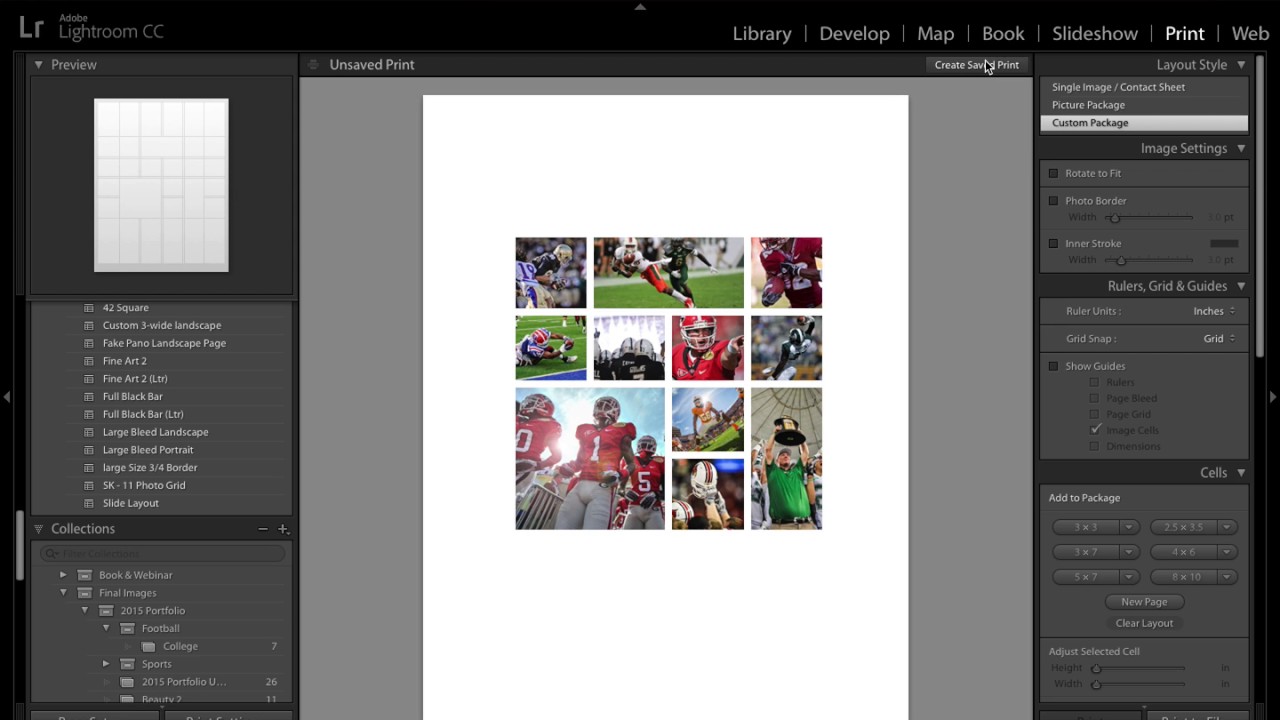
Stop Rebuilding From Scratch: How to Actually Save and Reuse Lightroom Print Templates

Stop Rebuilding From Scratch: How to Actually Save and Reuse Lightroom Print Templates

There’s a specific kind of frustration that only photographers know: a client emails six months after their session asking for reprints, and you’re staring at a blank Print module wondering how you ever arranged those eleven photos in the first place. You remember it looked great. You do not remember which images, which order, or what sizes you used. I’ve rebuilt the same layout from scratch more times than I want to admit, usually while a perfectly good record was skipping in the background because I was too annoyed to flip it.
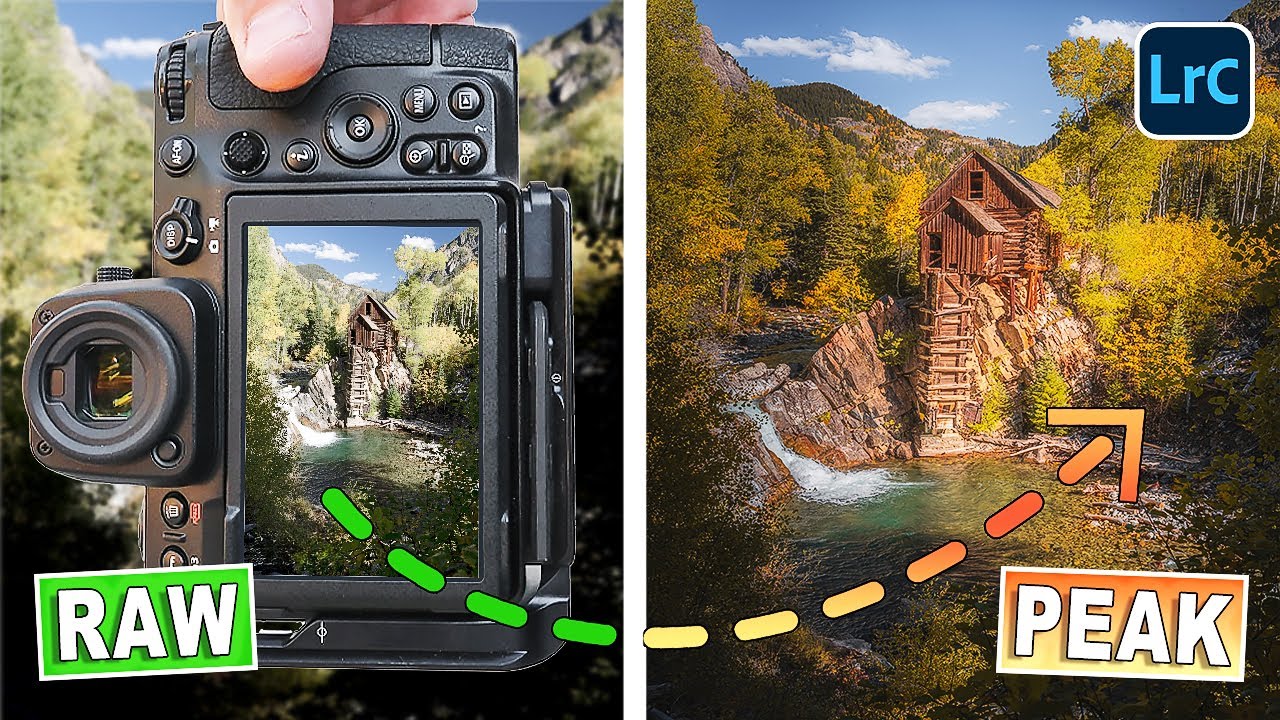

The Lightroom Calibration Secret That Rescues Early Fall Photos

The Lightroom Calibration Secret That Rescues Early Fall Photos

Every fall I have the same conversation with myself. I check the foliage maps. I pick a weekend. I drive two hours to some gorgeous mountain overlook. And the trees are either still stubbornly green or they’ve already gone brown and flat. Timing peak fall color feels less like planning and more like gambling. I’ve made peace with the fact that I’ll probably never nail it perfectly, which is exactly why this technique from landscape photographer Mark Denney stopped me mid-scroll when I came across it.

Lightroom Presets Aren't Magic — But They're Pretty Close If You Know What's Inside Them

Lightroom Presets Aren't Magic — But They're Pretty Close If You Know What's Inside Them

A few years back, I built a preset pack over a single long weekend. Named every preset after a Fleetwood Mac song, spent about 40 hours fine-tuning the tone curves, and then just… gave the whole thing away. No email capture, no upsell, nothing. It hit 50,000 downloads inside three months. What I learned from the comments, the DMs, and the forum threads that followed was uncomfortable: most people were applying those presets, deciding they looked “off,” and then cranking the exposure slider until the photo technically looked brighter.

Lightroom Mobile Is a Full Editing Studio in Your Pocket — Here's How to Actually Use It

Lightroom Mobile Is a Full Editing Studio in Your Pocket — Here's How to Actually Use It

My phone used to be where photos went to die. I’d shoot something decent on my mirrorless, import it to my computer, and if I hadn’t edited it within 48 hours, it entered a kind of limbo. Meanwhile, whatever I shot on my phone sat in a camera roll that I’d scroll past guiltily for months. The gap between “captured” and “edited” was just too wide. Lightroom Mobile closes that gap almost entirely, and I didn’t fully appreciate how capable it was until I went through this overview tutorial from Aaron Nace over at PHLEARN.

Lightroom's Creative Profiles and LUTs Just Changed How I Edit Everything

Lightroom's Creative Profiles and LUTs Just Changed How I Edit Everything

Every few years, something shifts in Lightroom that makes me stop mid-edit and actually pay attention. Not a UI refresh, not a slider rename — something that changes how I think about the whole workflow. I’ve been editing photos since my old band needed press shots and couldn’t afford anyone with a real portfolio, so I learned Lightroom out of necessity. That history means I’ve watched a lot of updates come and go without much fuss.

Stop Fighting Crooked Horizons: A Practical Guide to Lightroom's Upright Tool

Stop Fighting Crooked Horizons: A Practical Guide to Lightroom's Upright Tool

There’s a particular kind of frustration that comes from shooting architecture or interiors, loading the photos into Lightroom, and realizing that every single vertical line looks like it’s slowly falling over. I’ve been there more times than I want to count. Whether you’re tilting the camera up to catch a full building facade or shooting a doorway at a slight angle, perspective distortion creeps into the frame almost invisibly on location and becomes glaringly obvious on a 27-inch monitor.

The Tone Curve Isn't a Filter — It's the Whole Conversation

The Tone Curve Isn't a Filter — It's the Whole Conversation

I used to drag the Highlights slider down, lift the Shadows slider up, call it a day. My edits looked fine. Technically correct. Like a photo that had been to the dentist. Clean, but not exactly alive. The tone curve sat there in the Develop module, that little diagonal line, and I treated it like a sign I couldn’t read yet. That lasted longer than I’d like to admit. When I finally committed to understanding it, not just poking at it, it completely rewired how I think about light in an image.

How to Darken a Sky Without Wrecking Your Treeline in Lightroom

How to Darken a Sky Without Wrecking Your Treeline in Lightroom

Sky editing is one of those things that sounds simple until you’re staring at a photo where the clouds are blown out and the foreground looks like it was shot at midnight. I’ve been in that exact situation more times than I want to count, and for a long time my fix was clunky at best. I’d pull down the overall exposure, hate what it did to the shadows, undo it, and then just… accept a mediocre sky.

Stop Drowning in 400,000 Unlabeled Photos — Let AI Find Them for You

Stop Drowning in 400,000 Unlabeled Photos — Let AI Find Them for You

I have a confession that will probably resonate with a lot of you: I have years of photo shoots sitting in Lightroom with zero keywords attached to them. Portraits from 2019, landscapes from a road trip through Montana, a whole session I did at a friend’s horse farm. All of it is technically “organized” in folders by date, which means finding any specific image involves either remembering the exact month I shot it or scrolling through thousands of thumbnails like it’s 2009.

Fix Muddy Skin Tones, Lens Fringing, and Crooked Horizons in Lightroom — Three Moves That Actually Matter

Fix Muddy Skin Tones, Lens Fringing, and Crooked Horizons in Lightroom — Three Moves That Actually Matter

I used to make the mistake most beginners make: I’d apply a preset, think the edit was done, and export. Then I’d look at the photo two days later and wonder why the skin looked like someone had applied a Instagram filter from 2012. The problem wasn’t the preset itself. It was that I didn’t know how to dial it back in when something went wrong. That gap between “I applied a preset” and “I know what I’m doing” is exactly what this Mango Street tutorial covers, and it does it in under five minutes.

Split Toning Is the Secret Your Flat Edits Are Missing (Here's How to Actually Use It)

Split Toning Is the Secret Your Flat Edits Are Missing (Here's How to Actually Use It)

I used to think split toning was a filter. One of those things you slap on a photo to make it look “cinematic” and call it a day. I’d see other editors’ work with those warm golden highlights and cool blue shadows, assume they had some secret preset, and move on. It wasn’t until I spent a weekend reverse-engineering a look from a photographer I admired that I realized split toning wasn’t a shortcut at all.

How to Edit Community Photos in Lightroom Mobile: Cropping, Graduated Filters, and Color Grading on iPad

How to Edit Community Photos in Lightroom Mobile: Cropping, Graduated Filters, and Color Grading on iPad

Every so often I watch another editor work through photos live and walk away genuinely recalibrating something I thought I already had figured out. I learned Lightroom years ago because someone had to edit my band’s press shots and we couldn’t afford to hire anyone. That scrappy, problem-solving approach to editing never really left me. So when I came across this Nigel Danson tutorial where he works through viewer-submitted RAW files on an iPad in real time, I paid attention.