Shadow Recovery Is Killing Your Photos (Here's How to Fix the Noise It Creates)

Shadow Recovery Is Killing Your Photos (Here's How to Fix the Noise It Creates)

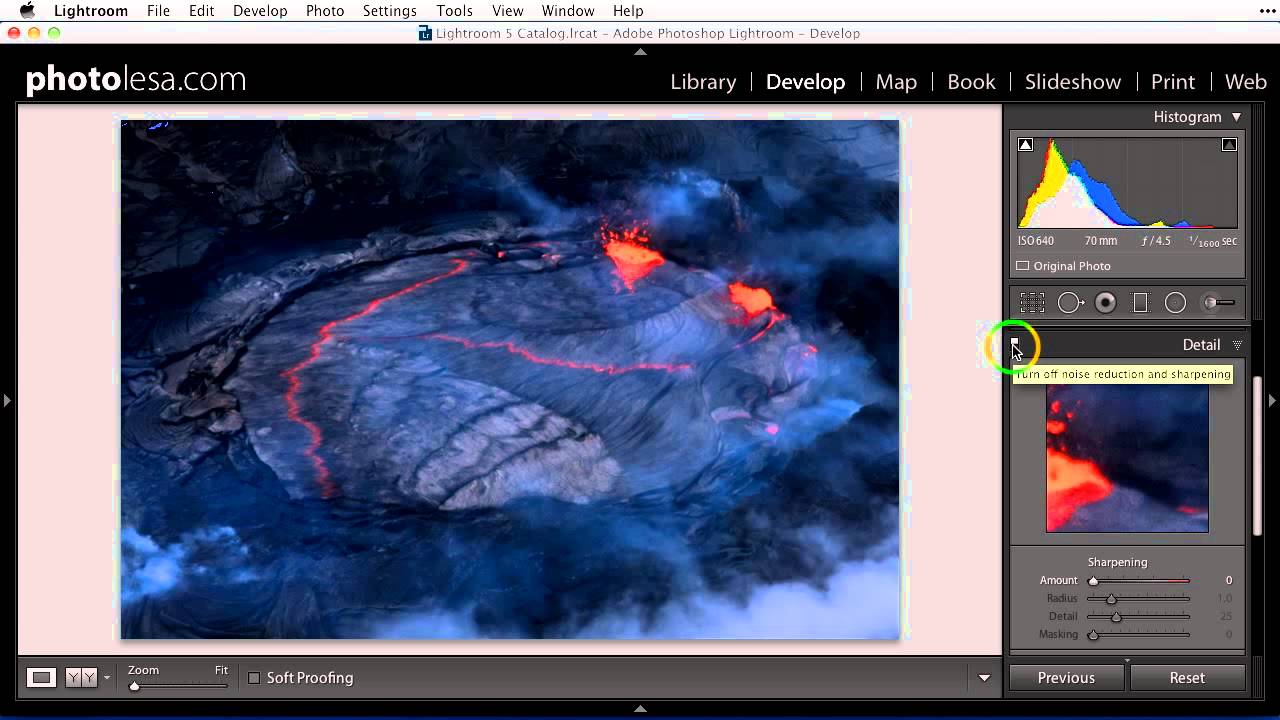
There’s a trade-off nobody warns you about when you first start editing in Lightroom. You shoot something in low light, you get it into the Develop module, and you drag those shadows up to rescue all that beautiful detail you knew was hiding in the dark. The image opens up. You feel like a genius. Then you zoom in and see it: grain. Speckles. A texture that looks less like film and more like your sensor had a bad night.

Lightroom's AI Denoise Tool Actually Works — Here's the Proof

Lightroom's AI Denoise Tool Actually Works — Here's the Proof

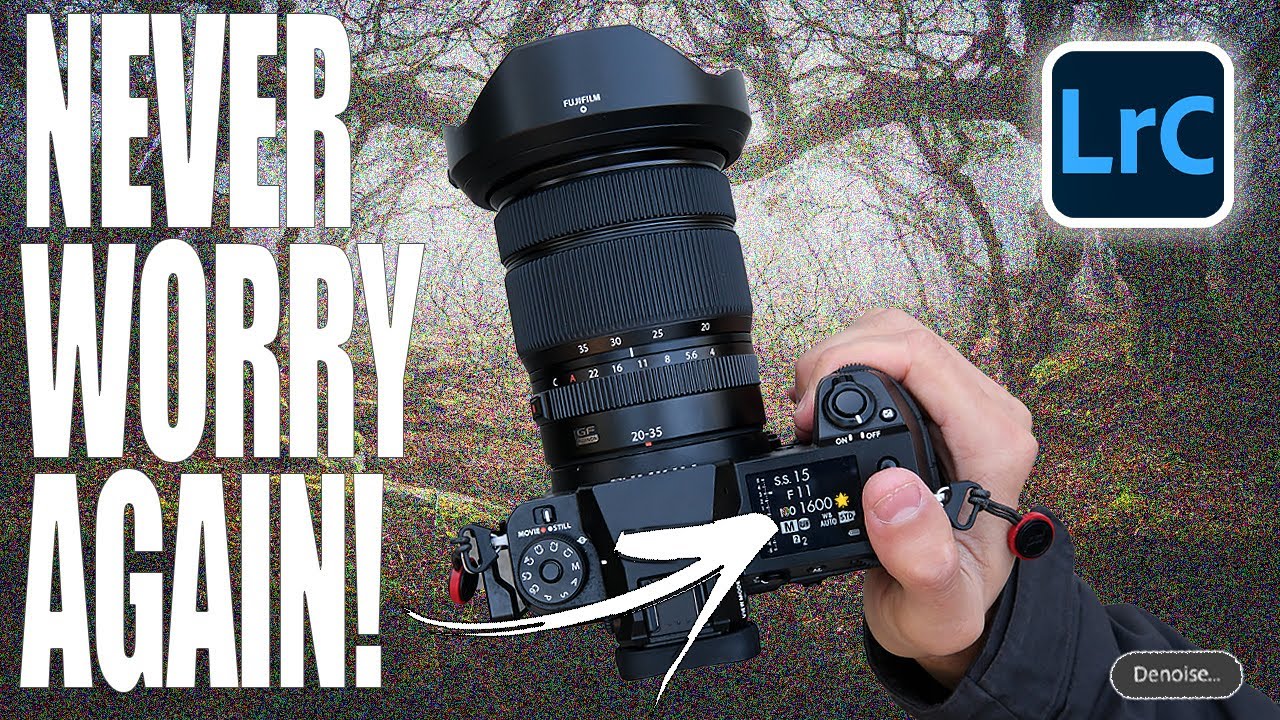
I shoot a lot of golden hour and blue hour landscapes, which means I spend a lot of time fighting noise. ISO creep is real, especially when you’re chasing a specific shutter speed to keep moving water silky or freeze wind-blown leaves. For years, Lightroom’s built-in noise reduction was my least favorite part of the workflow. Crank the luminance slider and yes, the grain disappears, but so does everything else. The fine texture in bark, the detail in distant ridgelines, the individual strands of a waterfall.

The RAW Processing Step I Kept Skipping (And Why I Finally Stopped)

The RAW Processing Step I Kept Skipping (And Why I Finally Stopped)

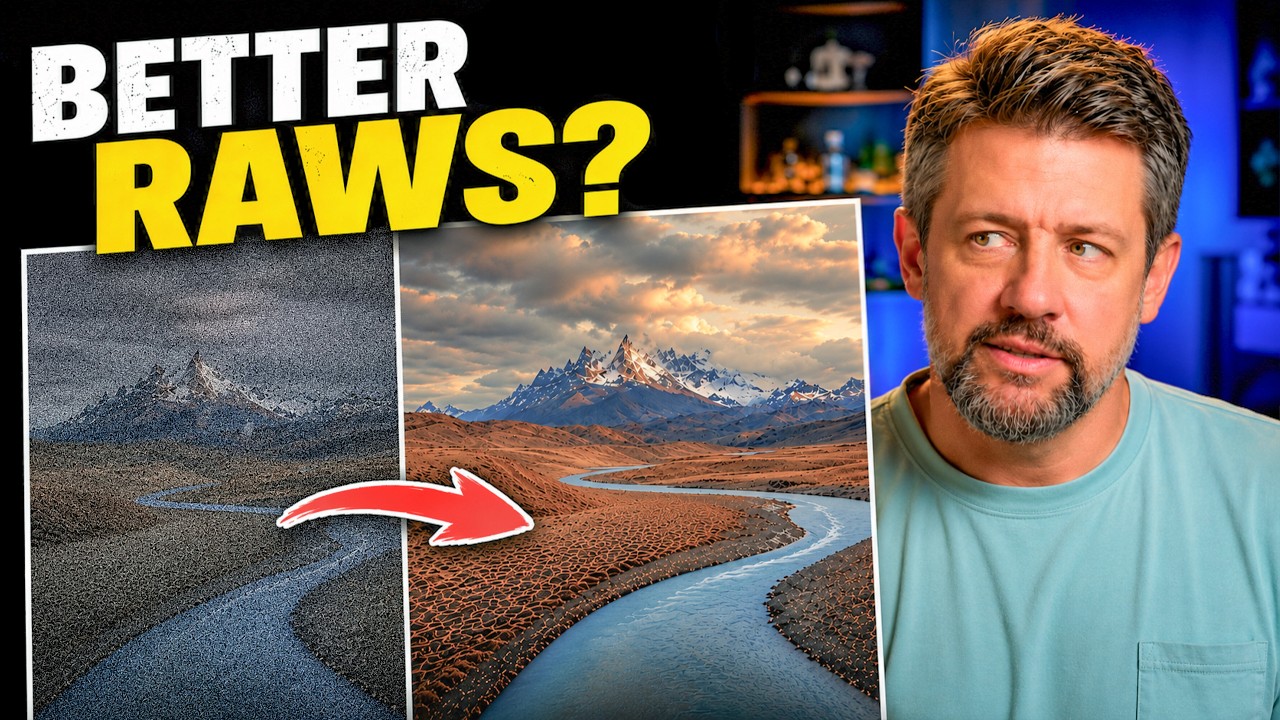
I have a rule about my editing workflow: if it adds more than one extra step, it probably isn’t sticking around. I learned Lightroom under pressure, back when my band couldn’t afford a photographer and someone had to edit our press shots, so lean and fast became a survival instinct that never really left. That instinct has served me well. It has also made me dismiss a lot of genuinely useful tools because I assumed the setup cost wasn’t worth it.