Lightroom's AI Denoise Tool Actually Works — Here's the Proof

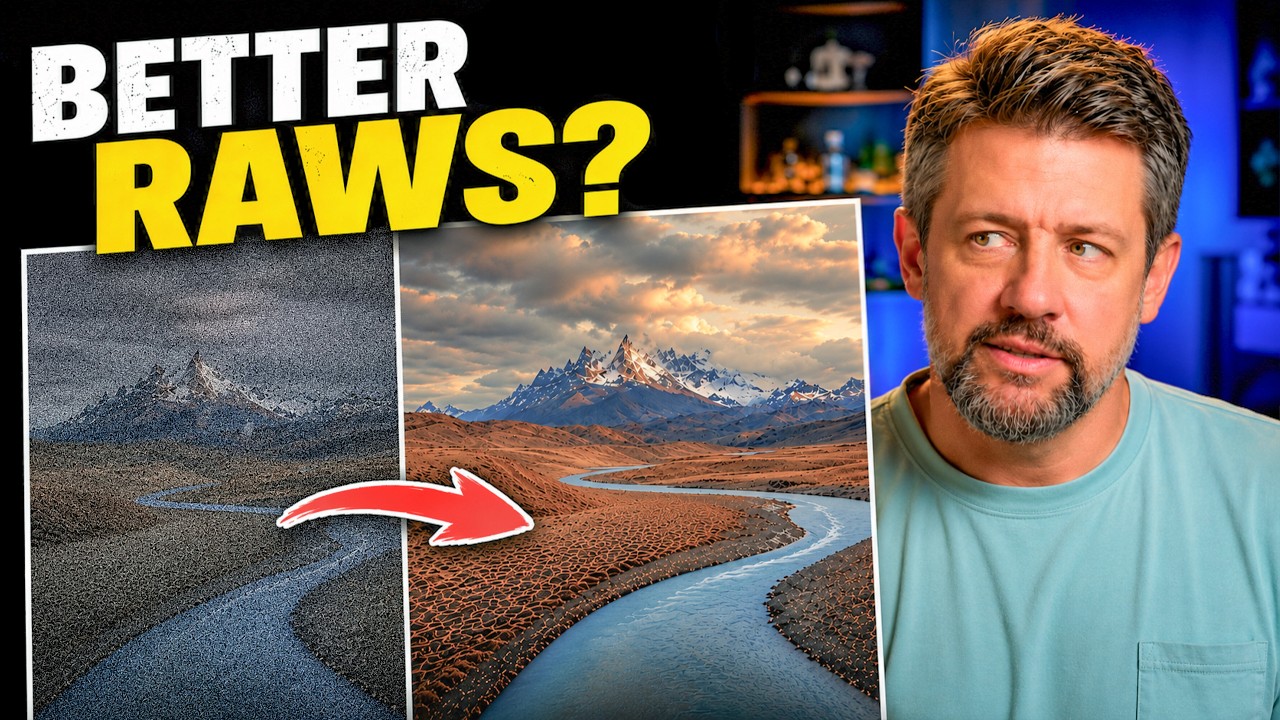
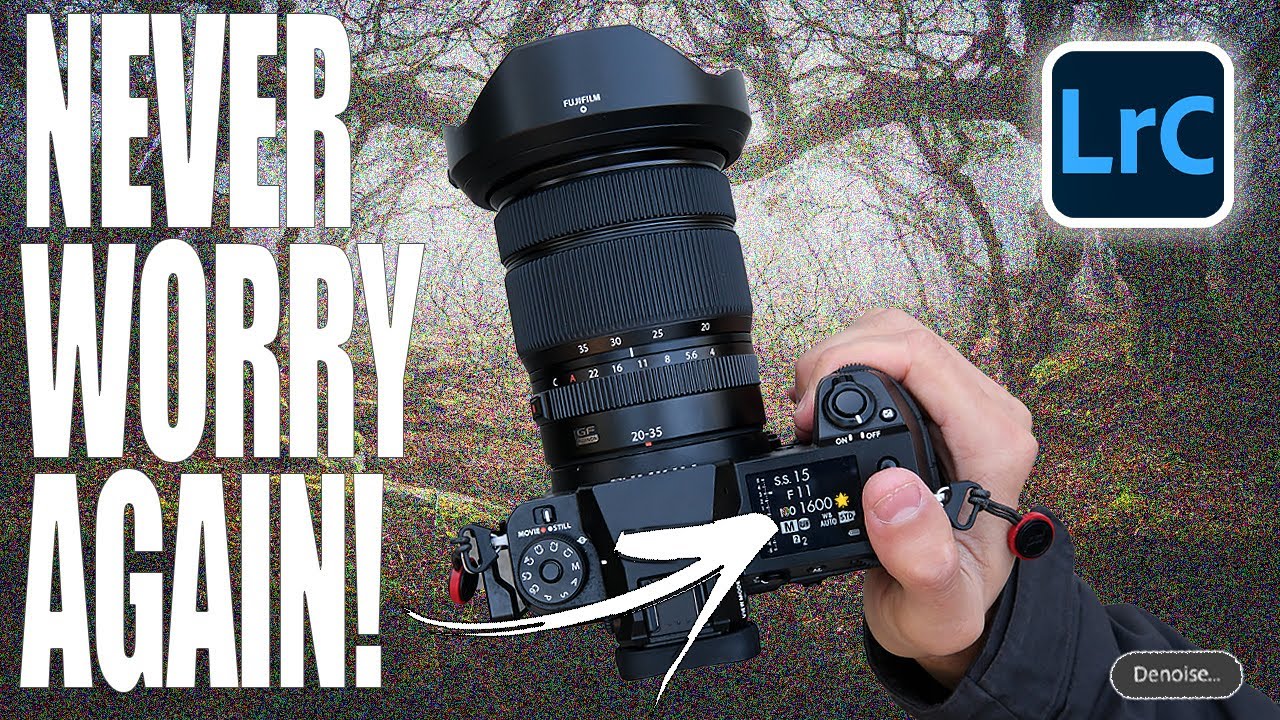
Lightroom's AI Denoise Tool Actually Works — Here's the Proof

I shoot a lot of golden hour and blue hour landscapes, which means I spend a lot of time fighting noise. ISO creep is real, especially when you’re chasing a specific shutter speed to keep moving water silky or freeze wind-blown leaves. For years, Lightroom’s built-in noise reduction was my least favorite part of the workflow. Crank the luminance slider and yes, the grain disappears, but so does everything else. The fine texture in bark, the detail in distant ridgelines, the individual strands of a waterfall.
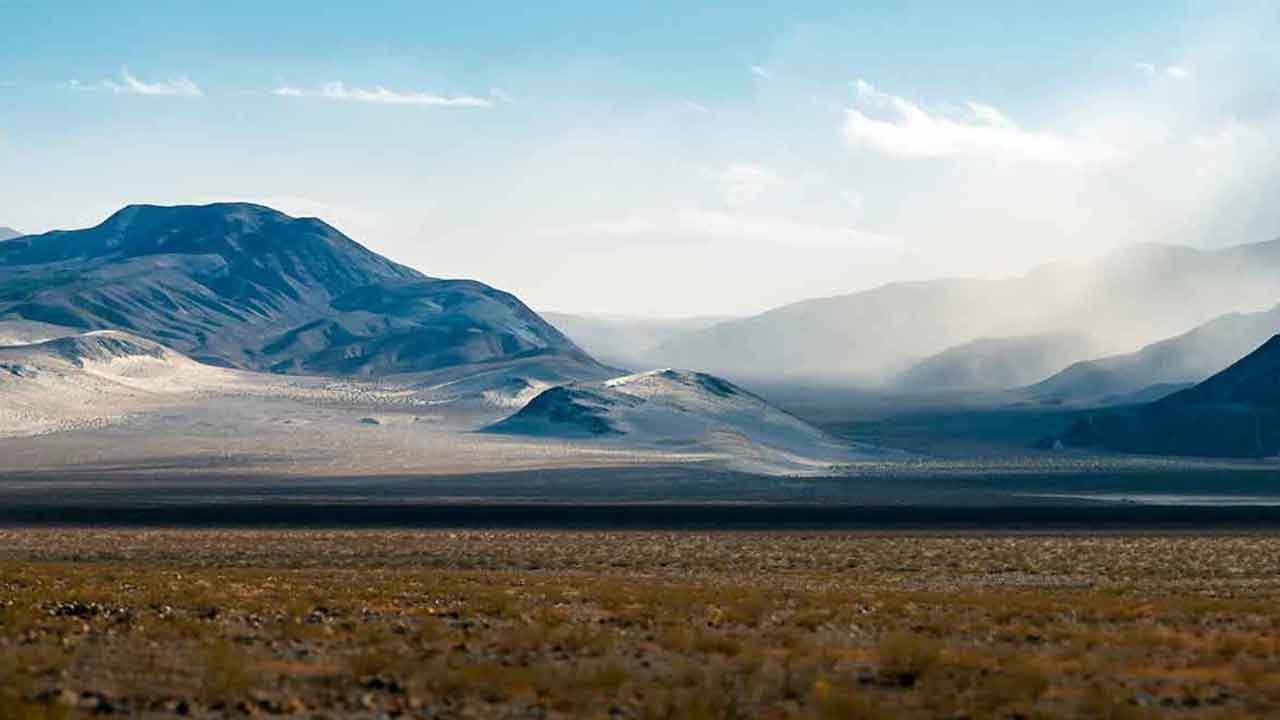
Stitching the Sky: A Practical Guide to Building Panoramas Inside Lightroom

Stitching the Sky: A Practical Guide to Building Panoramas Inside Lightroom

There’s a specific kind of frustration that comes from shooting a killer landscape, knowing you captured something real out there, and then opening your files to find that no single frame holds the whole scene. I’ve been there more times than I want to count. Wide-angle lenses help, but they also introduce distortion that can make a beautiful horizon look like it’s bending toward you. The smarter solution, the one working photographers have been using for years, is shooting a sequence of overlapping frames and stitching them into a panorama.

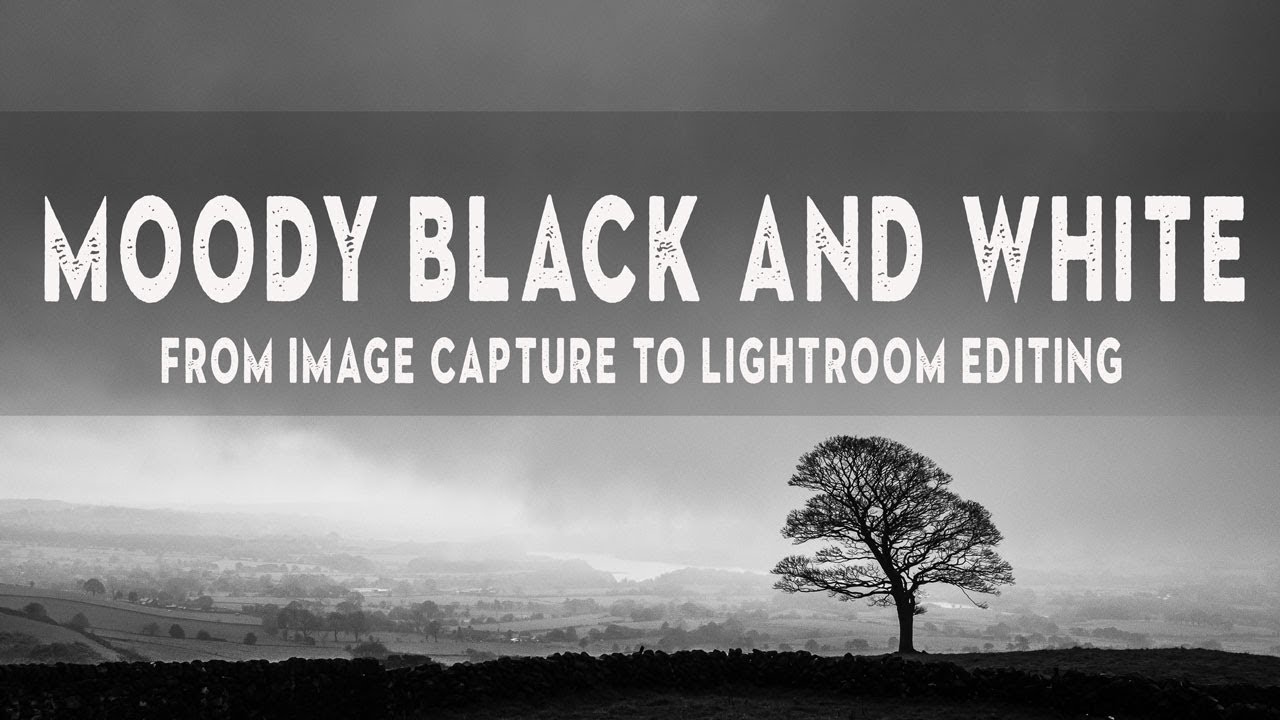
Dramatic Black & White Landscapes in Lightroom: What I Learned From Shooting in a Downpour

Dramatic Black & White Landscapes in Lightroom: What I Learned From Shooting in a Downpour

There’s a specific kind of RAW file that shows up in my Lightroom catalog way too often. The exposure is fine, the focus is sharp, the composition is solid. And yet the image sits there looking like a stock photo of nowhere in particular. No weight. No atmosphere. Just a technically correct photograph that nobody would ever stop scrolling for. If you shoot landscapes, you know exactly what I’m talking about.

Where Did My Photos Go? The Lightroom Import Method That Finally Makes Sense

Where Did My Photos Go? The Lightroom Import Method That Finally Makes Sense

There is one question I heard constantly when I first started helping friends learn Lightroom: “Where did my photos go?” Not “how do I edit this” or “what’s a good preset for skin tones” - just a panicked message asking why an entire shoot had disappeared into the void. The answer, almost every single time, came back to the import step. People skip past it, click through the dialog without reading it, and then spend an hour hunting through their hard drive wondering if they accidentally deleted a whole card full of portraits.

Beyond the Contrast Slider: How to Build an S-Curve That Actually Bites

Beyond the Contrast Slider: How to Build an S-Curve That Actually Bites

There’s a specific kind of frustration I’ve felt more times than I can count: you’re editing a photo, the image looks flat, you drag the Contrast slider all the way to +100, and it still feels like the picture is behind a layer of gauze. The slider tops out and you’re left thinking, “That’s it? That’s all you’ve got?” For a long time I just lived with it, stacking other adjustments on top and hoping something would stick.

One Catalog to Rule Them All: How to Set Up a Travel Catalog That Actually Merges Back Cleanly

One Catalog to Rule Them All: How to Set Up a Travel Catalog That Actually Merges Back Cleanly

I have a recurring nightmare. Not the one where I show up to a shoot and forgot my memory cards. The one where I get home from a week of shooting, dump everything into my laptop catalog, and then spend two hours Googling “how to merge Lightroom catalogs without losing edits” at midnight. If you’ve been there, you know the specific dread of not being sure whether your metadata survived the trip.

How to Run One Master Lightroom Catalog Across Two Computers (Without Losing Your Mind)

How to Run One Master Lightroom Catalog Across Two Computers (Without Losing Your Mind)

There’s a specific kind of dread that hits when you get home from a shoot and realize your images are scattered across two machines with no clean way to reunite them. I’ve been there. Before I locked down a real system, I was doing the digital equivalent of stuffing receipts in my jacket pocket and hoping for the best. Duplicate folders, orphaned edits, catalogs that referenced drives I couldn’t find anymore.

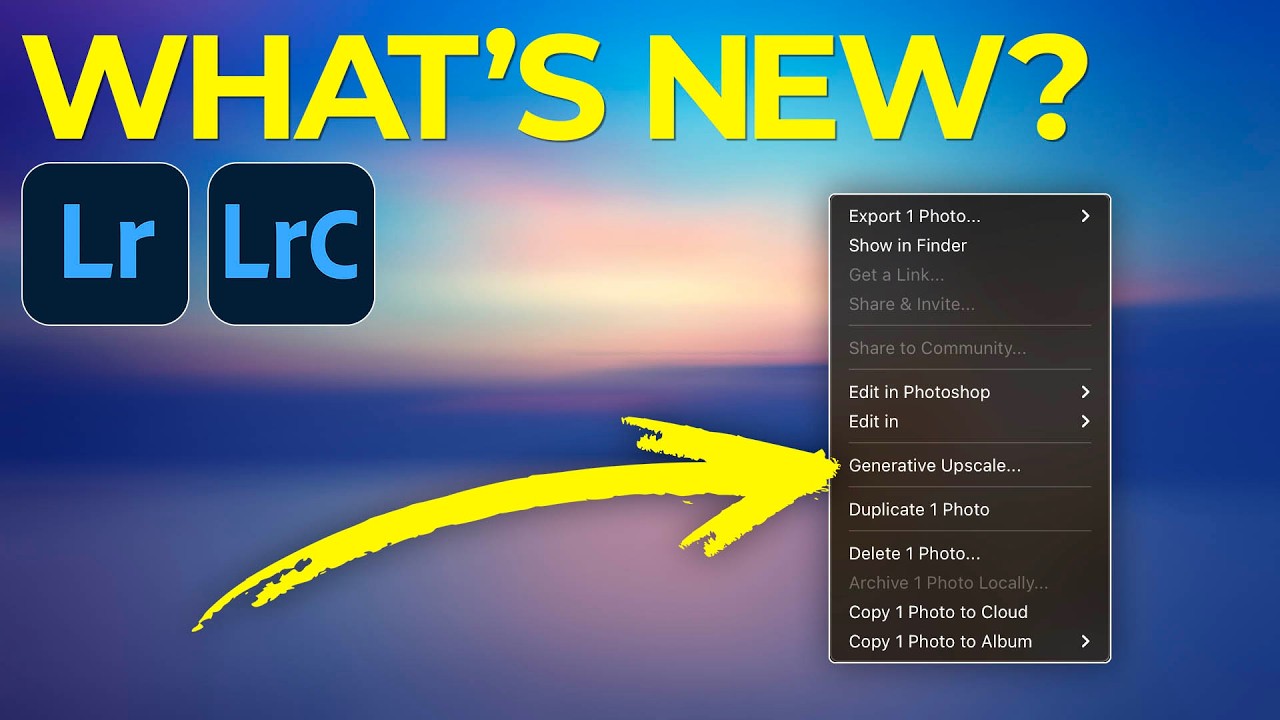
Lightroom's February 2026 Update Just Changed How I Start Every Edit

Lightroom's February 2026 Update Just Changed How I Start Every Edit

Every time Adobe drops a Lightroom update, I do the same thing. I clear my afternoon, brew coffee, and sit down expecting a revelation. Sometimes I get one. Sometimes I get WebP support and a button that opens a web browser. The February 2026 update lands somewhere in the middle, and I want to be straight with you about that before you spend an hour hunting for features that aren’t really there.

The Lightroom Conference 2025 Is Coming — Here's Why I Clear My Calendar Every Year

The Lightroom Conference 2025 Is Coming — Here's Why I Clear My Calendar Every Year

There’s a particular kind of editing fatigue that creeps in after a few years of winging it in Lightroom. You know the one. You’re dragging the same sliders to roughly the same places, your export folder is a graveyard of “final_FINAL_v3” files, and somewhere in the back of your mind you’re aware that you’re probably using maybe 40 percent of what the software can actually do. I’ve been there. I spent years teaching myself Lightroom out of necessity, back when I was editing band press shots on a laptop in a van, and while I got good at it, I also built some deeply inefficient habits that took a long time to unlearn.

What This Year's Ocean Photography Winners Can Teach Us About Color Grading

What This Year's Ocean Photography Winners Can Teach Us About Color Grading

What This Year’s Ocean Photography Winners Can Teach Us About Color Grading The United Nations just crowned the champions of their World Oceans Day photography competition, and I’ve been absolutely mesmerized by what won. Not just because the images are stunning—though they absolutely are—but because they showcase some seriously thoughtful color grading decisions that we can all learn from. Competing in the Deep Blue This year’s edition introduced a fresh category called “Connecting Oceans,” which feels like the perfect evolution for a competition that’s grown increasingly competitive.

The RAW Processing Step I Kept Skipping (And Why I Finally Stopped)

The RAW Processing Step I Kept Skipping (And Why I Finally Stopped)

I have a rule about my editing workflow: if it adds more than one extra step, it probably isn’t sticking around. I learned Lightroom under pressure, back when my band couldn’t afford a photographer and someone had to edit our press shots, so lean and fast became a survival instinct that never really left. That instinct has served me well. It has also made me dismiss a lot of genuinely useful tools because I assumed the setup cost wasn’t worth it.

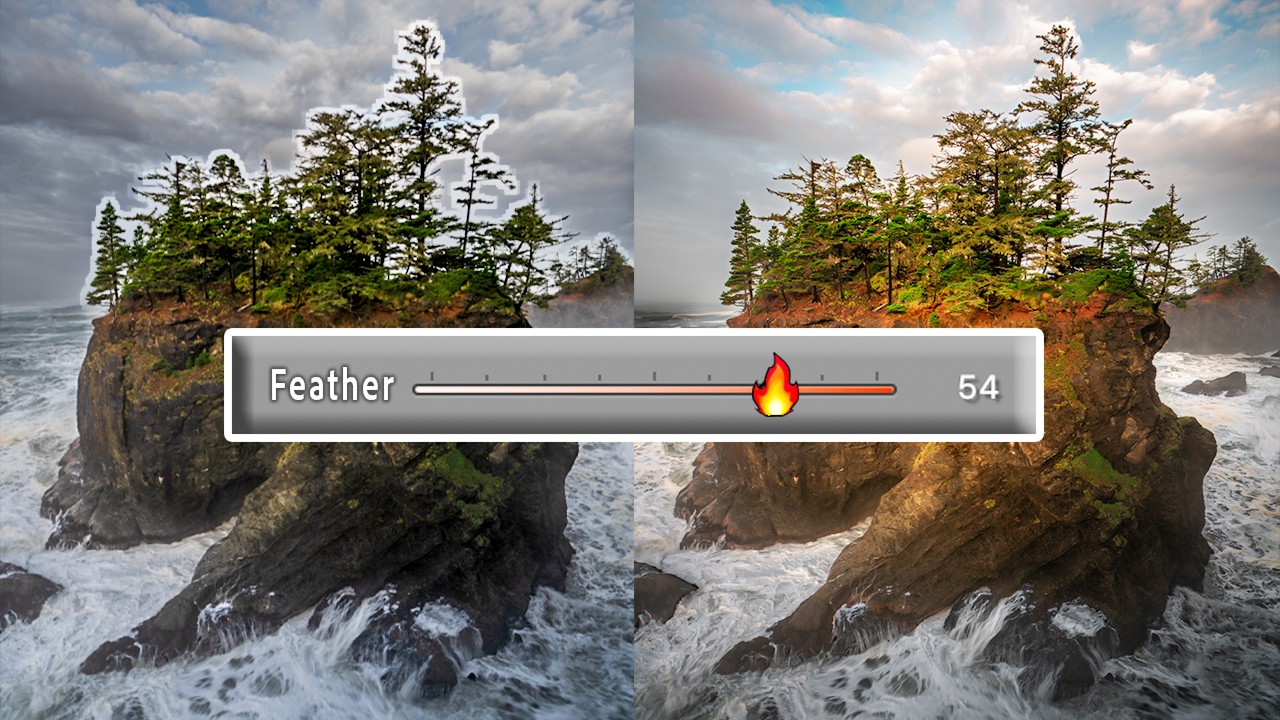
Lightroom's Quietly Dropped Two Masking Features That Change Everything About Local Adjustments

Lightroom's Quietly Dropped Two Masking Features That Change Everything About Local Adjustments

Color grading has always felt like one of those tools that’s 90% of the way there. The ability to push your highlights toward gold, nudge your shadows into teal, or breathe some cinematic warmth into your midtones is genuinely powerful. I use it on almost every landscape and portrait edit I touch. But for years, there’s been this maddening ceiling on what it can do: color grading applies globally, across the entire image, based on tonal values alone.