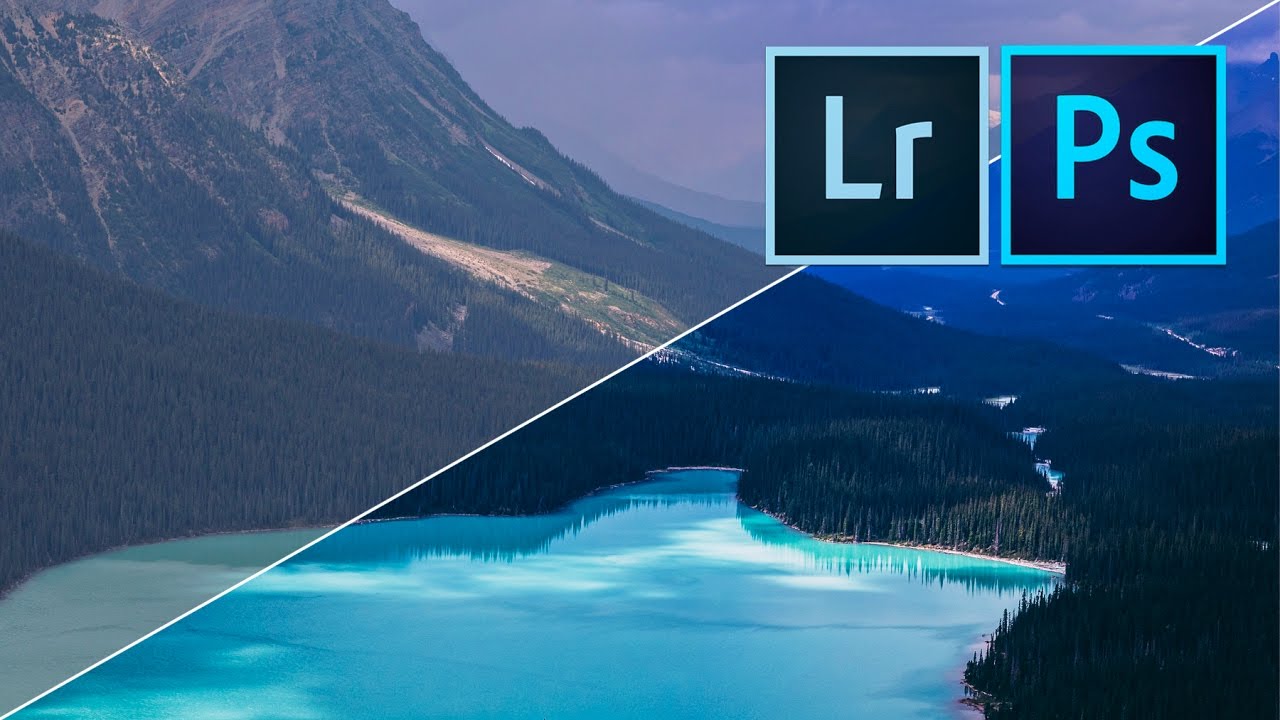
From Flat RAW to Film-Style Masterpiece: Using Lightroom and Photoshop Together the Right Way

From Flat RAW to Film-Style Masterpiece: Using Lightroom and Photoshop Together the Right Way

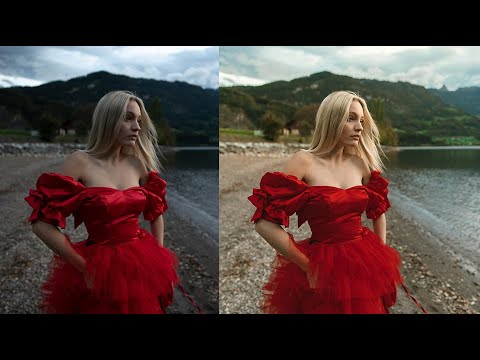
Every time I open a fresh RAW file, I’m reminded of the same uncomfortable truth: the camera lies. Not in a dramatic way, but in a flat, uninspiring, “did I even take this correctly?” kind of way. RAW files are intentionally unprocessed, and that blank-slate quality is either your best friend or your worst enemy depending on whether you have a clear workflow to get from capture to finished image. For years, I treated Lightroom and Photoshop as two separate tools I’d open at different times for different jobs.

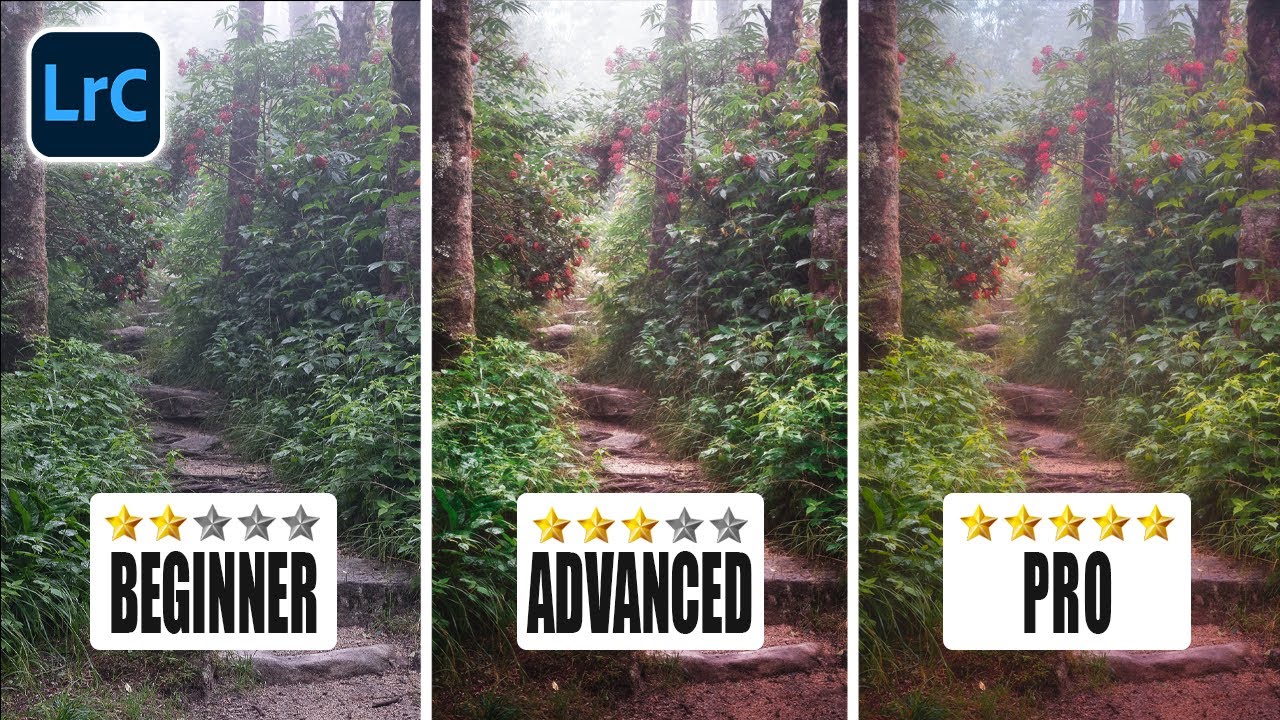
The Alt/Option Key Tricks in Lightroom That Changed How I Edit Every Photo

The Alt/Option Key Tricks in Lightroom That Changed How I Edit Every Photo

There’s a specific kind of frustration that comes from spending twenty minutes dialing in the tone of a photo, getting the shadows exactly right, nailing the contrast, and then realizing you also need to reset just the clarity and texture sliders because you went a little heavy-handed. The Reset button in Lightroom wipes everything. You’re starting over. For a long time, I was clicking through my History panel like it was a time machine, trying to claw back a specific moment in the edit.

How to Fix Converging Verticals in Lightroom Using Guided Upright (And Actually Control the Result)

How to Fix Converging Verticals in Lightroom Using Guided Upright (And Actually Control the Result)

Shooting architecture while traveling is one of those things that looks easy until you get home and open Lightroom. You tilted the camera up to fit the building in the frame, and now every vertical line is falling inward like the walls are slowly closing in. The automatic Upright options in Lens Corrections do an okay job, but they’ve always felt like a negotiation you’re losing. Lightroom picks the reference points, and you just hope it chose wisely.

Bridge Meets Lightroom: What Actually Happens When Your Workflows Collide

Bridge Meets Lightroom: What Actually Happens When Your Workflows Collide

There’s a particular kind of panic that hits when you realize you’ve been editing photos in two different programs and you have no idea which one is “winning.” I’ve been there. You’re browsing a folder in Adobe Bridge, you make a quick tweak in Camera Raw, and then you open Lightroom and stare at the screen wondering why nothing looks right. It’s not a fun place to be, especially mid-deadline.

Adobe Finally Did It: Adaptive Presets, AI Noise Reduction, and Preset Intensity Are Here

Adobe Finally Did It: Adaptive Presets, AI Noise Reduction, and Preset Intensity Are Here

Every few months, Adobe drops an update and I spend an embarrassing amount of time testing it before I actually sit down to edit anything. This latest round of changes to both Lightroom and Lightroom Classic is different, though. These are not UI tweaks or subscription upsells dressed up as features. These are tools that solve problems I run into on real editing sessions, the kind where I’m trying to separate a subject from a background without spending twenty minutes painting masks by hand.

Black & White Processing in Lightroom: How to Make Moody, High-Contrast Edits That Actually Hold Up

Black & White Processing in Lightroom: How to Make Moody, High-Contrast Edits That Actually Hold Up

There’s a specific kind of photo that color ruins. You’ve got strong light, deep shadows, a subject with real presence, and the moment you look at it in color, it just… deflates. The tones fight each other, the sky goes muddy orange, and any grit you felt on location disappears into a sea of competing hues. I’ve been there more times than I want to admit, usually staring at a RAW file at midnight wondering why a shot that looked incredible in person looks like a stock photo from 2009.

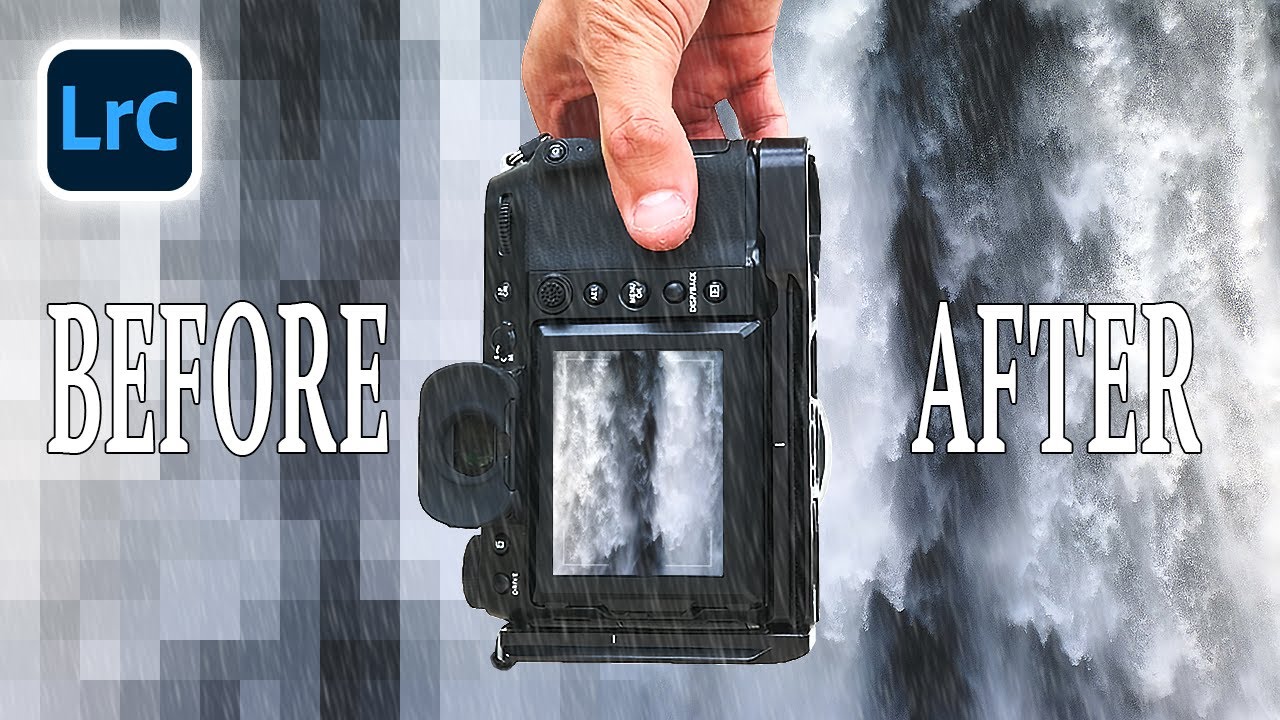
Adobe's AI Denoise Tool Put to the Ultimate Test: An ISO 12800 Aurora Shot

Adobe's AI Denoise Tool Put to the Ultimate Test: An ISO 12800 Aurora Shot

There’s a specific kind of dread that hits when you open a raw file the morning after a shoot and realize you were working at ISO 12,800 in near-total darkness. I know that feeling well. It’s the same feeling I had the first time I edited press shots for my band under a single kitchen light with a copy of Lightroom I barely understood. High ISO noise isn’t just an aesthetic problem.

The Editing Ceiling: How to Know When to Stop Pushing Sliders in Lightroom

The Editing Ceiling: How to Know When to Stop Pushing Sliders in Lightroom

There’s a specific kind of photo edit that haunts me. It’s the one where I’ve been staring at a screen too long, nudging sliders a little further each time, and what started as a raw file with real potential has slowly become something that looks like it was processed inside a microwave. I’ve been editing long enough to know that the problem isn’t usually a single bad decision. It’s death by a thousand tiny overcorrections, each one feeling justified in the moment.

Concert Photos Look Like Garbage Straight Out of Camera — Here's How to Fix Them in Lightroom

Concert Photos Look Like Garbage Straight Out of Camera — Here's How to Fix Them in Lightroom

Concert photography is the editing equivalent of being handed a bag of mystery ingredients and told to make something edible. The lighting is dramatic, unpredictable, and almost aggressively wrong for skin tones. You’ll get magenta blasts, red face-melters, and blue washes that make your subject look like they’re performing from the bottom of the ocean. I’ve been there more times than I want to count, and finding a reliable editing framework for these shots is genuinely useful.

Flat RAW to Finished Edit: Scott Kelby's Step-by-Step Lightroom Workflow Breakdown

Flat RAW to Finished Edit: Scott Kelby's Step-by-Step Lightroom Workflow Breakdown

There’s a particular kind of dread that comes with opening a flat, straight-out-of-camera RAW file when you know a client is waiting. The histogram looks sad. The sky is blowing out. The columns are bowing like something shot through a fisheye. I’ve been there more times than I want to count, and the thing that pulled me out of that spiral early on was watching working photographers show their actual process, not just the before and after.

From Crooked Columns to Clean Architecture: A Lightroom Intermediate Editing Walkthrough

From Crooked Columns to Clean Architecture: A Lightroom Intermediate Editing Walkthrough

There’s a specific kind of photo that lives in everyone’s archive: technically salvageable, visually promising, but currently a disaster. Bad white balance, geometry that looks like a funhouse mirror, and some mystery fringing along the edges for good measure. I keep a folder full of them. They’re the images I shot years ago before I knew what I was doing, and every time I open them I have to decide whether they’re worth the fight.

Stop Guessing What Your Thumbnails Are Telling You: A Lightroom Grid View Deep Dive

Stop Guessing What Your Thumbnails Are Telling You: A Lightroom Grid View Deep Dive

There is a specific kind of frustration that comes from knowing a tool exists inside Lightroom and having no idea where it lives. I spent embarrassingly long periods of my early editing life right-clicking on things hoping something useful would appear. Thumbnail customization was one of those blind spots. I knew the grid view could show me more information. I did not know I had surgical control over exactly what that information was, where it appeared, or how to kill it instantly when it got in the way.