How Aerial Photography Reveals Our Changing Planet—And What It Teaches Us About Color Grading

How Aerial Photography Reveals Our Changing Planet—And What It Teaches Us About Color Grading

The Power of Perspective: Why Looking Down Changes Everything There’s something genuinely transformative about seeing Earth from above. When astronaut William Anders captured that iconic image of our blue marble rising over the lunar horizon back in 1968, it didn’t just make for a great album cover—it fundamentally shifted how humanity thought about our place in the cosmos. That single photograph sparked an entire ecological awakening. I’ve been thinking a lot about that historical moment lately, especially as I’ve watched the photography world embrace aerial perspectives as a way to document environmental transformation.
Read Your Raw Files Like a Pro: Lightroom's Exposure Slider Trick Beginners Almost Always Skip

Read Your Raw Files Like a Pro: Lightroom's Exposure Slider Trick Beginners Almost Always Skip

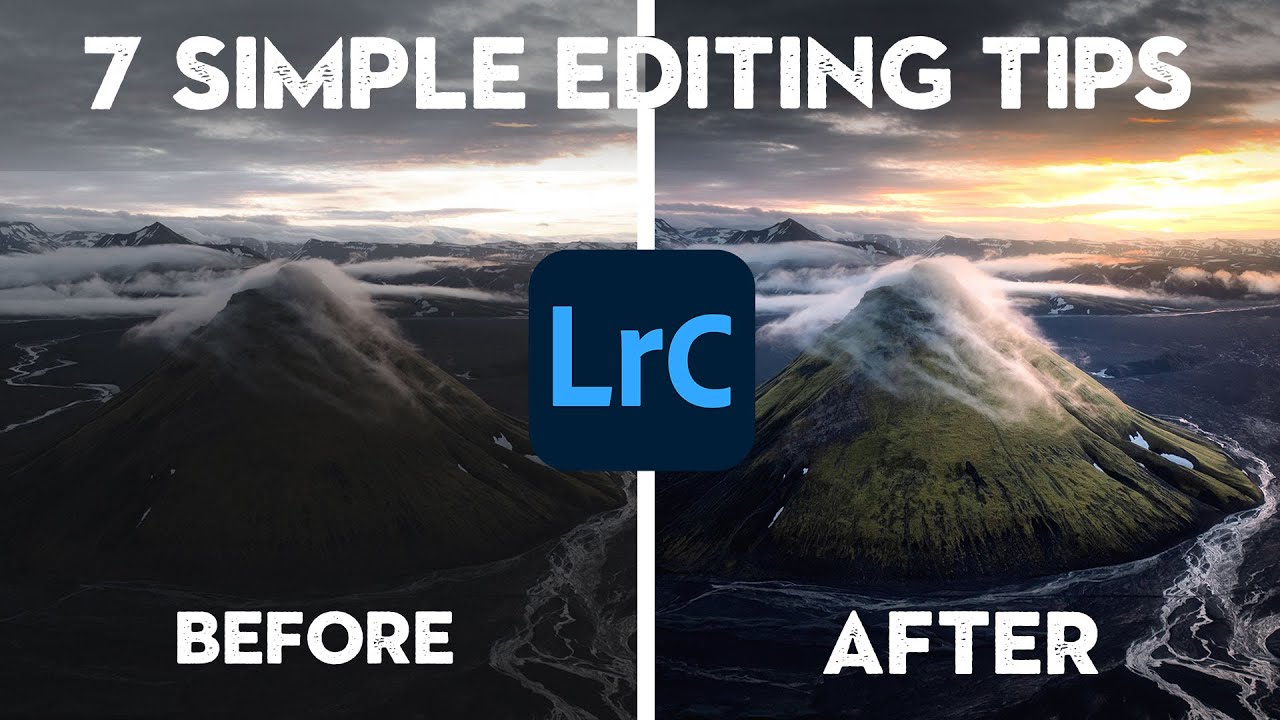
There’s a moment early in most photographers’ Lightroom journeys where they open a raw file, squint at the histogram, decide it “looks okay,” and start dragging sliders around hoping something good happens. I did that for longer than I’d like to admit. The result was a lot of technically mediocre edits that I thought were finished until I looked at them a week later and cringed. What I was missing wasn’t a better preset or a more sophisticated technique.

How to Add a Warm Backlit Glow to Photos Using Photoshop Adjustment Layers

How to Add a Warm Backlit Glow to Photos Using Photoshop Adjustment Layers

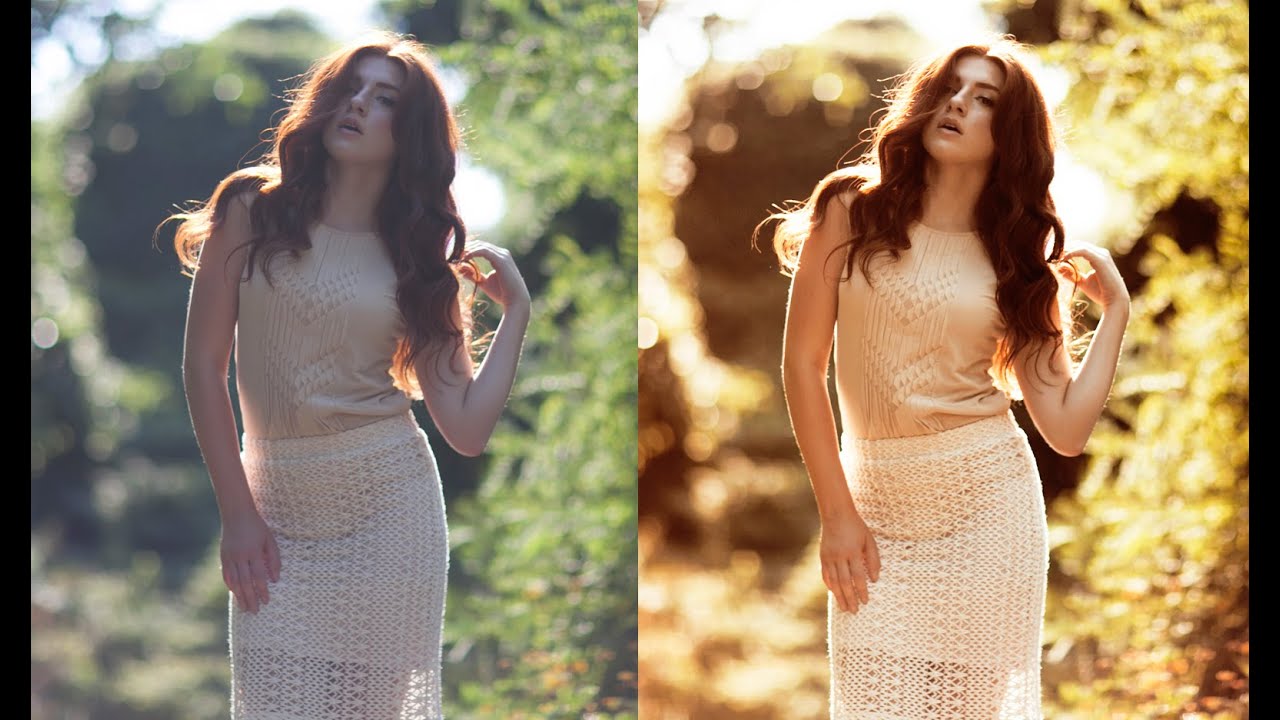
Backlit portraits are one of those shots that look gorgeous straight out of camera but almost always need a push in post to reach their potential. The light is already doing something interesting, and your job as an editor is to lean into that warmth rather than fight it. I’ve spent a lot of time chasing that golden-hour feel inside Lightroom, but sometimes a Photoshop-based approach gives you more control over where the warmth actually lands in the frame.

Lightroom 7.4 Updated Presets and Profiles Management — Here's What Actually Changed

Lightroom 7.4 Updated Presets and Profiles Management — Here's What Actually Changed

My preset panel used to look like a junk drawer. Adobe presets I never touched sitting next to film packs I use every day, next to the black-and-white collection I hadn’t opened in eight months. Every time I went to grab something fast on a deadline, I was scrolling past three folders I didn’t need. It’s a small friction point, but small friction points add up across a hundred-photo edit session.

The Dirty Secret About RAW Files in Photoshop (And Why Your Camera Raw Filter Is Lying to You)

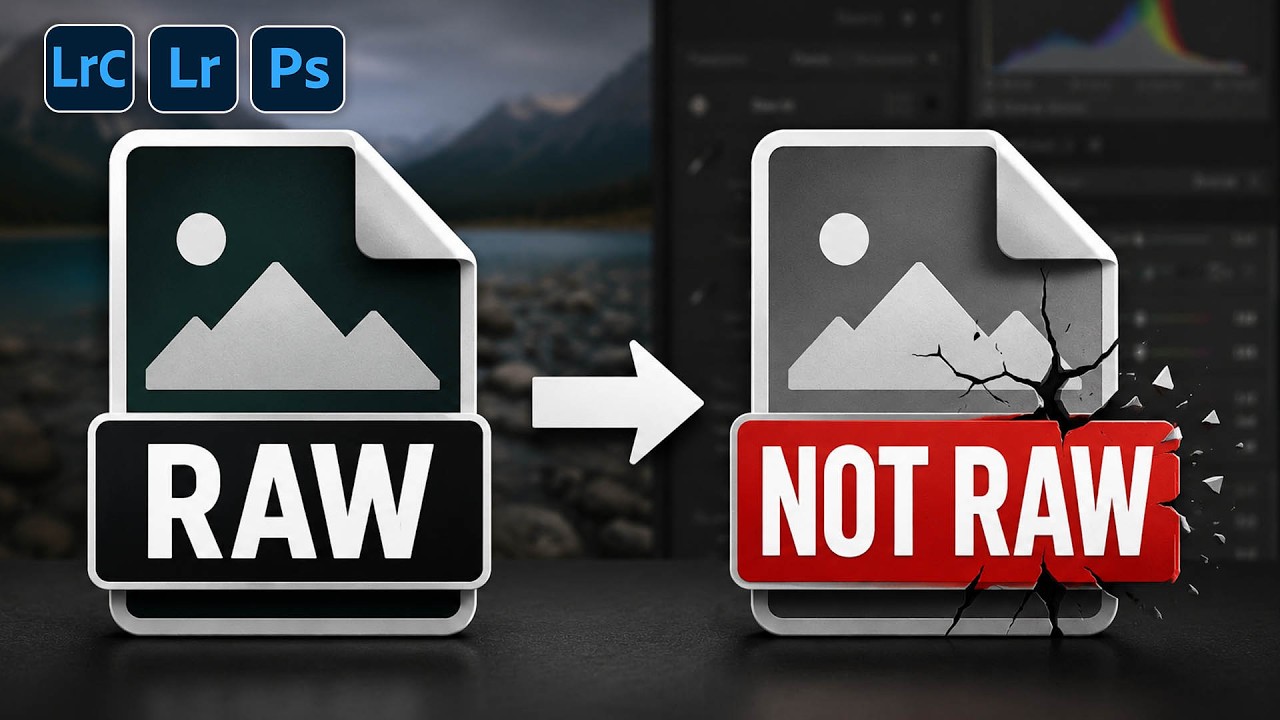
The Dirty Secret About RAW Files in Photoshop (And Why Your Camera Raw Filter Is Lying to You)

There’s a conversation I’ve had more times than I can count, usually in the comments section of a tutorial or in a DM from someone who’s genuinely frustrated. It goes something like this: “I opened my RAW file in Photoshop, used the Camera Raw filter, and the autofocus points feature was grayed out. Is my camera not supported?” The answer isn’t about the camera. It’s about a fundamental misunderstanding of what a RAW file actually is once it crosses the border from Lightroom into Photoshop.

Lightroom's Masking Edge Problem Is Finally Fixed - Here's How to Use the New Controls

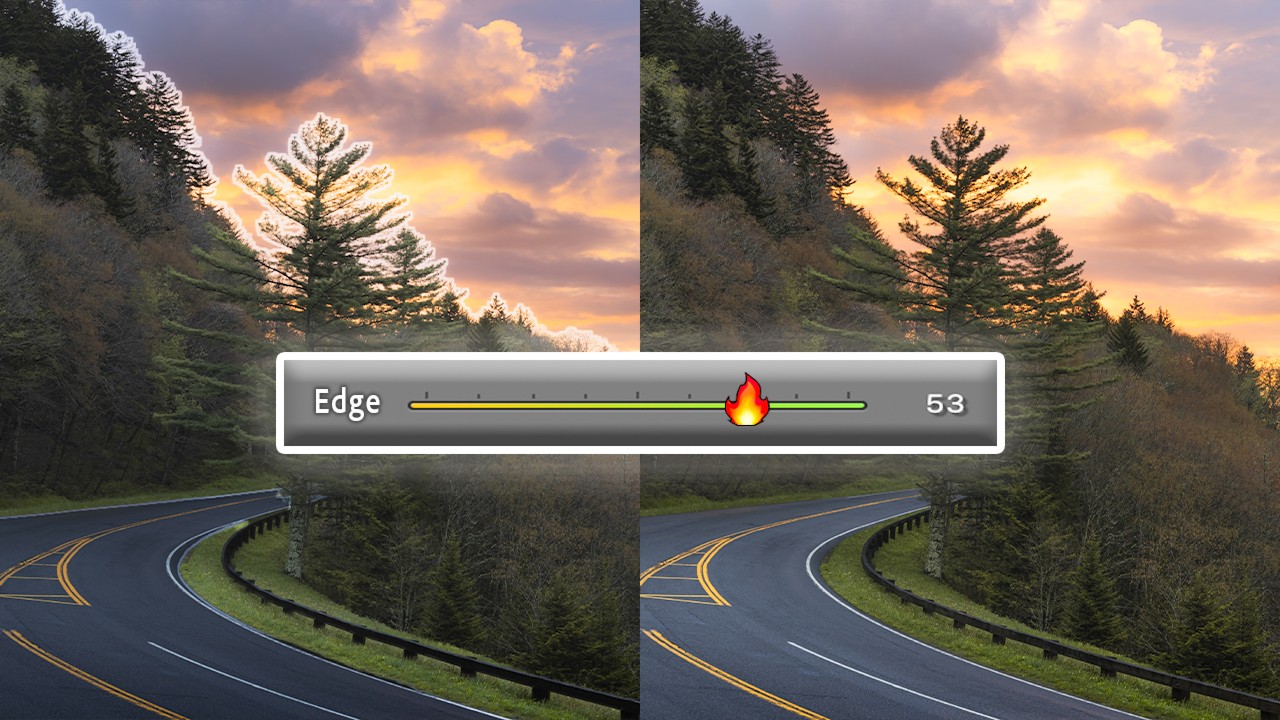
Lightroom's Masking Edge Problem Is Finally Fixed - Here's How to Use the New Controls

If you’ve spent any real time with Lightroom’s AI masking tools, you already know the specific frustration I’m talking about. You select the sky, make a solid exposure adjustment, and then zoom in to find your tree branches have turned into a soft, smeared mess along the mask boundary. Or you get that telltale halo glowing around every edge like the photo is auditioning for a soap opera. The adjustment itself might be perfect, but the edge blowout kills the whole thing.

How to Build Custom Portrait Proof Sheets in Lightroom's Print Module

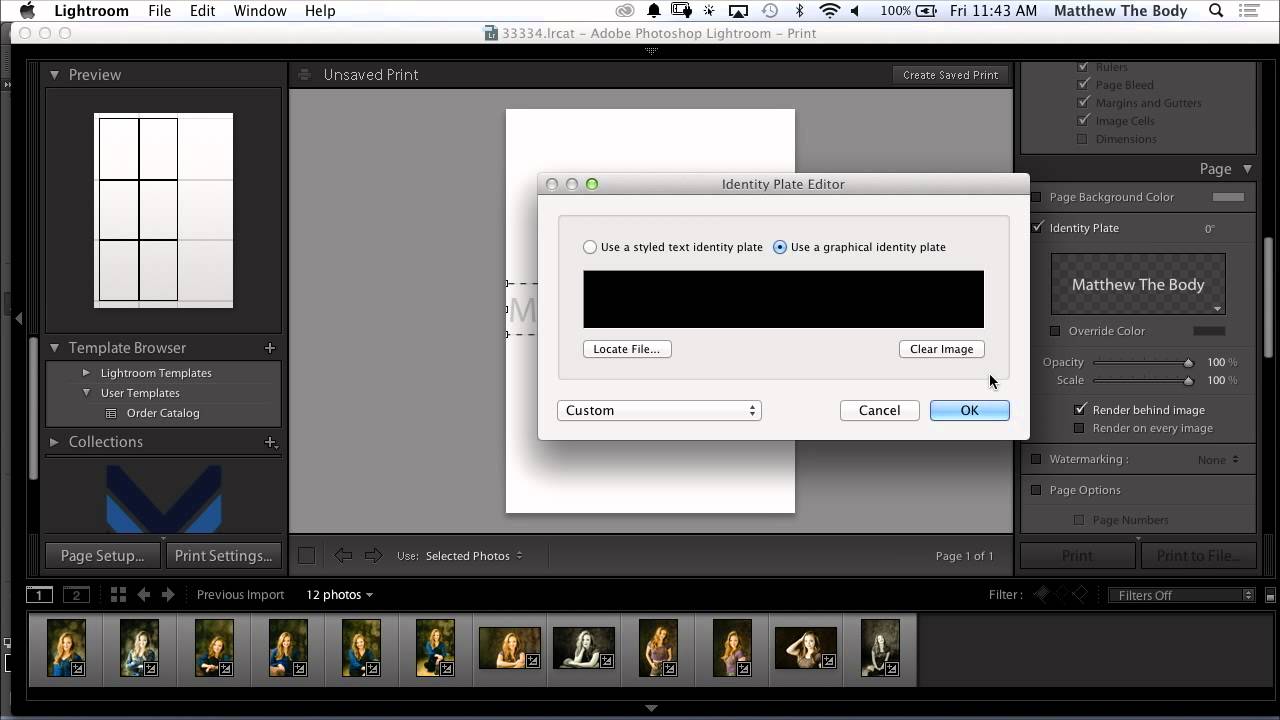
How to Build Custom Portrait Proof Sheets in Lightroom's Print Module

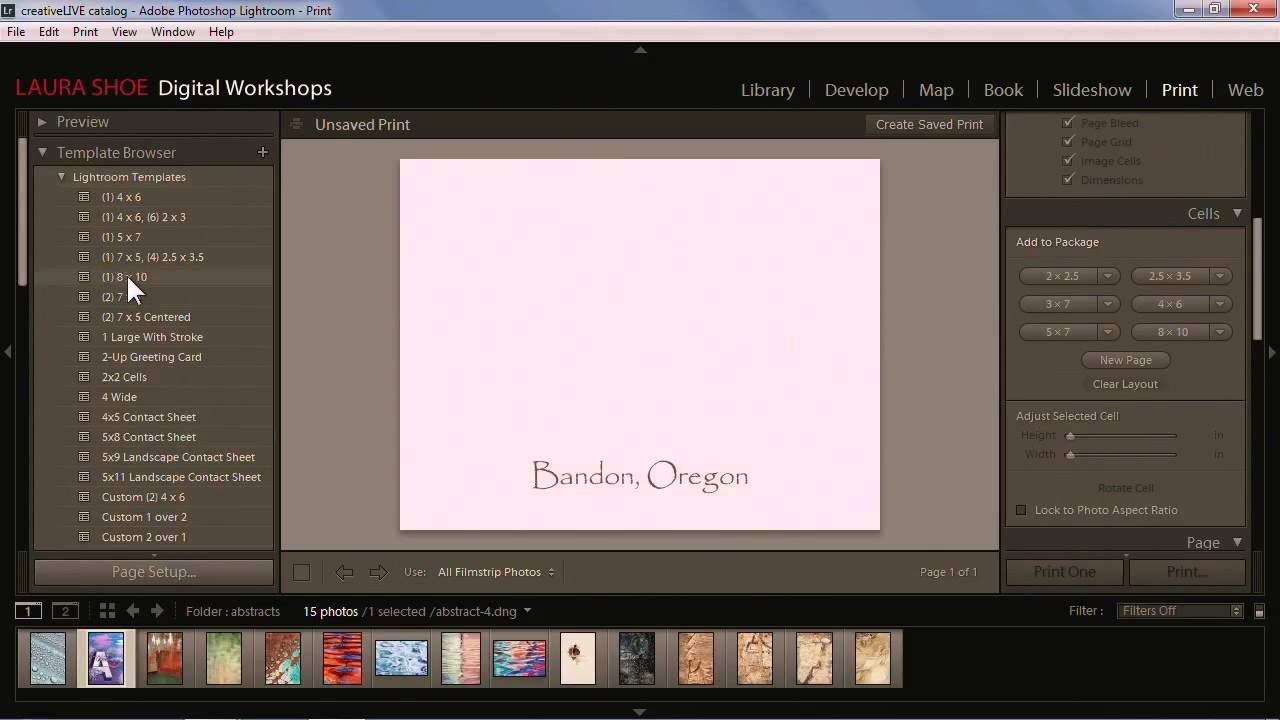
Every photographer I know has a version of the same problem: clients want to see options before committing to a final selection, and sending a folder of 200 JPEGs feels about as professional as handing someone a shoebox of prints. For a long time I was exporting contact sheets from a separate app, which added steps and broke my flow right in the middle of a session. Then I watched this CreativeLive tutorial on customizing portrait proof sheets entirely inside Lightroom, and I realized I’d been ignoring a tool that was sitting in front of me the whole time.

How to Build Custom Lightroom Profiles Using LUTs (And Why It Changes Everything)

How to Build Custom Lightroom Profiles Using LUTs (And Why It Changes Everything)

There’s a specific kind of frustration that comes from applying a preset and watching it fight your image the entire way through the edit. The preset wants to go orange and teal. Your photo wants to stay true to the golden hour light you actually shot in. Something always loses. For a long time, my workaround was building elaborate preset stacks, layering adjustments until I got close to the starting point I wanted.

How to Make Your Woodland Photos Look Like Paintings Using Only Lightroom

How to Make Your Woodland Photos Look Like Paintings Using Only Lightroom

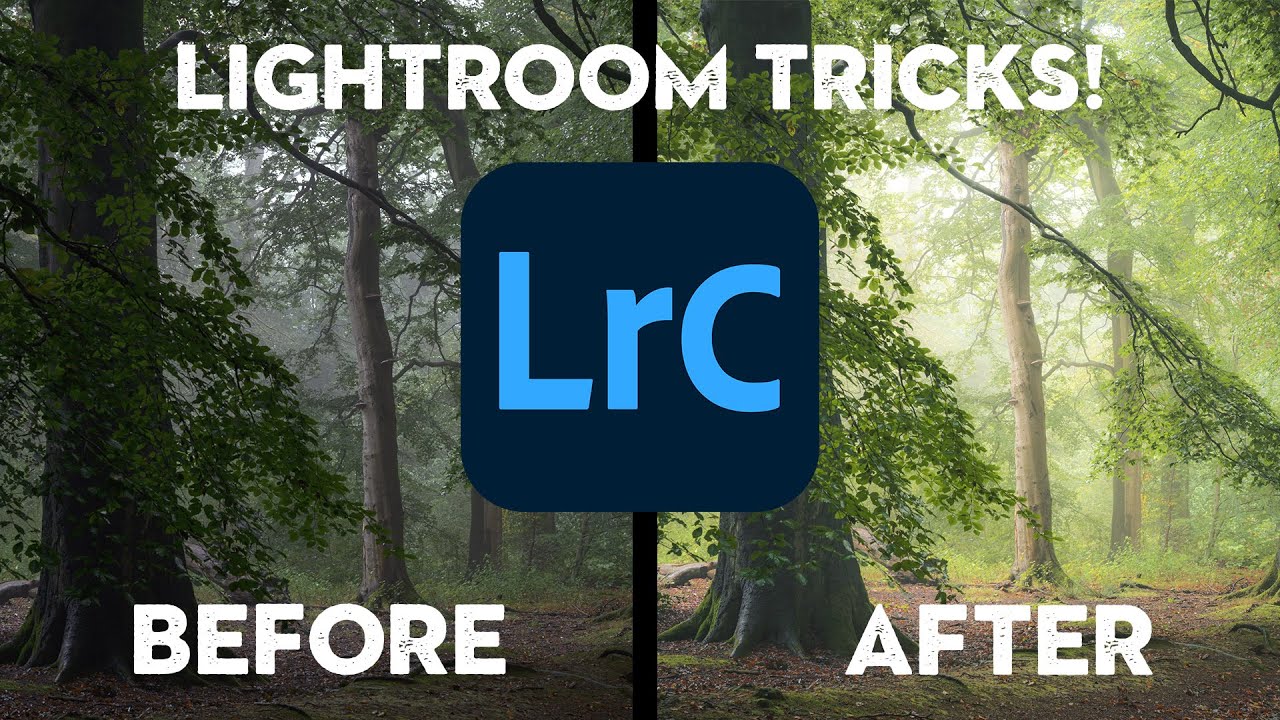
Fog-filled woodland shots are one of those subjects where the camera almost always lies. You’re standing in this genuinely atmospheric scene, the light is doing something magical, and then you pull up the raw file and it looks flat, a little muddy, and about as painterly as a screenshot from Google Maps. I’ve been editing nature photos long enough to know that the gap between what you saw and what the sensor captured is real — and closing that gap is entirely an editing problem.

Stop Doing Noise Reduction One Photo at a Time — Here's the Smarter Lightroom Workflow

Stop Doing Noise Reduction One Photo at a Time — Here's the Smarter Lightroom Workflow

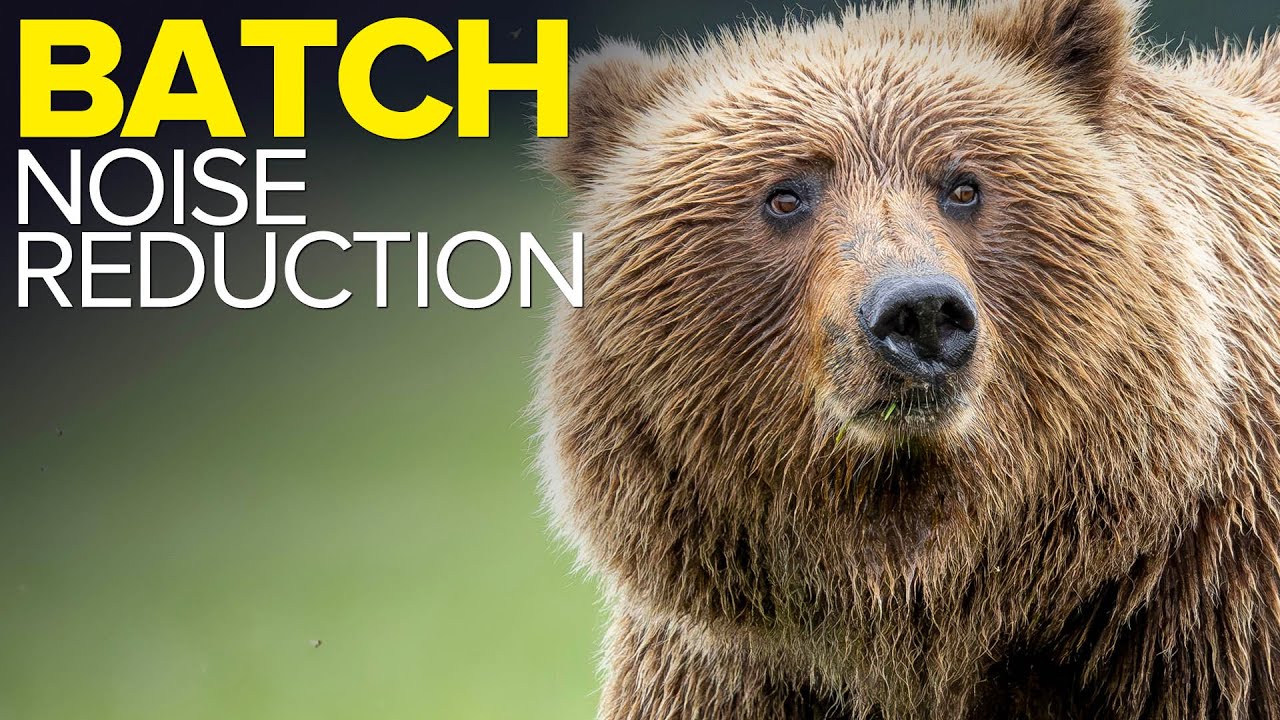
Every time I get back from a shoot in low light, I face the same silent negotiation with myself: do I sit here and run AI Denoise one photo at a time, or do I just hope for the best and export? For a long time I was doing it wrong on both ends, either skipping it entirely or babysitting each file like it owed me money. Then I watched Matt Kloskowski walk through his batch processing workflow after a bear photography trip in Alaska, and something clicked.

From Print to Web to Book: Making Sense of Lightroom's Output Modules

From Print to Web to Book: Making Sense of Lightroom's Output Modules

There’s a moment most Lightroom users hit where editing feels great but actually delivering anything feels like navigating a foreign country without a map. You’ve got a gorgeous, color-graded image sitting in Develop. Now what? Print it? Export it? Build a gallery? The output side of Lightroom is where a lot of people quietly give up and just drag files into a folder. I was doing the same thing for longer than I’d like to admit.

Why Lightroom Feels Sluggish (And the Import Setting That Fixes Most of It)

Why Lightroom Feels Sluggish (And the Import Setting That Fixes Most of It)

There’s a certain irony in spending more time waiting for Lightroom to load a photo than you spent actually taking it. I’ve been there more times than I’d like to admit. Early in my editing career, I chalked slow performance up to some cosmic tax on creative work. Turns out, most of it was self-inflicted. A few wrong settings, an underpowered drive, and a catalog stored in the worst possible location will bring even a capable machine to its knees.