How to Reshape Light in Lightroom When Your Photo Has No Focal Point

How to Reshape Light in Lightroom When Your Photo Has No Focal Point

There’s a specific kind of editing frustration I run into a few times a month. I’m looking at a technically solid photo, good exposure, interesting location, sharp focus, and I feel nothing. The image has no heartbeat. Everything in the frame is fighting for equal attention, which means nothing actually wins. I’ve cropped, I’ve tweaked the tone curve, I’ve gone back to the raw file and started over. Sometimes the problem isn’t the exposure or the colors.

From Raw File to Ready-to-Share: A Complete Lightroom Export Workflow

From Raw File to Ready-to-Share: A Complete Lightroom Export Workflow

There is a specific kind of frustration that hits when you spend an hour editing a photo, finally nail the look, and then export it only to watch it fall apart on screen or come back from the printer looking like a muddy mess. Color shifts, soft details, wrong dimensions. I have been there more times than I want to admit, and it took me a while to realize that exporting is not an afterthought.

Fix Overexposed Backgrounds Without Touching Your Subject in Lightroom

Fix Overexposed Backgrounds Without Touching Your Subject in Lightroom

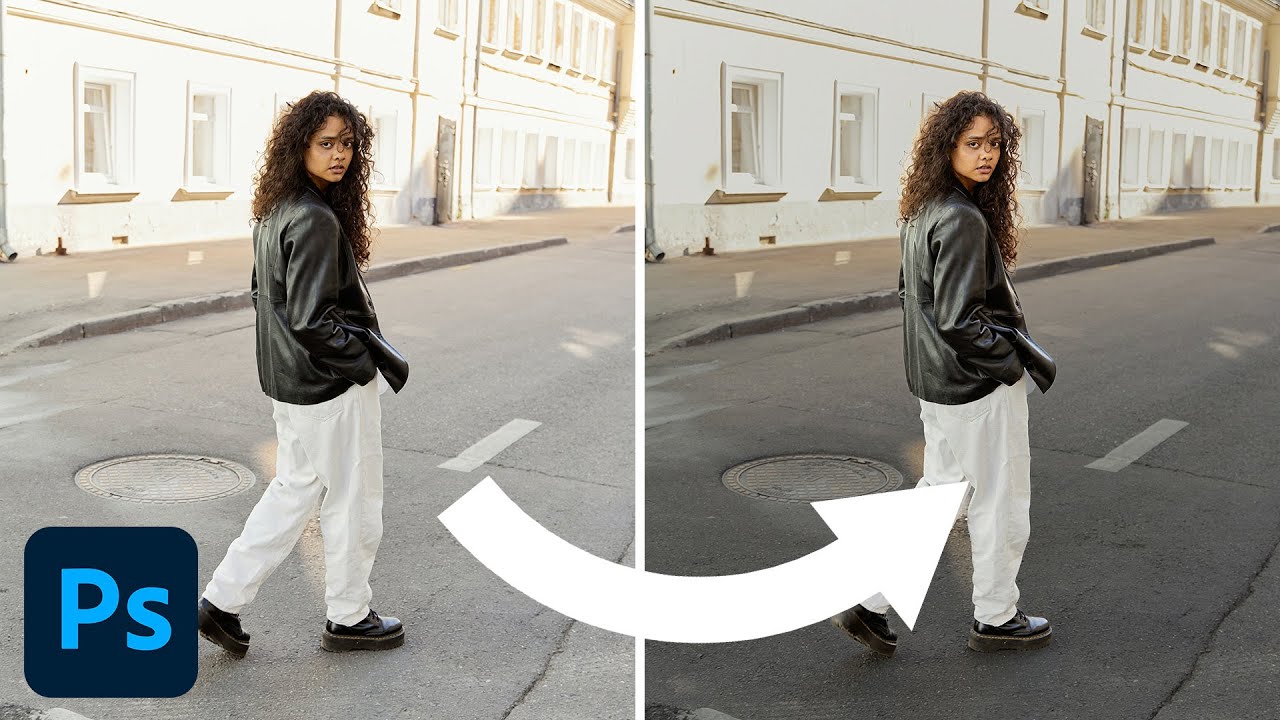
There’s a specific kind of frustration that comes with a photo that’s almost perfect. The subject looks great, the composition is solid, but the background is blown out, and every time you drag the exposure slider down to fix it, your subject goes flat and dark with it. I’ve been there more times than I care to admit. It’s one of those problems that looks like a retouching issue but is really a workflow issue.

Lightroom's June 2022 Update Finally Fixed the Two Things That Drove Me Crazy

Lightroom's June 2022 Update Finally Fixed the Two Things That Drove Me Crazy

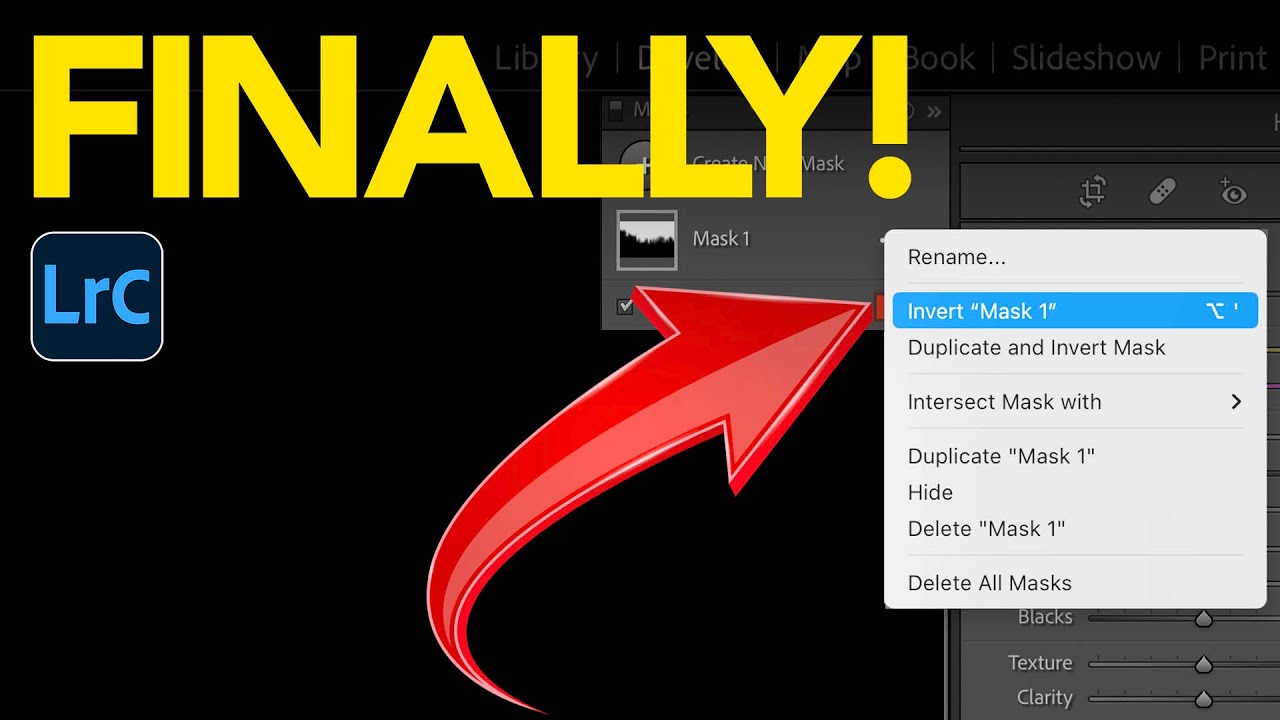
Every few months I open a Lightroom update and feel genuinely relieved. Not excited in a tech-launch way, but relieved, the way you feel when someone finally fixes a squeaky door you’ve been ignoring for a year. The June 2022 release of Lightroom Classic 11.4 hit like that. When Adobe introduced AI masking back in October 2021, I was all in immediately. Select Sky, Select Subject, the whole suite. But two limitations kept tripping me up in real sessions: you couldn’t sync AI masks across multiple photos without losing the mask entirely, and inverting a complex mask to affect the background was clunkier than it needed to be.

Lightroom's Masking Edge Problem Is Finally Fixed - Here's How to Use the New Controls

Lightroom's Masking Edge Problem Is Finally Fixed - Here's How to Use the New Controls

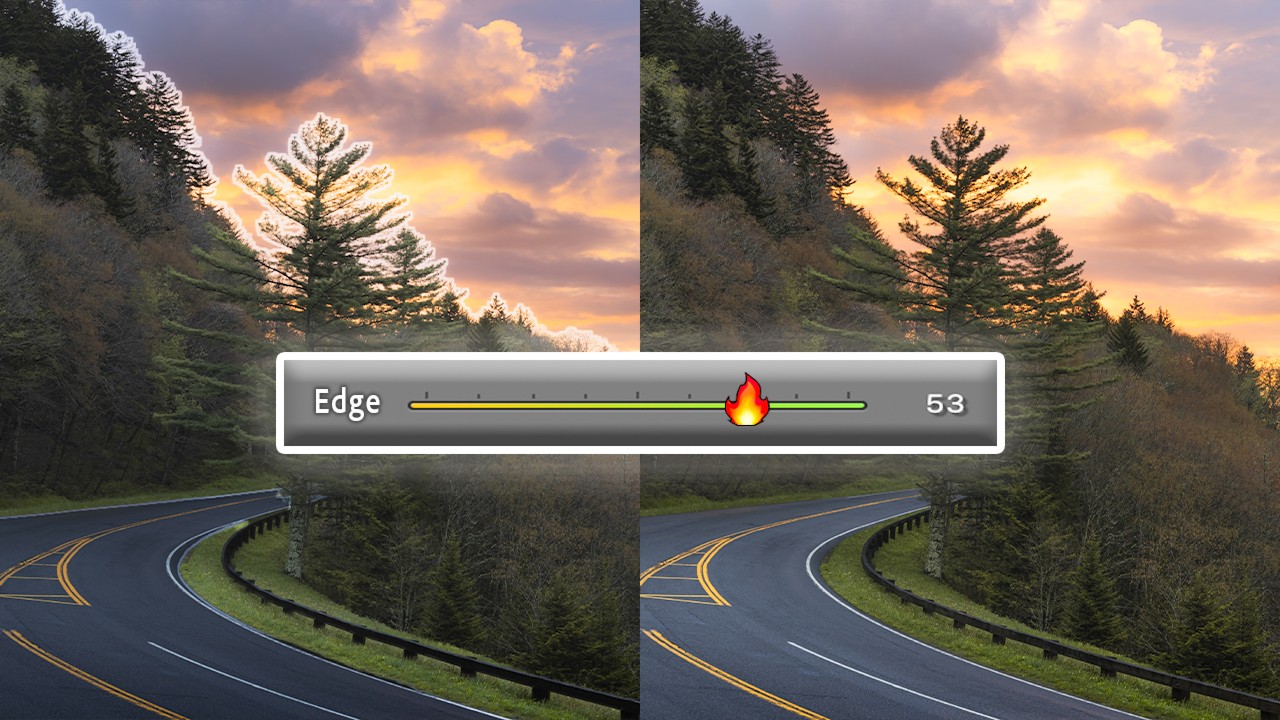
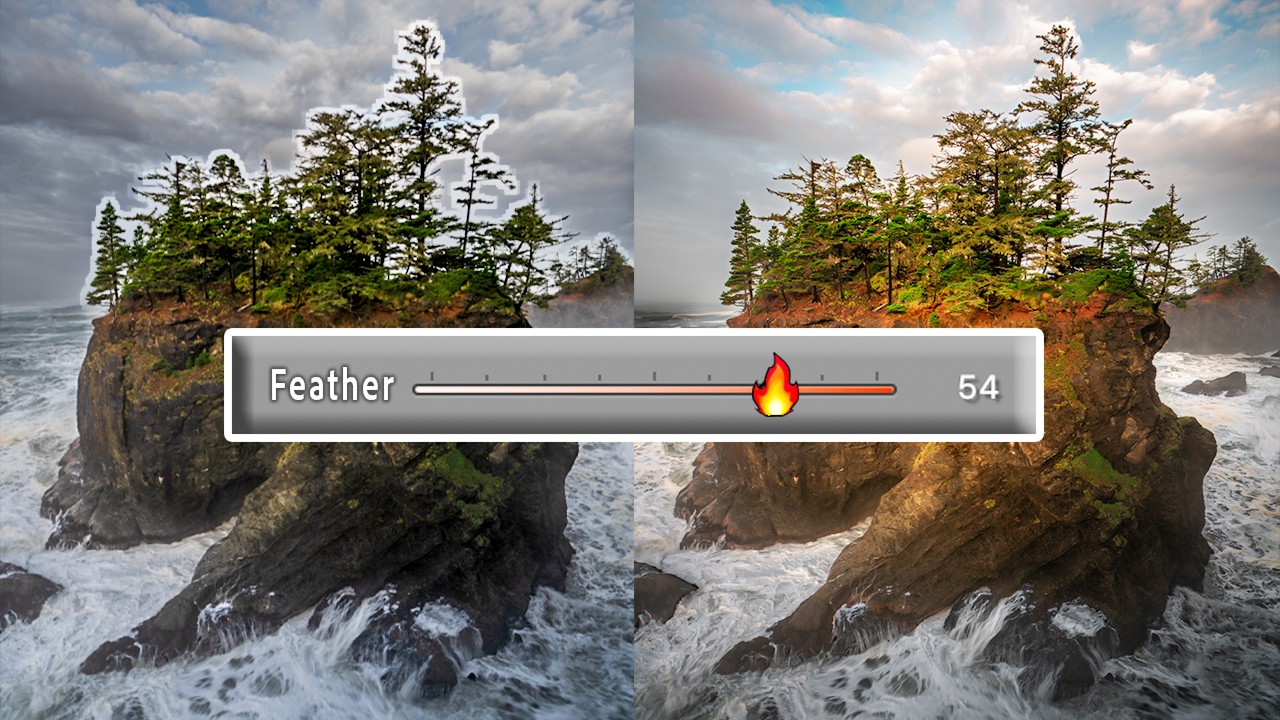
If you’ve spent any real time with Lightroom’s AI masking tools, you already know the specific frustration I’m talking about. You select the sky, make a solid exposure adjustment, and then zoom in to find your tree branches have turned into a soft, smeared mess along the mask boundary. Or you get that telltale halo glowing around every edge like the photo is auditioning for a soap opera. The adjustment itself might be perfect, but the edge blowout kills the whole thing.

The Lightroom Variance Tool Is Quietly Fixing My Worst Sky Photos

The Lightroom Variance Tool Is Quietly Fixing My Worst Sky Photos

There’s a shot I’ve taken probably a hundred times at Radnor Lake. Wide angle, polarizing filter, golden hour. The composition is solid every time. The sky ruins it about half the time. Not because of clouds or blown highlights, but because of that banded, uneven blue you get when you shoot wide with a polarizer. One side of the sky goes deep navy. The other fades to something closer to periwinkle.

Lightroom's New Portrait Masking Tools Are the Biggest Skin-Editing Leap in Years

Lightroom's New Portrait Masking Tools Are the Biggest Skin-Editing Leap in Years

Portrait editing used to be the part of my workflow I’d put on in the background while I went to make coffee. Click a few sliders, dodge some shadows under the eyes, call it done. But client expectations have shifted, and lately I’ve been getting asked to deliver retouching that would have taken me into Photoshop two years ago. So when Adobe dropped the October 2022 update to Lightroom Classic, I needed to know exactly what was new and whether any of it would actually save me time on a real session.

Lightroom 12.3 Just Changed How I Handle Noise and Masking — Here's What You Need to Know

Lightroom 12.3 Just Changed How I Handle Noise and Masking — Here's What You Need to Know

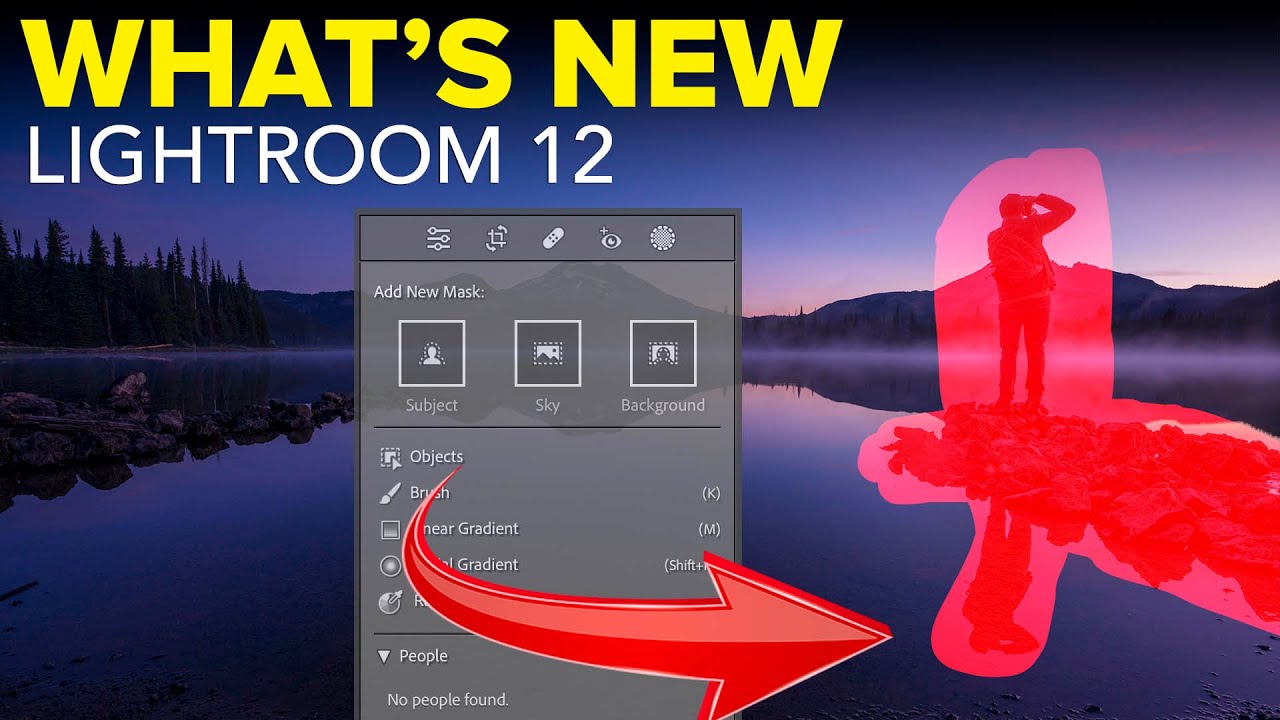
Every few months Adobe drops an update that makes me reconsider a chunk of my workflow. Most of the time it’s incremental, a slider moved, a panel reorganized. But the April 2023 release of Lightroom Classic 12.3 landed differently. It touched two areas I deal with constantly: noise reduction and masking. And in both cases, the changes weren’t cosmetic. In this Matt Kloskowski tutorial, he walks through the new Denoise button and the expanded masking options that shipped with version 12.

The Adjustment Brush Shortcut That Saves Me From Toggling Auto Mask Every 30 Seconds

The Adjustment Brush Shortcut That Saves Me From Toggling Auto Mask Every 30 Seconds

There’s a specific kind of editing frustration that I’ve felt probably a thousand times. You’re painting a local adjustment across a large area of a photo, moving fast, and then you hit an edge. Maybe it’s the rim of a coffee cup, the shoulder of a jacket, a hard line between sky and building. Suddenly you have two bad options: slow everything down by turning on Auto Mask and deal with the lag, or keep painting fast and accept that you’ll bleed color or exposure onto something you didn’t want to touch.

From Flat RAW to Finished Landscape: A Full Lightroom-to-Photoshop Workflow Breakdown

From Flat RAW to Finished Landscape: A Full Lightroom-to-Photoshop Workflow Breakdown

There’s a specific kind of editing problem that used to eat my lunch every time: a landscape shot where the sky is blowing out, the foreground is too dark, but the foreground also has bright spots that make a single global exposure adjustment completely useless. You bring the sky down and the boats (or rocks, or buildings) go muddy. You lift the shadows and the sky turns white. Classic trap. I’ve been editing landscape photos for years and this balancing act still requires a real strategy, not just a drag of the Exposure slider.

Lightroom's Quietly Dropped Two Masking Features That Change Everything About Local Adjustments

Lightroom's Quietly Dropped Two Masking Features That Change Everything About Local Adjustments

Color grading has always felt like one of those tools that’s 90% of the way there. The ability to push your highlights toward gold, nudge your shadows into teal, or breathe some cinematic warmth into your midtones is genuinely powerful. I use it on almost every landscape and portrait edit I touch. But for years, there’s been this maddening ceiling on what it can do: color grading applies globally, across the entire image, based on tonal values alone.

Masking Tools in Lightroom: The Secret Weapon for Surgical Color Grading

Masking Tools in Lightroom: The Secret Weapon for Surgical Color Grading

Masking Tools in Lightroom: The Secret Weapon for Surgical Color Grading I remember the moment masking clicked for me. I was editing a portrait where the skin looked perfect but the background was blown out and lifeless. I used to just accept that trade-off—nail one element, compromise another. Then I discovered Lightroom’s masking tools, and suddenly I could treat different parts of my image like they deserved their own color grade.