Lightroom Classic 7.5 Just Fixed Three Things That Were Driving Me Crazy

Lightroom Classic 7.5 Just Fixed Three Things That Were Driving Me Crazy

Every time Adobe drops a Lightroom update, I do the same thing. I open the release notes, skim past the “performance improvements,” and hunt for anything that actually changes how I work. Most updates are quiet. Version 7.5, which Adobe pushed out in the third week of August 2018, is not one of those quiet updates. It’s got three specific changes that solve problems I’ve been working around for months.
Why Your Lightroom Presets Look Nothing Like the Preview (And How to Fix That)

Why Your Lightroom Presets Look Nothing Like the Preview (And How to Fix That)

I’ve watched the same thing happen to photographers at every skill level. They buy a preset pack, drop one onto a photo, and the result looks like a completely different product than the thumbnail they paid for. The highlights are blown. The colors are muddy. The mood that sold them on the purchase is nowhere. So they blame the presets, delete the pack, and go back to editing from scratch. Nine times out of ten, the presets weren’t the problem.

Night Sky Editing Tricks From a Pro: Dehaze, Luminosity Masks, and Reusable Selections

Night Sky Editing Tricks From a Pro: Dehaze, Luminosity Masks, and Reusable Selections

Night photography editing has a way of humbling you fast. You nail the exposure, you get home, you open Lightroom, and suddenly that brilliant Milky Way you saw with your own eyes looks like a faint smudge above some rocks. I’ve been there more times than I want to admit. The gap between what the camera captures and what the eye actually sees is widest at night, which means your editing has to work harder to close it.

Fall Color Editing Is Harder Than It Looks — Here's How to Actually Get It Right

Fall Color Editing Is Harder Than It Looks — Here's How to Actually Get It Right

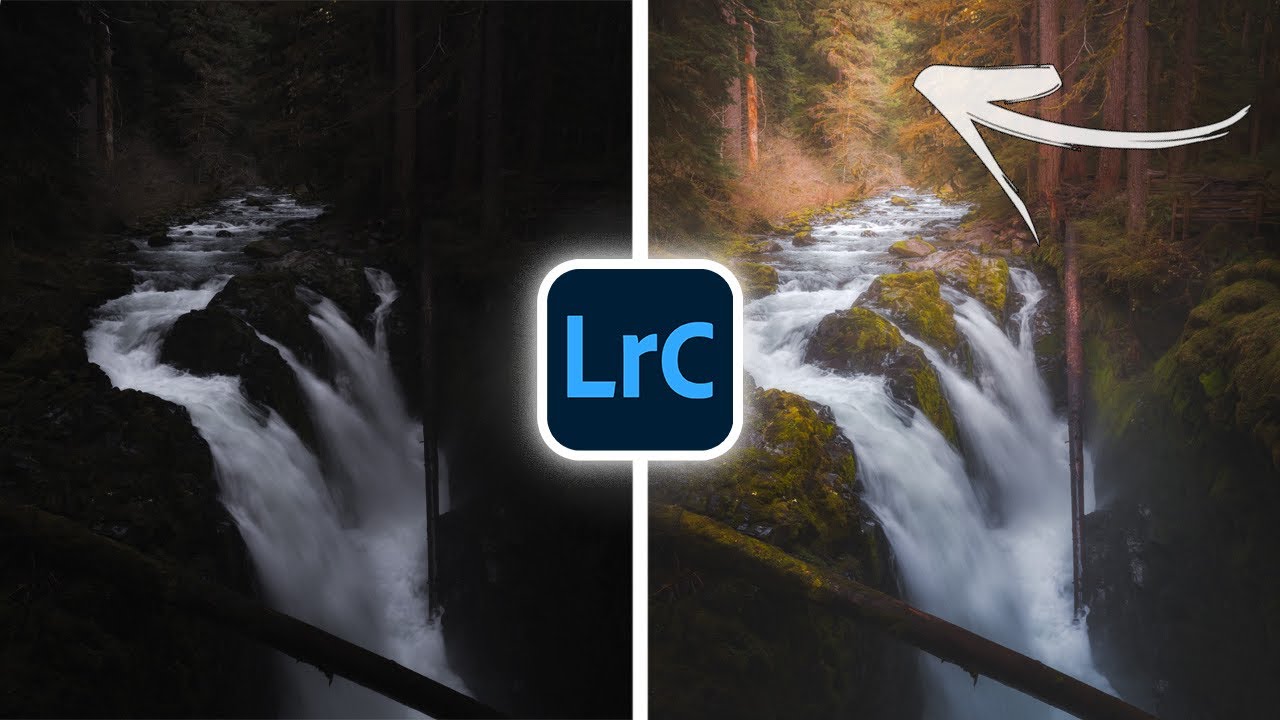
Every October I tell myself I’m going to nail the fall color edit this year. And every October I open Lightroom, drag the Vibrance slider up until the leaves look radioactive, and quietly close the file. The problem isn’t effort — it’s that fall color is deceptively tricky. The range of hues shifts dramatically depending on where you live and whether you’re shooting in direct sun or open shade, which means there’s no single slider that solves it for everyone.

Lightroom Isn't Just for Editing — Here's How I Use It to Wrangle and Rename Entire Photo Sets

Lightroom Isn't Just for Editing — Here's How I Use It to Wrangle and Rename Entire Photo Sets

Most photographers treat Lightroom like a one-trick pony. Import, edit, export. Repeat. But I’ve found that some of its most useful features have nothing to do with curves, color grading, or any of the things we usually talk about on this site. I use Lightroom as a full file management hub, and honestly, if I lost access to every other feature tomorrow, the batch rename tool alone would keep me subscribed.

A Beginner's Lightroom Workflow That Actually Sticks: Breaking Down Mark Denney's 7-Step Method

A Beginner's Lightroom Workflow That Actually Sticks: Breaking Down Mark Denney's 7-Step Method

There’s a specific kind of paralysis that hits when you open a raw file and stare at Lightroom’s right panel. Every slider is an option. Every option feels equally valid or equally wrong. I remember that feeling vividly from when I was first teaching myself the software, back when I was editing band press shots in a one-bedroom apartment because nobody else was going to do it. The problem wasn’t effort.

Stop Drowning in Photos: How to Cull Your Lightroom Catalog Like a Pro

Stop Drowning in Photos: How to Cull Your Lightroom Catalog Like a Pro

Coming back from a shoot with 800 raw files is one of those problems that sounds like a good problem until you’re actually sitting in front of it at 11pm. I used to just start from the top and delete anything obviously bad, which meant I spent most of my energy on the garbage instead of the gold. It wasn’t until I started treating culling as its own deliberate phase of the workflow, completely separate from editing, that my output quality actually improved.

Build a Photo Mosaic From Scratch Using Lightroom and Photoshop

Build a Photo Mosaic From Scratch Using Lightroom and Photoshop

Every few months I get a message that starts with something like: “I have 200 employee headshots and I want to do something interesting with them.” I used to have no good answer for that. A slideshow felt lazy. A contact sheet felt clinical. But a photo mosaic - a single image built from dozens or hundreds of smaller photos - that actually makes people stop scrolling. This technique landed on my radar through Aaron Nace’s tutorial over at PHLEARN, and I want to walk you through what he covers because the workflow is genuinely clever.

Your Phone Is a Darkroom: How to Actually Edit in Lightroom Mobile Without Losing Your Mind

Your Phone Is a Darkroom: How to Actually Edit in Lightroom Mobile Without Losing Your Mind

Last spring I was sitting in a green room in East Nashville, forty minutes before a show, with sixty raw files from a shoot that needed to be delivered by morning. My laptop was at home. My phone was in my pocket. And Lightroom Mobile, which I’d been treating like a toy for two years, suddenly needed to be my entire post-production pipeline. It worked. Not because mobile editing is magic, but because I finally understood what the app is actually built to do.

The Lightroom Trick That Finally Made My Photos Look Three-Dimensional

The Lightroom Trick That Finally Made My Photos Look Three-Dimensional

Every flat photo I’ve ever hated had the same problem. Not bad light, not bad composition. The image just looked like a photograph of a scene instead of a window into one. That two-dimensional wall between the viewer and the subject is one of the most frustrating things to diagnose when you’re learning to edit, because the fix isn’t obvious. You can push sliders all day and still miss it.

Your Highlights Are Blown Out — Here's How to Fix It in Lightroom's Basic Panel

Your Highlights Are Blown Out — Here's How to Fix It in Lightroom's Basic Panel

Every time I hand off a gallery to a client, somebody’s arm is too bright. It doesn’t matter how careful I am on location — the highlights blow out, the frilly dress turns into a white rectangle, and suddenly I’m the photographer who didn’t know how to expose properly. I’ve been editing long enough to know this isn’t really an exposure problem. It’s a recovery problem, and Lightroom’s Basic panel is where you fix it.

Stop Losing Your Best Shots: How Nigel Danson's Lightroom Folder System Actually Works

Stop Losing Your Best Shots: How Nigel Danson's Lightroom Folder System Actually Works

There’s a specific kind of dread that hits when a client asks you to find “that misty lake shot from a couple years back” and you realize your Lightroom catalog is basically a digital junk drawer. I’ve been there. Folders named “new folder (3)” and dates that made sense at the time but mean nothing now. The whole catalog becomes a place you avoid instead of a tool you trust.