Lightroom 2025's Generative Remove Tool Just Made My Retouching Workflow Embarrassingly Fast

Lightroom 2025's Generative Remove Tool Just Made My Retouching Workflow Embarrassingly Fast

Every fall I do the same thing. Adobe drops its annual updates, I spend a Saturday going through the changelogs, and I try to figure out which features will actually change how I work versus which ones will quietly collect dust in a menu I never open. This year’s releases, Lightroom Classic version 14 and Lightroom Desktop version 8, landed with a few genuinely useful upgrades. The one I want to walk through here is the one I’ve already used more in two weeks than I used the old version in two years: the overhauled Generative Remove tool.

Lightroom Tips I Wish I'd Known in Year One (Peter McKinnon's 10-Tip Breakdown)

Lightroom Tips I Wish I'd Known in Year One (Peter McKinnon's 10-Tip Breakdown)

There’s a specific kind of frustration that comes from using a tool every day and slowly realizing you’ve been ignoring half of it. I came to Lightroom the hard way. Our band needed press shots, nobody wanted to pay a photographer, and I ended up being the guy who figured out post-processing by necessity. For years, I was dragging sliders around with no system, no shortcuts, and no real understanding of what the software could actually do.

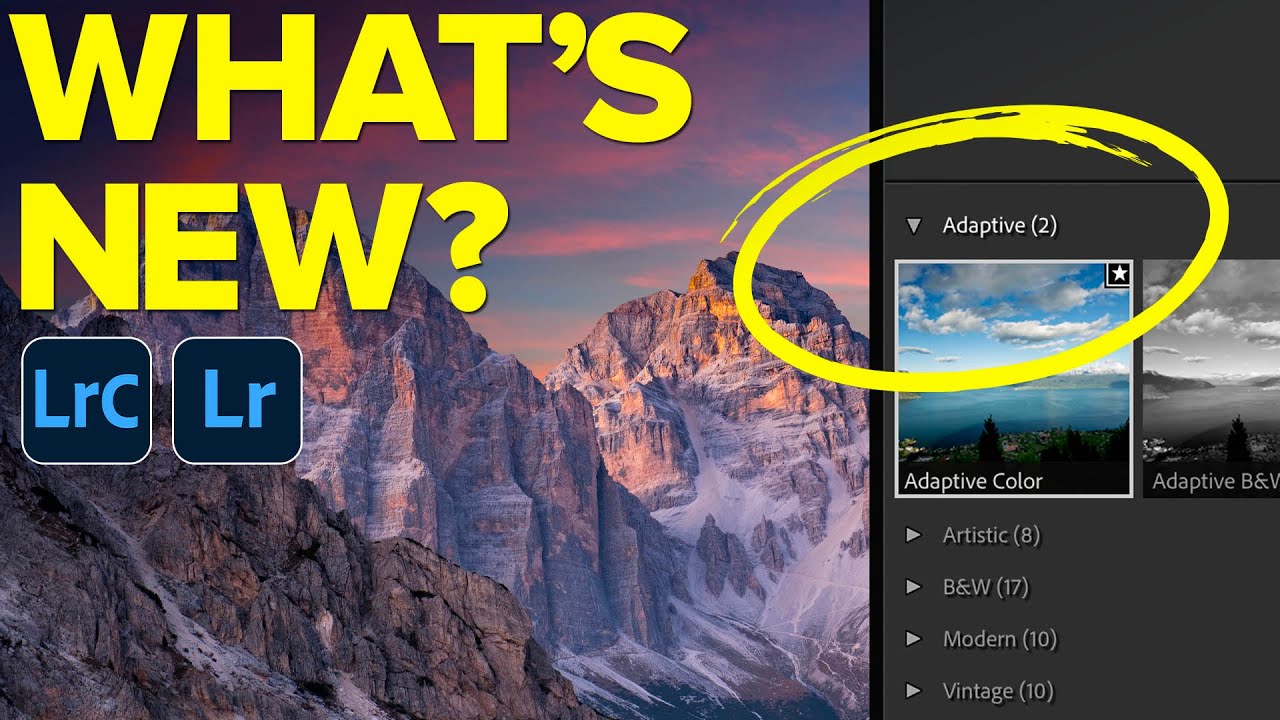
Adobe Finally Did It: Adaptive Presets, AI Noise Reduction, and Preset Intensity Are Here

Adobe Finally Did It: Adaptive Presets, AI Noise Reduction, and Preset Intensity Are Here

Every few months, Adobe drops an update and I spend an embarrassing amount of time testing it before I actually sit down to edit anything. This latest round of changes to both Lightroom and Lightroom Classic is different, though. These are not UI tweaks or subscription upsells dressed up as features. These are tools that solve problems I run into on real editing sessions, the kind where I’m trying to separate a subject from a background without spending twenty minutes painting masks by hand.

Lightroom Classic 10.3: The June 2021 Update Features You Actually Need to Know

Lightroom Classic 10.3: The June 2021 Update Features You Actually Need to Know

Every few months Adobe drops a Lightroom Classic update and I do the same thing: skim the release notes, feel mildly confused, and then go looking for someone who actually tested the new features in a real workflow. For the June 2021 update, version 10.3, that someone was Matt Kloskowski. His breakdown cuts straight to what changed and why it matters, which is exactly the kind of tutorial I can actually use between sessions.

One Edit, Every Photo: How to Batch Process in Lightroom Classic Like a Pro

One Edit, Every Photo: How to Batch Process in Lightroom Classic Like a Pro

There’s a specific kind of dread that hits when you load 300 photos from an event shoot and realize your white balance was slightly off the entire time. Not catastrophically wrong, just… off. Warm enough to look like a mistake, not warm enough to look intentional. I’ve been there more times than I’d like to admit, and early on I fixed it the worst possible way: one image at a time.

Lightroom Classic Is Here: Speed Upgrades and Range Masks That Actually Change How You Edit

Lightroom Classic Is Here: Speed Upgrades and Range Masks That Actually Change How You Edit

There’s a specific kind of frustration that every working photographer knows. You come back from a shoot with 800 RAW files, you sit down to cull, and Lightroom moves like it’s running on dial-up. Every right-arrow keypress feels like a small act of patience. I used to put on a full record side just to get through the culling process without losing my mind. So when Adobe pushed significant speed improvements in October 2017 alongside a structural name change and a genuinely useful new masking tool, I paid attention.

Black & White Done Right: A Lightroom Classic Workflow That Actually Makes You Think in Monochrome

Black & White Done Right: A Lightroom Classic Workflow That Actually Makes You Think in Monochrome

Most of my black and white conversions used to follow the same lazy pattern: desaturate, push the contrast, call it done. They looked fine. Fine is the enemy of interesting. What I was missing wasn’t effort, it was a smarter starting point, specifically, using Lightroom’s B&W creative profiles as a foundation rather than an afterthought. Watch the full tutorial on YouTube In this Scott Kelby tutorial, he works through a Venice street scene that, by his own admission, isn’t a trophy shot.

Lightroom's New Lens Blur Panel Is the Background Blur Feature We've Been Waiting For (Sort Of)

Lightroom's New Lens Blur Panel Is the Background Blur Feature We've Been Waiting For (Sort Of)

Every few months I get the same DM from someone who just discovered Lightroom: “Can I blur the background without going into Photoshop?” For years, my honest answer was no. You could drag Texture and Clarity into the negatives and get something that looked like a photo taken through a shower door, but nothing that actually simulated a shallow depth of field. That was always a round-trip-to-Photoshop situation. The October 2023 update to Lightroom Classic changes that answer, at least partially.

Lightroom's Book Module Just Got a Lot Less Annoying — Here's What's New

Lightroom's Book Module Just Got a Lot Less Annoying — Here's What's New

Photo books have always been one of those Lightroom features I wanted to love but kept abandoning halfway through. The cell-based layout system felt like it was designed by someone who had never actually tried to build a visually interesting spread under deadline pressure. I’d drag a cell, watch it snap somewhere useless, try to nudge it, and eventually just export everything to InDesign and move on with my life.

Selective Hue Adjustment in Lightroom Classic: The Feature Editors Have Been Begging For

Selective Hue Adjustment in Lightroom Classic: The Feature Editors Have Been Begging For

There’s a specific kind of frustration that every Lightroom editor knows. You’ve got a portrait where the background is a warm, muddy green and you want it cooler. Or you shot golden hour and the highlights went a little too orange on someone’s skin. You open the HSL panel, drag the hue slider, and watch the color shift everywhere at once, including in places you absolutely didn’t want it to touch.

From Flat to Film: Scott Kelby's Black & White Lightroom Workflow (And What I Added to It)

From Flat to Film: Scott Kelby's Black & White Lightroom Workflow (And What I Added to It)

Most of my black and white conversions used to live in a frustrating middle ground. Not bad enough to delete, not good enough to post. I’d desaturate, bump contrast, call it done. The results looked like a color photo that had given up rather than a deliberate black and white image. It wasn’t until I started paying closer attention to the Profile Browser in Lightroom Classic that things clicked, and this Scott Kelby tutorial on black and white conversion is the clearest breakdown I’ve seen of exactly how to use it.

Lightroom Classic 15.4 Just Made Managing Your Photo Library Way Less Painful

Lightroom Classic 15.4 Just Made Managing Your Photo Library Way Less Painful

Lightroom Classic 15.4 Just Made Managing Your Photo Library Way Less Painful I’ve been organizing photo libraries long enough to know that every photographer faces the same nightmare: thousands of images, multiple versions of the same shot, and no clear way to tell them apart. It’s like having a massive closet full of nearly-identical outfits and no idea which ones to keep. Well, Adobe just threw us a lifeline with Lightroom Classic 15.