Why Your Colors Look Dull After Editing (And the Lightroom Workflow That Actually Fixes It)

Why Your Colors Look Dull After Editing (And the Lightroom Workflow That Actually Fixes It)

There’s a photo sitting in my Lightroom catalog from about six years ago that I genuinely cannot look at without cringing. It was a band press shot, natural light, golden hour, the whole thing. And I absolutely destroyed it. I pushed the saturation to somewhere around +60, dragged the vibrance up to match, and called it “edited.” The sky turned a color I can only describe as radioactive mango. The guitarist’s skin looked like he’d spent a month on the surface of Mars.
Simple Lightroom Edits That Actually Move the Needle (Breaking Down a Nigel Danson Workflow)

Simple Lightroom Edits That Actually Move the Needle (Breaking Down a Nigel Danson Workflow)

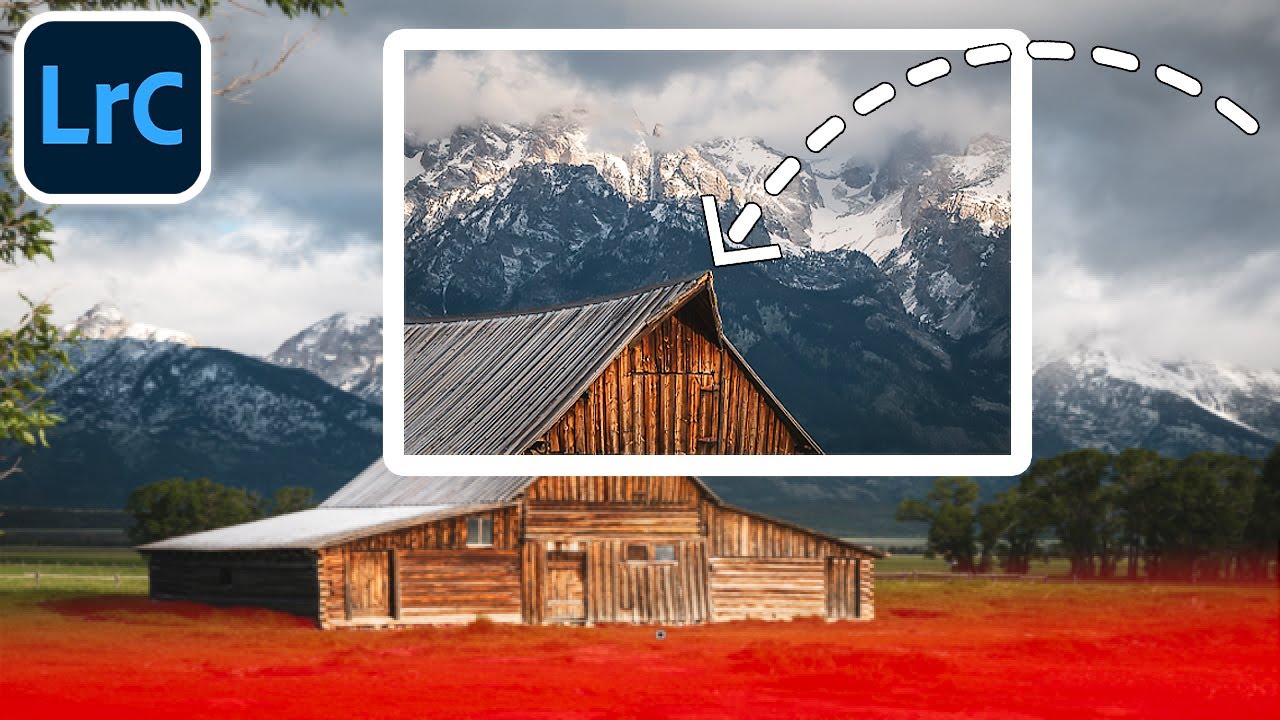
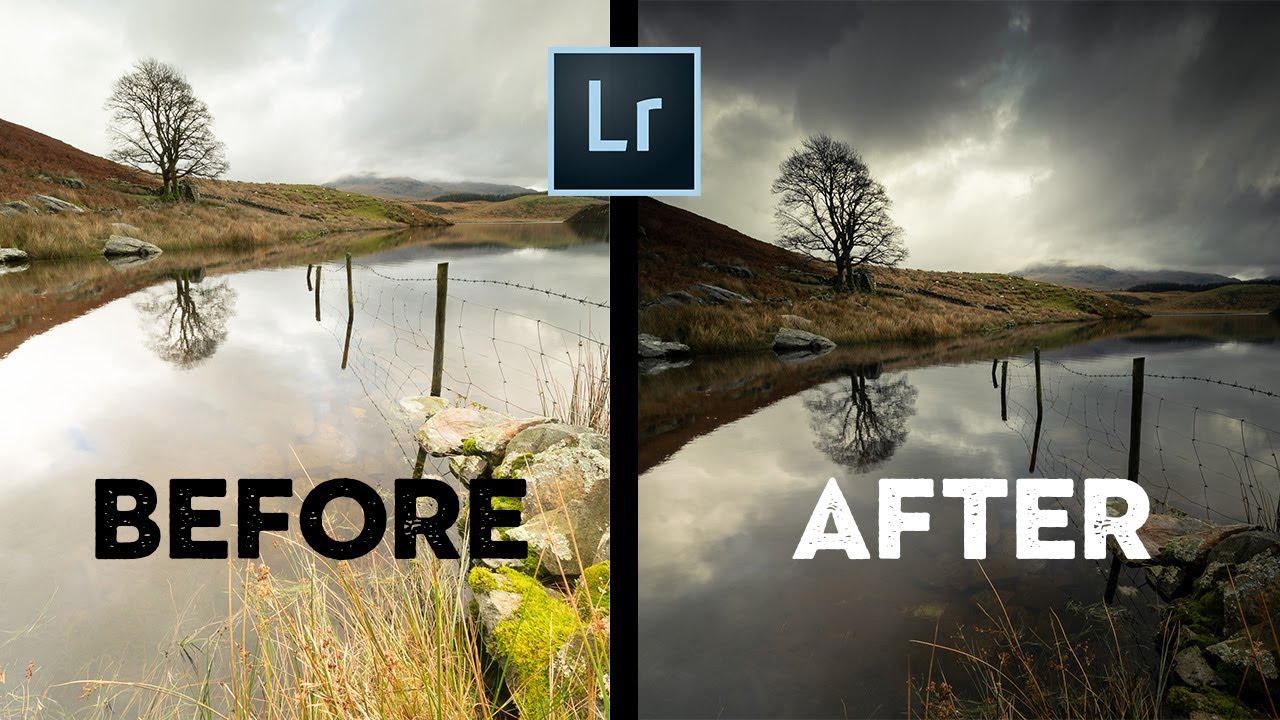
There’s a version of Lightroom editing where you open a raw file, spend 45 minutes pushing sliders around, and end up with something that looks worse than when you started. I lived in that version for longer than I’d like to admit. What changed things for me was watching editors who had a clear sequence - people who knew what they were fixing and why before they touched a single control.

HDR Panoramas in Lightroom: The Bracketing Workflow That Actually Holds Up

HDR Panoramas in Lightroom: The Bracketing Workflow That Actually Holds Up

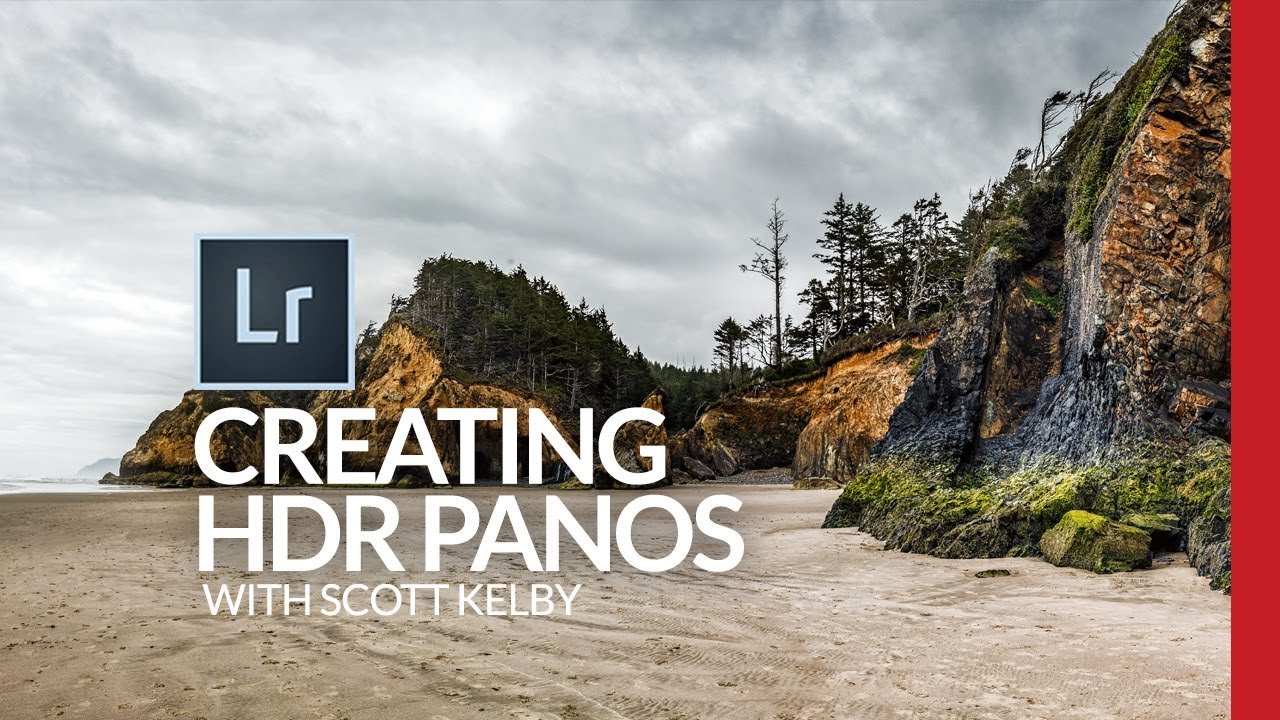
Landscape photographers talk about golden hour like it’s a guaranteed ticket to a great shot. It isn’t. The real problem with dramatic outdoor scenes isn’t the light itself, it’s the dynamic range. Bright skies, dark shadows, and everything in between crammed into a single frame that your sensor simply cannot capture in one exposure. HDR helps. Panoramas help. Combining them into a single HDR panorama? That’s where things get genuinely powerful.

Stop Sharpening Everything: The Selective Sharpening Technique That Actually Works in Lightroom

Stop Sharpening Everything: The Selective Sharpening Technique That Actually Works in Lightroom

Every few months I’ll open a photo I was excited about in the field and feel that quiet disappointment when it just looks… soft. Not out-of-focus soft, but lacking that punch I saw with my own eyes when I pressed the shutter. For years I did what most photographers do: cranked the Sharpening slider in the Detail panel, dragged the Masking slider while holding Option, called it a day. The photo got sharper, technically.

How to Edit Eyes in Lightroom Without Making Your Subject Look Like a Horror Movie Villain

How to Edit Eyes in Lightroom Without Making Your Subject Look Like a Horror Movie Villain

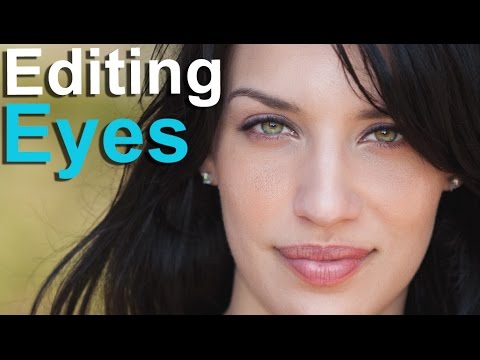
Portrait retouching has a reputation problem. Half the tutorials out there push you toward results that look less “professional headshot” and more “uncanny valley catalog model.” Eyes are where this goes wrong fastest. Over-sharpen the iris, blow out the whites, crank the saturation, and suddenly your subject looks like they belong in a supernatural thriller rather than a family album or a client deliverable. I’ve been editing portraits in Lightroom long enough to know that restraint is the actual skill.

Lightroom 9's Best New Features (And the One I Actually Use Every Week)

Lightroom 9's Best New Features (And the One I Actually Use Every Week)

There’s a specific kind of frustration that comes from stitching a panorama, getting the exposure perfect, and then realizing the edges are a jagged mess that no crop can cleanly fix. I’ve been there more times than I’d like to admit. For a while, Boundary Warp was the only in-app answer, and while it works decently on wide open landscapes, anything with trees or complex structures at the frame edges starts to look like a funhouse mirror.

How to Reshape Light in Lightroom When Your Photo Has No Focal Point

How to Reshape Light in Lightroom When Your Photo Has No Focal Point

There’s a specific kind of editing frustration I run into a few times a month. I’m looking at a technically solid photo, good exposure, interesting location, sharp focus, and I feel nothing. The image has no heartbeat. Everything in the frame is fighting for equal attention, which means nothing actually wins. I’ve cropped, I’ve tweaked the tone curve, I’ve gone back to the raw file and started over. Sometimes the problem isn’t the exposure or the colors.

7 Lightroom Shortcuts That Actually Changed How I Edit (Breakdown of Pierre T. Lambert's Best Tips)

7 Lightroom Shortcuts That Actually Changed How I Edit (Breakdown of Pierre T. Lambert's Best Tips)

I’ll be honest with you: I spent the first two years of my Lightroom life doing everything the slow way. Clicking through menus, hunting for tools, dragging panels around like I was rearranging furniture. It wasn’t until I started watching other working photographers share their actual workflows that I realized how much time I was bleeding out of every editing session. The fixes were almost embarrassingly simple once I saw them.

Your Lightroom Edits Are Stunning. Your Export Settings Are Quietly Ruining Them.

Your Lightroom Edits Are Stunning. Your Export Settings Are Quietly Ruining Them.

I had a client email me last year convinced something was wrong with her monitor. Her photos looked incredible inside Lightroom, rich, warm, with this gorgeous golden-hour grade she’d spent two hours dialing in. The moment she exported and opened the files in her browser to send to a client, they looked flat. Slightly green. Wrong. Her monitor was fine. Her editing was fine. Her export settings were the problem, and they were set to Lightroom’s defaults.

Stop Switching Tabs: How to Publish Photos to Facebook Directly From Lightroom

Stop Switching Tabs: How to Publish Photos to Facebook Directly From Lightroom

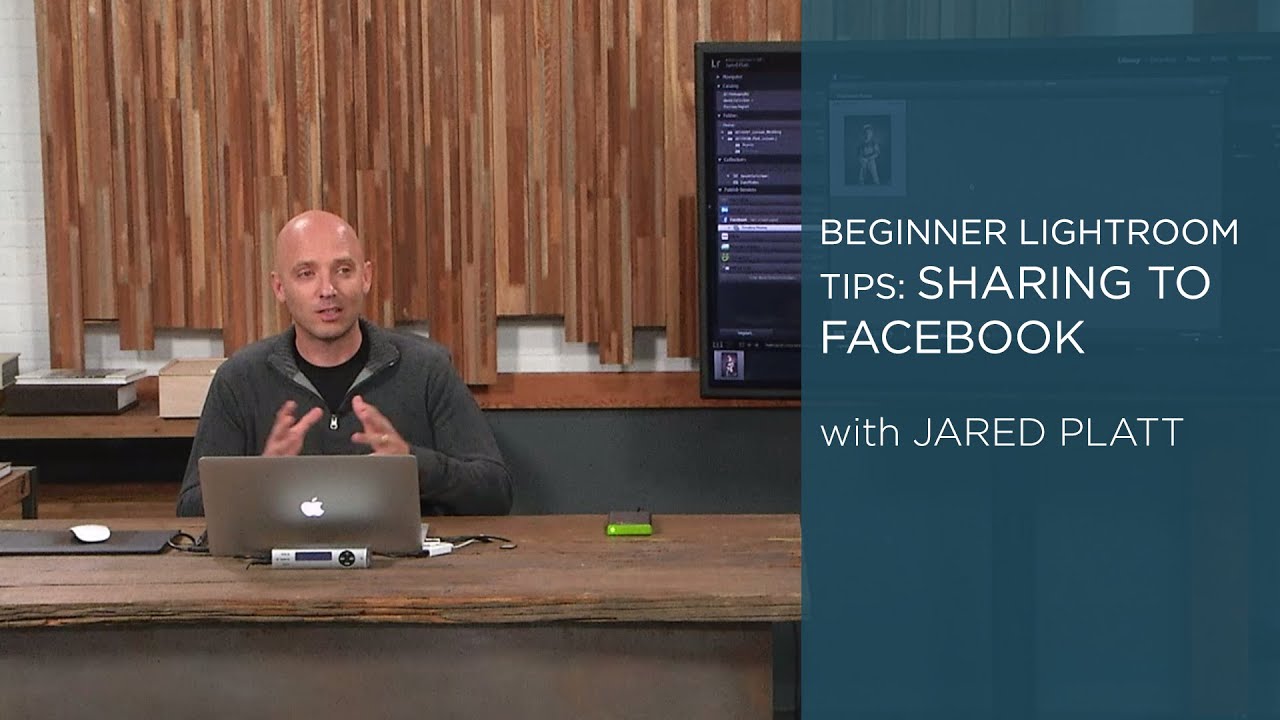
There’s a workflow tax most photographers don’t think about: the time spent outside Lightroom doing things Lightroom can already handle. You finish an edit, export the file, open a browser, log into Facebook, navigate to your album, upload the photo, write a caption, and post. That whole sequence takes maybe five minutes. Multiply it by every shoot, every client update, every “hey look what I captured this weekend” moment, and you’ve lost a meaningful chunk of time that could’ve gone toward actual editing.

How to Watermark Your Photos in Lightroom (and Actually Get Paid)

How to Watermark Your Photos in Lightroom (and Actually Get Paid)

There’s a story I’ve heard from too many photographers to count. Shoot a wedding or a portrait session, send over proofs so the client can pick their favorites, and then… silence. No final payment, no response, just your unwatermarked images sitting on someone’s Facebook page while you eat the loss. It’s the kind of thing that sounds like it happens to other people until it happens to you. I’ve been lucky, but I’ve also been careful, and a big part of that comes down to something as simple as slapping a watermark on anything that leaves my hard drive before a job is fully paid.

How to Watermark Your Photos in Lightroom Without Making Them Look Cheap

How to Watermark Your Photos in Lightroom Without Making Them Look Cheap

There’s a specific kind of frustration that comes from sharing a photo online and watching it float away from you with no indication it was yours. I’ve been there more times than I can count. Before I ever wrote a single tutorial, I was editing press shots for my band in a tiny apartment in Nashville, learning Lightroom out of necessity because we couldn’t afford to hire anyone. Credit rarely traveled with those images.