Vibrance vs. Saturation in Lightroom: What the Sliders Are Actually Doing to Your Colors

Vibrance vs. Saturation in Lightroom: What the Sliders Are Actually Doing to Your Colors

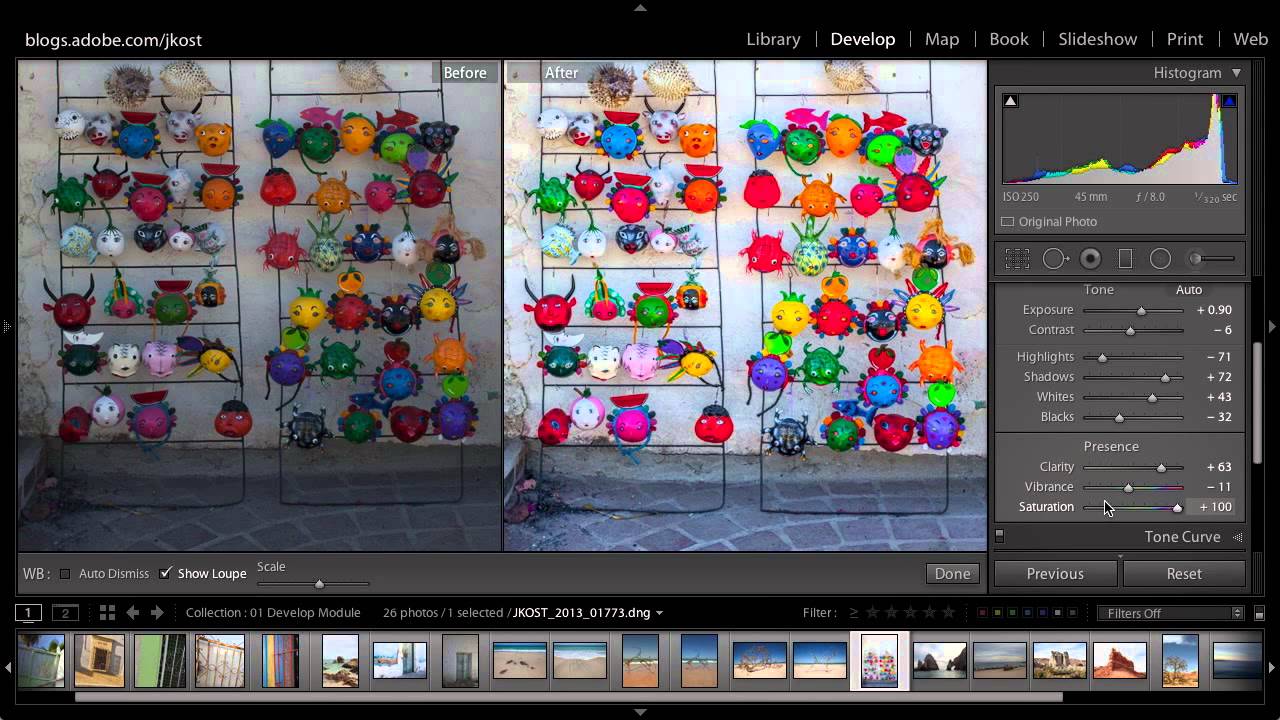
There’s a moment every Lightroom user hits where they crank up the Saturation slider and suddenly their subject looks like they’ve been standing next to a reactor. The colors pop, sure, but the reds are blown out, the skin tones look radioactive, and the detail in the image quietly disappears. For years I fixed this by just… not touching Saturation. I’d nudge it up two points and call it done. It worked, but it wasn’t understanding — it was avoidance.

The Spray Can Trick That Cut My Culling Time in Half

The Spray Can Trick That Cut My Culling Time in Half

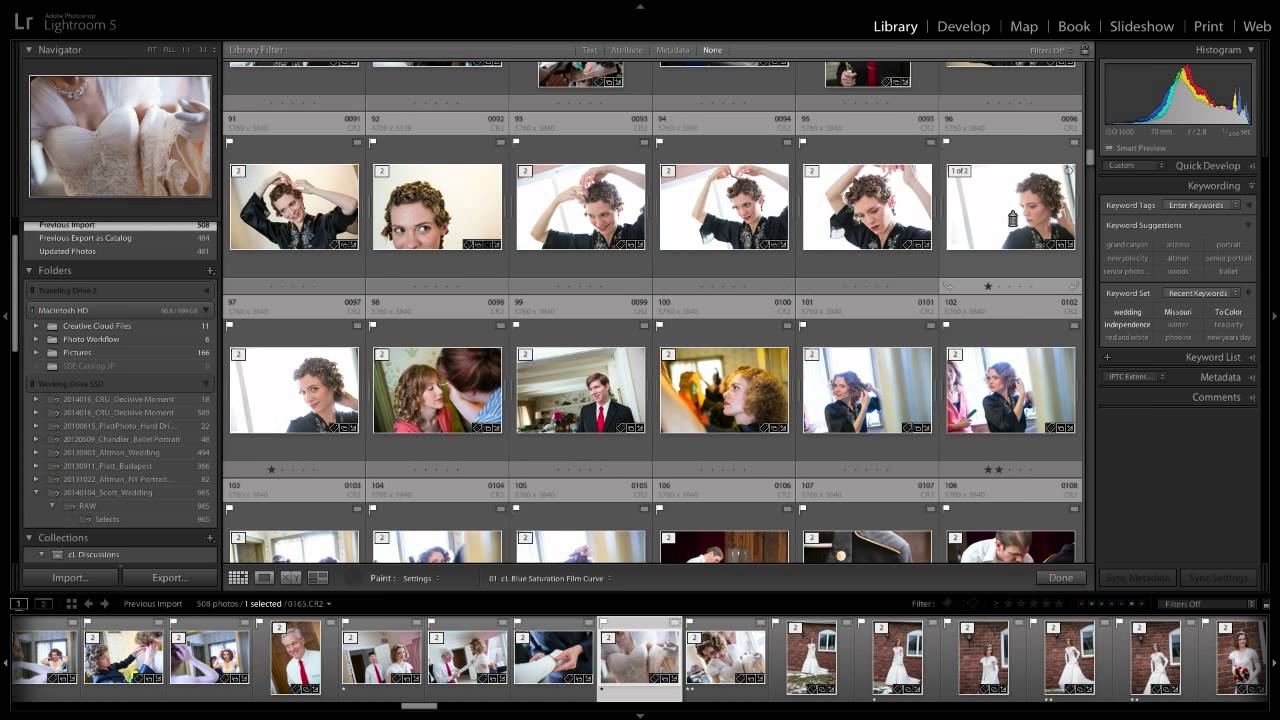
There’s a moment in every big shoot where you’re staring at 800 raw files and the math stops working in your favor. You could batch-select and sync settings, sure. But syncing assumes every image in a range wants the same treatment, and that’s almost never true. What you actually want is to move fast and stay selective. That gap between speed and intention is exactly what this technique fills. In this CreativeLive tutorial, the instructor walks through one of Lightroom’s most underused tools: the spray can, repurposed not for keywords but for style.

HSL Adjustments Are Doing the Heavy Lifting in Your Color Grade — Here's How to Use Them Right

HSL Adjustments Are Doing the Heavy Lifting in Your Color Grade — Here's How to Use Them Right

The Panel Most Editors Treat Like an Afterthought I spent the better part of a year editing portraits by reaching for the Tone Curve and calling it a day. My images looked fine. A little flat sometimes, a little inconsistent across a session, but fine. Then I started paying real attention to the HSL panel and realized I had been leaving the most surgical tool in Lightroom mostly untouched, like someone who owns a chef’s knife and only uses it to open Amazon boxes.

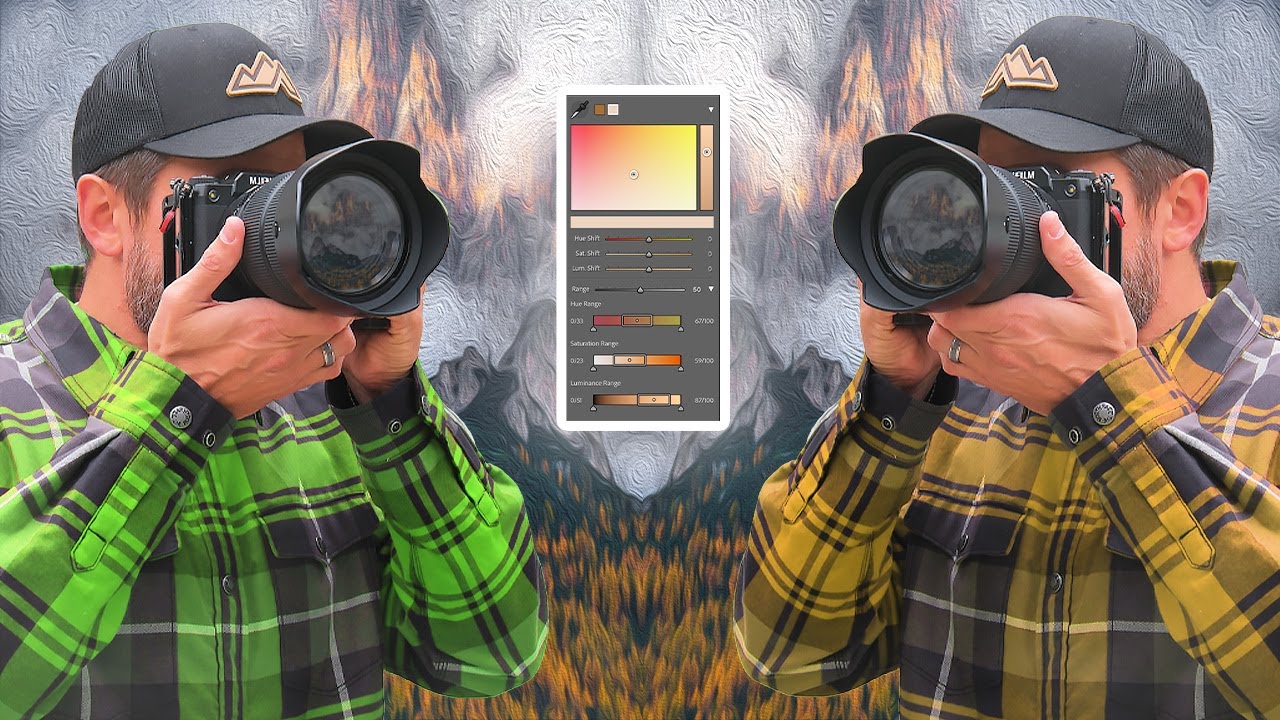
Lightroom's Point Color Tool Finally Lets You Target Colors Like a Surgeon (Not a Sledgehammer)

Lightroom's Point Color Tool Finally Lets You Target Colors Like a Surgeon (Not a Sledgehammer)

For years, the one thing that sent me running back to Capture One mid-project was targeted color control. The HSL mixer in Lightroom always felt like trying to adjust the volume on one instrument by turning up the whole amplifier. You’d drag a slider, trying to deepen those amber tones in a golden-hour shot, and suddenly your entire sky shifted too. It was blunt. It was frustrating. And honestly, it was the strongest argument in the Lightroom vs.

The Lightroom Tool Hiding in Plain Sight (And Why It Changed How I Use the Tone Curve)

The Lightroom Tool Hiding in Plain Sight (And Why It Changed How I Use the Tone Curve)

I have a complicated relationship with the tone curve. For years I treated it like that one piece of gym equipment I kept walking past - aware of it, slightly intimidated by it, quietly hoping nobody noticed I was avoiding it. I knew it was powerful. I just never fully trusted myself to use it without wrecking a perfectly good edit. What I didn’t know - and what stopped me cold when I saw it demonstrated - is that there’s a small targeting tool sitting right inside the tone curve panel that most editors have never intentionally clicked.

The Tone Curve Isn't Scary — You're Just Using It Wrong

The Tone Curve Isn't Scary — You're Just Using It Wrong

The Tone Curve Isn’t Scary — You’re Just Using It Wrong I used to skip the tone curve entirely. Just drag the Basic panel sliders around, call it a day, and move on. This worked fine until I started editing press shots for my band back in Nashville, and “fine” stopped being good enough. The images looked flat no matter what I did in the Basic panel. I’d push Contrast up, the shadows went muddy.

Fix Overexposed Backgrounds Without Touching Your Subject in Lightroom

Fix Overexposed Backgrounds Without Touching Your Subject in Lightroom

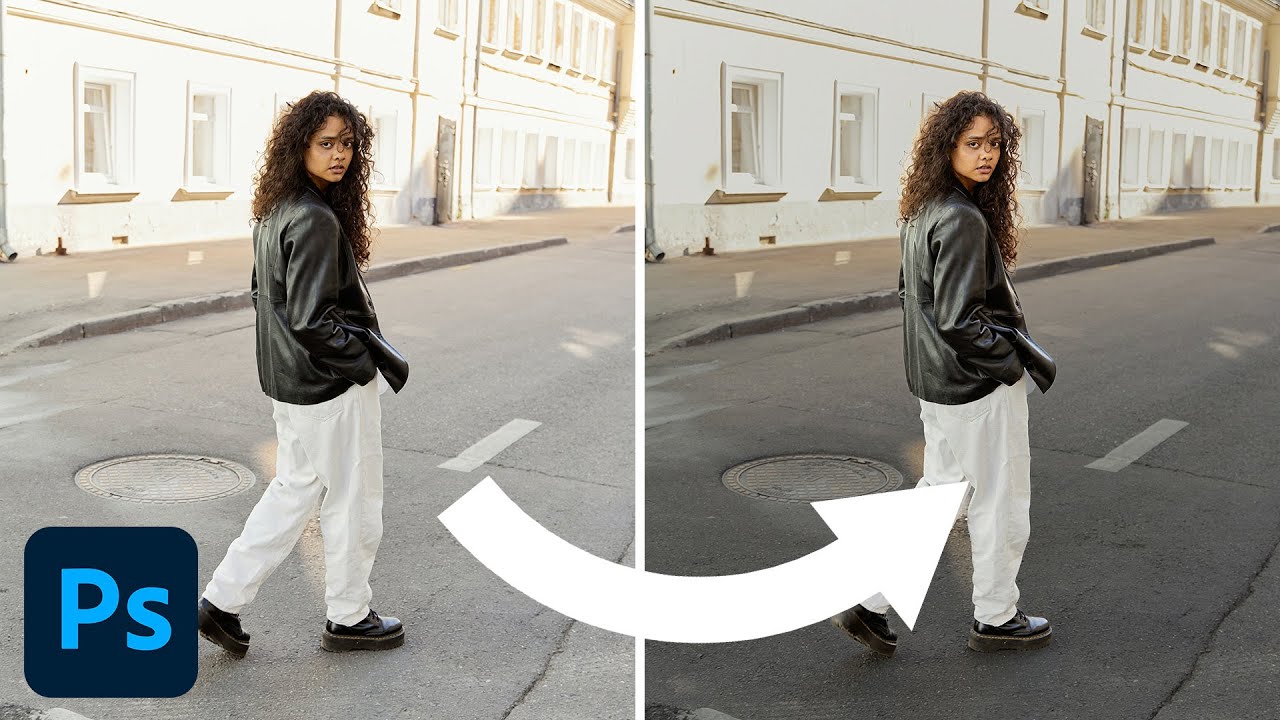
There’s a specific kind of frustration that comes with a photo that’s almost perfect. The subject looks great, the composition is solid, but the background is blown out, and every time you drag the exposure slider down to fix it, your subject goes flat and dark with it. I’ve been there more times than I care to admit. It’s one of those problems that looks like a retouching issue but is really a workflow issue.

How to Rescue a Blown-Out Sunset Photo Using Lightroom's Tone Controls (Start to Finish)

How to Rescue a Blown-Out Sunset Photo Using Lightroom's Tone Controls (Start to Finish)

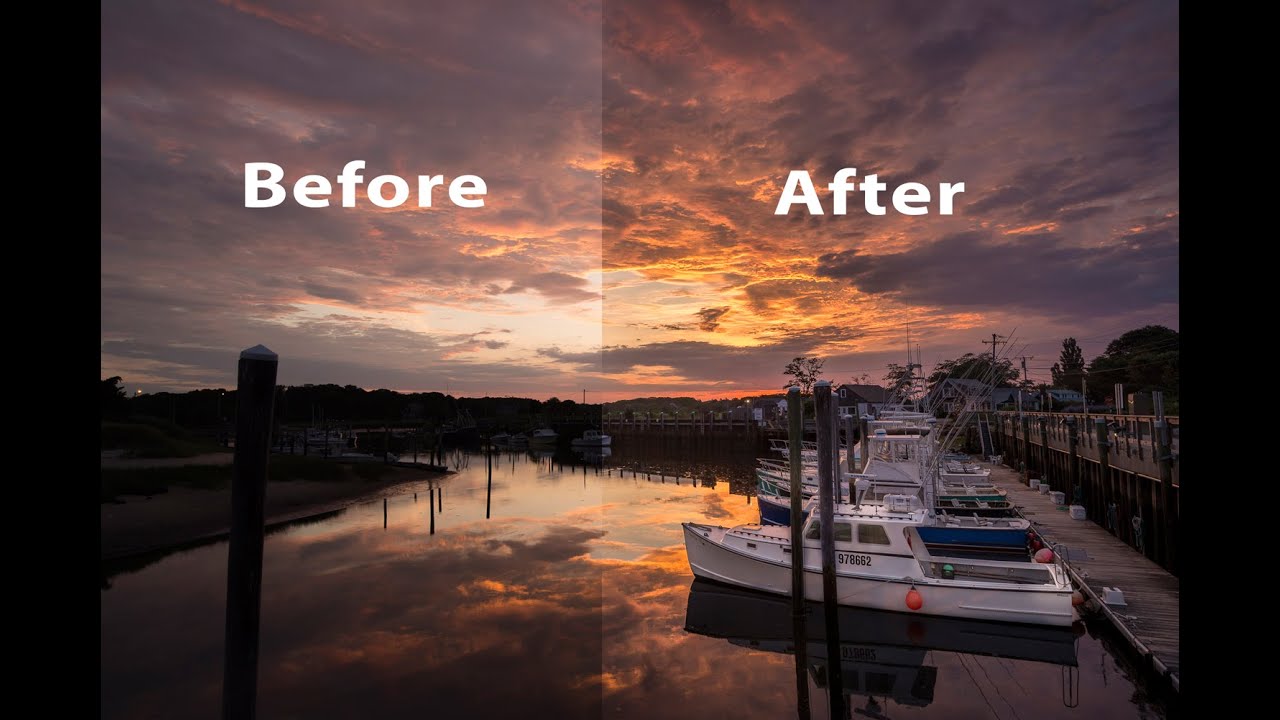
Sunset photos are the ones that fool you into thinking you nailed it in camera. The light is gorgeous, the composition feels right, and then you open the RAW file and the sky looks like a nuclear event while the dock is a silhouette. I’ve been there more times than I want to count. It’s one of the most common problems I hear about from readers, and it’s also one of the most solvable ones once you understand how Lightroom’s tone controls actually work together.

Stop Over-Editing Your Photos: What Peter McKinnon's Leica Workflow Taught Me About Restraint

Stop Over-Editing Your Photos: What Peter McKinnon's Leica Workflow Taught Me About Restraint

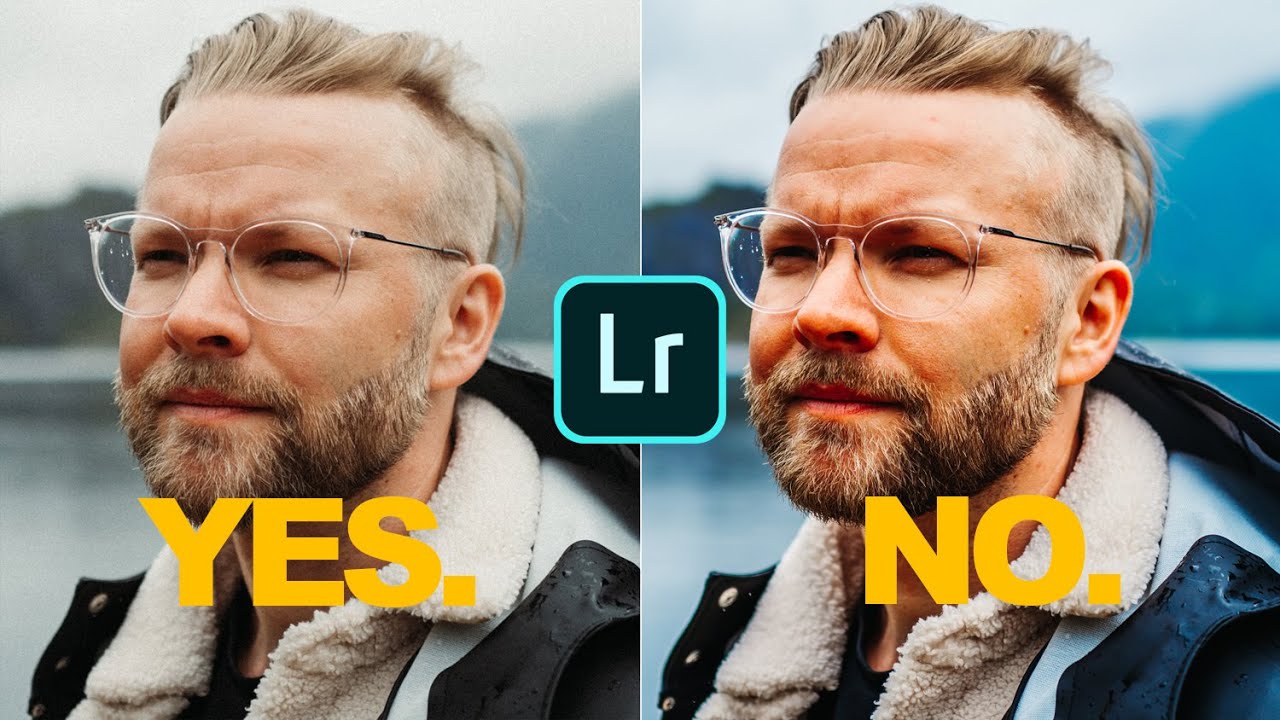
There’s a version of me from about six years ago who would have wrecked these photos. I know this because I still have the hard drives. Too much contrast, greens cranked to neon, a heavy-handed preset slapped on top like a bumper sticker. I thought volume equaled quality. I was wrong, and it took years of editing other people’s work before I figured out why my own stuff looked so processed.

Purple Fringing and Publish Services: Two Lightroom Fixes You'll Use Every Single Week

Purple Fringing and Publish Services: Two Lightroom Fixes You'll Use Every Single Week

There’s a specific kind of frustration that hits when you deliver a print to a client and then spot the problem yourself, standing right there next to them. Purple fringing along a roofline, a green halo eating into a branch, some artifact you somehow missed at screen size. I’ve been there more than once, and it never gets less embarrassing. The fix exists, it takes about fifteen seconds, and for whatever reason it doesn’t get talked about enough in beginner and intermediate circles.

Bridge Isn't Dead: 5 Things It Does That Lightroom Still Can't

Bridge Isn't Dead: 5 Things It Does That Lightroom Still Can't

I used to dismiss Adobe Bridge the same way I dismiss genre labels for music - confidently, and without much actual evidence. It felt like the old, clunky thing you used before Lightroom existed. Then I started shooting more on weekends for fun, not for clients, and I found myself resenting the Lightroom import process every single time I wanted to glance at a handful of raw files. Nobody wants to sit through a catalog import just to grab one good frame from a Saturday afternoon shoot.

7 Lightroom & Photoshop Skills Worth Mastering When You Can't Shoot

7 Lightroom & Photoshop Skills Worth Mastering When You Can't Shoot

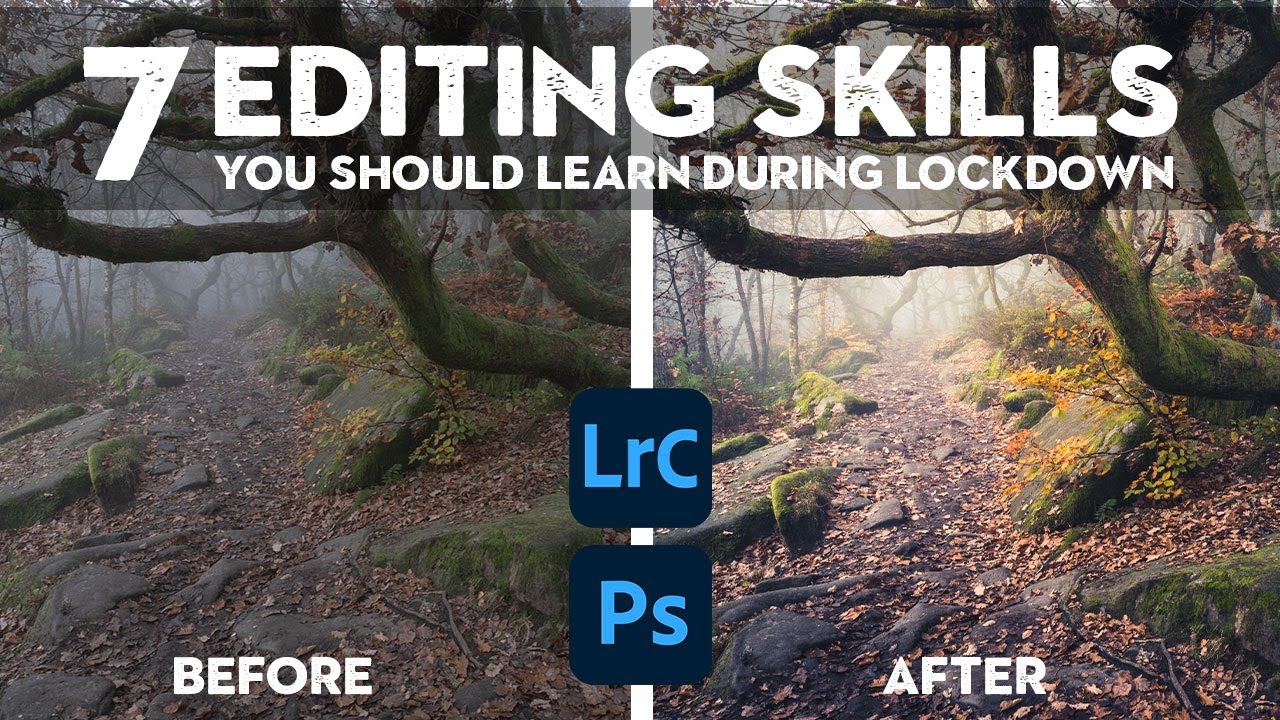
There’s a version of me that used to think editing was the boring part. Shooting was the job. Editing was the chore you did afterward so you could post something. Then I spent a rainy Nashville weekend going deep on color grading and came out the other side with a completely different understanding of what a photograph actually is. The edit isn’t the afterthought. It’s the second half of the creative decision.