Build a Stunning 11-Photo Wedding Book Page in Lightroom's Print Module (Free Preset Included)

Build a Stunning 11-Photo Wedding Book Page in Lightroom's Print Module (Free Preset Included)

Every wedding photographer I know has a folder somewhere called “book layouts - FINAL” that is neither final nor organized. You know the drill: you want something that looks editorial, something that tells the story of an entire wedding day on a single spread, but building it from scratch feels like assembling furniture without instructions. I’ve been there more times than I want to admit. That’s why this tutorial from Scott Kelby over at KelbyOne stopped me mid-scroll.

Lightroom's AI Denoise Tool Actually Works — Here's the Proof

Lightroom's AI Denoise Tool Actually Works — Here's the Proof

I shoot a lot of golden hour and blue hour landscapes, which means I spend a lot of time fighting noise. ISO creep is real, especially when you’re chasing a specific shutter speed to keep moving water silky or freeze wind-blown leaves. For years, Lightroom’s built-in noise reduction was my least favorite part of the workflow. Crank the luminance slider and yes, the grain disappears, but so does everything else. The fine texture in bark, the detail in distant ridgelines, the individual strands of a waterfall.

From Flat to Film: Scott Kelby's Black & White Lightroom Workflow (And What I Added to It)

From Flat to Film: Scott Kelby's Black & White Lightroom Workflow (And What I Added to It)

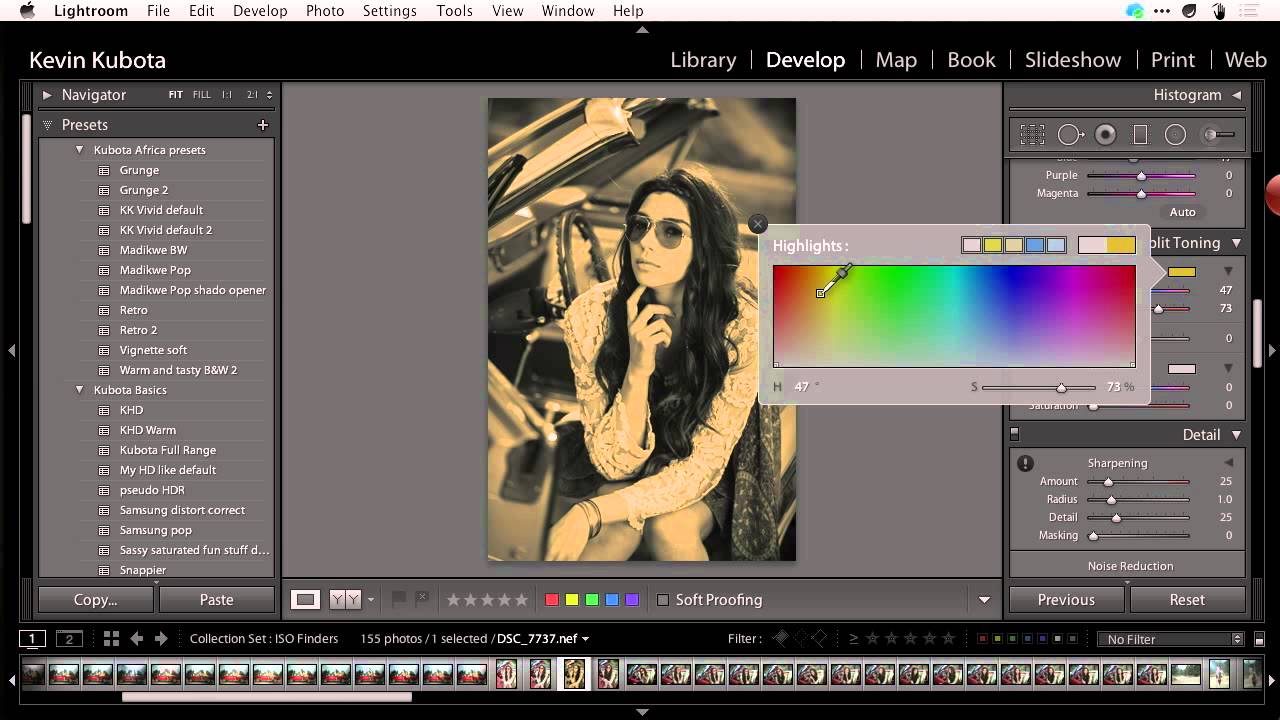
Most of my black and white conversions used to live in a frustrating middle ground. Not bad enough to delete, not good enough to post. I’d desaturate, bump contrast, call it done. The results looked like a color photo that had given up rather than a deliberate black and white image. It wasn’t until I started paying closer attention to the Profile Browser in Lightroom Classic that things clicked, and this Scott Kelby tutorial on black and white conversion is the clearest breakdown I’ve seen of exactly how to use it.

Stitching the Sky: A Practical Guide to Building Panoramas Inside Lightroom

Stitching the Sky: A Practical Guide to Building Panoramas Inside Lightroom

There’s a specific kind of frustration that comes from shooting a killer landscape, knowing you captured something real out there, and then opening your files to find that no single frame holds the whole scene. I’ve been there more times than I want to count. Wide-angle lenses help, but they also introduce distortion that can make a beautiful horizon look like it’s bending toward you. The smarter solution, the one working photographers have been using for years, is shooting a sequence of overlapping frames and stitching them into a panorama.

Dramatic Black & White Landscapes in Lightroom: What I Learned From Shooting in a Downpour

Dramatic Black & White Landscapes in Lightroom: What I Learned From Shooting in a Downpour

There’s a specific kind of RAW file that shows up in my Lightroom catalog way too often. The exposure is fine, the focus is sharp, the composition is solid. And yet the image sits there looking like a stock photo of nowhere in particular. No weight. No atmosphere. Just a technically correct photograph that nobody would ever stop scrolling for. If you shoot landscapes, you know exactly what I’m talking about.

Where Did My Photos Go? The Lightroom Import Method That Finally Makes Sense

Where Did My Photos Go? The Lightroom Import Method That Finally Makes Sense

There is one question I heard constantly when I first started helping friends learn Lightroom: “Where did my photos go?” Not “how do I edit this” or “what’s a good preset for skin tones” - just a panicked message asking why an entire shoot had disappeared into the void. The answer, almost every single time, came back to the import step. People skip past it, click through the dialog without reading it, and then spend an hour hunting through their hard drive wondering if they accidentally deleted a whole card full of portraits.

Beyond the Contrast Slider: How to Build an S-Curve That Actually Bites

Beyond the Contrast Slider: How to Build an S-Curve That Actually Bites

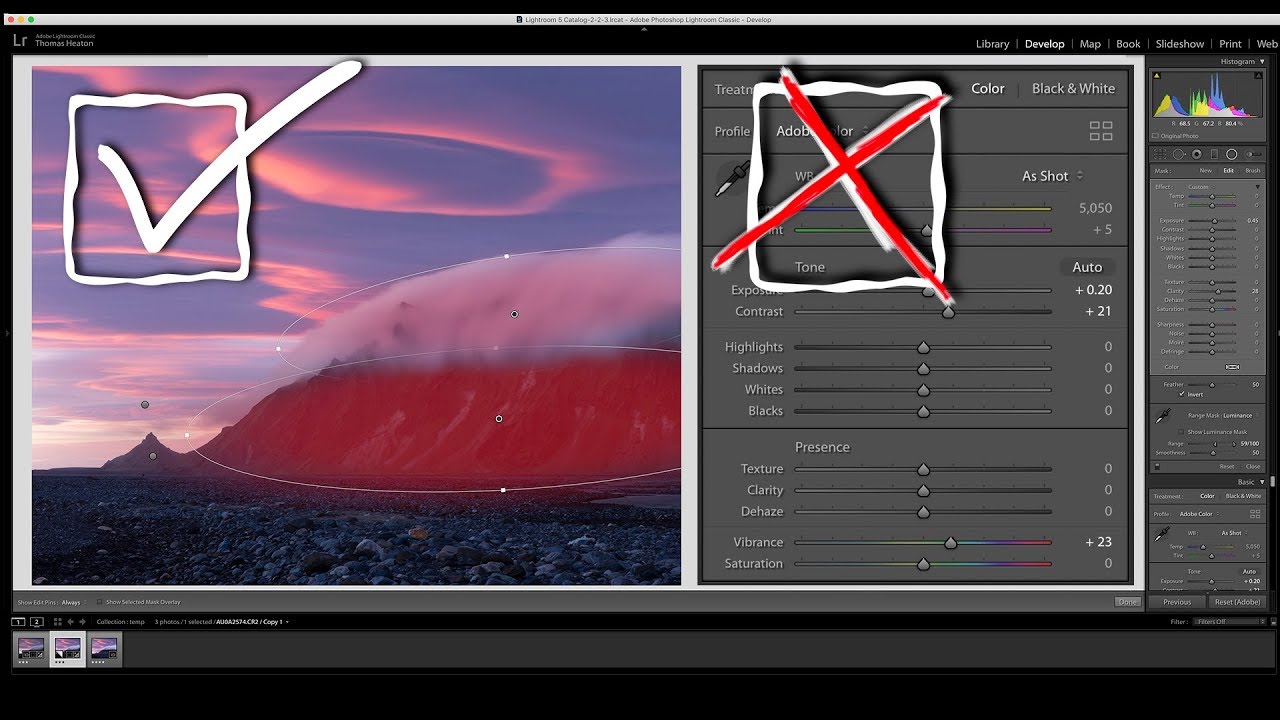
There’s a specific kind of frustration I’ve felt more times than I can count: you’re editing a photo, the image looks flat, you drag the Contrast slider all the way to +100, and it still feels like the picture is behind a layer of gauze. The slider tops out and you’re left thinking, “That’s it? That’s all you’ve got?” For a long time I just lived with it, stacking other adjustments on top and hoping something would stick.

Build Multi-Photo Print Layouts in Lightroom Classic (Faster Than You Think)

Build Multi-Photo Print Layouts in Lightroom Classic (Faster Than You Think)

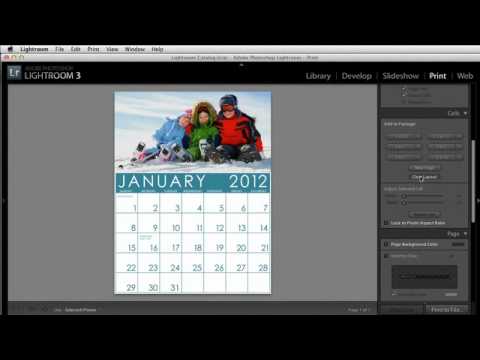
Every few months I get a message from someone asking how I put together those grid-style photo layouts — the kind you see on photographer portfolio pages, band promo sheets, or Instagram collages that actually look intentional. For the longest time I was doing it in Photoshop, dragging individual images onto a canvas and nudging them pixel by pixel. It worked, but it was the kind of workflow that makes you question your life choices around the third manual adjustment.

One Catalog to Rule Them All: How to Set Up a Travel Catalog That Actually Merges Back Cleanly

One Catalog to Rule Them All: How to Set Up a Travel Catalog That Actually Merges Back Cleanly

I have a recurring nightmare. Not the one where I show up to a shoot and forgot my memory cards. The one where I get home from a week of shooting, dump everything into my laptop catalog, and then spend two hours Googling “how to merge Lightroom catalogs without losing edits” at midnight. If you’ve been there, you know the specific dread of not being sure whether your metadata survived the trip.

How to Run One Master Lightroom Catalog Across Two Computers (Without Losing Your Mind)

How to Run One Master Lightroom Catalog Across Two Computers (Without Losing Your Mind)

There’s a specific kind of dread that hits when you get home from a shoot and realize your images are scattered across two machines with no clean way to reunite them. I’ve been there. Before I locked down a real system, I was doing the digital equivalent of stuffing receipts in my jacket pocket and hoping for the best. Duplicate folders, orphaned edits, catalogs that referenced drives I couldn’t find anymore.

From Muddy to Intentional: What Sean Tucker's Colour Philosophy Taught Me About My Own Edits

From Muddy to Intentional: What Sean Tucker's Colour Philosophy Taught Me About My Own Edits

I used to name my presets after the feeling I was chasing. “Golden Hour Desperate.” “Blue That Isn’t Too Blue.” “Please Just Look Natural.” If you’ve ever stared at a raw file wondering whether your color instincts are broken, you already know the spiral I’m describing. Raw files are neutral by design, which is a gift and a curse. Film photographers had Kodachrome or Kodak Gold making the color decisions for them.

Lightroom's February 2026 Update Just Changed How I Start Every Edit

Lightroom's February 2026 Update Just Changed How I Start Every Edit

Every time Adobe drops a Lightroom update, I do the same thing. I clear my afternoon, brew coffee, and sit down expecting a revelation. Sometimes I get one. Sometimes I get WebP support and a button that opens a web browser. The February 2026 update lands somewhere in the middle, and I want to be straight with you about that before you spend an hour hunting for features that aren’t really there.