How to Add a Professional Watermark in Lightroom (Text and Logo)

How to Add a Professional Watermark in Lightroom (Text and Logo)

Every photographer I know has a watermark horror story. A client takes a proof image and sends it to the printer. A photo gets reposted on Instagram without credit. Someone uses a “for review only” shot as final delivery. I learned this lesson early, back when I was shooting press photos for local Nashville bands and handing over low-res JPEGs without a second thought. A watermark would have saved me more than one awkward conversation.
Waterfall Photos Look Muddy Until You Fix These Five Things in Lightroom

Waterfall Photos Look Muddy Until You Fix These Five Things in Lightroom

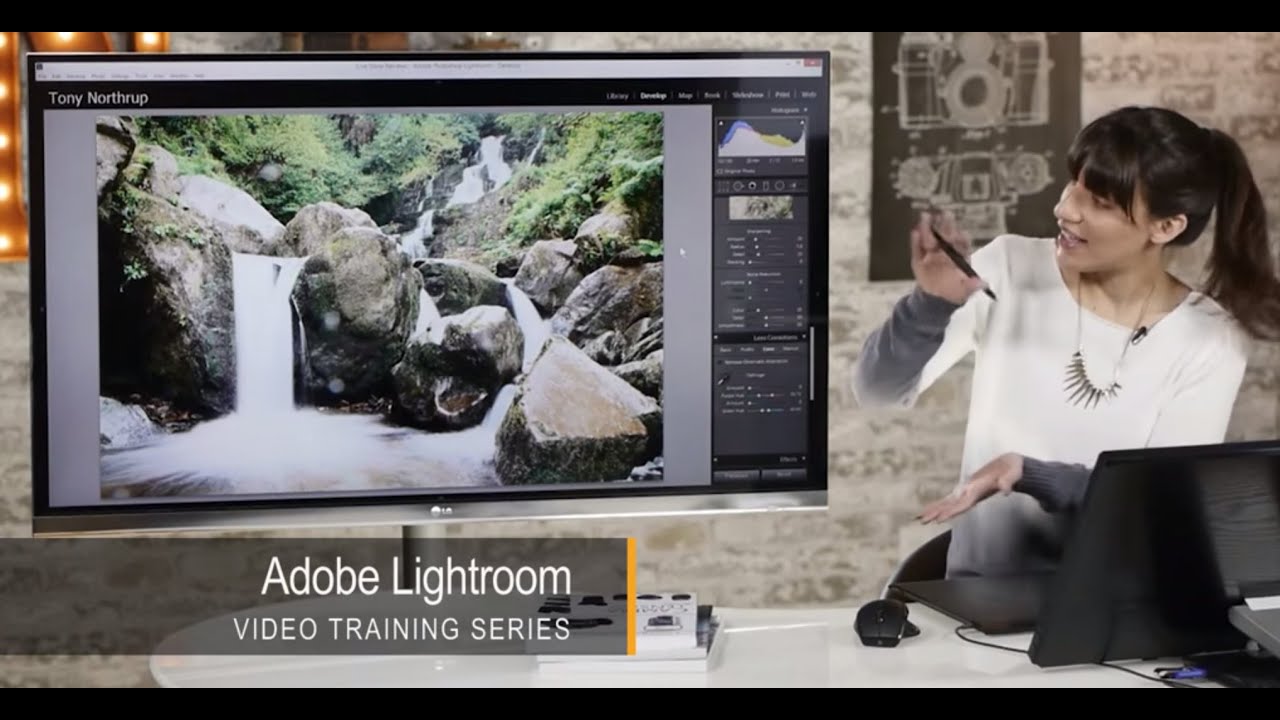
Waterfall shots have a way of humbling you. You nail the composition, you get the silky water effect with a slow shutter, and then you pull the image into Lightroom and realize half your frame is speckled with lens mist and the colors look like wet cardboard. I’ve been there more times than I’d like to admit. It’s one of those situations where the camera did its job and you still walk away with a photo that doesn’t match what you saw standing at the falls.

From Flat to Cinematic: What Peter McKinnon's Landscape Editing Workflow Actually Teaches You

From Flat to Cinematic: What Peter McKinnon's Landscape Editing Workflow Actually Teaches You

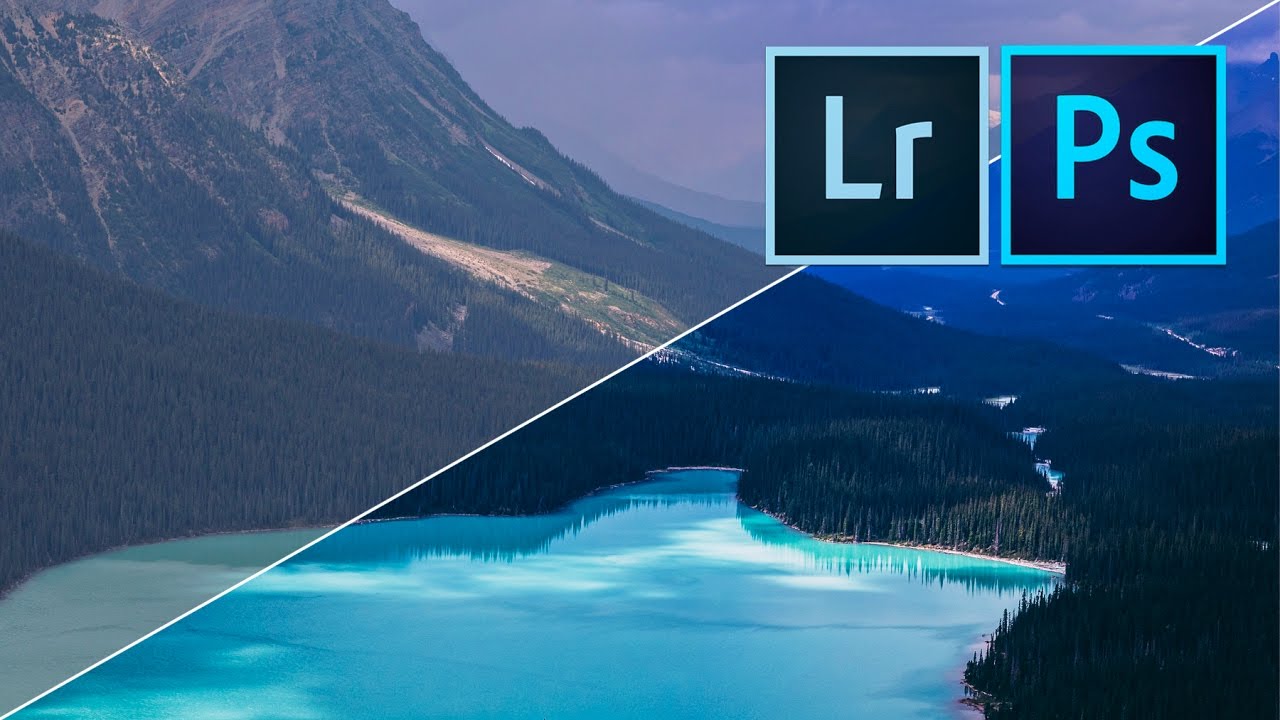
Every time I open a folder of RAW landscape shots, there’s that split second of either excitement or disappointment before I’ve touched a single slider. The difference between those two feelings almost never comes down to the location or the camera. It comes down to whether I’ve built a reliable editing process or whether I’m just winging it again. In this Peter McKinnon tutorial on editing landscape photos with Lightroom and Photoshop, McKinnon lays out a workflow that’s worth paying attention to because it starts way before you open the develop module.

How to Control Where the Viewer's Eye Goes (And Why It Changes Everything)

How to Control Where the Viewer's Eye Goes (And Why It Changes Everything)

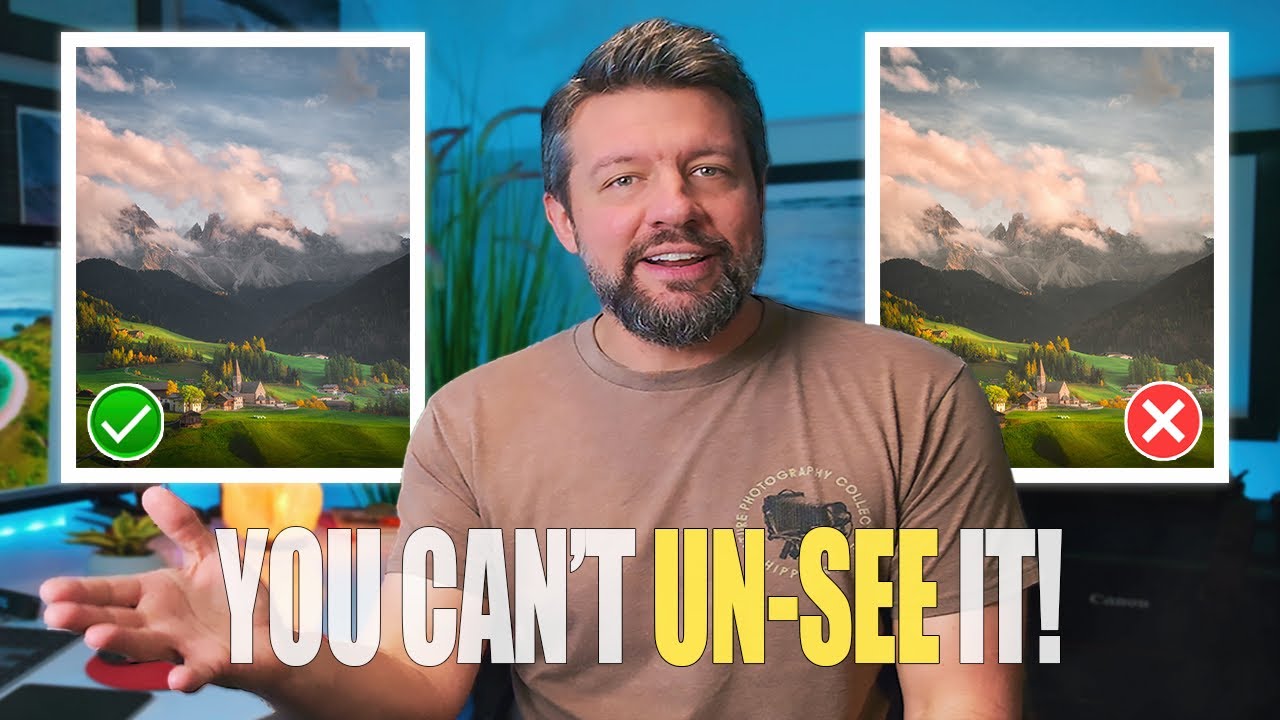
There’s a specific frustration I kept running into early in my editing workflow. I’d spend an hour on a landscape photo, get the tones looking clean, the colors feeling right, and then show it to someone who immediately looked at the wrong part of the frame. Not because the subject was unclear. Because the edit wasn’t doing its job. A technically correct photo and a visually directed photo are two completely different things, and for a long time I didn’t have the vocabulary to explain the gap between them.

Stop Using Lightroom's Built-In Vignette Tool (Do This Instead)

Stop Using Lightroom's Built-In Vignette Tool (Do This Instead)

Every few months I’ll open a photo I edited a year ago and cringe at something I thought was clever at the time. The vignette is almost always the culprit. Too heavy, too symmetrical, darkening a sky that didn’t need any help looking dramatic. I kept reaching for the Effects panel out of habit, the same way you autopilot your coffee order at 7am, and getting the same mediocre results.

How Lightroom's Enhance Feature Rescues an Aggressive Crop (And Why You're Probably Not Using It)

How Lightroom's Enhance Feature Rescues an Aggressive Crop (And Why You're Probably Not Using It)

There’s a specific kind of frustration that hits when you get home from a shoot, pull up your images, and realize the composition needs a serious crop. Maybe there was a distracting element along the edge, or your subject was just a little too far away. Either way, you drag those crop handles inward, and suddenly your 26-megapixel file is looking like something off a 2009 phone camera. Pixelated, soft, unusable.

LUTs in Premiere Pro: How Mango Street's Color Grading Workflow Actually Works

LUTs in Premiere Pro: How Mango Street's Color Grading Workflow Actually Works

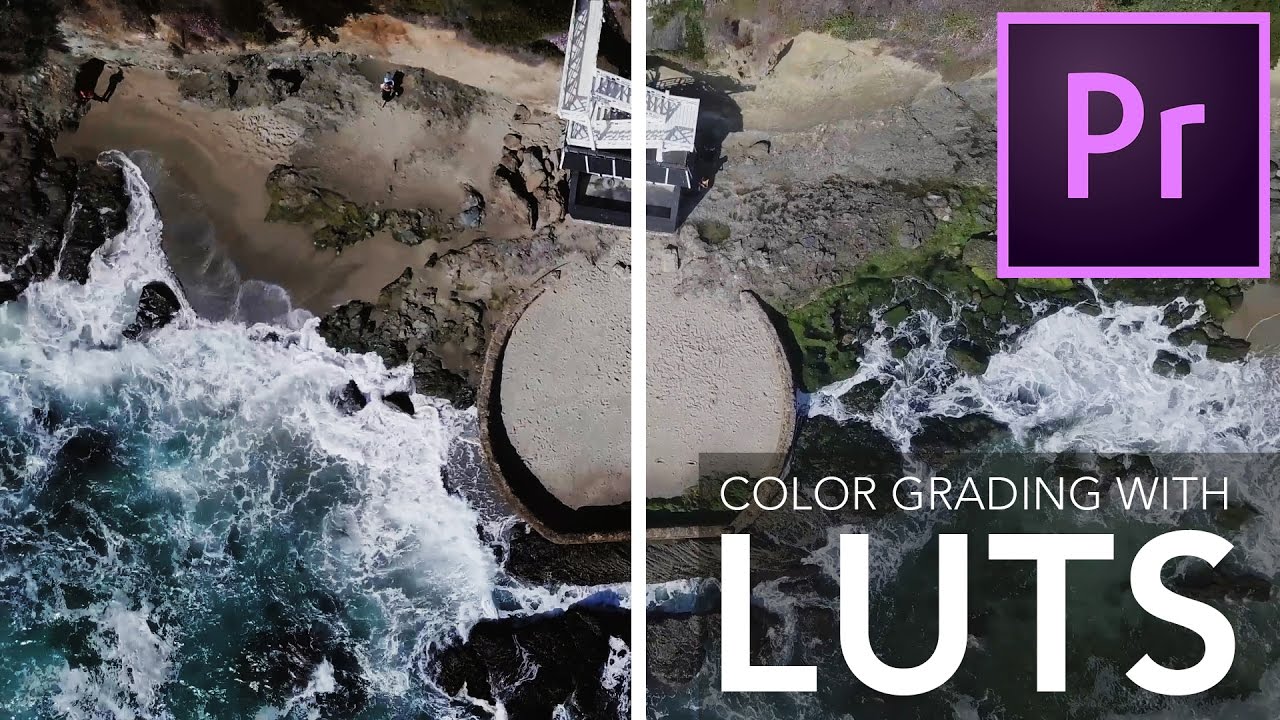
Most of my working life lives in Lightroom. Photo presets, tone curves, HSL panels - that’s my comfort zone. But clients keep asking me to weigh in on their video footage too, and for a long time I was quietly terrified every time someone dropped a .mov file on my desk. Video color grading has its own ecosystem: dedicated software, hardware scopes, colorists who have spent years just on this one discipline.

Color Grading in Adobe Camera Raw: The Lightroom Trick Photoshop Users Are Sleeping On

Color Grading in Adobe Camera Raw: The Lightroom Trick Photoshop Users Are Sleeping On

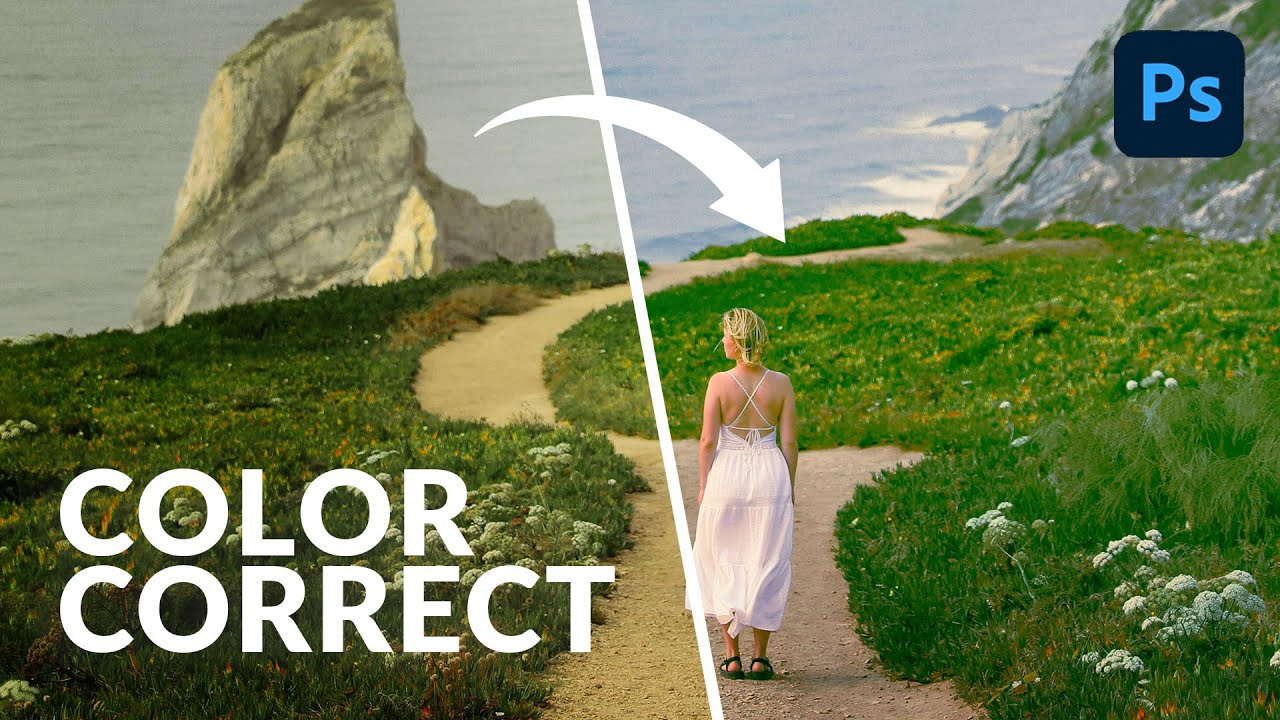
Most of my color grading happens in Lightroom. That’s just the reality of my workflow. But I’ve had clients send me layered Photoshop files and ask for “that warm, filmy look” - and jumping between apps to pull it off is the kind of friction that quietly kills your afternoon. What I didn’t realize until recently is that I’ve been making it harder than it needs to be. In this Aaron Nace (PHLEARN) tutorial, he walks through the Camera Raw filter inside Photoshop and shows how it gives you access to the exact same color grading tools you’d use in Lightroom Classic, Lightroom mobile, or Lightroom desktop.

Lightroom's April 2023 Update Has One Feature That Actually Changes How I Edit

Lightroom's April 2023 Update Has One Feature That Actually Changes How I Edit

Noise has always been the tax you pay for shooting in low light. You get the shot, you get the grain, and then you spend an uncomfortable amount of time in the Detail panel trying to recover something that looks like a photograph and not a bowl of oatmeal. I’ve tried every third-party plugin, every slider combination, every “just add a little luminance reduction and pray” workaround. Some of them work okay.

How Jessica Kobeissi Edits Outdoor Portraits in Lightroom (And What I Stole From Her Workflow)

How Jessica Kobeissi Edits Outdoor Portraits in Lightroom (And What I Stole From Her Workflow)

Most of my go-to editing habits were built by watching other photographers work out loud. Not reading about theory, not studying color wheels. Watching someone actually move sliders and second-guess themselves and change their mind three times before landing somewhere great. That’s the kind of tutorial that actually sticks. In this Jessica Kobeissi tutorial on editing outdoor portraits in Lightroom, that’s exactly what you get. She walks through a set of photos shot at different times of day, each with its own lighting challenge, and works through exposure, tone, and color grading in a way that feels more like watching a real editing session than a polished classroom demo.

Work Smarter in Lightroom: How Batch Editing Saves Hours on Every Shoot

Work Smarter in Lightroom: How Batch Editing Saves Hours on Every Shoot

There’s a version of me from about six years ago who spent three hours editing forty-seven press photos one by one. Same lighting conditions, same camera, same location — and I manually adjusted every single frame like some kind of masochist. If I’d known then what I know now about batch editing in Lightroom Classic, I could have wrapped that job before the record finished spinning. That’s not an exaggeration. Batch editing is genuinely one of those techniques that changes how you think about post-processing.

How to Shift an Entire Photo's Tone in Photoshop Using Five Adjustment Layers

How to Shift an Entire Photo's Tone in Photoshop Using Five Adjustment Layers

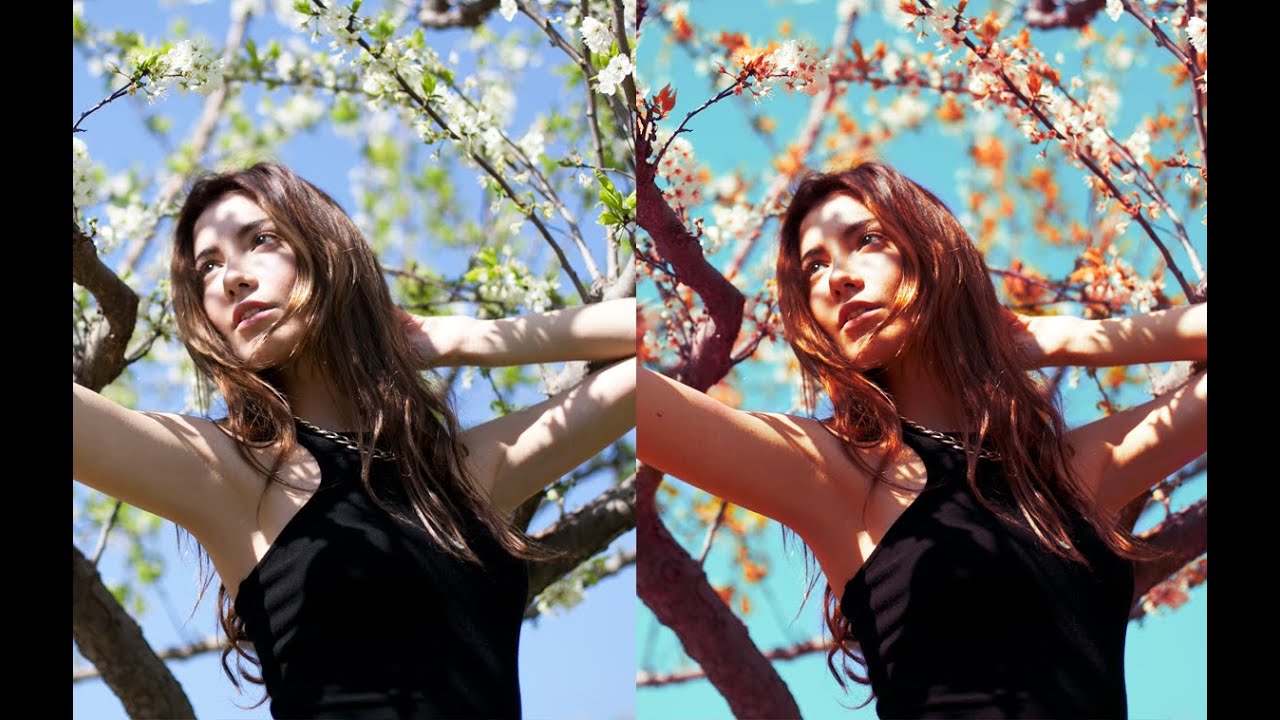
There’s a specific frustration every portrait photographer knows: you nail the shot, the subject looks great, but the background is working against you. The sky is flat, the leaves are the wrong shade, and the overall color story feels like it belongs to a different image. You can push sliders in Lightroom all afternoon and still not get the nuanced control you actually want. That’s the gap this technique fills.