One Gel, One White Balance Shift, and Your Background Turns a Completely Different Color

One Gel, One White Balance Shift, and Your Background Turns a Completely Different Color

There’s a lighting problem I kept running into during studio portrait sessions: I wanted a cool, moody background behind a warm, well-lit subject, but I didn’t want to wrestle a gel onto every single background light in the setup. If you’re running two or three lights on a backdrop, that’s a lot of fiddling between shots, and the color consistency gets messy fast. I started wondering if there was a smarter way to create that warm-cool contrast without touching the background lights at all.

Reference View in Lightroom CC 2015.8: How to Reverse Engineer Any Photo's Look

Reference View in Lightroom CC 2015.8: How to Reverse Engineer Any Photo's Look

There’s a specific kind of frustration I know too well. You’re staring at a JPEG you edited on your phone six months ago, the tones are exactly right, the contrast sits perfectly, and you have absolutely no idea what you did to get there. No develop history. No settings to copy. Just a finished photo mocking you from across the catalog. For a long time, my only move was to squint at it and try to rebuild it from memory, which is about as reliable as it sounds.

Turn Stock Holiday Graphics Into Pro Lightroom Print Templates (With a Little Photoshop Prep)

Turn Stock Holiday Graphics Into Pro Lightroom Print Templates (With a Little Photoshop Prep)

Every December I get the same question from readers: “How do I make my holiday cards look like something other than a Walgreens kiosk special?” The answer I keep coming back to involves Lightroom’s Print module, which is genuinely one of the most underused tools in the whole application. Most people think of it as the thing you click when you just want to send a file to a printer. It’s actually a surprisingly powerful layout engine, and when you feed it a well-prepared graphic, the results look custom without requiring a graphic design degree.

Stop Drowning in Rejected Shots: How Lightroom's AI Culling Actually Works

Stop Drowning in Rejected Shots: How Lightroom's AI Culling Actually Works

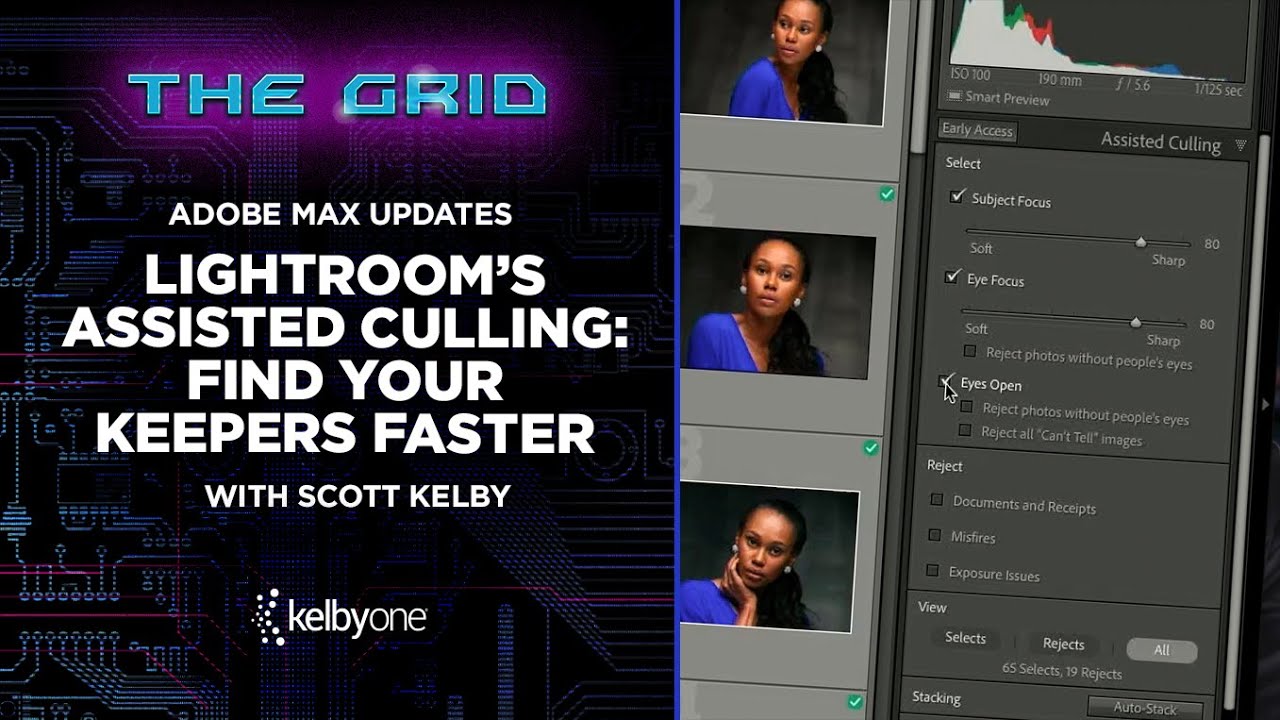
Culling is the part of my workflow I like least. I will spend an entire Sunday afternoon obsessing over a single preset’s tone curve, but asking me to sit down and reject 800 near-identical frames from a portrait session? That’s where motivation goes to die. After a while, you stop making real decisions and start clicking randomly, which defeats the whole point. So when Adobe dropped their Adobe Max announcements and Scott Kelby broke down the new Assisted Culling feature in a recent KelbyOne tutorial, I watched it twice before my coffee finished brewing.

Steal Like a Painter: How to Give Your Woodland Photos That Soft, Atmospheric Look

Steal Like a Painter: How to Give Your Woodland Photos That Soft, Atmospheric Look

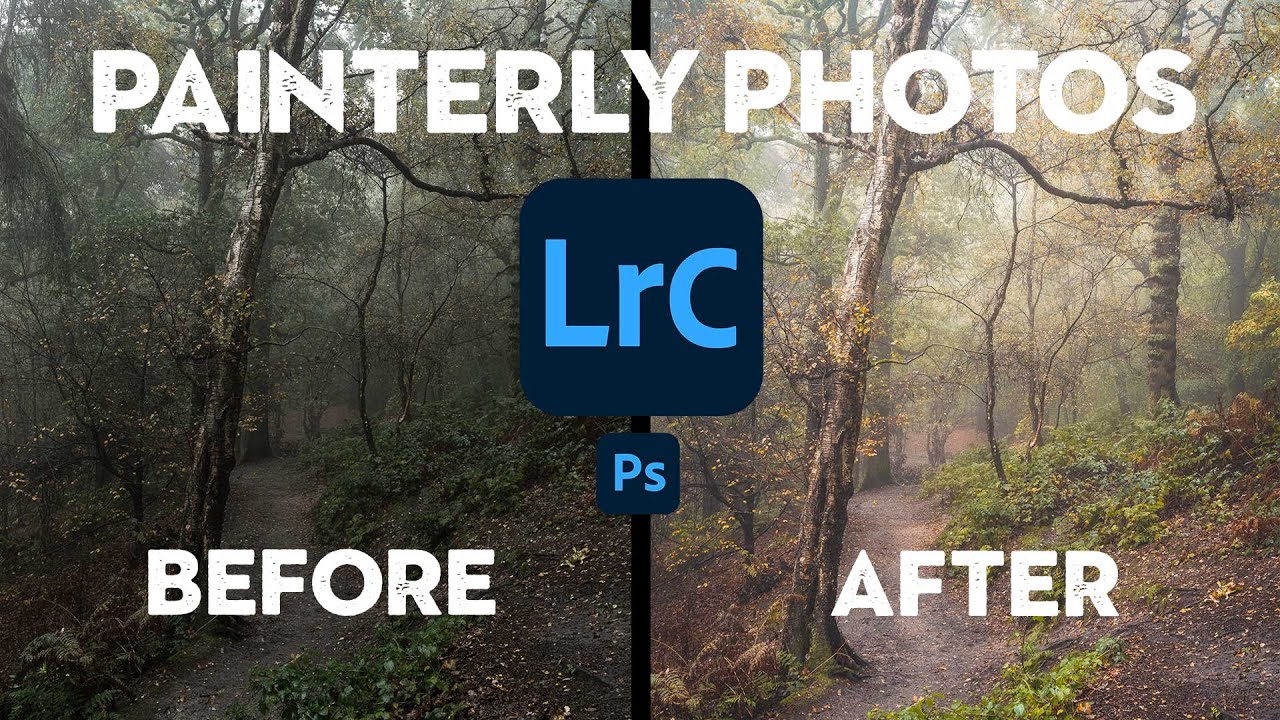
There’s a specific kind of woodland photo that stops me mid-scroll every time. It’s not sharp-everything, every-leaf-in-focus landscape photography. It’s something softer. More felt than seen. The kind of image that makes you think of oil paintings before you think of cameras. I’ve been chasing that look for a while, and I kept running into the same wall: I’d get into the woods, shoot something I thought had potential, bring it into Lightroom, and watch it turn into… a perfectly fine photo of some trees.

Lightroom Classic 7.5 Just Fixed Three Things That Were Driving Me Crazy

Lightroom Classic 7.5 Just Fixed Three Things That Were Driving Me Crazy

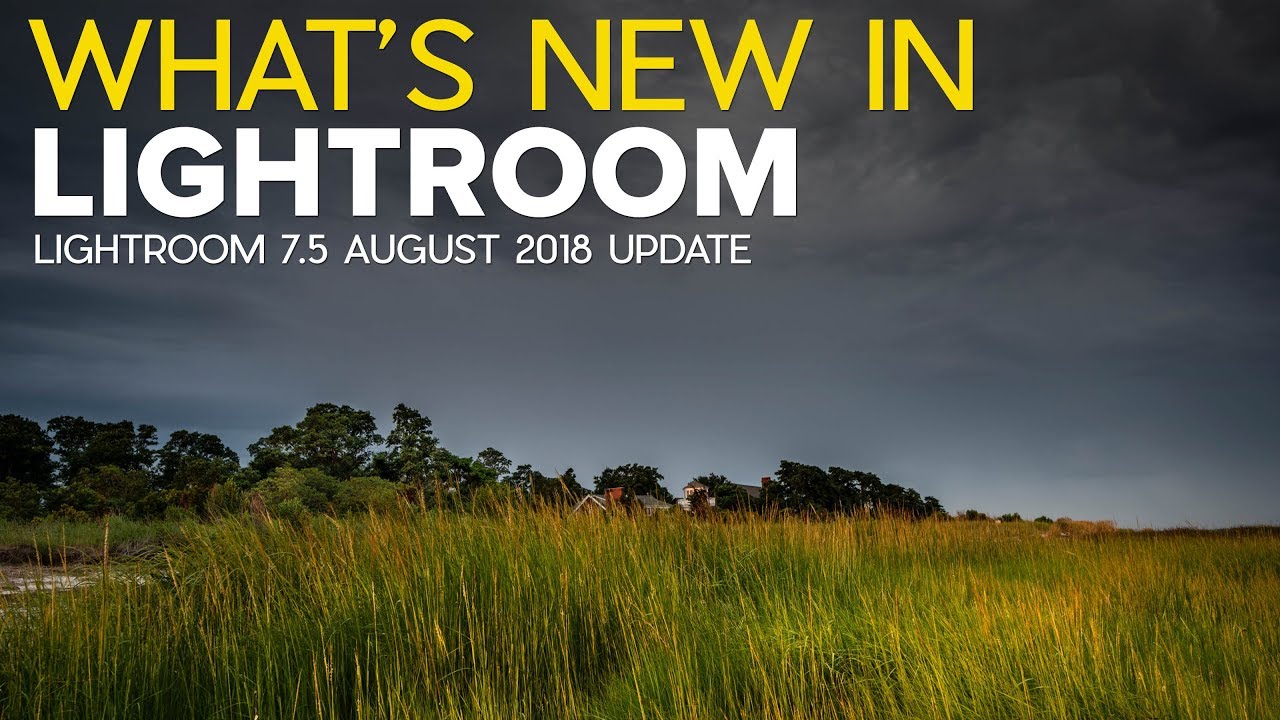
Every time Adobe drops a Lightroom update, I do the same thing. I open the release notes, skim past the “performance improvements,” and hunt for anything that actually changes how I work. Most updates are quiet. Version 7.5, which Adobe pushed out in the third week of August 2018, is not one of those quiet updates. It’s got three specific changes that solve problems I’ve been working around for months.

Night Sky Editing Tricks From a Pro: Dehaze, Luminosity Masks, and Reusable Selections

Night Sky Editing Tricks From a Pro: Dehaze, Luminosity Masks, and Reusable Selections

Night photography editing has a way of humbling you fast. You nail the exposure, you get home, you open Lightroom, and suddenly that brilliant Milky Way you saw with your own eyes looks like a faint smudge above some rocks. I’ve been there more times than I want to admit. The gap between what the camera captures and what the eye actually sees is widest at night, which means your editing has to work harder to close it.

Fall Color Editing Is Harder Than It Looks — Here's How to Actually Get It Right

Fall Color Editing Is Harder Than It Looks — Here's How to Actually Get It Right

Every October I tell myself I’m going to nail the fall color edit this year. And every October I open Lightroom, drag the Vibrance slider up until the leaves look radioactive, and quietly close the file. The problem isn’t effort — it’s that fall color is deceptively tricky. The range of hues shifts dramatically depending on where you live and whether you’re shooting in direct sun or open shade, which means there’s no single slider that solves it for everyone.

Lightroom Isn't Just for Editing — Here's How I Use It to Wrangle and Rename Entire Photo Sets

Lightroom Isn't Just for Editing — Here's How I Use It to Wrangle and Rename Entire Photo Sets

Most photographers treat Lightroom like a one-trick pony. Import, edit, export. Repeat. But I’ve found that some of its most useful features have nothing to do with curves, color grading, or any of the things we usually talk about on this site. I use Lightroom as a full file management hub, and honestly, if I lost access to every other feature tomorrow, the batch rename tool alone would keep me subscribed.

A Beginner's Lightroom Workflow That Actually Sticks: Breaking Down Mark Denney's 7-Step Method

A Beginner's Lightroom Workflow That Actually Sticks: Breaking Down Mark Denney's 7-Step Method

There’s a specific kind of paralysis that hits when you open a raw file and stare at Lightroom’s right panel. Every slider is an option. Every option feels equally valid or equally wrong. I remember that feeling vividly from when I was first teaching myself the software, back when I was editing band press shots in a one-bedroom apartment because nobody else was going to do it. The problem wasn’t effort.

Stop Drowning in Photos: How to Cull Your Lightroom Catalog Like a Pro

Stop Drowning in Photos: How to Cull Your Lightroom Catalog Like a Pro

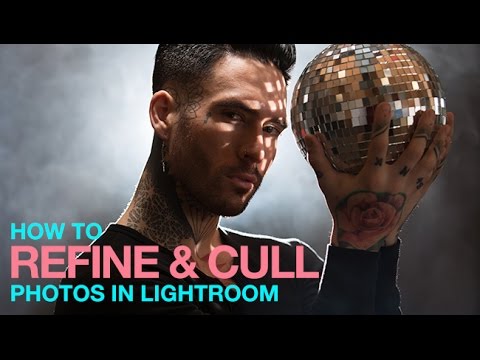
Coming back from a shoot with 800 raw files is one of those problems that sounds like a good problem until you’re actually sitting in front of it at 11pm. I used to just start from the top and delete anything obviously bad, which meant I spent most of my energy on the garbage instead of the gold. It wasn’t until I started treating culling as its own deliberate phase of the workflow, completely separate from editing, that my output quality actually improved.

Build a Photo Mosaic From Scratch Using Lightroom and Photoshop

Build a Photo Mosaic From Scratch Using Lightroom and Photoshop

Every few months I get a message that starts with something like: “I have 200 employee headshots and I want to do something interesting with them.” I used to have no good answer for that. A slideshow felt lazy. A contact sheet felt clinical. But a photo mosaic - a single image built from dozens or hundreds of smaller photos - that actually makes people stop scrolling. This technique landed on my radar through Aaron Nace’s tutorial over at PHLEARN, and I want to walk you through what he covers because the workflow is genuinely clever.