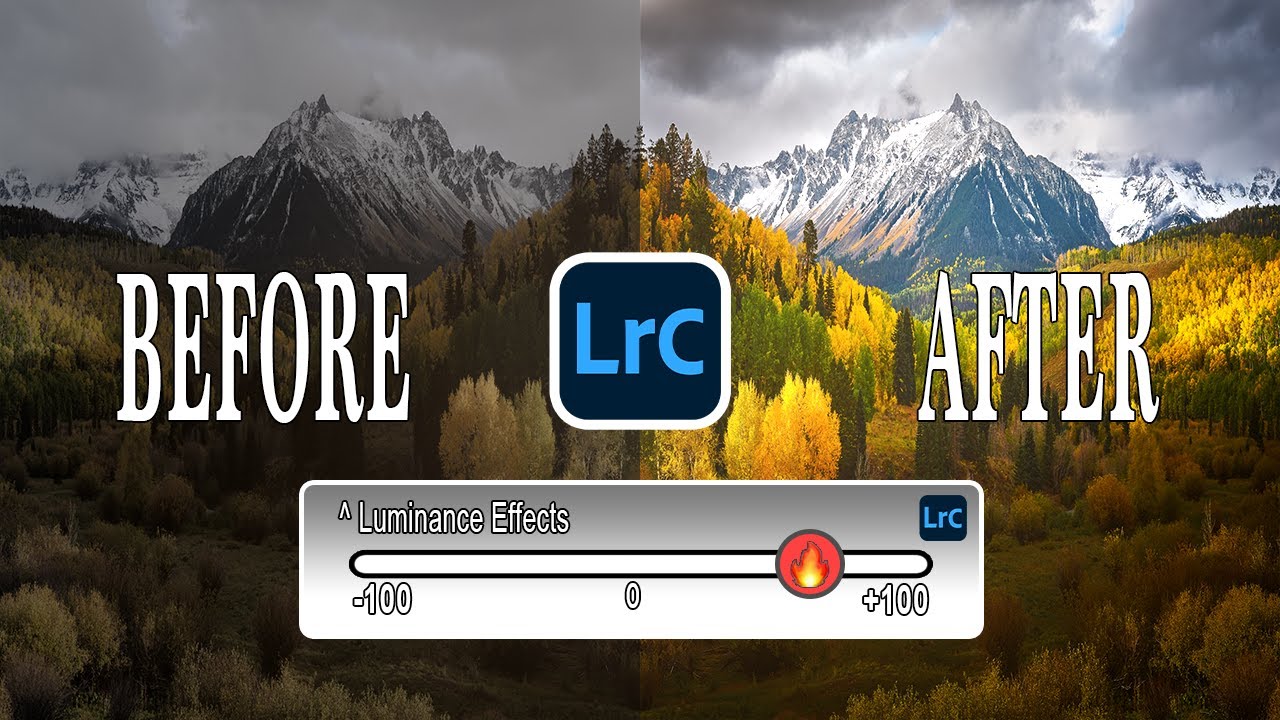
The Sky Masking Trick That Changed How I Edit Landscape Photos in Lightroom

The Sky Masking Trick That Changed How I Edit Landscape Photos in Lightroom

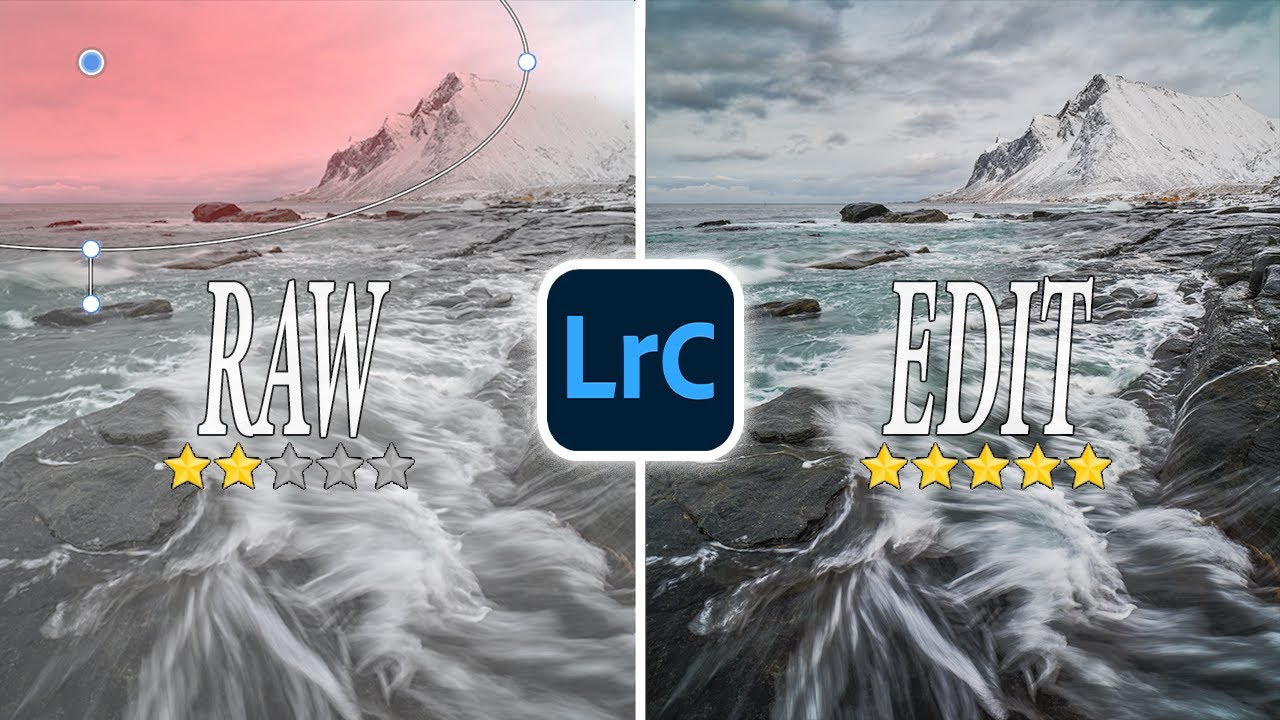
There’s a specific kind of frustration that landscape photographers know well. You’re standing somewhere incredible, the sky is doing something wild, the light is golden and dramatic, and you think “this is the shot.” Then you get home, open Lightroom, and the image looks like a weather forecast graphic. Flat. Lifeless. The drama you felt in person just didn’t make it through the lens, and no amount of crushing the highlights slider seems to fix it without wrecking everything else in the frame.
From Crop to Color Grade: A Working Walkthrough of Lightroom's Develop Module

From Crop to Color Grade: A Working Walkthrough of Lightroom's Develop Module

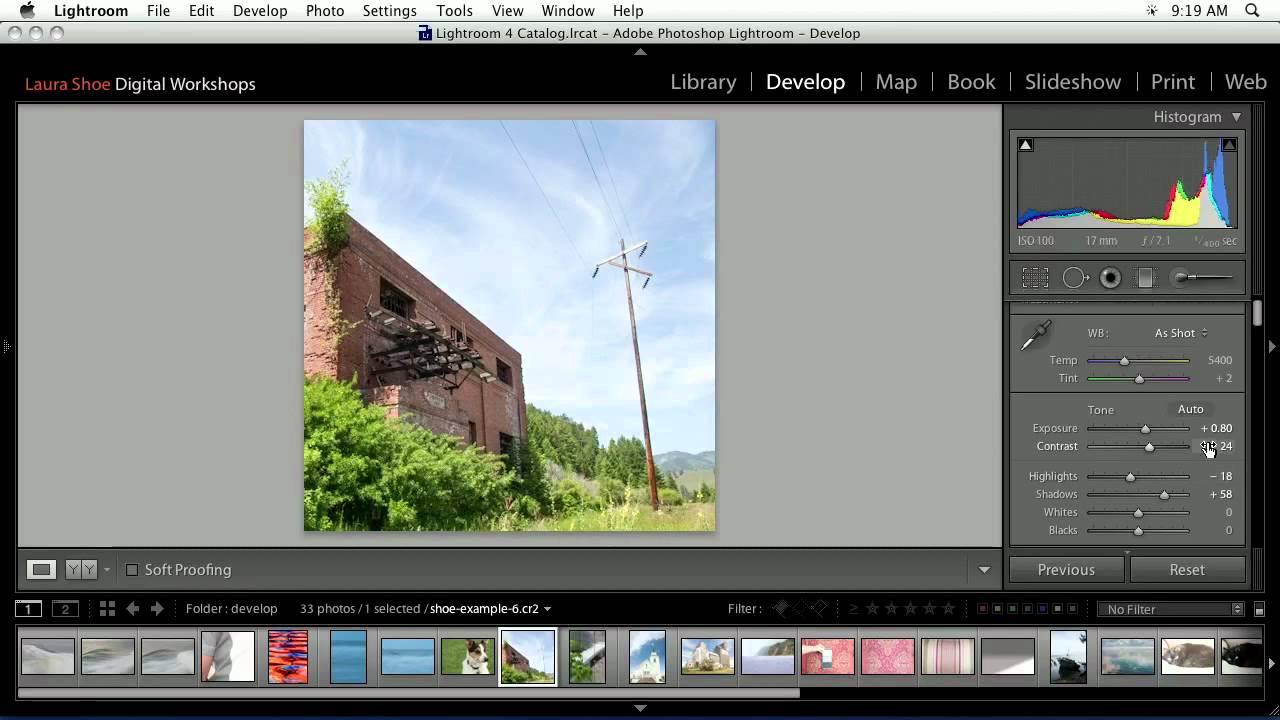
Every so often I come across a tutorial that cuts through the noise and just shows the work. No fluff, no five-minute intro, no sponsor reads before you’ve learned anything useful. Watch the full tutorial on YouTube from CreativeLive, and you’ll see what I mean. It’s a rapid-fire recap of the Develop Module — one photo, start to finish — and it covers more ground in a few minutes than most hour-long courses do.

The Fill Light Slider Isn't Gone — You Just Have to Know Where Lightroom Hid It

The Fill Light Slider Isn't Gone — You Just Have to Know Where Lightroom Hid It

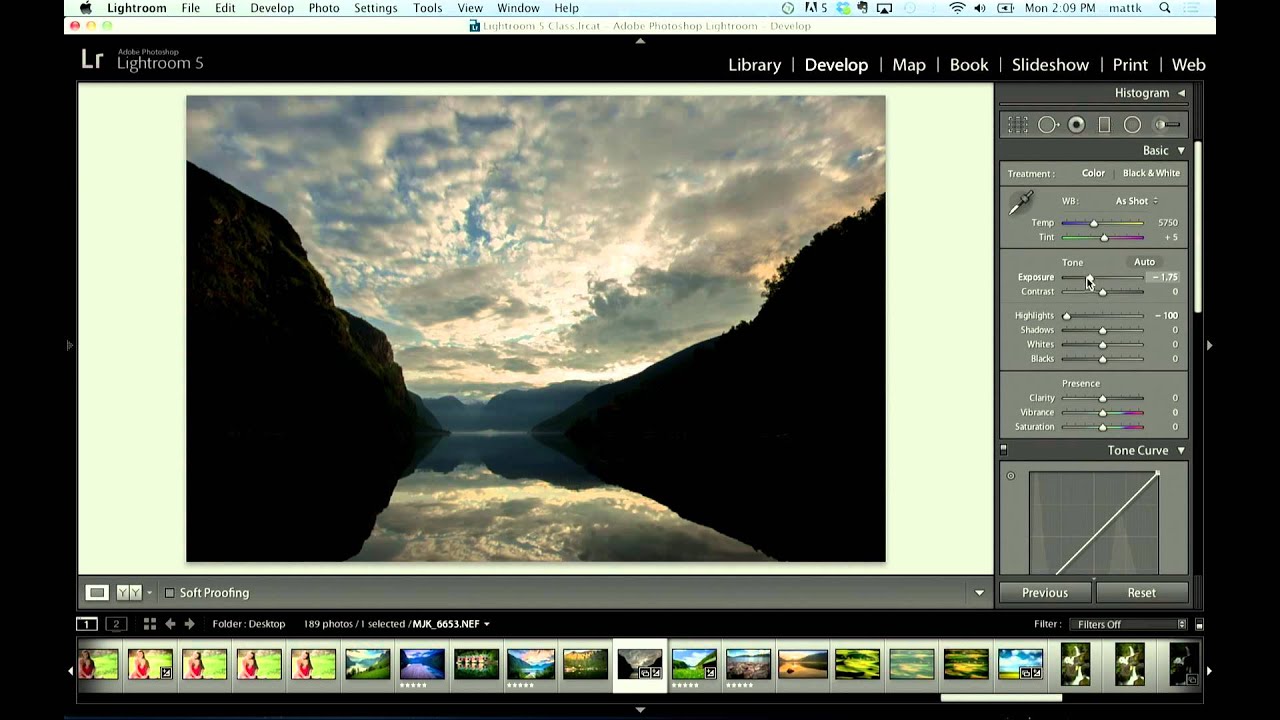
Every few months I get a version of the same message: “What happened to the Fill Light slider?” Usually it comes from someone who learned Lightroom years ago, took a break, came back, and found the panel rearranged like someone moved the furniture while they were away. I’ve sent the same explanation so many times I practically have it memorized. So when I came across this KelbyOne tutorial from Matt Kloskowski covering exactly this topic, I felt both seen and a little relieved that someone had put it on camera so I could stop typing it out.

How to Change Eye Color and Darken Pupils in Lightroom 5 (The Right Way)

How to Change Eye Color and Darken Pupils in Lightroom 5 (The Right Way)

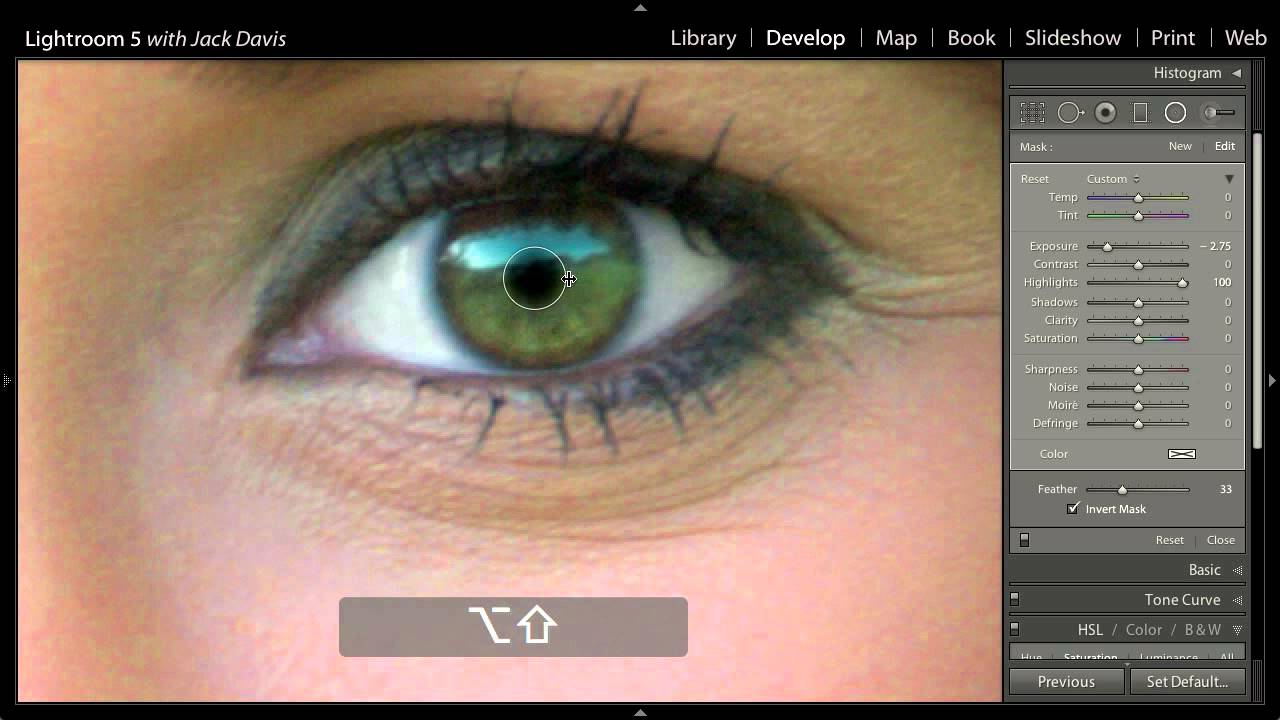
Portrait retouching has a reputation for being either too subtle to matter or so heavy-handed it looks like a video game cutscene. Eye work lives right in that danger zone. I’ve been editing press shots and portrait commissions in Lightroom long enough to know that most people either skip eye enhancement entirely or blow it out with a slider they didn’t fully understand. Both outcomes are a waste of a good image.

How to Build a Solar Eclipse Composite in Lightroom and Photoshop (Before You Even Shoot It)

How to Build a Solar Eclipse Composite in Lightroom and Photoshop (Before You Even Shoot It)

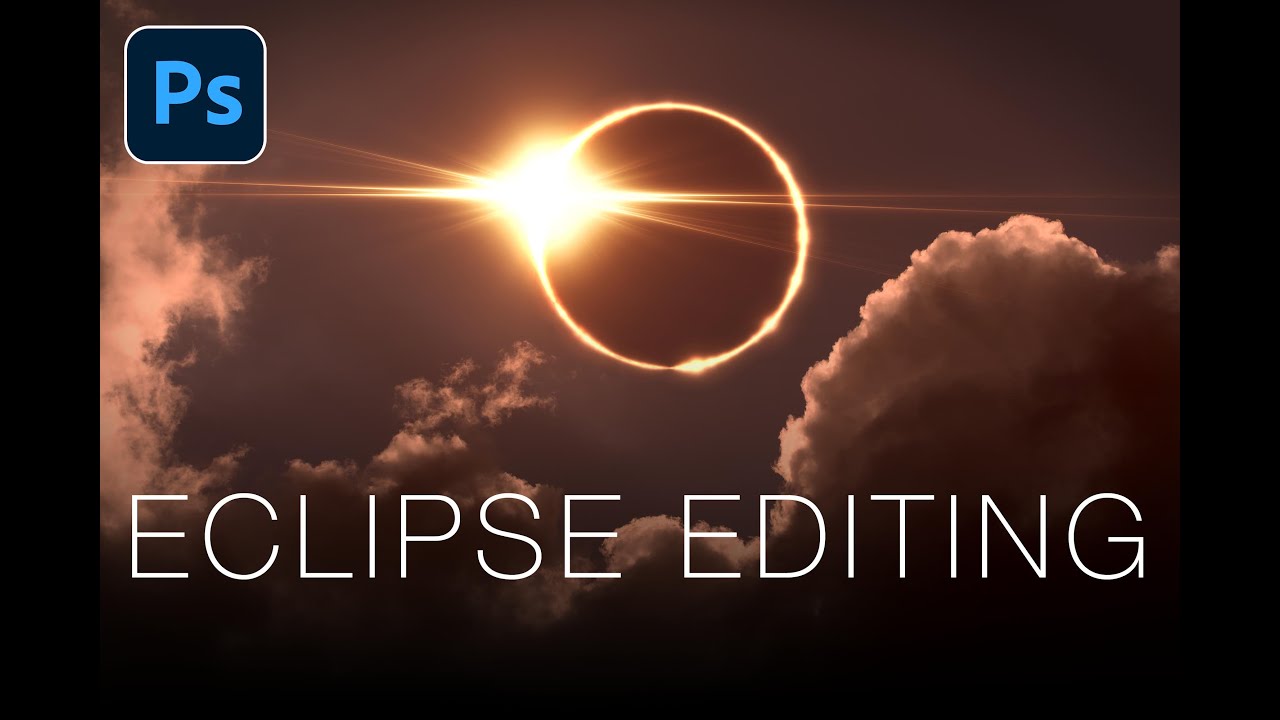
Most editing tutorials are reactive. You shoot something, it comes out weird, and then you go looking for a fix. What I genuinely appreciate about this Matt Kloskowski tutorial on editing solar eclipse photos is that it flips that order entirely. The argument he makes at the top of the video is one I wish someone had made to me earlier in my shooting life: your post-processing vision should inform your shooting decisions, not the other way around.

Light Painting an Exterior in Photoshop: What I Learned from This CreativeLive Breakdown

Light Painting an Exterior in Photoshop: What I Learned from This CreativeLive Breakdown

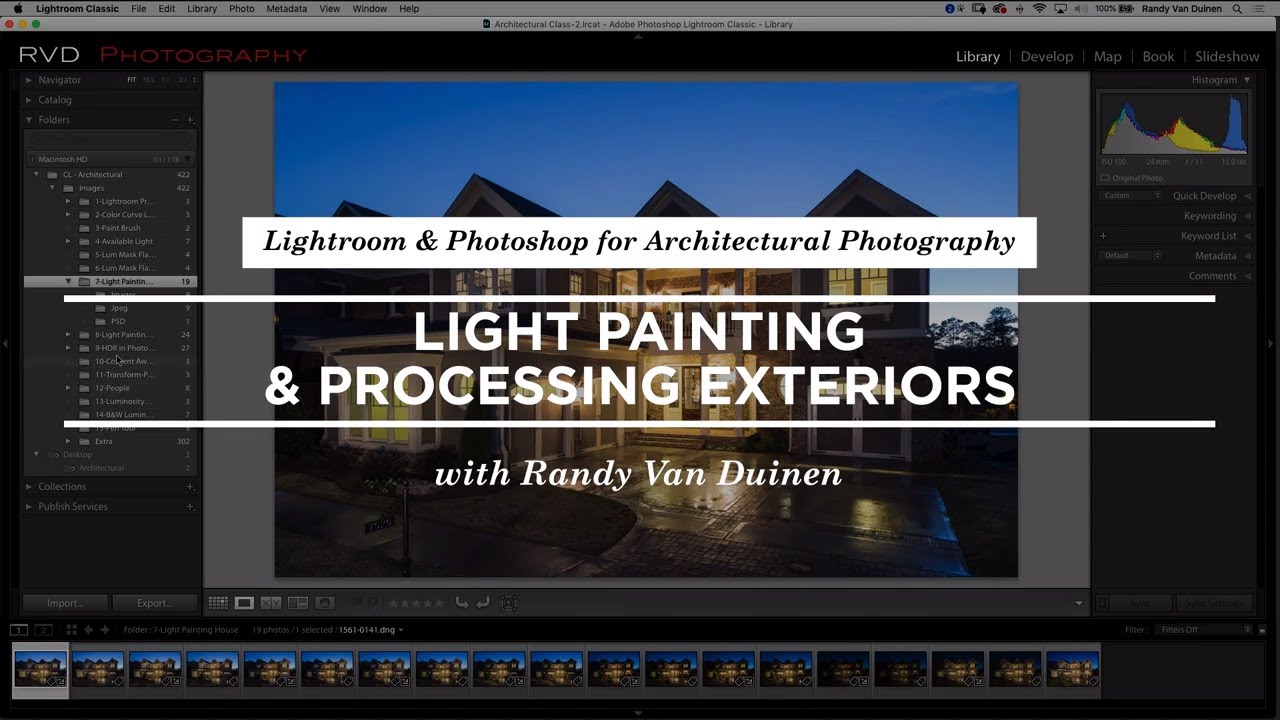
There’s a specific kind of frustration that comes with shooting architecture at dusk. You’ve got a beautiful building, you’ve nailed the composition, and the ambient light is almost perfect — except the facade is muddy, one side is underexposed, and no single frame has everything you want. I’ve been there more times than I’d like to admit. The usual answer is to drag in a strobe kit or rent a speed light setup, which is fine if you have the budget and an assistant.

How to Rescue a Blown-Out, Underexposed Wildlife Shot in Lightroom

How to Rescue a Blown-Out, Underexposed Wildlife Shot in Lightroom

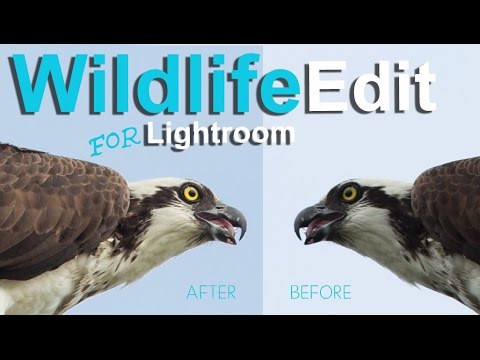
Wildlife photography is unforgiving. You get one shot at the heron, the fox, the hawk — and that shot is usually backlit, rushed, and technically a disaster. I’ve been there more times than I want to admit. The subject is dark, the sky is nuclear white, and somewhere in the chaos you managed to clip the bird’s wing at the frame edge. The question isn’t whether your wildlife shots have problems.

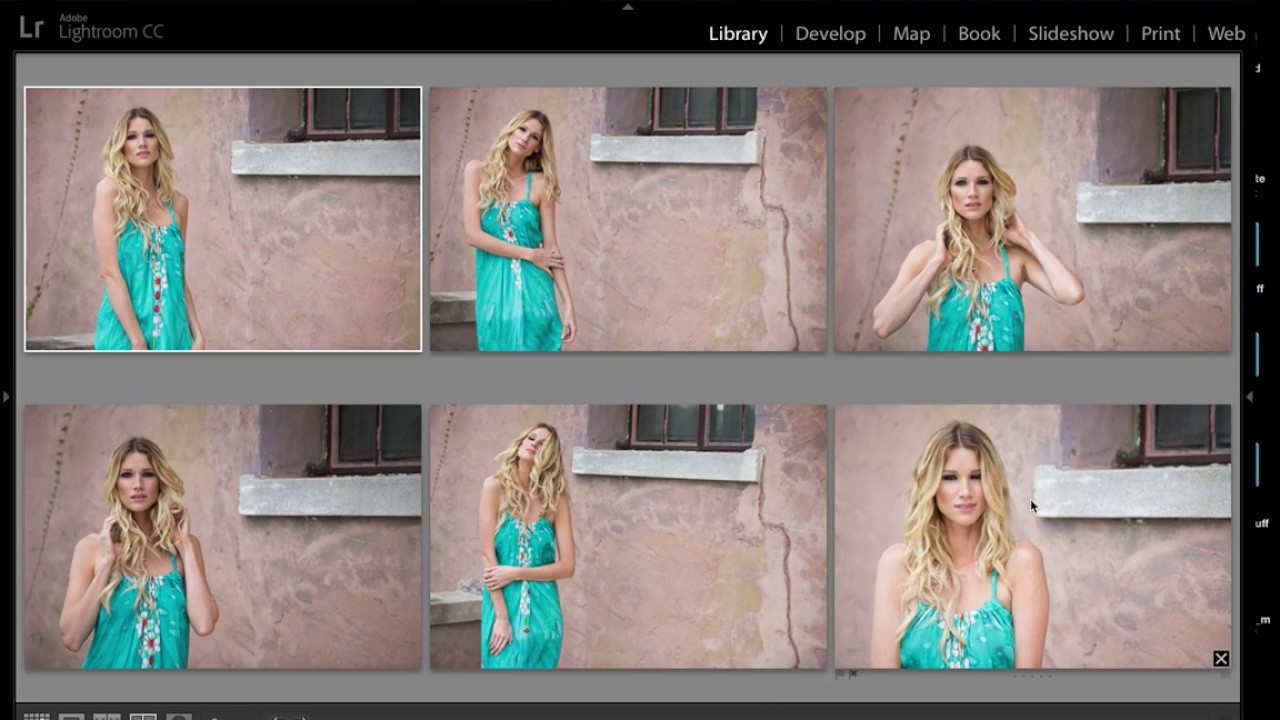
Stop Squinting at Your Filmstrip: How Lightroom's Survey Mode Finds Your Winner Faster

Stop Squinting at Your Filmstrip: How Lightroom's Survey Mode Finds Your Winner Faster

Culling is the part of my workflow that used to eat the most time and give me the least confidence. I’d sit there clicking through similar frames in the filmstrip, second-guessing every pick, and eventually just choosing the one that felt right in the moment, which is not exactly a repeatable system. The problem isn’t taste. The problem is that comparing eight nearly identical shots inside your own head, one at a time, is genuinely hard.

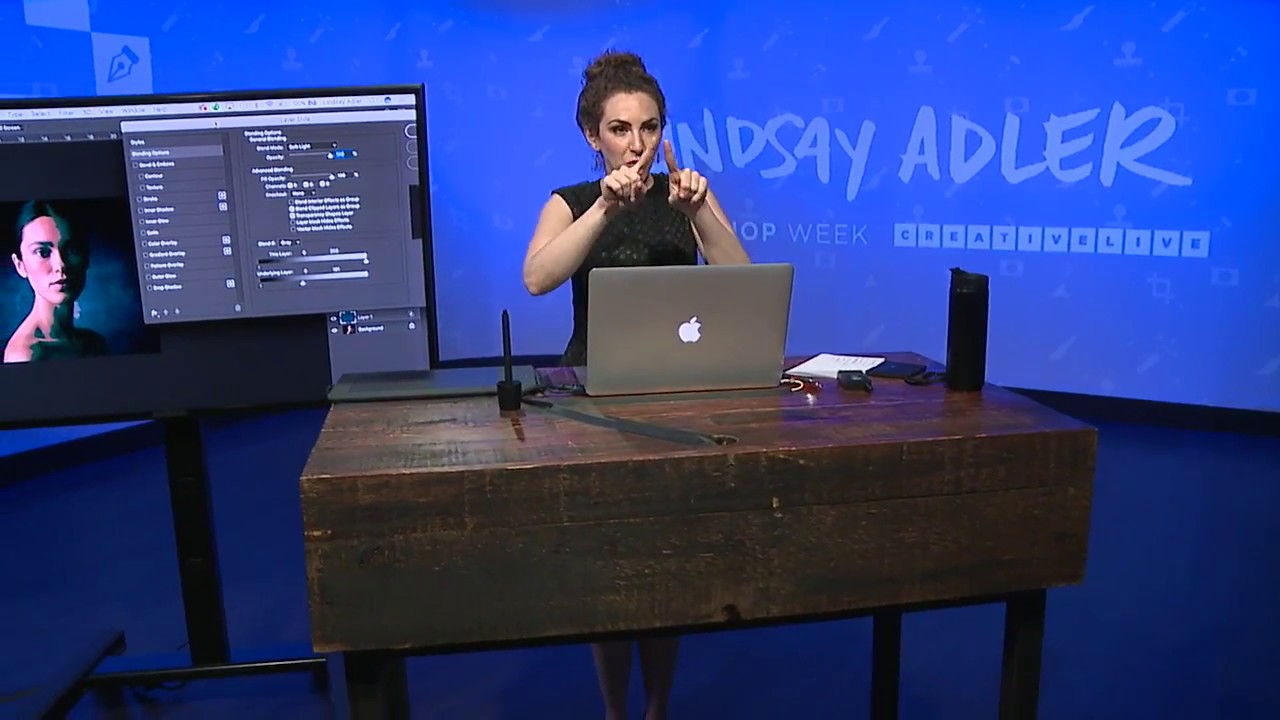
Blend If in Photoshop: The Color Toning Trick That Leaves Lightroom's Split Toning in the Dust

Blend If in Photoshop: The Color Toning Trick That Leaves Lightroom's Split Toning in the Dust

I have a complicated relationship with split toning in Lightroom. I use it constantly, I’ve named half my presets after it, and I also quietly resent how little control it gives me. You set a hue for the highlights, a hue for the shadows, and then Lightroom just… does it. Everywhere. On skin, on backgrounds, on the whites of someone’s eyes. There’s no telling it where to apply and where to back off.

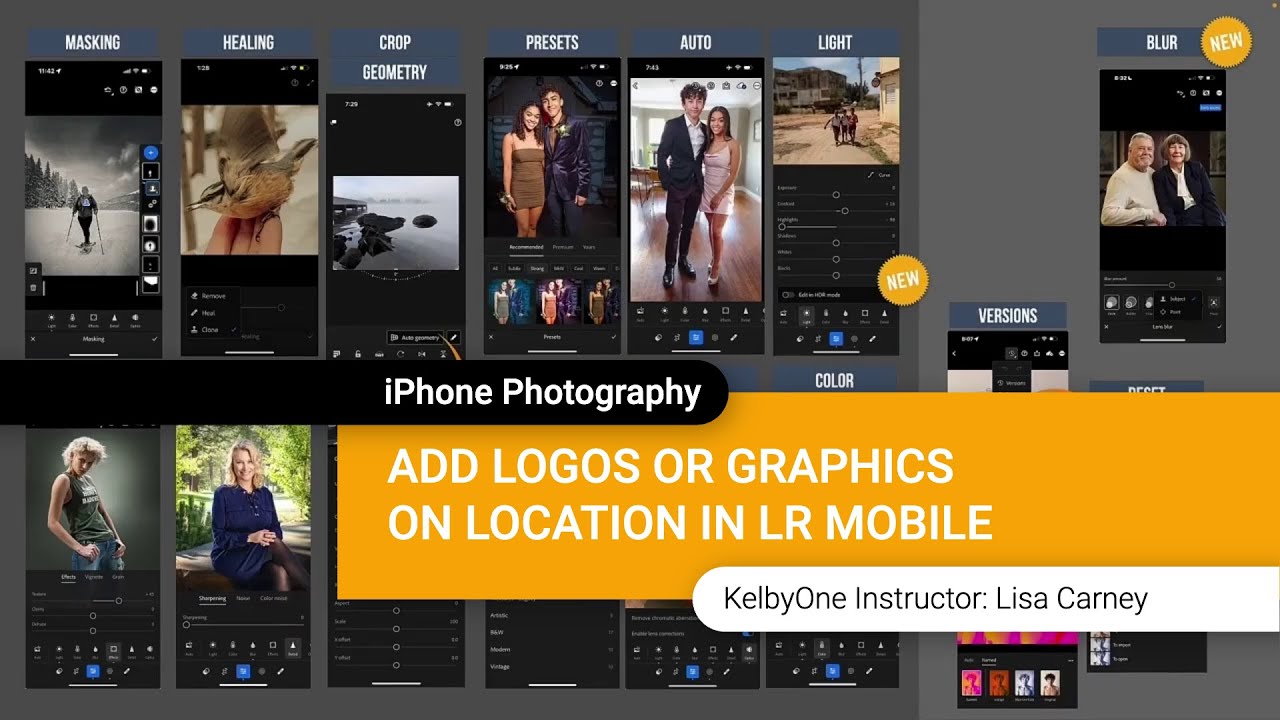
Brand Your Shots on the Spot: How to Add Logos and Textures in Lightroom Mobile

Brand Your Shots on the Spot: How to Add Logos and Textures in Lightroom Mobile

There’s a specific kind of chaos that happens when you’re shooting on location and a client texts asking for a watermarked preview image before you’ve even packed up your gear. I used to handle that by saying “I’ll send it when I’m back at my desk,” which is a perfectly reasonable answer that also makes you look slightly less impressive than the photographer who sends a branded image before they leave the parking lot.

The Lightroom Histogram Isn't Just for Looking At — Here's How to Edit With It

The Lightroom Histogram Isn't Just for Looking At — Here's How to Edit With It

There’s a certain kind of Lightroom knowledge that separates people who edit photos from people who understand what they’re doing to photos. For a long time, I was firmly in the first camp. I’d drag sliders around in the Basic panel until things looked good, occasionally glancing at the histogram like it was a car dashboard warning light I didn’t fully understand. It was decoration. Background noise. I knew it mattered, but I treated it like I treat the fine print on a software license.

Beginner, Intermediate, or Pro? Here's How Your Lightroom Edit Actually Gives You Away

Beginner, Intermediate, or Pro? Here's How Your Lightroom Edit Actually Gives You Away

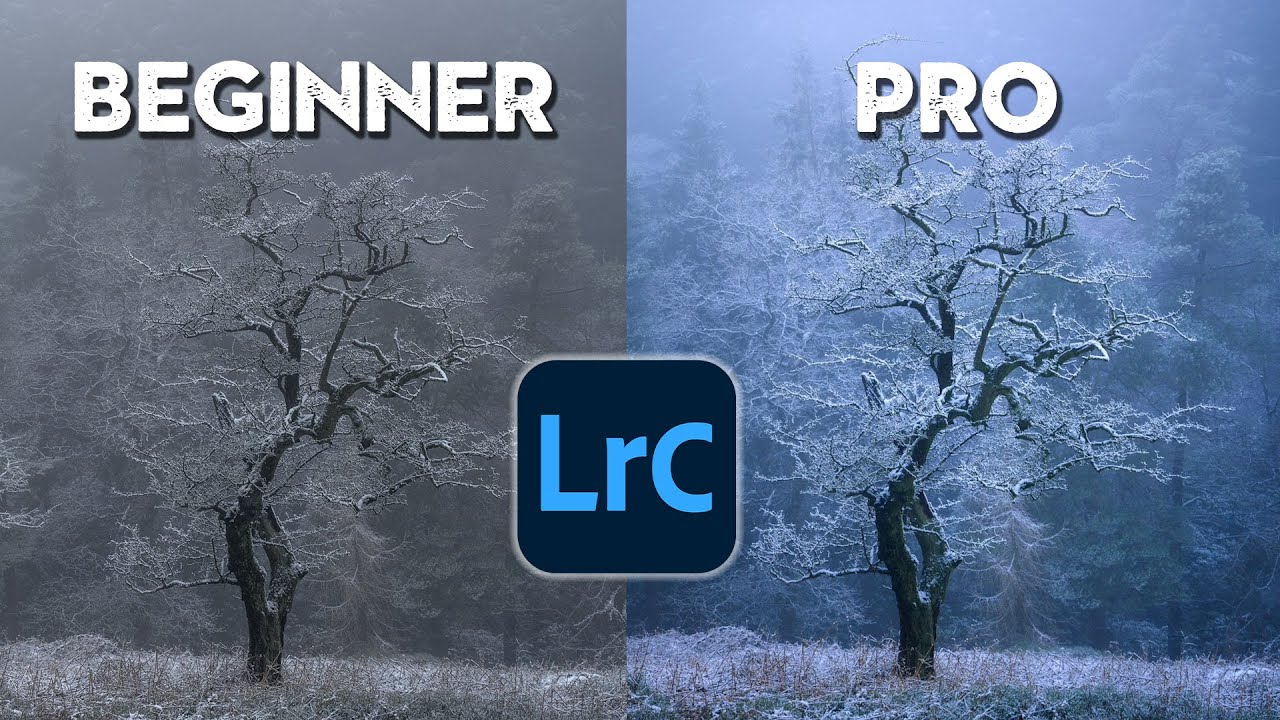
Every once in a while, a tutorial reframes something I thought I already understood. I’ve been editing in Lightroom long enough that I named my first preset pack after a Wilco album, but watching Nigel Danson work through the same two photos at three different skill levels made me pause and audit my own habits. Not because the tools were unfamiliar. Because the thinking behind them was. The premise of Watch the full tutorial on YouTube is deceptively simple: take two landscape photos and edit each one the way a beginner, intermediate, and pro would approach them.