From Flat RAW to Cinematic: How Pierre T. Lambert's Lightroom Workflow Actually Works

From Flat RAW to Cinematic: How Pierre T. Lambert's Lightroom Workflow Actually Works

There’s a particular kind of frustration that hits when you open a RAW file and it looks absolutely nothing like what you saw through the viewfinder. Flat, muddy, lifeless. I’ve been editing photos long enough to know that the gap between the RAW capture and the finished image is where most photographers either give up or develop a real workflow. For a long time, my own workflow was a patchwork of habits I’d picked up from a dozen different sources, none of them quite fitting together.

The Adjustment Brush Shortcut That Saves Me From Toggling Auto Mask Every 30 Seconds

The Adjustment Brush Shortcut That Saves Me From Toggling Auto Mask Every 30 Seconds

There’s a specific kind of editing frustration that I’ve felt probably a thousand times. You’re painting a local adjustment across a large area of a photo, moving fast, and then you hit an edge. Maybe it’s the rim of a coffee cup, the shoulder of a jacket, a hard line between sky and building. Suddenly you have two bad options: slow everything down by turning on Auto Mask and deal with the lag, or keep painting fast and accept that you’ll bleed color or exposure onto something you didn’t want to touch.

How to Edit Dark and Moody Photos in Lightroom: A Step-by-Step Breakdown

How to Edit Dark and Moody Photos in Lightroom: A Step-by-Step Breakdown

There’s a specific kind of photo that stops your scroll. Dark, atmospheric, a little desaturated, like it was found in a shoebox in someone’s attic. It doesn’t look over-processed. It looks like it has a past. Getting there in Lightroom is less about applying one magic slider and more about understanding a chain of decisions that each build on the last. I’ve been chasing that look for years, and Watch the full tutorial on YouTube from photographer Jessica Kobeissi is one of the cleaner, more honest breakdowns I’ve seen of the process.

Two Lightroom Moves That Made Scott Kelby's Greece Photos Look That Good

Two Lightroom Moves That Made Scott Kelby's Greece Photos Look That Good

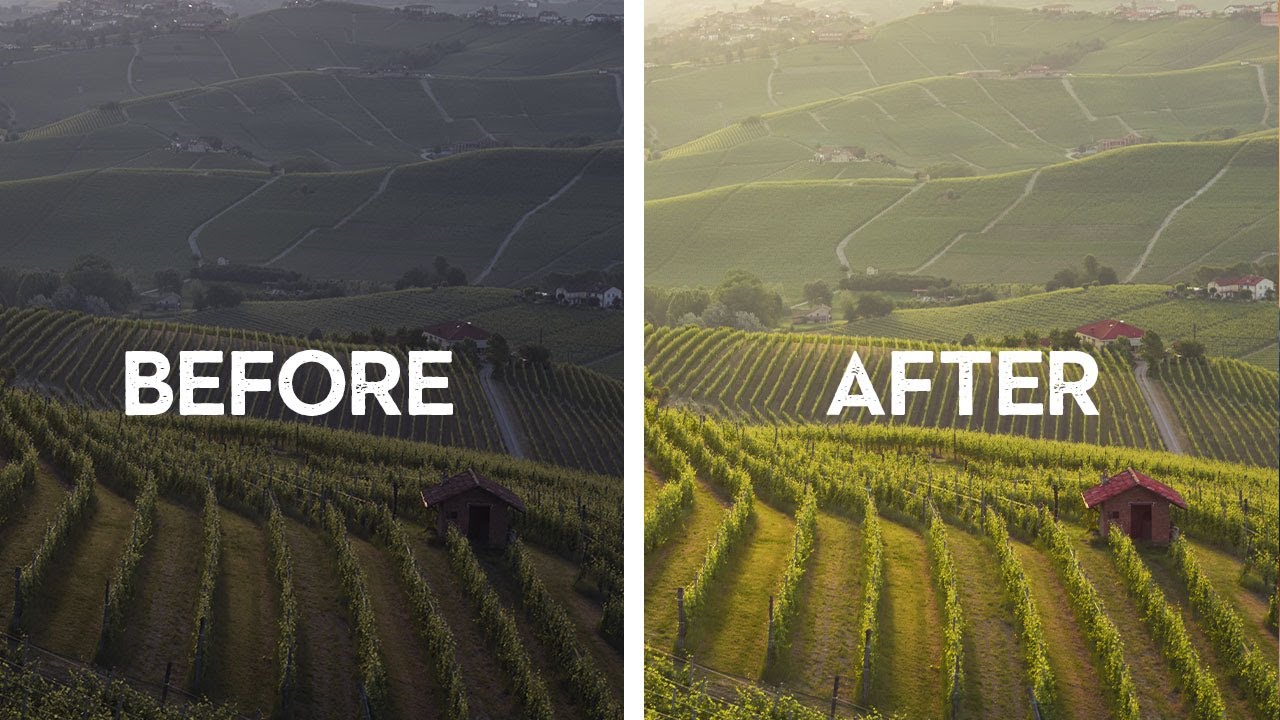
There’s a specific kind of frustration I know well: you shoot in a genuinely beautiful location, the light is doing everything right, and then you open the RAW files and they look like a photocopy of what you actually saw. Flat. Gray. Like the camera just gave up. For years, my fix was to spend 45 minutes per image throwing sliders around until something clicked. It worked, but it wasn’t a workflow.

How to Move Your Lightroom Catalog to a New Computer Without Losing Your Mind

How to Move Your Lightroom Catalog to a New Computer Without Losing Your Mind

Every few years, a new computer shows up and suddenly you’re staring at a migration project you were not mentally prepared for. I’ve been there. New laptop arrives, old one needs to go, and somewhere in the middle is your entire Lightroom catalog with years of edits, collections, and presets that you absolutely cannot afford to lose or rebuild from scratch. The process is not complicated once you understand what Lightroom actually is doing under the hood, but if you go in blind, you will end up with a library full of question marks and a very bad afternoon.

Stop Guessing at Print Settings: Lightroom Export for Prints That Actually Match Your Screen

Stop Guessing at Print Settings: Lightroom Export for Prints That Actually Match Your Screen

Printing your own work should feel like a reward. You spent hours getting the edit right, the colors are dialed in, the tones sit exactly where you want them. Then the print comes back and it looks like it was processed in a different decade. I used to think this was just the cost of printing, something you accepted like buffering on a slow internet connection. Turns out, it’s almost entirely a workflow problem, and it’s fixable.

Lightroom's New Lens Blur Panel Is the Background Blur Feature We've Been Waiting For (Sort Of)

Lightroom's New Lens Blur Panel Is the Background Blur Feature We've Been Waiting For (Sort Of)

Every few months I get the same DM from someone who just discovered Lightroom: “Can I blur the background without going into Photoshop?” For years, my honest answer was no. You could drag Texture and Clarity into the negatives and get something that looked like a photo taken through a shower door, but nothing that actually simulated a shallow depth of field. That was always a round-trip-to-Photoshop situation. The October 2023 update to Lightroom Classic changes that answer, at least partially.

Plan the Shot, Then Let It Go: What a Canyon Waterfall Taught Me About Color Grading

Plan the Shot, Then Let It Go: What a Canyon Waterfall Taught Me About Color Grading

There’s a specific kind of frustration I know well: standing in front of a stunning location, firing off a solid technical shot, and then opening Lightroom later only to feel like something is just… missing. The image is fine. But fine isn’t why you drove two hours into a canyon. That gap between “technically correct” and “actually feels like the place” is where color grading lives, and it’s also the exact problem William Patino sets out to solve in this tutorial on shooting and editing a canyon waterfall.

Stop Using Default Book Layouts: How to Build Custom Page Cells in Lightroom

Stop Using Default Book Layouts: How to Build Custom Page Cells in Lightroom

Every time I finished a project and moved into the Book module, I’d spend ten minutes scrolling through the built-in layout templates, picking the least-wrong one, and moving on. Not the best one. The least wrong one. There’s a difference, and if you’ve used Lightroom’s Book module for anything more than a quick blurb project, you know exactly what I mean. The templates are fine for generic use, but the moment you have a specific vision for how three tall portraits should sit side by side, or how an image should bleed into a particular corner, the template library starts feeling like trying to find a song you like on a radio station that’s almost right.

Fake Warmth, Real Results: What Matt Kloskowski's Photo Makeover Taught Me About Saving a Flat Shot

Fake Warmth, Real Results: What Matt Kloskowski's Photo Makeover Taught Me About Saving a Flat Shot

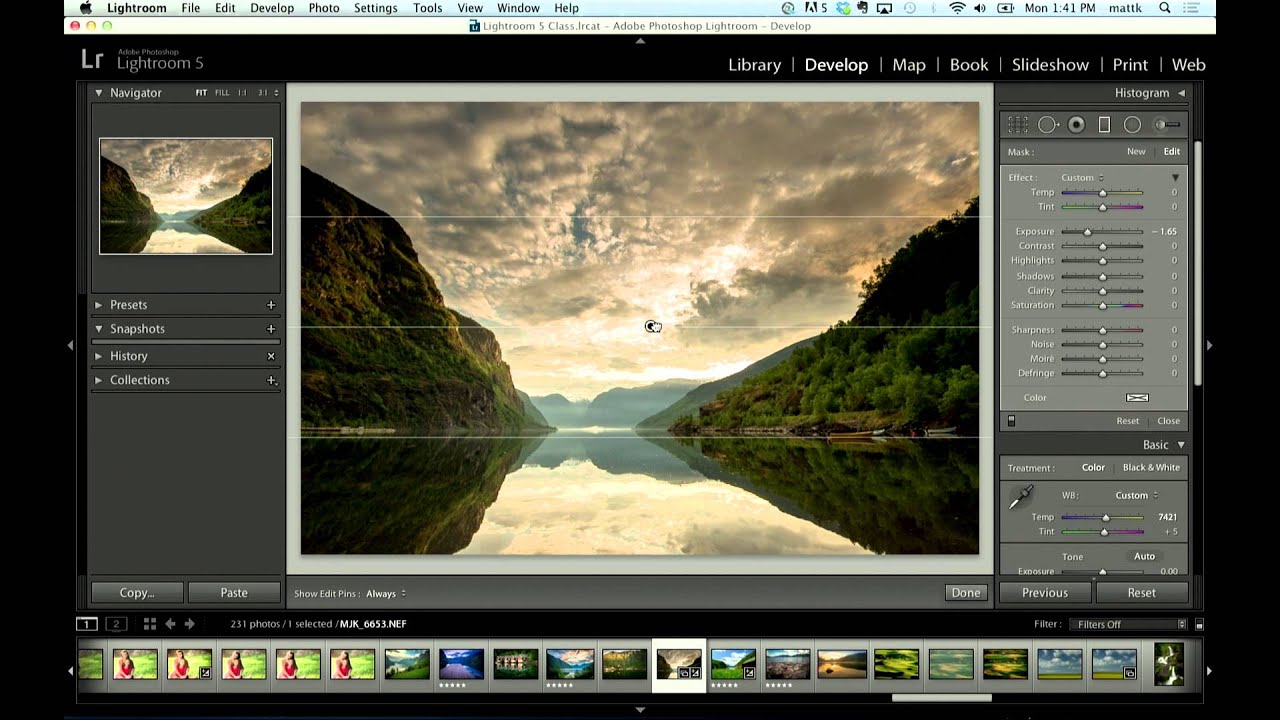
There’s a specific kind of photo that shows up in my editing queue more than any other: technically fine, emotionally flat. Good composition, bad light, shot at the wrong time of day. The kind of image where you know something is there but the raw file just doesn’t show it yet. For years I’d muscle through these with heavy-handed contrast moves that never quite worked. Then I started paying closer attention to how editors like Matt Kloskowski approach the problem, and it shifted the way I think about the entire process.

The Sun Glow Trick Lightroom Pros Don't Talk About (But Definitely Use)

The Sun Glow Trick Lightroom Pros Don't Talk About (But Definitely Use)

There’s a specific kind of frustration that comes from looking at a landscape photo and knowing something is off, but not being able to name it. I ran into this constantly early on, editing press shots for my band because nobody else was going to do it. The sun in a shot would look harsh and stamped-on, like someone pasted a bright circle onto the sky rather than actually photographing one.

Lightroom's Book Module Just Got a Lot Less Annoying — Here's What's New

Lightroom's Book Module Just Got a Lot Less Annoying — Here's What's New

Photo books have always been one of those Lightroom features I wanted to love but kept abandoning halfway through. The cell-based layout system felt like it was designed by someone who had never actually tried to build a visually interesting spread under deadline pressure. I’d drag a cell, watch it snap somewhere useless, try to nudge it, and eventually just export everything to InDesign and move on with my life.