The Photoshop Toolkit Sue Bryce Actually Uses for Portrait Retouching (And Why It's Faster Than You Think)

The Photoshop Toolkit Sue Bryce Actually Uses for Portrait Retouching (And Why It's Faster Than You Think)

There’s a specific kind of editing paralysis that hits when you’re staring at a folder of 80 portrait images and you know, deep down, that your retouching process is going to eat your entire afternoon. I’ve been there. I spent years building Lightroom workflows designed to get me out of that trap, and somewhere along the way I started paying close attention to how working portrait photographers structure their Photoshop side of things, not just the catalog management and global adjustments, but the actual per-image muscle memory.

Shadow Recovery Is Killing Your Photos (Here's How to Fix the Noise It Creates)

Shadow Recovery Is Killing Your Photos (Here's How to Fix the Noise It Creates)

There’s a trade-off nobody warns you about when you first start editing in Lightroom. You shoot something in low light, you get it into the Develop module, and you drag those shadows up to rescue all that beautiful detail you knew was hiding in the dark. The image opens up. You feel like a genius. Then you zoom in and see it: grain. Speckles. A texture that looks less like film and more like your sensor had a bad night.

Selective Hue Adjustment in Lightroom Classic: The Feature Editors Have Been Begging For

Selective Hue Adjustment in Lightroom Classic: The Feature Editors Have Been Begging For

There’s a specific kind of frustration that every Lightroom editor knows. You’ve got a portrait where the background is a warm, muddy green and you want it cooler. Or you shot golden hour and the highlights went a little too orange on someone’s skin. You open the HSL panel, drag the hue slider, and watch the color shift everywhere at once, including in places you absolutely didn’t want it to touch.

Three Radial Filters and a Black-and-White Conversion: The Depth Portrait Trick I Use Every Week

Three Radial Filters and a Black-and-White Conversion: The Depth Portrait Trick I Use Every Week

Portrait work has a specific problem that nobody warns you about when you’re starting out. You shoot in decent light, you nail the focus, and then you open the file in Lightroom and the subject just sits there, flat against the background like they were cut out of a magazine and glued onto a different photo. No separation, no depth, no sense that the camera actually cared more about them than anything else in the frame.

The Lightroom Calibration Panel Is Doing Something Weird to Your Colors (And You Should Let It)

The Lightroom Calibration Panel Is Doing Something Weird to Your Colors (And You Should Let It)

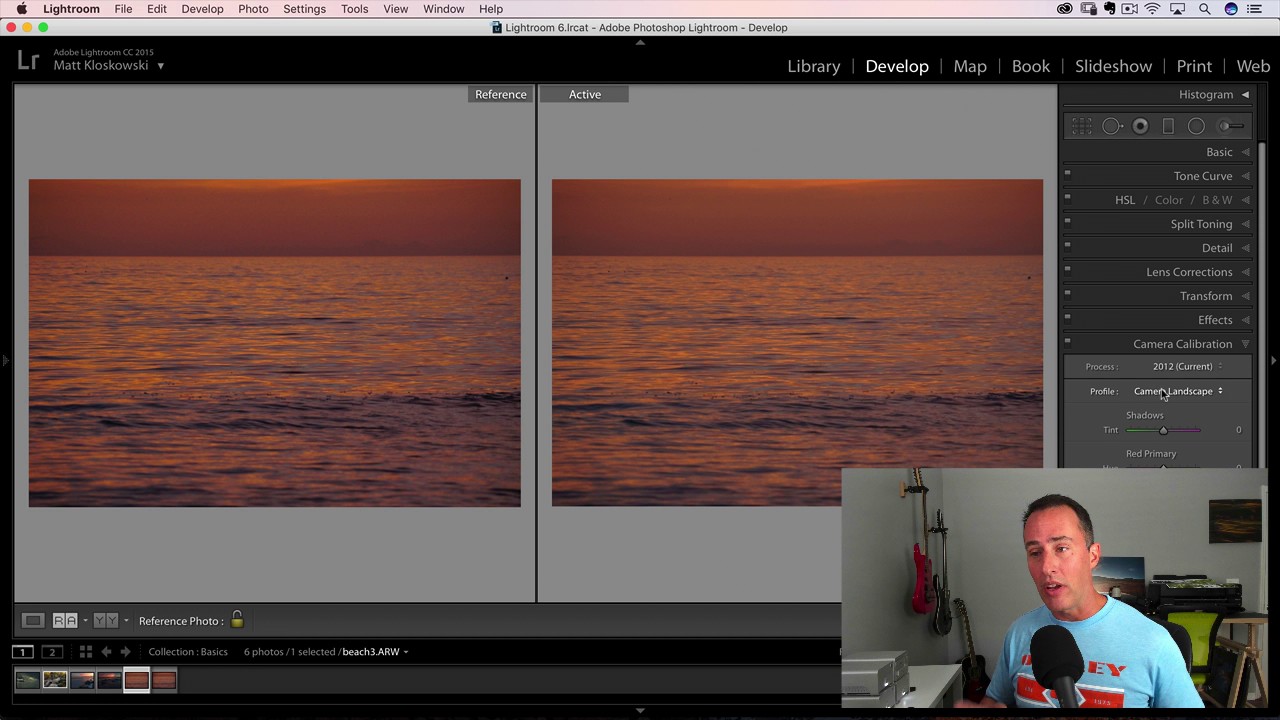
There’s a panel in Lightroom that I ignored for an embarrassingly long time. Not because I didn’t know it existed, but because every time I opened it, nothing about it made intuitive sense. The sliders didn’t behave the way I expected. The results felt accidental. So I’d close it and go back to the HSL panel where everything felt safe and logical. I suspect most editors do the same thing, because the Camera Calibration panel has the energy of a mysterious neighbor you’ve never actually talked to.

How to Pull a Usable Image Out of an Underexposed RAW File in Lightroom

How to Pull a Usable Image Out of an Underexposed RAW File in Lightroom

We’ve all been there. You’re out shooting, the light is doing something genuinely magical, you fire off the shot, and then you look at the back of the camera and feel your stomach drop. The exposure is off. Two stops under, maybe more. The moment is gone and you’re left with a dark, flat file that looks like it belongs in the trash. I used to think those shots were just losses.

Build a Stunning 11-Photo Wedding Book Page in Lightroom's Print Module (Free Preset Included)

Build a Stunning 11-Photo Wedding Book Page in Lightroom's Print Module (Free Preset Included)

Every wedding photographer I know has a folder somewhere called “book layouts - FINAL” that is neither final nor organized. You know the drill: you want something that looks editorial, something that tells the story of an entire wedding day on a single spread, but building it from scratch feels like assembling furniture without instructions. I’ve been there more times than I want to admit. That’s why this tutorial from Scott Kelby over at KelbyOne stopped me mid-scroll.

Lightroom's AI Denoise Tool Actually Works — Here's the Proof

Lightroom's AI Denoise Tool Actually Works — Here's the Proof

I shoot a lot of golden hour and blue hour landscapes, which means I spend a lot of time fighting noise. ISO creep is real, especially when you’re chasing a specific shutter speed to keep moving water silky or freeze wind-blown leaves. For years, Lightroom’s built-in noise reduction was my least favorite part of the workflow. Crank the luminance slider and yes, the grain disappears, but so does everything else. The fine texture in bark, the detail in distant ridgelines, the individual strands of a waterfall.

From Flat to Film: Scott Kelby's Black & White Lightroom Workflow (And What I Added to It)

From Flat to Film: Scott Kelby's Black & White Lightroom Workflow (And What I Added to It)

Most of my black and white conversions used to live in a frustrating middle ground. Not bad enough to delete, not good enough to post. I’d desaturate, bump contrast, call it done. The results looked like a color photo that had given up rather than a deliberate black and white image. It wasn’t until I started paying closer attention to the Profile Browser in Lightroom Classic that things clicked, and this Scott Kelby tutorial on black and white conversion is the clearest breakdown I’ve seen of exactly how to use it.

Stitching the Sky: A Practical Guide to Building Panoramas Inside Lightroom

Stitching the Sky: A Practical Guide to Building Panoramas Inside Lightroom

There’s a specific kind of frustration that comes from shooting a killer landscape, knowing you captured something real out there, and then opening your files to find that no single frame holds the whole scene. I’ve been there more times than I want to count. Wide-angle lenses help, but they also introduce distortion that can make a beautiful horizon look like it’s bending toward you. The smarter solution, the one working photographers have been using for years, is shooting a sequence of overlapping frames and stitching them into a panorama.

Dramatic Black & White Landscapes in Lightroom: What I Learned From Shooting in a Downpour

Dramatic Black & White Landscapes in Lightroom: What I Learned From Shooting in a Downpour

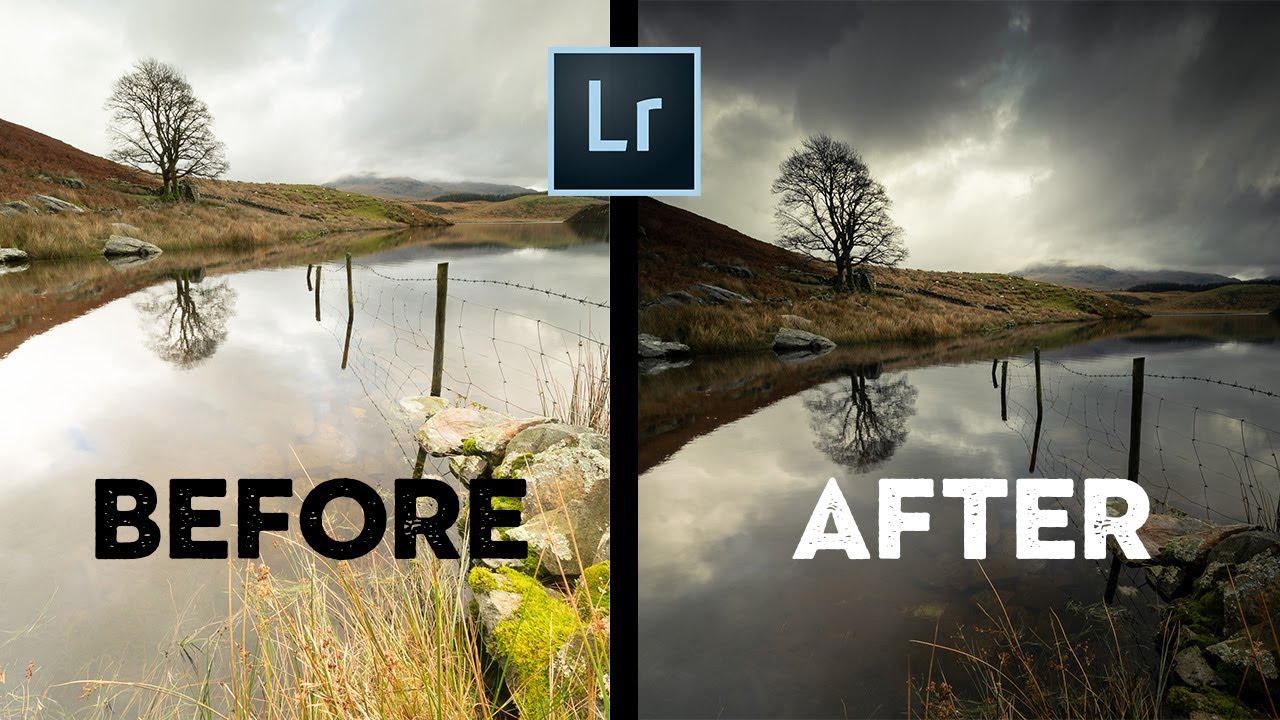
There’s a specific kind of RAW file that shows up in my Lightroom catalog way too often. The exposure is fine, the focus is sharp, the composition is solid. And yet the image sits there looking like a stock photo of nowhere in particular. No weight. No atmosphere. Just a technically correct photograph that nobody would ever stop scrolling for. If you shoot landscapes, you know exactly what I’m talking about.

Where Did My Photos Go? The Lightroom Import Method That Finally Makes Sense

Where Did My Photos Go? The Lightroom Import Method That Finally Makes Sense

There is one question I heard constantly when I first started helping friends learn Lightroom: “Where did my photos go?” Not “how do I edit this” or “what’s a good preset for skin tones” - just a panicked message asking why an entire shoot had disappeared into the void. The answer, almost every single time, came back to the import step. People skip past it, click through the dialog without reading it, and then spend an hour hunting through their hard drive wondering if they accidentally deleted a whole card full of portraits.