Where Do Your Lightroom Mobile Photos Actually Live? Here's the Truth

Where Do Your Lightroom Mobile Photos Actually Live? Here's the Truth

I’ve had the same conversation probably a hundred times. Someone corners me after a workshop, or slides into my DMs, and the question is always some version of the same thing: “Wait, so where are my photos actually going when I use Lightroom Mobile?” It’s one of those questions that sounds simple but opens up into something genuinely confusing if you haven’t had it laid out clearly. Adobe’s documentation doesn’t exactly make it easy either.

From Foggy RAW File to Final Print: What I Learned Watching Nigel Danson Edit a Landscape Photo

From Foggy RAW File to Final Print: What I Learned Watching Nigel Danson Edit a Landscape Photo

There’s a particular kind of frustration that comes from shooting a genuinely great scene and then watching the edit fall apart at your desk. You were there. You saw the fog rolling through the heather. You exposed carefully. And now the RAW file looks flat, muddy, and nothing like what you remember. This is the problem that a strong, repeatable editing workflow actually solves, and it’s why I keep coming back to tutorials from photographers who shoot seriously and edit seriously.

The Spray Can Trick That Cut My Culling Time in Half

The Spray Can Trick That Cut My Culling Time in Half

There’s a moment in every big shoot where you’re staring at 800 raw files and the math stops working in your favor. You could batch-select and sync settings, sure. But syncing assumes every image in a range wants the same treatment, and that’s almost never true. What you actually want is to move fast and stay selective. That gap between speed and intention is exactly what this technique fills. In this CreativeLive tutorial, the instructor walks through one of Lightroom’s most underused tools: the spray can, repurposed not for keywords but for style.

What a Stormy Beach Taught Me About Patient, Purposeful Editing in Lightroom

What a Stormy Beach Taught Me About Patient, Purposeful Editing in Lightroom

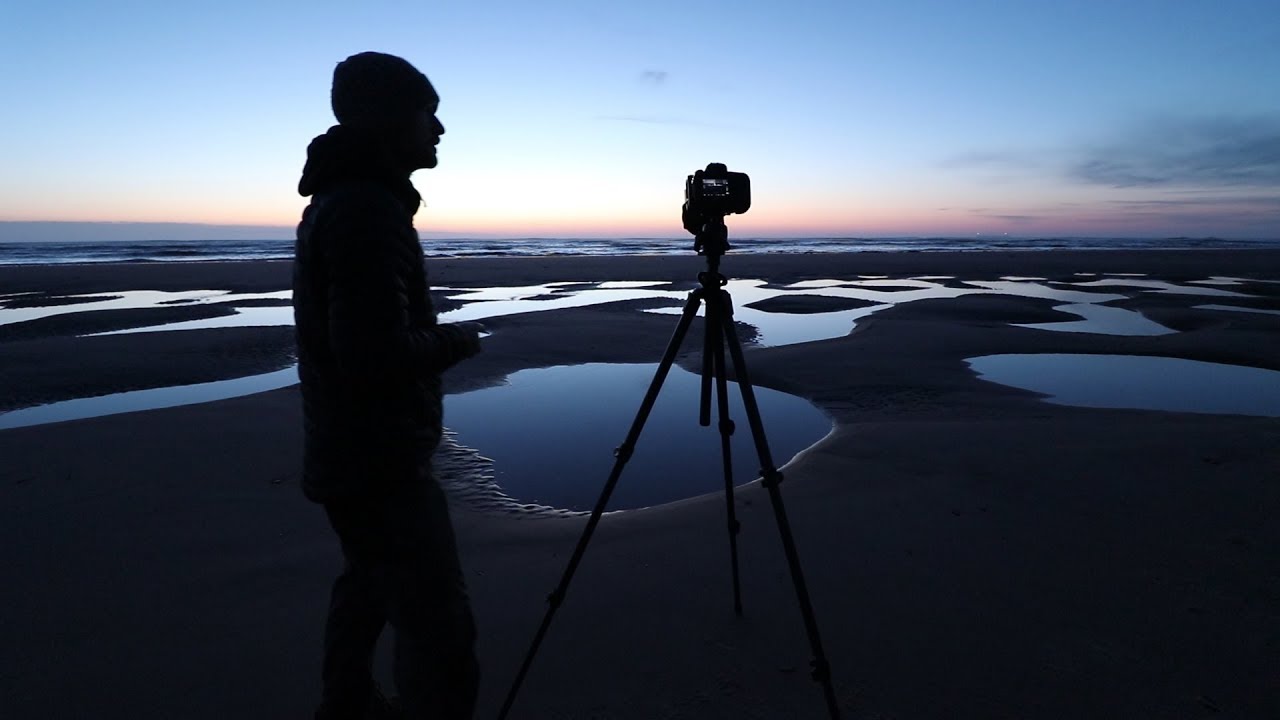
There’s a specific kind of frustration I know well: you show up to a location, the light is mediocre, your expectations are low, and somehow you still come home with a frame worth editing. The trap most people fall into is that they only learn to edit the easy shots, the ones with dramatic skies and perfect golden light. But the real skill, the one that actually makes you better, is knowing how to draw something out of a photo that wasn’t handed to you on a plate.

Lightroom's Point Color Tool Finally Lets You Target Colors Like a Surgeon (Not a Sledgehammer)

Lightroom's Point Color Tool Finally Lets You Target Colors Like a Surgeon (Not a Sledgehammer)

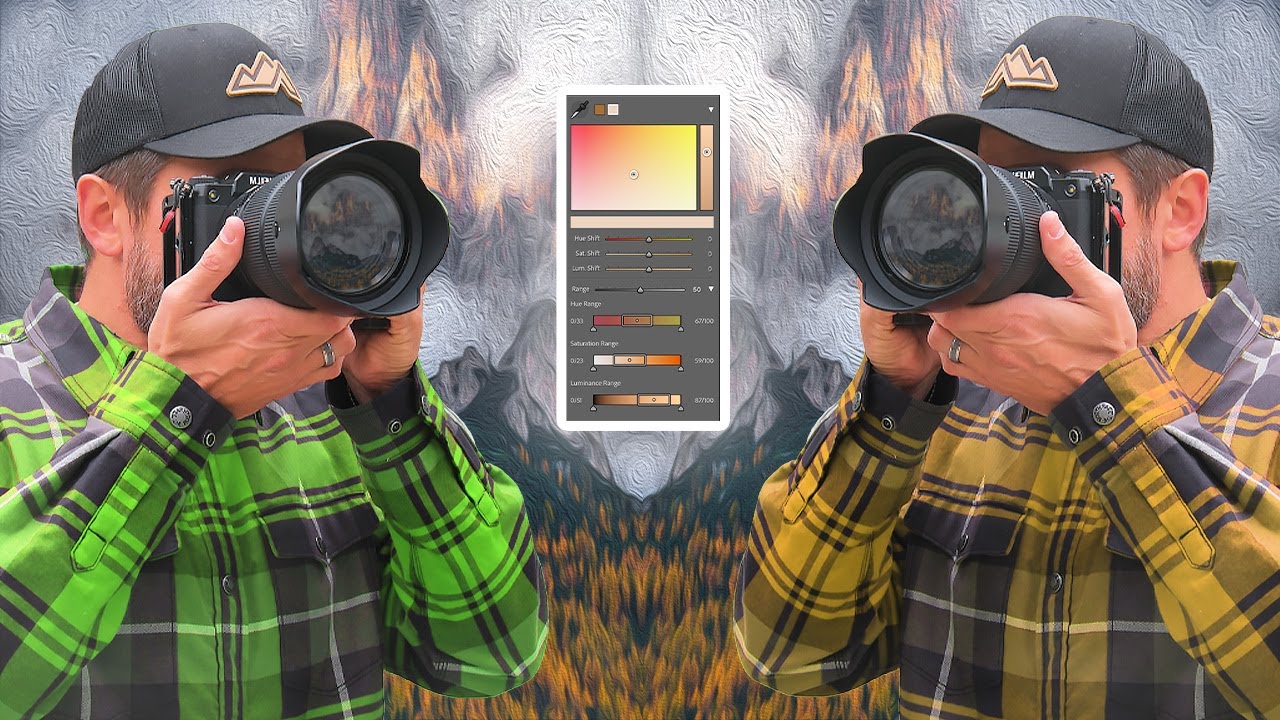
For years, the one thing that sent me running back to Capture One mid-project was targeted color control. The HSL mixer in Lightroom always felt like trying to adjust the volume on one instrument by turning up the whole amplifier. You’d drag a slider, trying to deepen those amber tones in a golden-hour shot, and suddenly your entire sky shifted too. It was blunt. It was frustrating. And honestly, it was the strongest argument in the Lightroom vs.

The Lightroom Tool Hiding in Plain Sight (And Why It Changed How I Use the Tone Curve)

The Lightroom Tool Hiding in Plain Sight (And Why It Changed How I Use the Tone Curve)

I have a complicated relationship with the tone curve. For years I treated it like that one piece of gym equipment I kept walking past - aware of it, slightly intimidated by it, quietly hoping nobody noticed I was avoiding it. I knew it was powerful. I just never fully trusted myself to use it without wrecking a perfectly good edit. What I didn’t know - and what stopped me cold when I saw it demonstrated - is that there’s a small targeting tool sitting right inside the tone curve panel that most editors have never intentionally clicked.

Fix Overexposed Backgrounds Without Touching Your Subject in Lightroom

Fix Overexposed Backgrounds Without Touching Your Subject in Lightroom

There’s a specific kind of frustration that comes with a photo that’s almost perfect. The subject looks great, the composition is solid, but the background is blown out, and every time you drag the exposure slider down to fix it, your subject goes flat and dark with it. I’ve been there more times than I care to admit. It’s one of those problems that looks like a retouching issue but is really a workflow issue.

Steal Any Color Grade in Minutes: The Reference Image Trick Professionals Actually Use

Steal Any Color Grade in Minutes: The Reference Image Trick Professionals Actually Use

There’s a specific kind of frustration that hits when you see a photo with a color grade you love and have absolutely no idea how to recreate it. You know the feeling. You’re staring at a fashion editorial with that perfect warm-teal tension, or a moody film still with shadows that feel almost purple, and you’re thinking: where do I even start? I’ve been there more times than I want to admit.

How to Rescue a Blown-Out Sunset Photo Using Lightroom's Tone Controls (Start to Finish)

How to Rescue a Blown-Out Sunset Photo Using Lightroom's Tone Controls (Start to Finish)

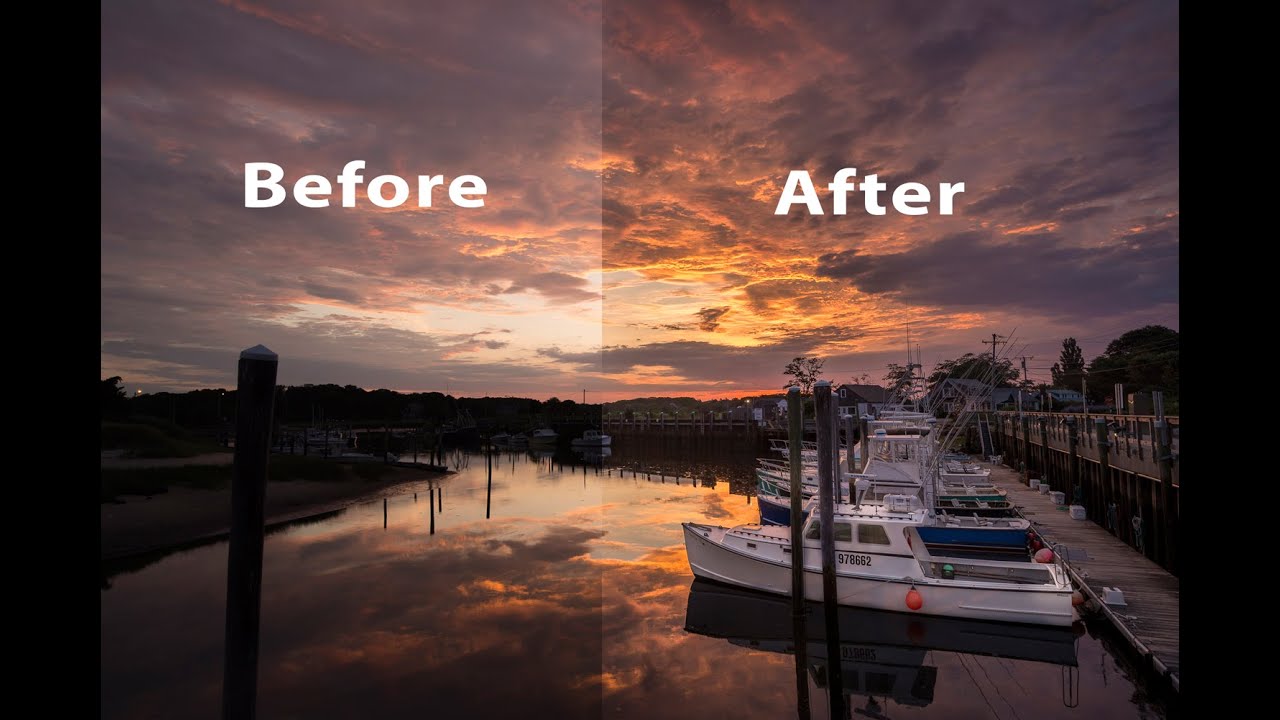
Sunset photos are the ones that fool you into thinking you nailed it in camera. The light is gorgeous, the composition feels right, and then you open the RAW file and the sky looks like a nuclear event while the dock is a silhouette. I’ve been there more times than I want to count. It’s one of the most common problems I hear about from readers, and it’s also one of the most solvable ones once you understand how Lightroom’s tone controls actually work together.

Stop Over-Editing Your Photos: What Peter McKinnon's Leica Workflow Taught Me About Restraint

Stop Over-Editing Your Photos: What Peter McKinnon's Leica Workflow Taught Me About Restraint

There’s a version of me from about six years ago who would have wrecked these photos. I know this because I still have the hard drives. Too much contrast, greens cranked to neon, a heavy-handed preset slapped on top like a bumper sticker. I thought volume equaled quality. I was wrong, and it took years of editing other people’s work before I figured out why my own stuff looked so processed.

Purple Fringing and Publish Services: Two Lightroom Fixes You'll Use Every Single Week

Purple Fringing and Publish Services: Two Lightroom Fixes You'll Use Every Single Week

There’s a specific kind of frustration that hits when you deliver a print to a client and then spot the problem yourself, standing right there next to them. Purple fringing along a roofline, a green halo eating into a branch, some artifact you somehow missed at screen size. I’ve been there more than once, and it never gets less embarrassing. The fix exists, it takes about fifteen seconds, and for whatever reason it doesn’t get talked about enough in beginner and intermediate circles.

Lightroom's June 2022 Update Finally Fixed the Two Things That Drove Me Crazy

Lightroom's June 2022 Update Finally Fixed the Two Things That Drove Me Crazy

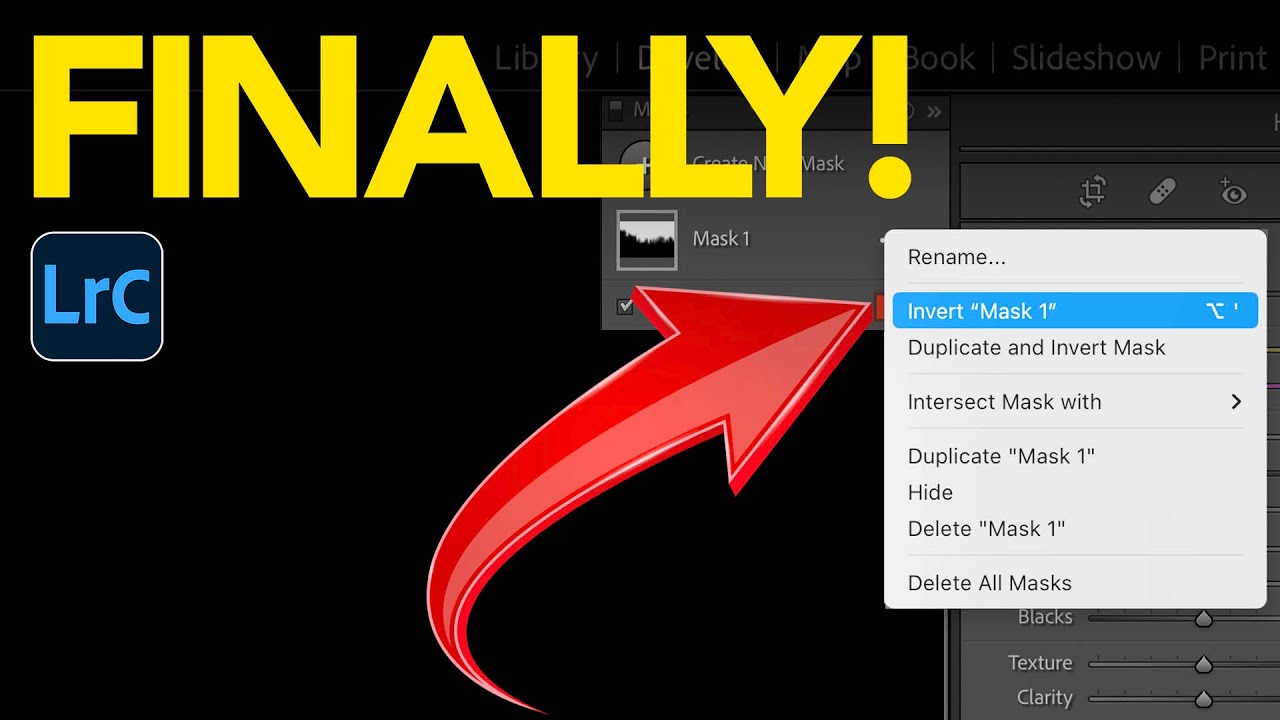
Every few months I open a Lightroom update and feel genuinely relieved. Not excited in a tech-launch way, but relieved, the way you feel when someone finally fixes a squeaky door you’ve been ignoring for a year. The June 2022 release of Lightroom Classic 11.4 hit like that. When Adobe introduced AI masking back in October 2021, I was all in immediately. Select Sky, Select Subject, the whole suite. But two limitations kept tripping me up in real sessions: you couldn’t sync AI masks across multiple photos without losing the mask entirely, and inverting a complex mask to affect the background was clunkier than it needed to be.