From Print to Web to Book: Making Sense of Lightroom's Output Modules

From Print to Web to Book: Making Sense of Lightroom's Output Modules

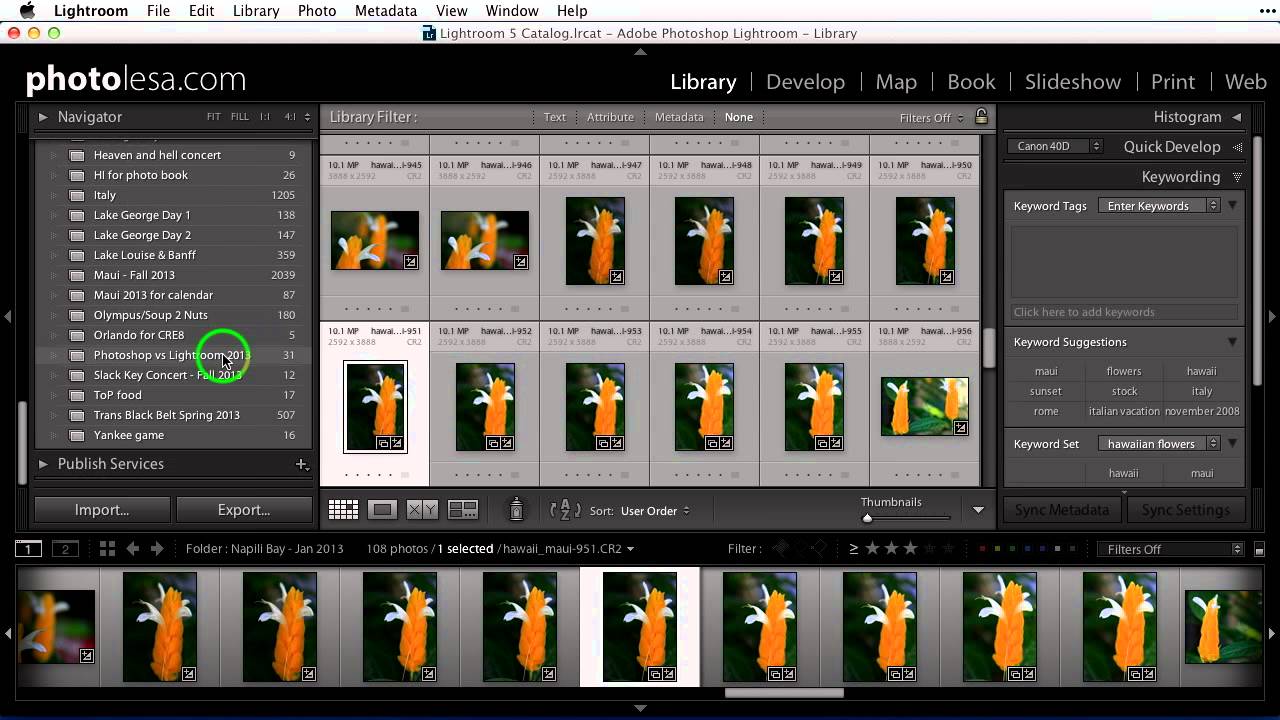
There’s a moment most Lightroom users hit where editing feels great but actually delivering anything feels like navigating a foreign country without a map. You’ve got a gorgeous, color-graded image sitting in Develop. Now what? Print it? Export it? Build a gallery? The output side of Lightroom is where a lot of people quietly give up and just drag files into a folder. I was doing the same thing for longer than I’d like to admit.

Why Lightroom Feels Sluggish (And the Import Setting That Fixes Most of It)

Why Lightroom Feels Sluggish (And the Import Setting That Fixes Most of It)

There’s a certain irony in spending more time waiting for Lightroom to load a photo than you spent actually taking it. I’ve been there more times than I’d like to admit. Early in my editing career, I chalked slow performance up to some cosmic tax on creative work. Turns out, most of it was self-inflicted. A few wrong settings, an underpowered drive, and a catalog stored in the worst possible location will bring even a capable machine to its knees.

Dirty, Saturated, and Beautiful: How to Nail the Lomo Effect in Lightroom

Dirty, Saturated, and Beautiful: How to Nail the Lomo Effect in Lightroom

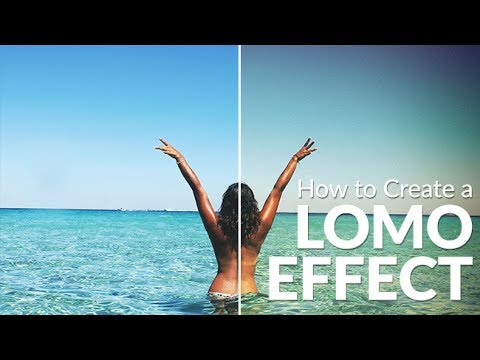
There’s a specific kind of photo that stops you mid-scroll. Edges gone dark and murky, colors pushed past polite, the center of the frame almost glowing by contrast. It looks like it came out of a thrift store camera bag, and that’s exactly the point. The Lomo effect has been quietly running through editorial photography, album artwork, and travel photography for years, and if you’ve ever tried to fake it by cranking saturation and slapping on a vignette, you already know that approach produces something closer to “toddler with a filter app” than “vintage film camera from Soviet Russia.

Shoot Flat, Grade Hard: How to Color Grade Video and Build Your Own LUTs from Scratch

Shoot Flat, Grade Hard: How to Color Grade Video and Build Your Own LUTs from Scratch

Most of my work lives in Lightroom. Sliders, HSL panels, tone curves named after Wilco songs. That’s my comfort zone. But I shoot video too, and for a long time my footage looked exactly like what it was: stills-shooter-attempts-video. Decent composition, completely lifeless color. The two disciplines share a visual language, but the tools and the pipeline are different enough that my Lightroom instincts didn’t transfer cleanly. That changed when I worked through Watch the full tutorial on YouTube from Sean Tucker, where he breaks down his entire color grading process for video.

Batch AI Noise Reduction in Lightroom Classic Finally Works the Way It Should

Batch AI Noise Reduction in Lightroom Classic Finally Works the Way It Should

There’s a specific kind of frustration that comes from knowing a tool can do something, but making it do that thing requires jumping through hoops that feel completely backwards. For a while, batch AI noise reduction in Lightroom Classic was exactly that. You’d select your photos, run Denoise, and Lightroom would churn out a pile of duplicate DNG files alongside your originals. Your folder looked like a parking lot after a fender bender.

Stop Scrolling Through Your Entire Collection List — Use Target Collections Instead

Stop Scrolling Through Your Entire Collection List — Use Target Collections Instead

There is a specific kind of frustration that only Lightroom users understand. You are deep in your folder panel, you find five images that belong in a collection you made three months ago, and now you have to scroll through what feels like an archaeological dig of nested folders and collection sets just to drop those photos in the right place. And that is assuming you do not accidentally drop them into the wrong collection, which I have done more times than I want to admit.

Lightroom 8.2's Enhanced Details: What It Does, Who It's Actually For, and When to Skip It

Lightroom 8.2's Enhanced Details: What It Does, Who It's Actually For, and When to Skip It

Every February, Adobe quietly drops a point update to Lightroom. No splashy keynote, no Twitter hype cycle. Just a line item in the Creative Cloud updater that most people click past without reading. I almost did that with 8.2 until I caught Matt Kloskowski’s breakdown of what actually changed. Watch the full tutorial on YouTube before we dig in, because watching him toggle the before/after preview live makes the problem this feature solves click in a way that screenshots alone can’t.

The Lightroom Previous Button Is Doing the Work While You Sleep

The Lightroom Previous Button Is Doing the Work While You Sleep

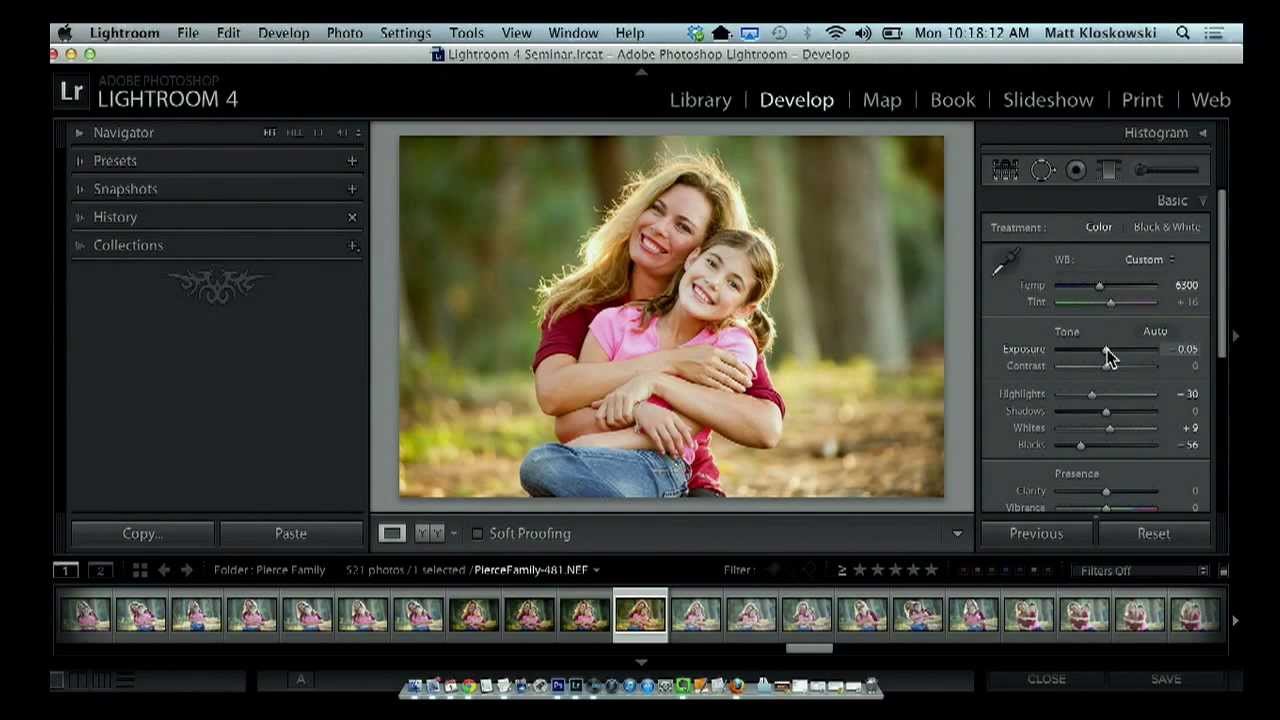
There’s a certain rhythm to editing a session of photos. You dial in the first image, get it exactly right, and then you look at the next 47 frames from the same shoot with the same light and the same subjects and quietly accept your fate. That used to be my Friday nights. Not anymore. In this Matt Kloskowski tutorial, he walks through one of the most criminally underused buttons in Lightroom’s Develop module, and it’s the kind of tip that makes you feel like you’ve been carrying groceries up four flights of stairs when there was an elevator the whole time.

Build a Custom 6-Up Wedding Album Layout in Lightroom's Print Module (No Templates Required)

Build a Custom 6-Up Wedding Album Layout in Lightroom's Print Module (No Templates Required)

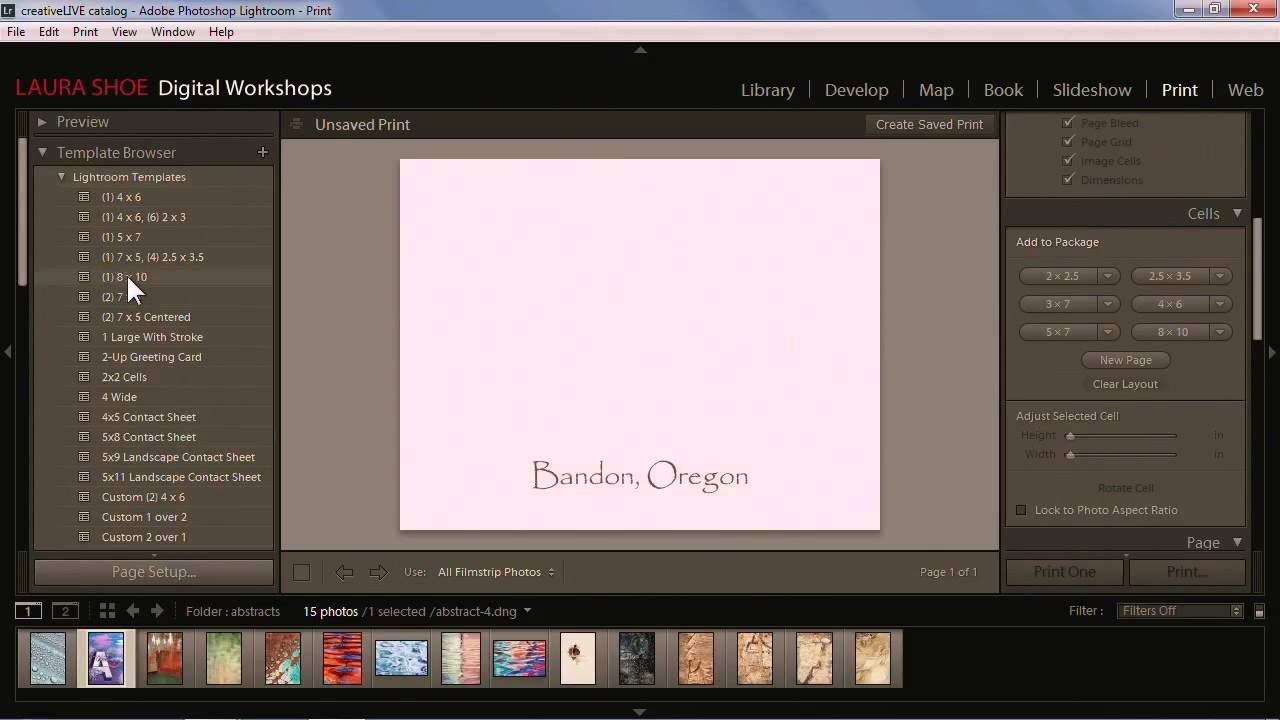
There’s a specific kind of frustration that hits when you’re building a wedding album and the layout you have in your head simply does not exist in Lightroom’s default template library. You scroll through the Book Module options, nothing fits, and you end up compromising on a layout that’s “close enough” instead of the one the client actually needs. I’ve been there more times than I’d like to admit. The fix, it turns out, has been sitting in the Print Module the whole time, and once you know how to use it, you’ll stop settling for close enough.

Lightroom to Photoshop: How Smart Objects and Multi-Layer Editing Finally Work Together

Lightroom to Photoshop: How Smart Objects and Multi-Layer Editing Finally Work Together

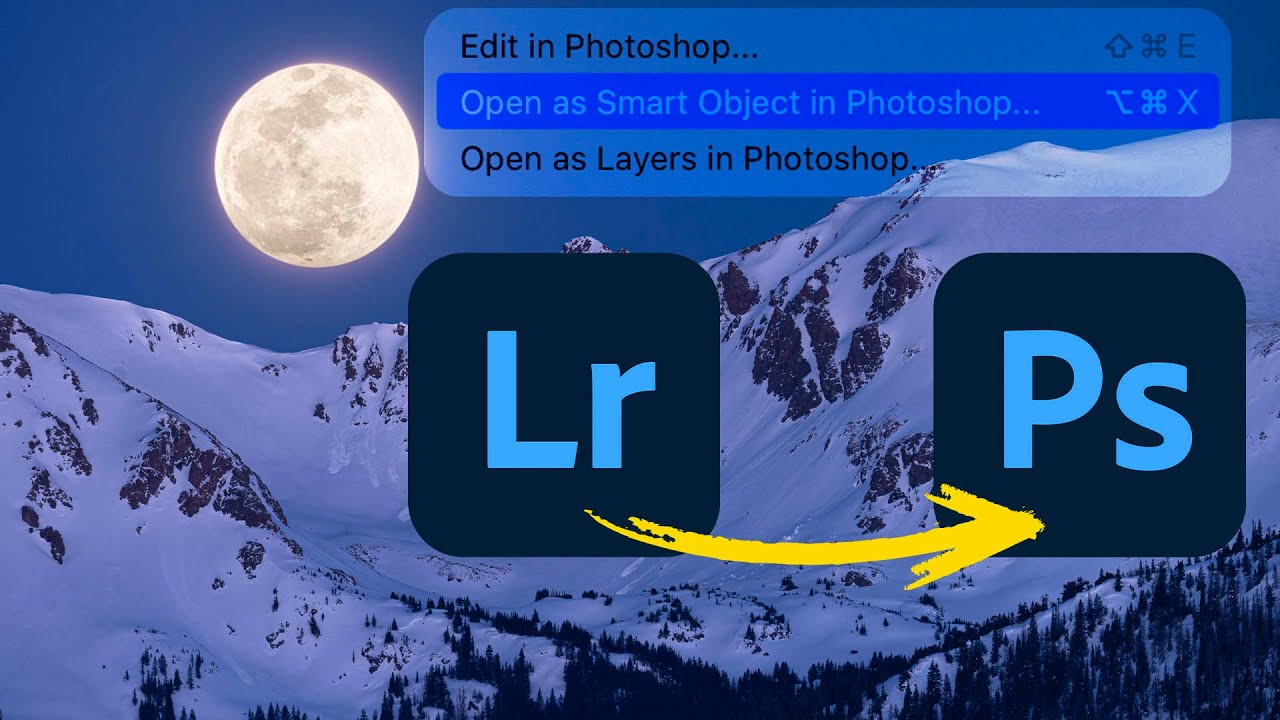
For a long time, switching from Lightroom (the cloud-based version, not Classic) to Photoshop felt like stepping off a moving train. You could get there, but you gave up a lot of control over what happened next. Specifically, the ability to send a photo to Photoshop as a smart object, open multiple layers, and move between Camera Raw and Photoshop without blowing up your whole editing session - those features just weren’t there.

The Lightroom Variance Tool Is Quietly Fixing My Worst Sky Photos

The Lightroom Variance Tool Is Quietly Fixing My Worst Sky Photos

There’s a shot I’ve taken probably a hundred times at Radnor Lake. Wide angle, polarizing filter, golden hour. The composition is solid every time. The sky ruins it about half the time. Not because of clouds or blown highlights, but because of that banded, uneven blue you get when you shoot wide with a polarizer. One side of the sky goes deep navy. The other fades to something closer to periwinkle.

How to Use Stock Holiday Graphics as Lightroom Overlays (Without It Looking Cheap)

How to Use Stock Holiday Graphics as Lightroom Overlays (Without It Looking Cheap)

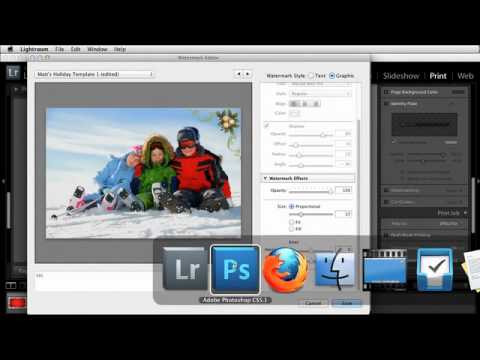
Every December I end up with the same client request: make this portrait feel festive without it looking like a greeting card from 2009. For a long time my answer was a wreath Lightroom border or a cheesy preset with fake snow. Neither felt right. What I actually wanted was a way to drop tasteful supporting graphics around a photo, keeping the image itself as the hero while the decorative elements did quiet, intentional work around it.