Lightroom's Number Keys Are Doing More Than You Think — Here's the Full Map

Lightroom's Number Keys Are Doing More Than You Think — Here's the Full Map

I have a bad habit of clicking things I don’t need to click. I’ll mouse all the way up to the module tabs to switch from Library to Develop, or hunt around for the star rating buttons in the toolbar, when the keyboard has been sitting there the whole time with faster answers built right in. Keyboard shortcuts in Lightroom aren’t exactly hidden, but the number-based ones specifically tend to get overlooked because they don’t show up in obvious places.

Stop Wasting Hours on Culling: Lightroom's AI Does It During Import Now

Stop Wasting Hours on Culling: Lightroom's AI Does It During Import Now

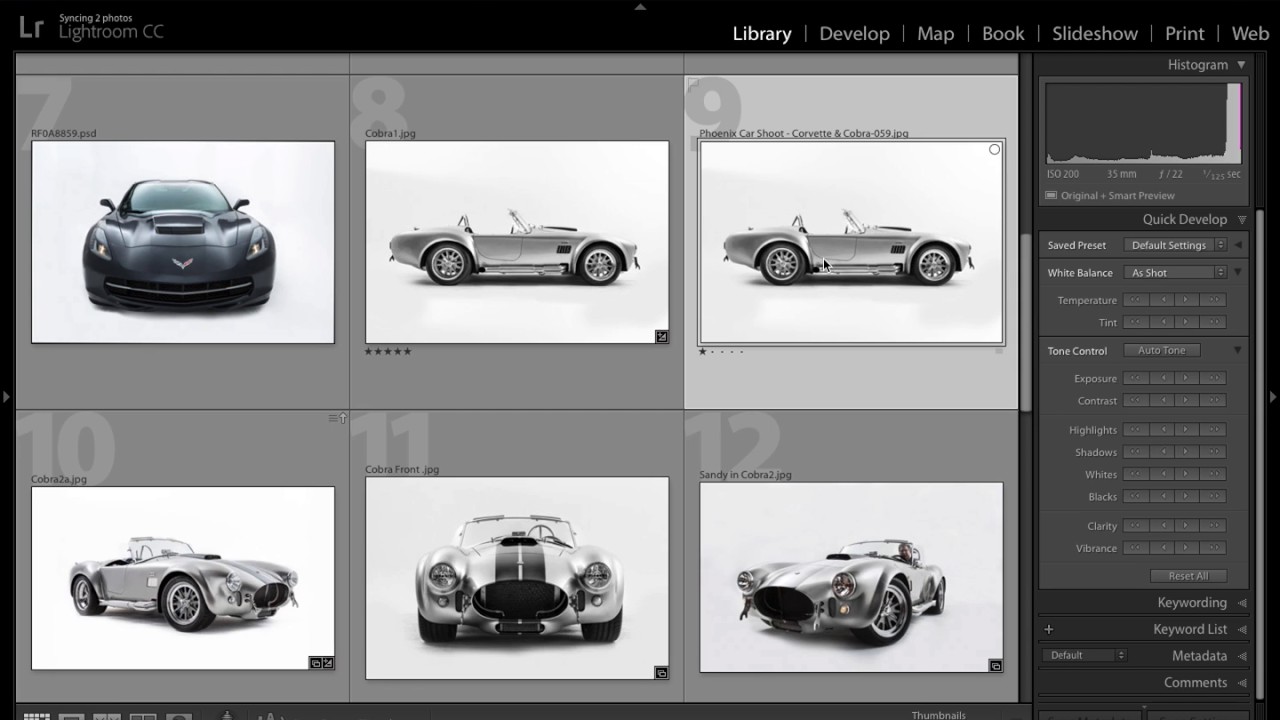
I used to lose entire afternoons to culling. Shoot a portrait session, come home, pour a drink, and then spend two hours clicking through near-identical frames trying to decide which version of someone blinking was less bad. It was the part of my workflow I dreaded most, and honestly the part I was worst at, because decision fatigue sets in fast and suddenly you’re keeping photos you have no business keeping.

Work Smarter in Lightroom: 8 Speed Tricks I Wish I Knew Earlier

Work Smarter in Lightroom: 8 Speed Tricks I Wish I Knew Earlier

There’s a specific kind of frustration that hits when you’re sitting in front of a catalog of 800 wedding photos and Lightroom is chugging along like it’s running on a calculator. I’ve been there more times than I’d like to admit. Over the years I’ve picked up habits that help, but a recent tutorial from Mango Street pulled together eight of the most practical speed techniques I’ve seen organized in one place, and a couple of them genuinely changed how I approach a heavy editing session.

Why Your Colors Look Dull After Editing (And the Lightroom Workflow That Actually Fixes It)

Why Your Colors Look Dull After Editing (And the Lightroom Workflow That Actually Fixes It)

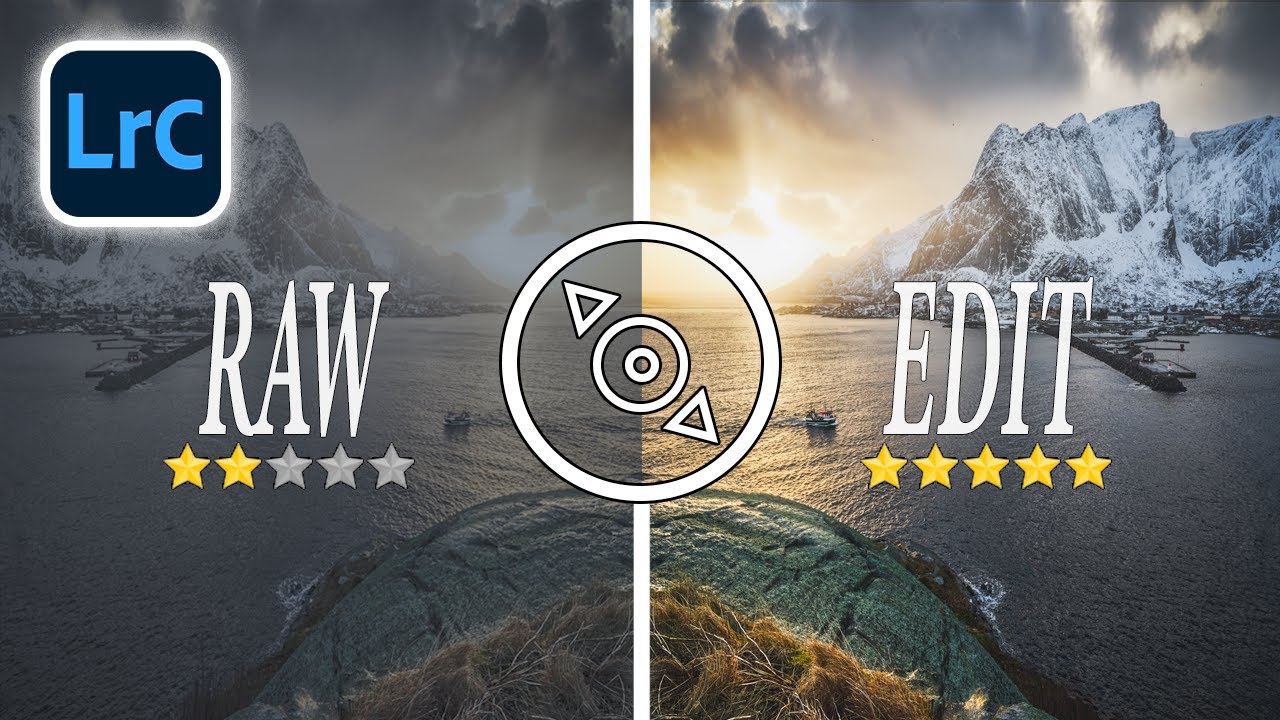
There’s a photo sitting in my Lightroom catalog from about six years ago that I genuinely cannot look at without cringing. It was a band press shot, natural light, golden hour, the whole thing. And I absolutely destroyed it. I pushed the saturation to somewhere around +60, dragged the vibrance up to match, and called it “edited.” The sky turned a color I can only describe as radioactive mango. The guitarist’s skin looked like he’d spent a month on the surface of Mars.

Stop Sharpening Everything: The Selective Sharpening Technique That Actually Works in Lightroom

Stop Sharpening Everything: The Selective Sharpening Technique That Actually Works in Lightroom

Every few months I’ll open a photo I was excited about in the field and feel that quiet disappointment when it just looks… soft. Not out-of-focus soft, but lacking that punch I saw with my own eyes when I pressed the shutter. For years I did what most photographers do: cranked the Sharpening slider in the Detail panel, dragged the Masking slider while holding Option, called it a day. The photo got sharper, technically.

Lightroom 9's Best New Features (And the One I Actually Use Every Week)

Lightroom 9's Best New Features (And the One I Actually Use Every Week)

There’s a specific kind of frustration that comes from stitching a panorama, getting the exposure perfect, and then realizing the edges are a jagged mess that no crop can cleanly fix. I’ve been there more times than I’d like to admit. For a while, Boundary Warp was the only in-app answer, and while it works decently on wide open landscapes, anything with trees or complex structures at the frame edges starts to look like a funhouse mirror.

7 Lightroom Shortcuts That Actually Changed How I Edit (Breakdown of Pierre T. Lambert's Best Tips)

7 Lightroom Shortcuts That Actually Changed How I Edit (Breakdown of Pierre T. Lambert's Best Tips)

I’ll be honest with you: I spent the first two years of my Lightroom life doing everything the slow way. Clicking through menus, hunting for tools, dragging panels around like I was rearranging furniture. It wasn’t until I started watching other working photographers share their actual workflows that I realized how much time I was bleeding out of every editing session. The fixes were almost embarrassingly simple once I saw them.

From Raw File to Ready-to-Share: A Complete Lightroom Export Workflow

From Raw File to Ready-to-Share: A Complete Lightroom Export Workflow

There is a specific kind of frustration that hits when you spend an hour editing a photo, finally nail the look, and then export it only to watch it fall apart on screen or come back from the printer looking like a muddy mess. Color shifts, soft details, wrong dimensions. I have been there more times than I want to admit, and it took me a while to realize that exporting is not an afterthought.

Vibrance vs. Saturation in Lightroom: What the Sliders Are Actually Doing to Your Colors

Vibrance vs. Saturation in Lightroom: What the Sliders Are Actually Doing to Your Colors

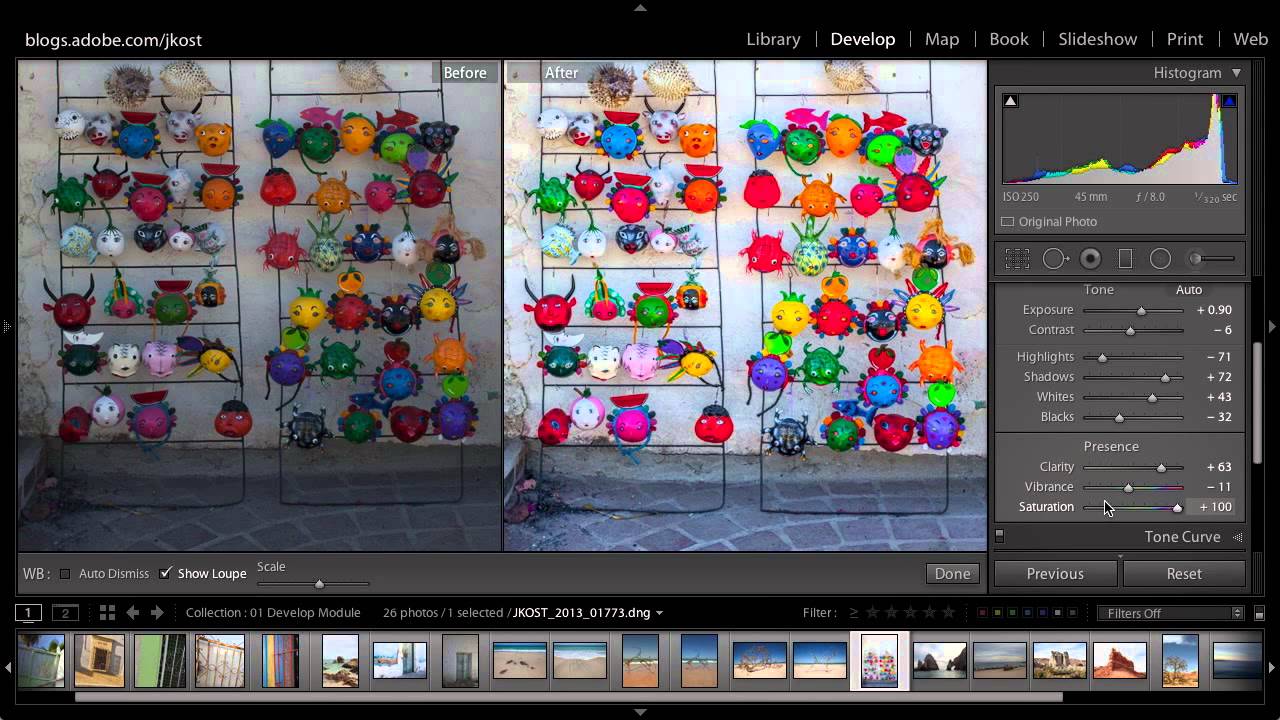
There’s a moment every Lightroom user hits where they crank up the Saturation slider and suddenly their subject looks like they’ve been standing next to a reactor. The colors pop, sure, but the reds are blown out, the skin tones look radioactive, and the detail in the image quietly disappears. For years I fixed this by just… not touching Saturation. I’d nudge it up two points and call it done. It worked, but it wasn’t understanding — it was avoidance.

HSL Adjustments Are Doing the Heavy Lifting in Your Color Grade — Here's How to Use Them Right

HSL Adjustments Are Doing the Heavy Lifting in Your Color Grade — Here's How to Use Them Right

The Panel Most Editors Treat Like an Afterthought I spent the better part of a year editing portraits by reaching for the Tone Curve and calling it a day. My images looked fine. A little flat sometimes, a little inconsistent across a session, but fine. Then I started paying real attention to the HSL panel and realized I had been leaving the most surgical tool in Lightroom mostly untouched, like someone who owns a chef’s knife and only uses it to open Amazon boxes.

Lightroom's Point Color Tool Finally Lets You Target Colors Like a Surgeon (Not a Sledgehammer)

Lightroom's Point Color Tool Finally Lets You Target Colors Like a Surgeon (Not a Sledgehammer)

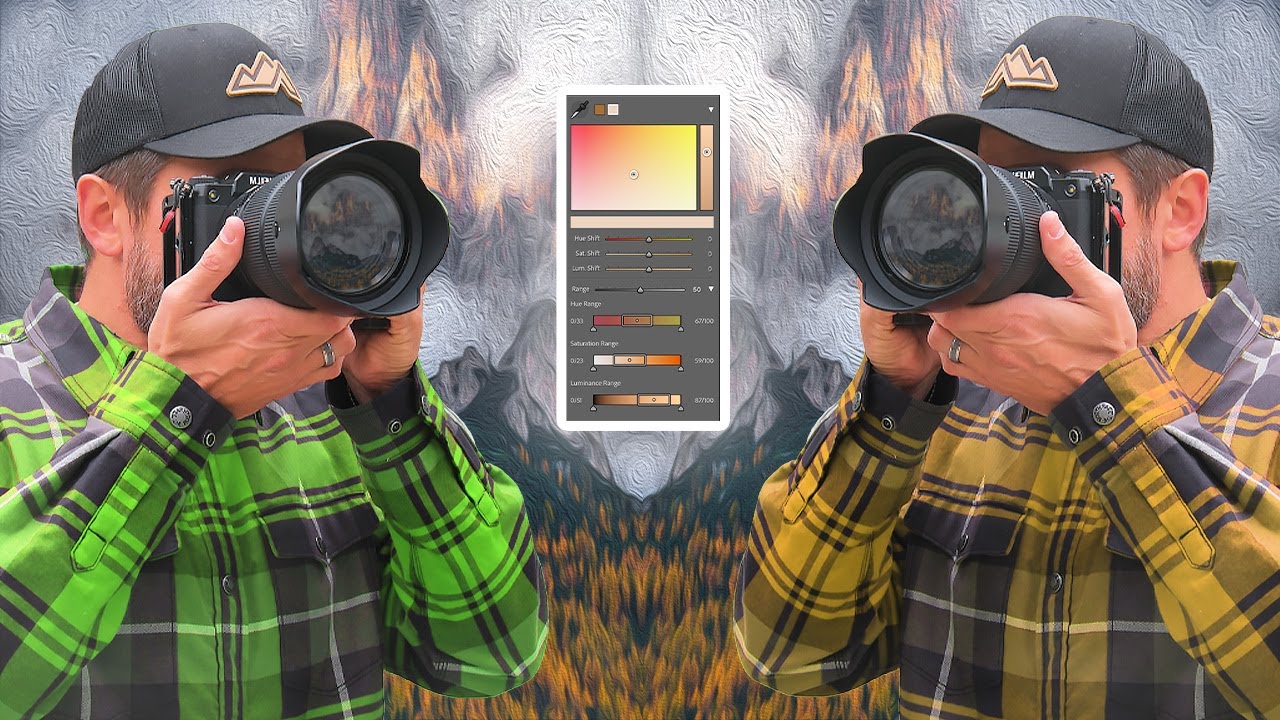
For years, the one thing that sent me running back to Capture One mid-project was targeted color control. The HSL mixer in Lightroom always felt like trying to adjust the volume on one instrument by turning up the whole amplifier. You’d drag a slider, trying to deepen those amber tones in a golden-hour shot, and suddenly your entire sky shifted too. It was blunt. It was frustrating. And honestly, it was the strongest argument in the Lightroom vs.

The Lightroom Tool Hiding in Plain Sight (And Why It Changed How I Use the Tone Curve)

The Lightroom Tool Hiding in Plain Sight (And Why It Changed How I Use the Tone Curve)

I have a complicated relationship with the tone curve. For years I treated it like that one piece of gym equipment I kept walking past - aware of it, slightly intimidated by it, quietly hoping nobody noticed I was avoiding it. I knew it was powerful. I just never fully trusted myself to use it without wrecking a perfectly good edit. What I didn’t know - and what stopped me cold when I saw it demonstrated - is that there’s a small targeting tool sitting right inside the tone curve panel that most editors have never intentionally clicked.